


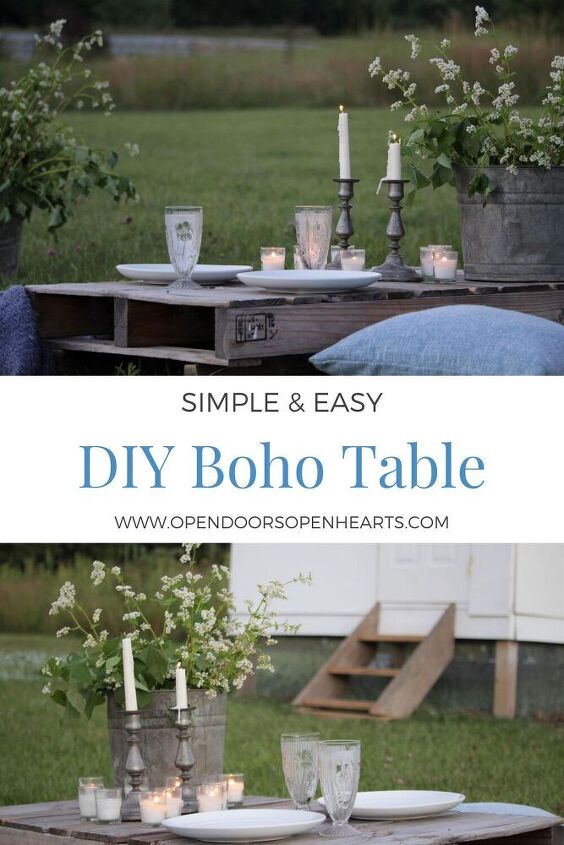
How to Create A Simple Boho Table From Pallets
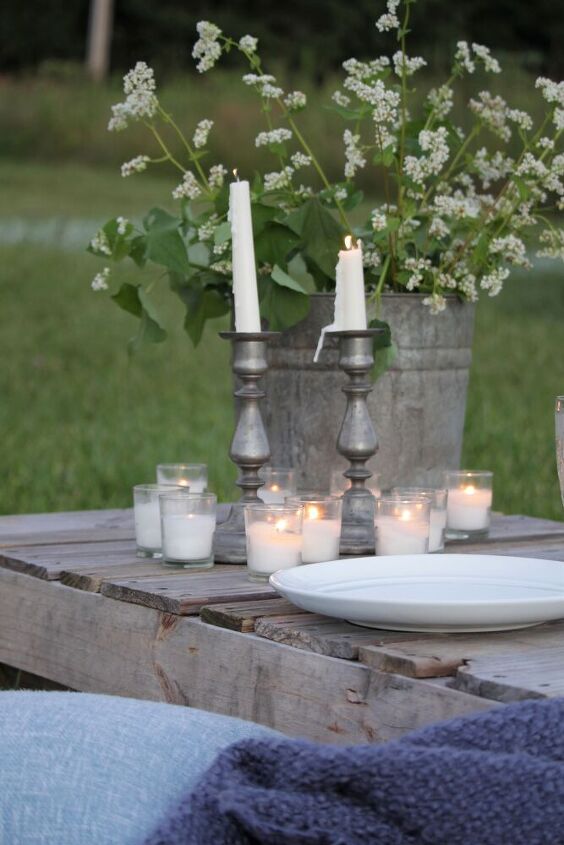
This Summer we started having garden picnics. It's been so much fun! But carrying the folding table in and out of the house was exhausting. I decided to use what I had laying around to build a light-weight, budget friendly boho table we could leave in the garden.
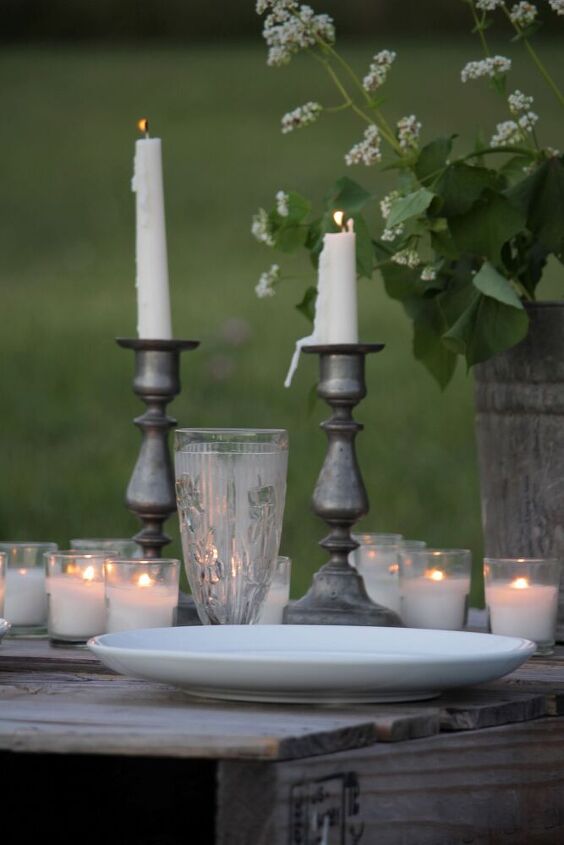
Our garden picnics have been a highlight of our 2020 Summer. The girls love everything about eating in the garden. They love sitting on the ground, eating beside the plants (specifically the basil), setting the table, and picking the flowers. It's really much more than a simple dinner. It's memories I hope the girls cherish for a while. I know I will cherish these special moments.
Even though I could see all the benefits, I really struggled to be motivated to tackle a garden picnic. The table we used was an old and extremely heavy folding table that we couldn't leave outside. So every time we used it, I had to carry that bad boy out (normally by myself) and then back in! Which is why I decided to build a table that I could stay outside and was easy to move. I found two pallets we had in the woodpile and began building a boho style table.
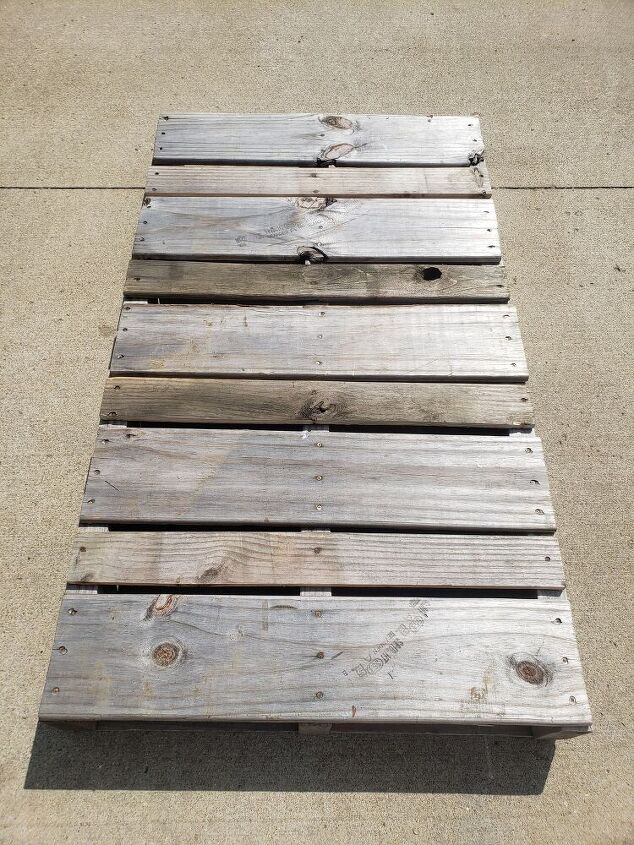
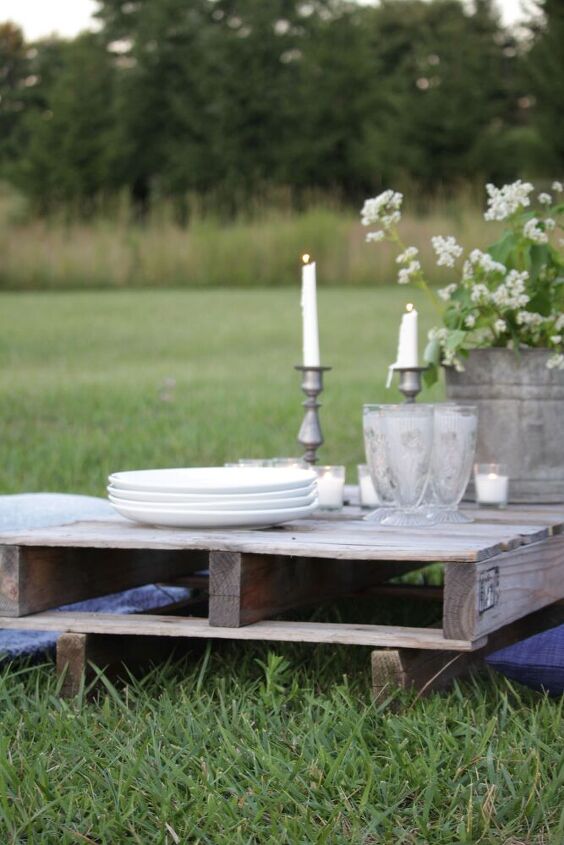
Initially, I just took a pallet out to the garden and called it good. But, my 4-year-old said we needed to make it taller. She requested I take another pallet out to the garden and stack them. So I did. After we did that I thought, "She was right! I think I like it this way better!"
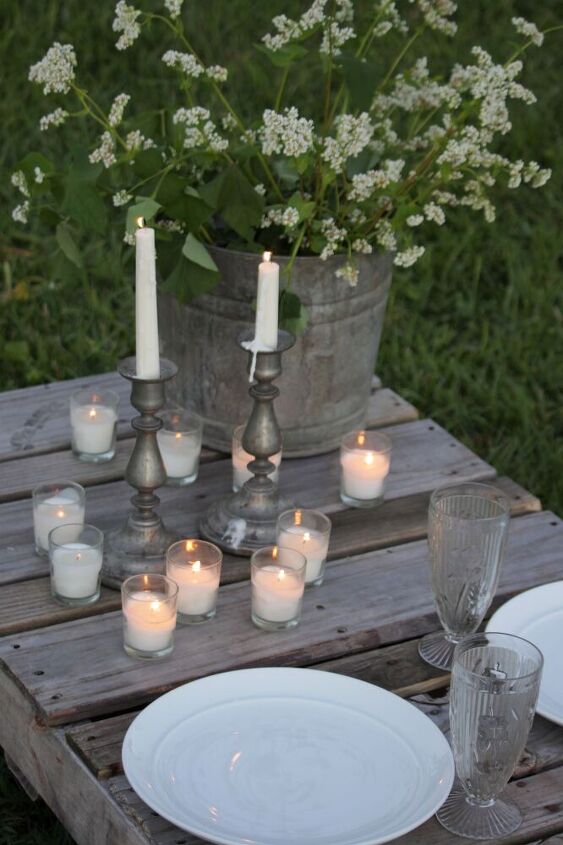
But, then my 4-year-old didn't like all the gaps on the tabletop. She was convinced our plates were going to fall through the cracks. So I decided I would tear one pallet apart and construct a boho style table that met her specifications. Now that it's done I think she was right again! This simple and easy DIY is so much better than stacking 2 pallets!
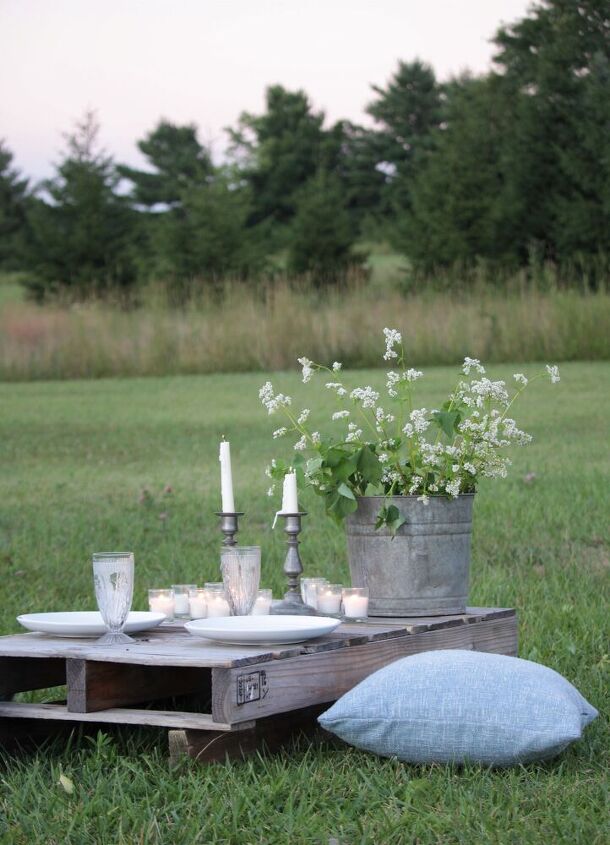
This project was so easy. I literally had a table built in a day! The best part is now I'm so much more excited when the girls ask to have a picnic in the garden. With a minimal amount of work, I was able to make picnics in the garden even more enjoyable!
The girls now think I need to paint it. Any guesses as to which color they think it should be?! Yup, WHITE! Just like the water dispenser we transformed with just a can of spray paint recently.
I keep going back and forth about the idea to paint it. I know that paint can completely transform this pallet table, just like it did with the water dispenser. But part of me thinks I like the weathered look, especially since it's staying in the garden. We'll see?! Maybe someday I'll decide to paint it?
Supplies
2 Pallets (the same size)
Hand Saw
Circular Saw
Drill
Right Angle Drill Attachment
Screws (for outdoor use)
Instructions
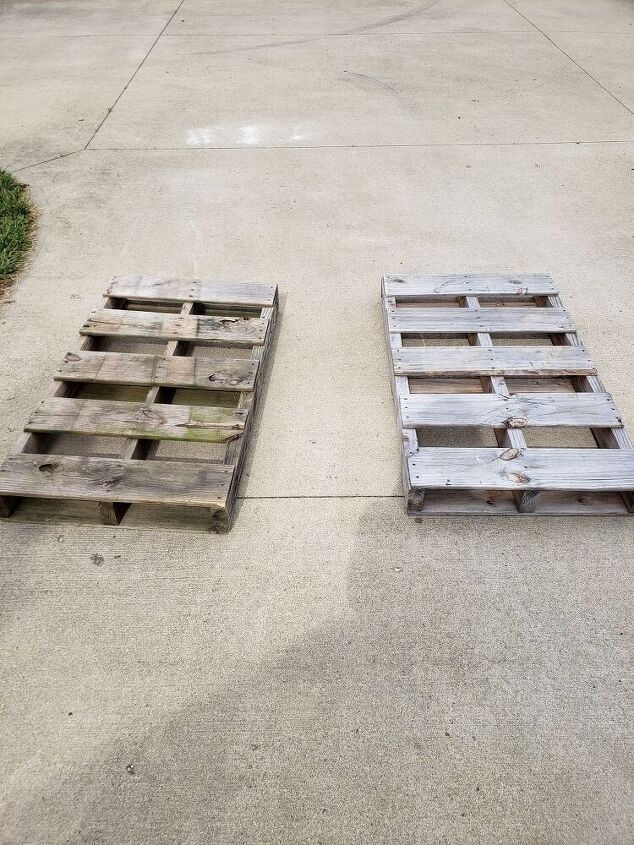
The first thing I had to do was deconstruct one pallet. I had tried to do this in the past with a hammer and it ended in nothing but splinters and agony. So I jumped online and learned people use a saw to cut through the nails instead of trying to hammer the pieces apart. This method proved to be easy and FAST!
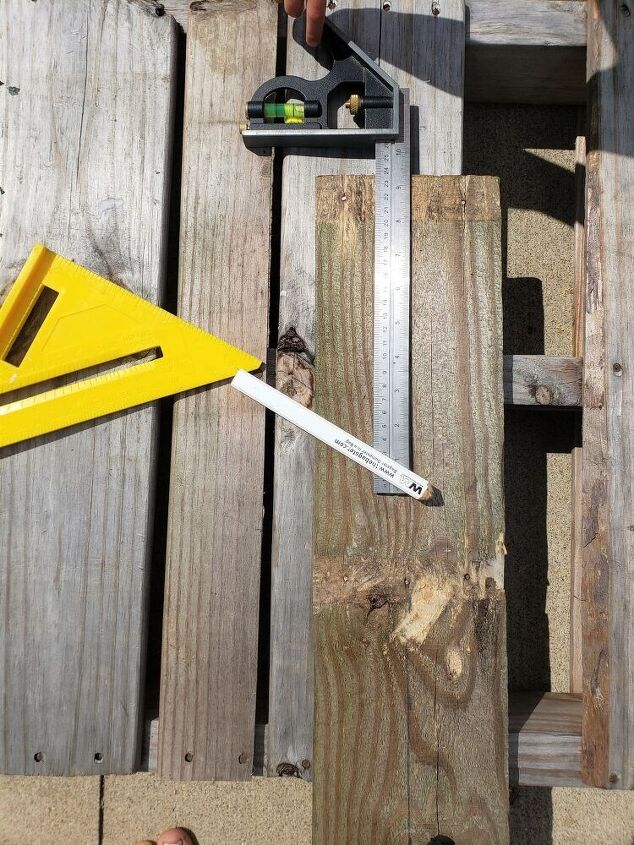
Now that the pallet was apart I needed to cut 2 pieces of wood (that were the pallet top) in half lengthwise. The gaps between the boards on the other pallet were too small to put them there without cutting them. To do this, I measured to the middle of each board in multiple spots, then marked a line down the middle connecting the dots as a guide.
After each board was marked I took them to the saw horses and cut them in half with our circular saw
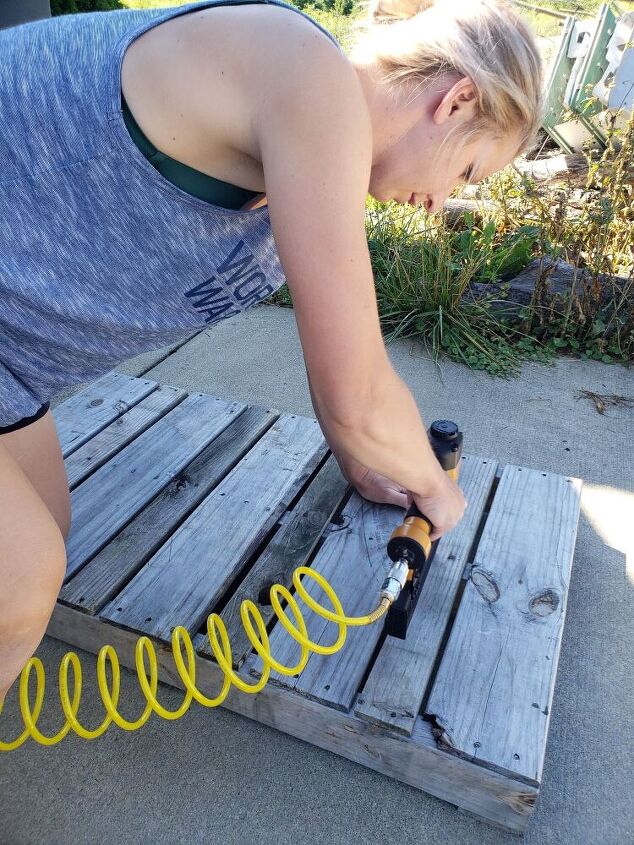
Once the boards were cut in half I took those pieces and filled in the gaps of the second pallet. I secured them to the second pallet with a nail gun. (Thanks to the chicken coop and my husband I've learned how to use the nail gun independently!!)
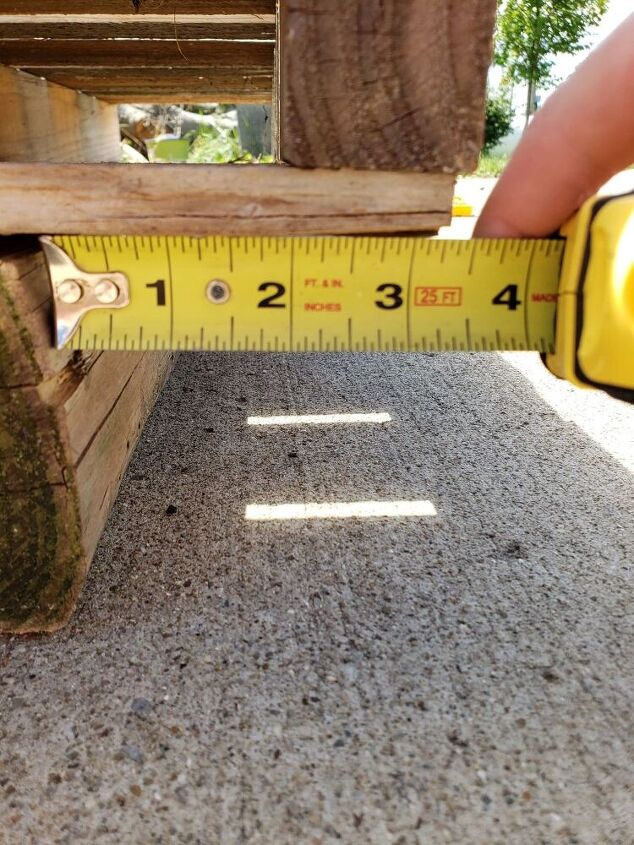
Now that the tabletop was finished I just needed to raise it up off the ground a little bit. To do this, I took the 2x4's from the deconstructed pallet and placed them on their sides under the pallet tabletop. I made sure that the 2x4's were the same distance from the sides of the pallet.
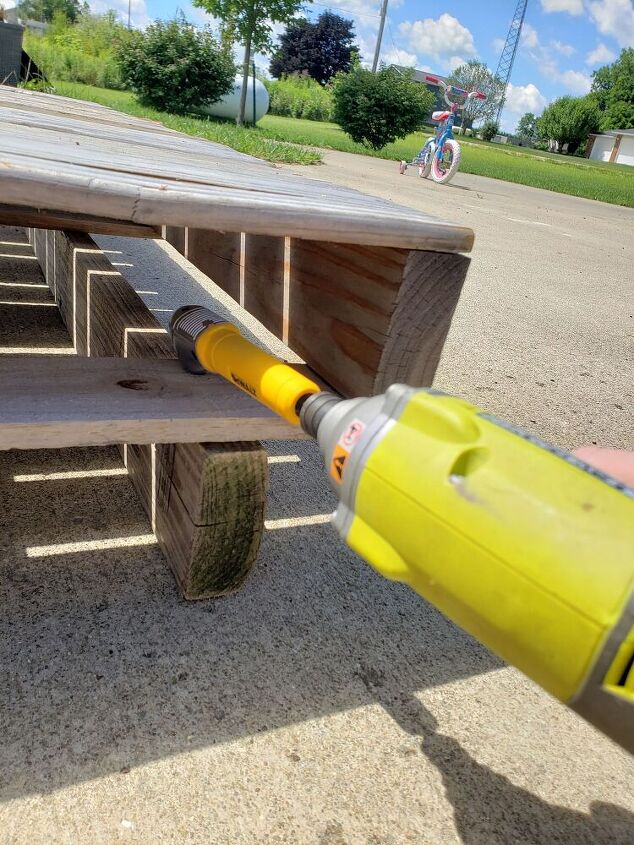
Next, I took the right angle drill attachment and drill to attach the 2x4's to the pallet. I screwed 2 screws at each end of the 2x4's (In total I used 8 screws to secure both of the 2x4's to the pallet tabletop.)
Now the boho table is complete! It is such a simply DIY! I absolutely love this table and how easy it was to build! It looked intimidating at first, but it was truly simple and quick! DIY's that drag on for days and weeks can be really hard for me. I start to lose motivation when the project takes too long. But like I said, this DIY was nearly immediate gratification! The best part is, it met my daughters' specifications! The girls love the new table as much as I do!
I don't like to mention this very often, but my idea was not the best in this scenario. My 4-year-old didn't want to settle for what was good enough. She wanted to make sure it was the best we could do. I'm beyond blessed by her for so many reasons. But certainly, the way she drives me to be and do my best is one of the highest on the list. She has no idea how grateful I am for her. If she hadn't challenged me I'm sure this pallet boho table wouldn't be sitting in our garden right now.
Thanks for stopping by! Don't forget to follow along on Pinterest, Facebook, & Instagram! Also, head over to the blog and join the email list to ensure you never miss a post! Have a great week! XoXo
http://www.opendoorsopenhearts.com
Open Your Doors,
Aliya


Frequently asked questions
Have a question about this project?