


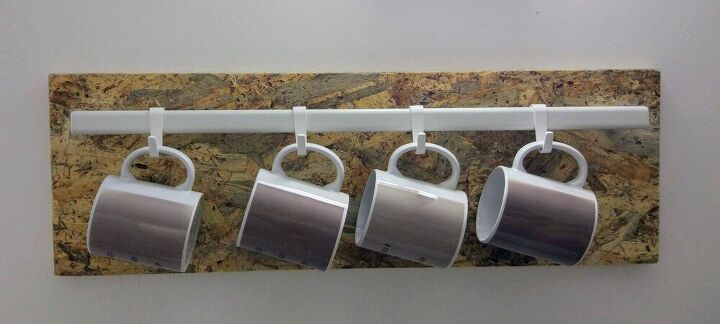
Mug Rack

The mug rack I had came with the apartment I am renting—Black, noticeable, with paint coming off. Within two hours, I replaced it to a new and improved mug rack. Coffee anyone ?
?
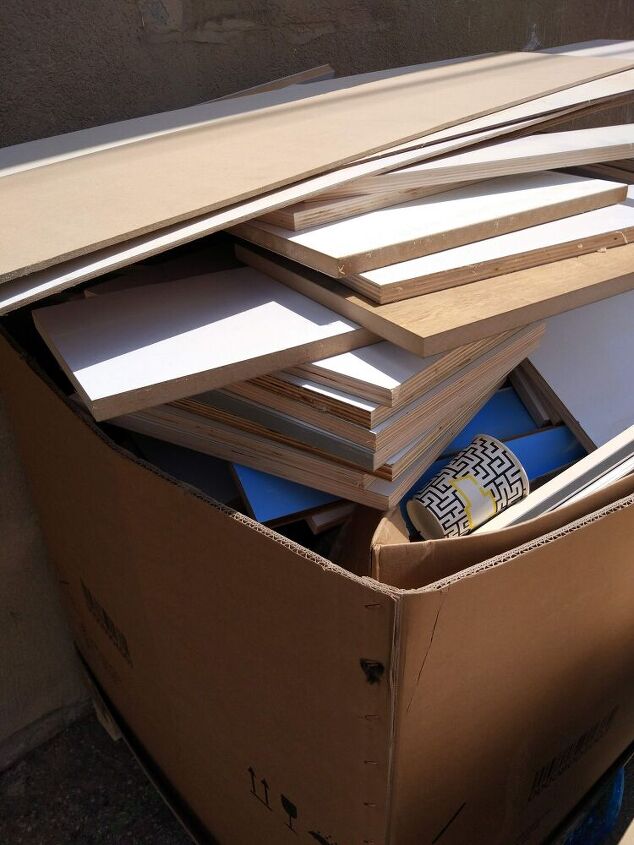
I went to throw out the garbage and came across a HUGE pile of magnificent boards of wood... I mean, who would dare to put it in the dumpster?
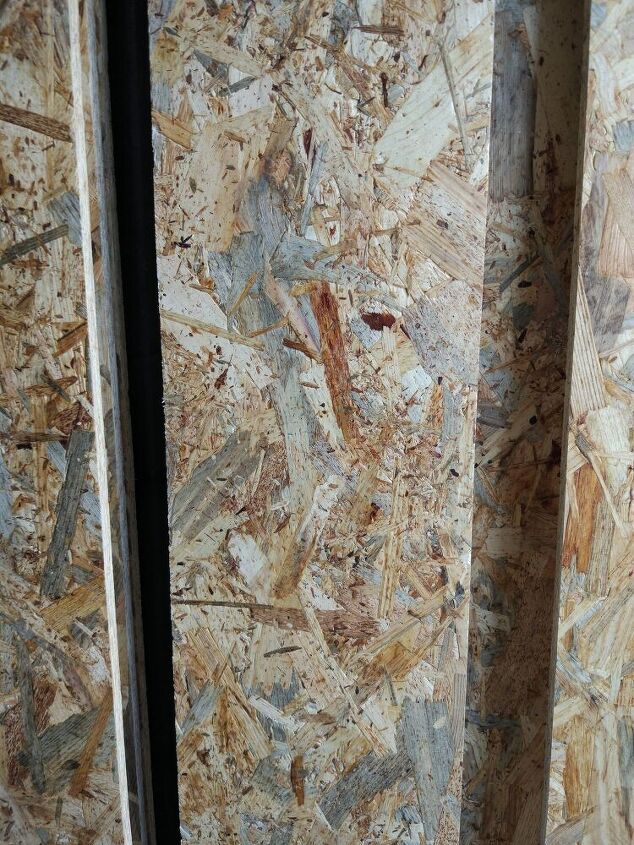
I moved a few boards until I found it the perfect "background" for my new rack! Happily, I went back home and took out my Makita eccentric sander and made the surface smooth.
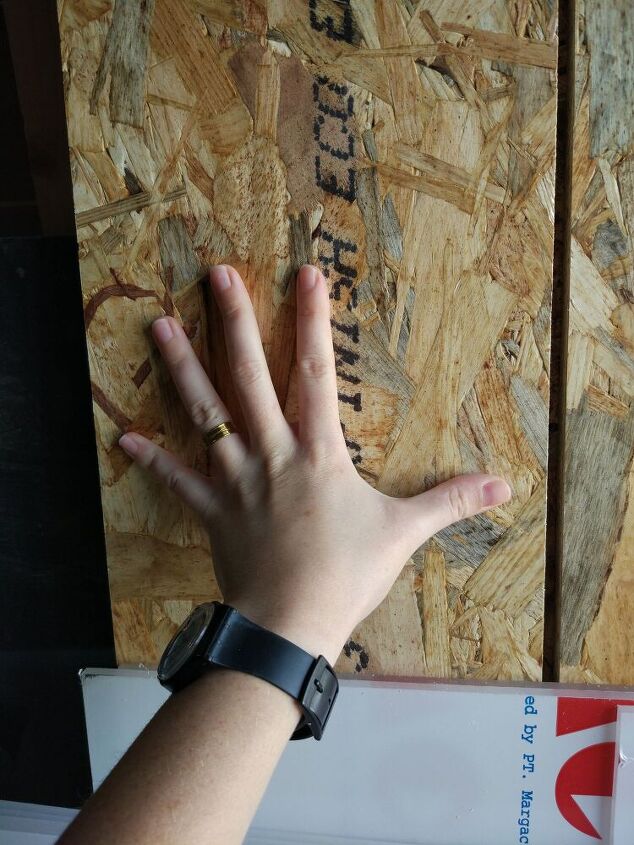
I asked my husband what he thinks, and he said, smartly as always, that I should take into consideration the hooks size plus the mugs length. Otherwise, it would pop out from the wood. Then he asked me about the size of the wood, and I sent him this picture as a reference and got  thumbs-up in return.
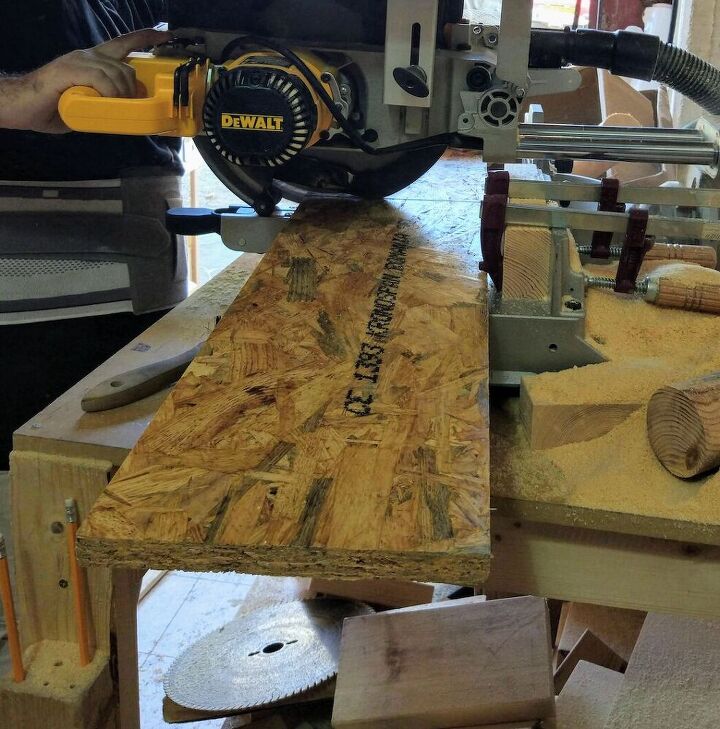
It had something written on it at the back, and I didn’t really care as I was placing it on the wall. My neighbour helped me to cut it, using his saw. It would be 40" long, as the wall is 60" long, and I want white space around to pop it out. I took it back to my garage and covered it with a thick coat of varnish coating to protect the wood.

Then, I went to the happiest place on the planet- IKEA. JK, it is fun there, though. I purchased a 32" long bar from the Bathroom department (probably supposed to be a towel rack) and 4 big hooks from the accessories department.
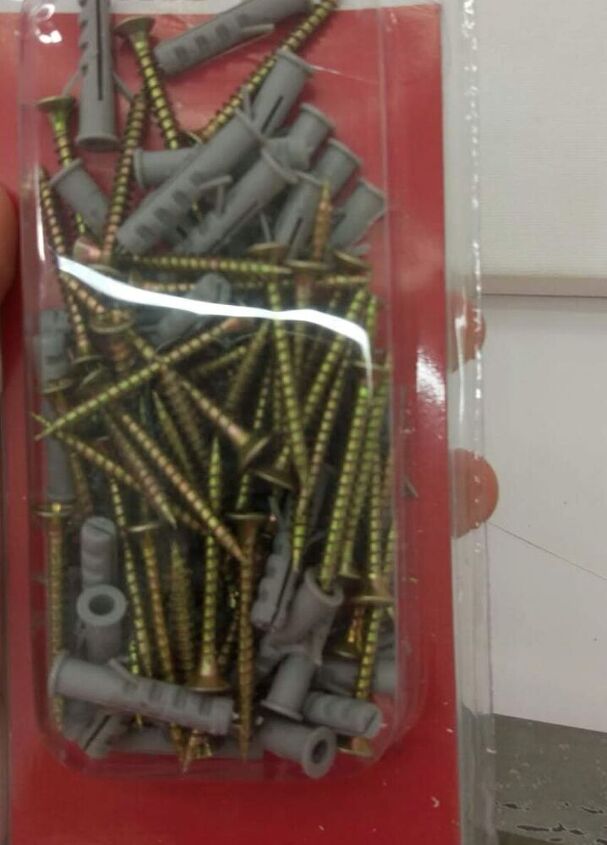
I also purchased a kit of wall plugs and screws size 0.15",
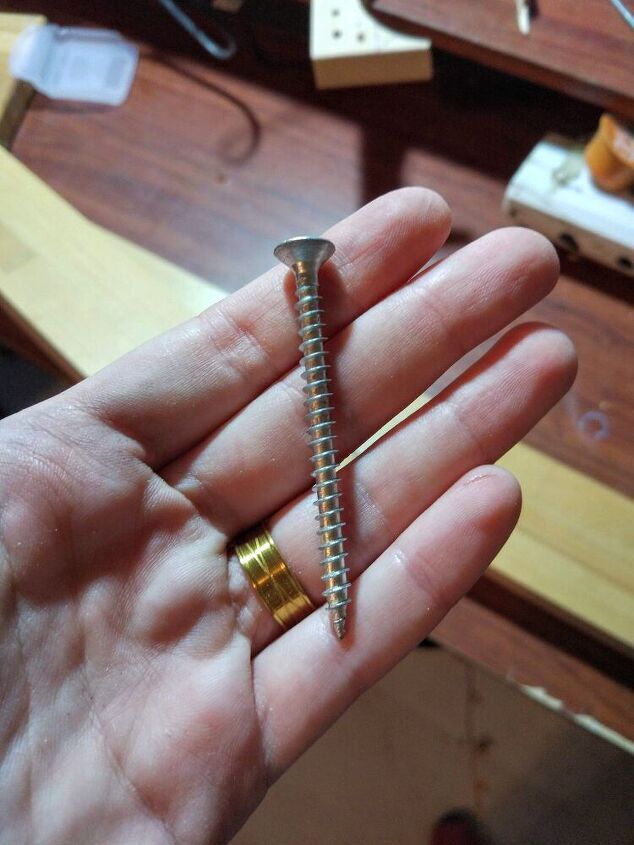
However, I will use a giant screw for the plug, one that would go all the way from the wood to the wall. Therefore, I also bought longer screws of the same size, 0.15".
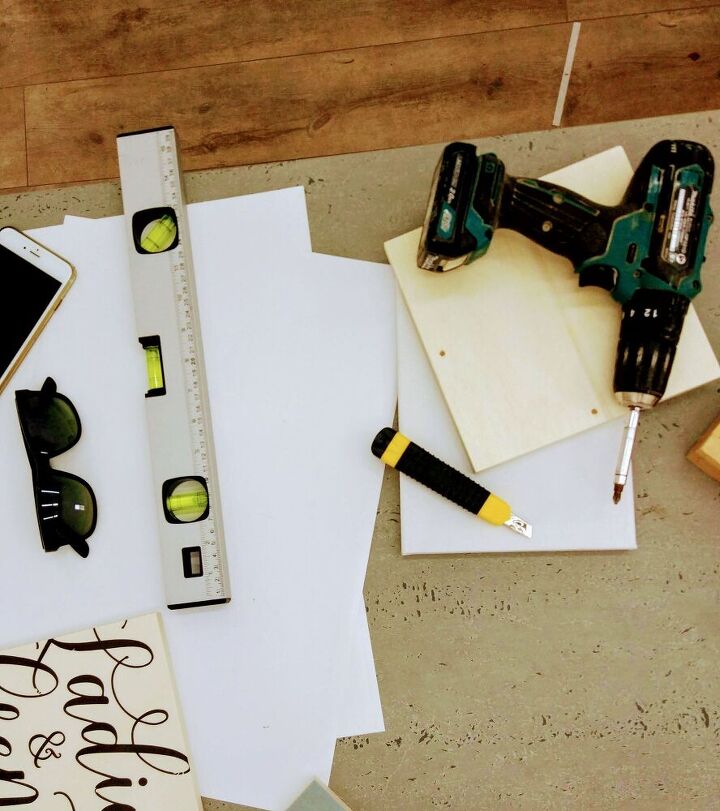
I took the piece of wood out and drew four holes in it. 1.5" from the corners. My screws are 0.15", and I drilled holes of 0.11"; this way, it would be more robust. Using a level, I placed the piece of wood on the wall and marked where it would be placed using a pencil. Then, I drilled holes in the wall, according to my marks.
Before hanging it on the wall, I attached the bar according to the IKEA manual. It was easier than most IKEA assembles. I placed it on the floor, with the hooks and mugs and everything, to test it before attaching it to the wall for eternity and beyond (or until we would move out of this apartment). I was pleased. So, I and waited (impatiently) for my husband to come home, as I needed another set of hands.
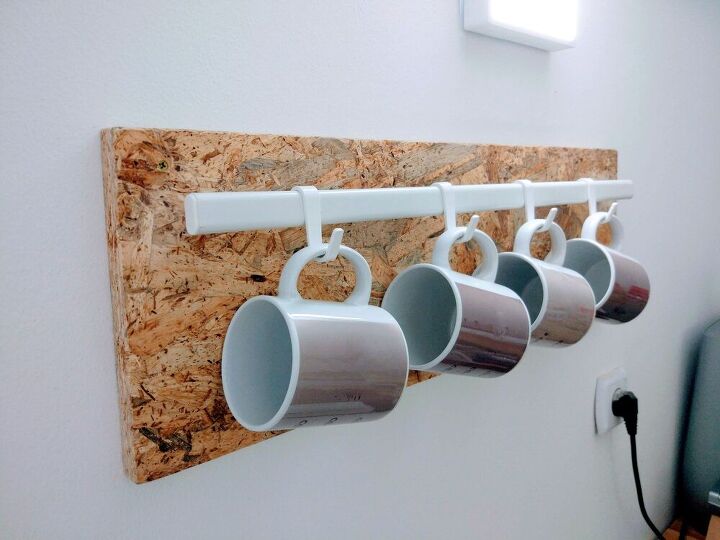
Together we hung the wood (plus bar attached), using the long screw. It was levelled perfectly, and the mugs look so inviting to drink coffee. Shall I pour you one? 


Frequently asked questions
Have a question about this project?