


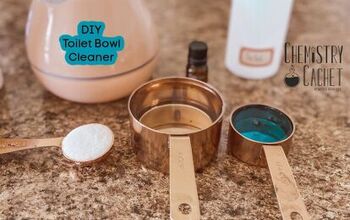
Easy Toilet Fizzy Bombs

Everyone loves a clean toilet, right? And no one likes cleaning their toilet, right? If you answered "wrong" you're invited to visit me and scrub anytime. If you said "right" you're in luck, my dear, 'cause I have THE BEST solution. These fizzy toilet bombs are easy to make and will look cute sitting in a jar on your toilet.
Bonus: These double as laundry cleaners! Scroll down to the end for that little trick!
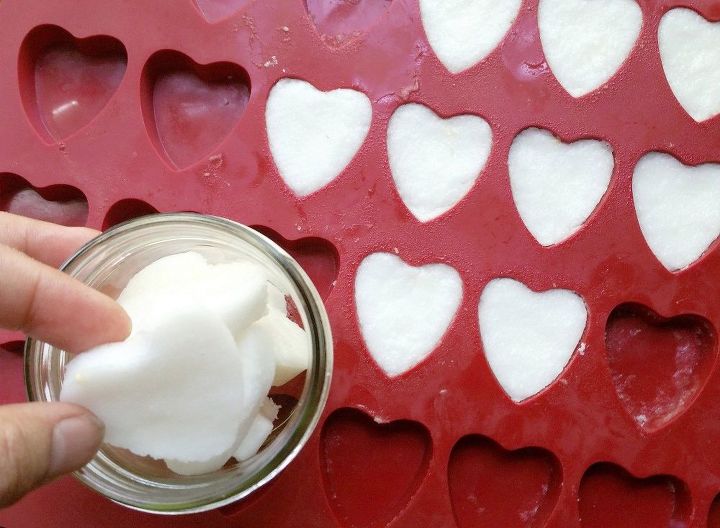
Oh, and of course, getting a cute mold will up the charm-factor!
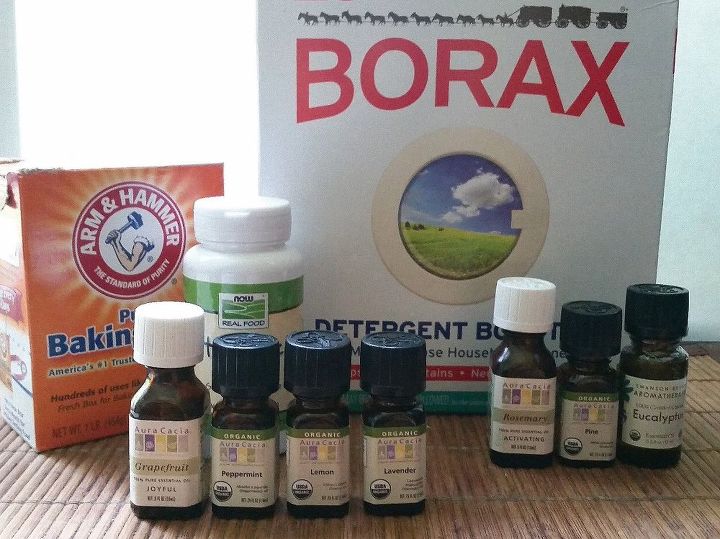
Materials:
- 1 cup Baking soda
- 1/3 cup Borax (optional)
- 1/2 cup citric acid
- Essential oils
Tools:
- Measuring cup
- Container to mix
- Tablespoon or measuring spoon
- Spray Bottle or Vaporizer (recommended)
- Silicone mold (optional)
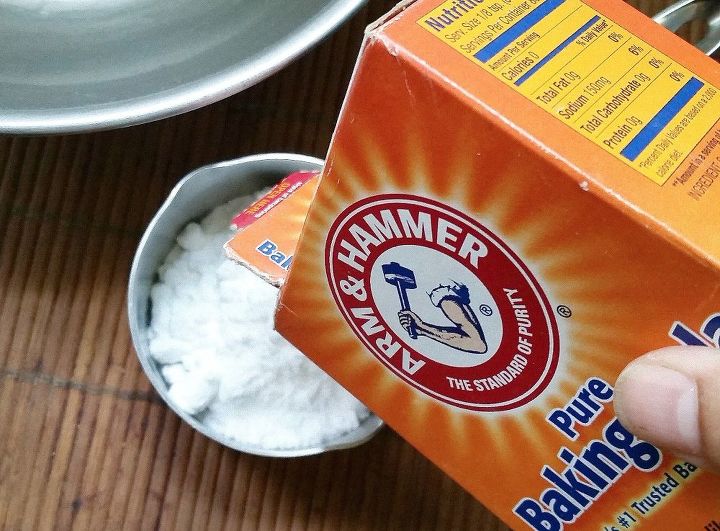
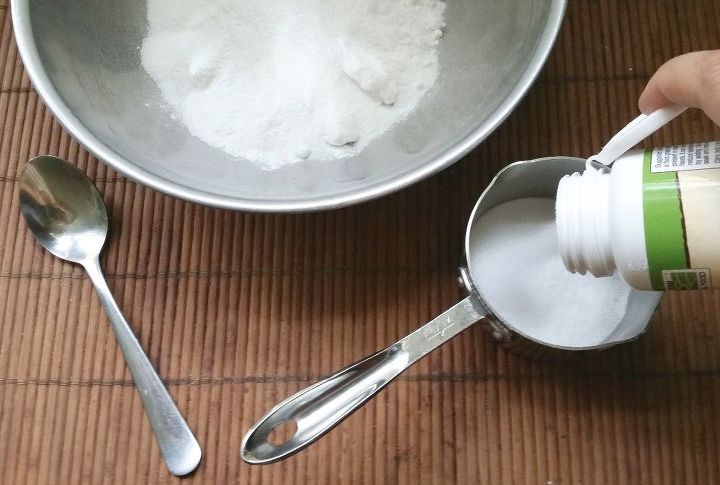
Step 1: Mix Baking Soda and Borax
Baking soda is lightly abrasive, as well as an unscented deodorizer. It is easily decomposed by acid, that’s why adding citric acid will come in handy.
Grab a mixing bowl or container, a measuring cup and baking soda. Next, measure 1 – 1 1/3 cups of baking soda and add it to your mixing bowl
NOTE: Use 1 cup of baking soda if you’re planning to add borax, otherwise keep it to 1 1/3 cups.
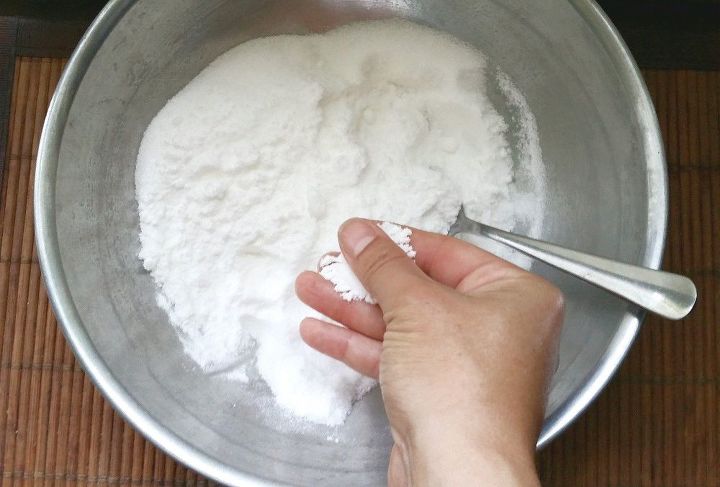
TIP: If the baking soda has clumps, use your fingers or spoon to dissolve them.
I like to use Borax as a detergent booster in my laundry and house cleaning recipes. It also makes a great Sweet DIY Ant Bait.
(You can get the recipe here:
So I like to add 1/3 cup of Borax to the baking soda. You don’t have to, but will sure make the cleaning easier.
Borax is a good cleaner, deodorizer and booster, which makes it a good combination for the baking soda.
Step 2: Add Citric Acid
Measure 1/2 cup and add it to your baking soda and Borax.
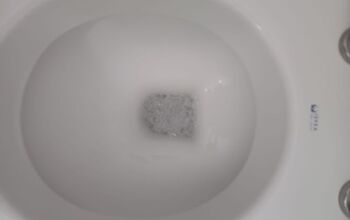
The citric acid and baking soda will produce an acid-and-base reaction that creates thousands of tiny bubbles to fill your toilet bowl while releasing the essential oils.
NOTE: If you replace 1/3 of the baking soda with borax, the reaction will be slower, but the cleaning is likely to be better.
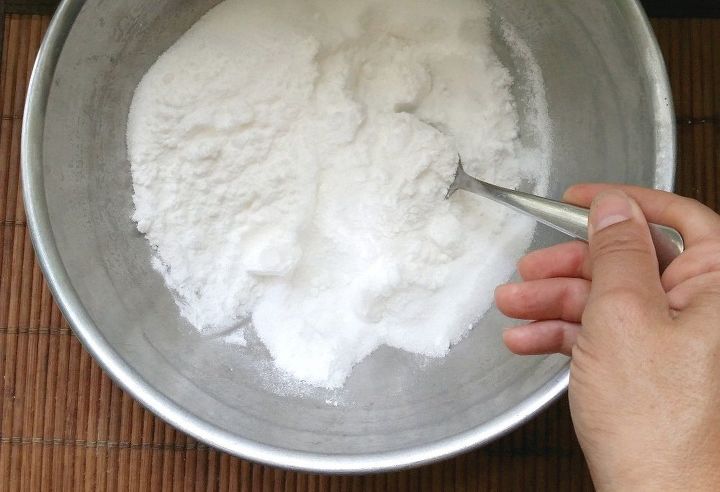
Step 3: Mix Well
Before you add any of your wet ingredients, make sure the dry stuff is mixed very well.
Use a spoon first to mix all ingredients. Then use your fingers to ensure there aren’t any baking soda clumps left.
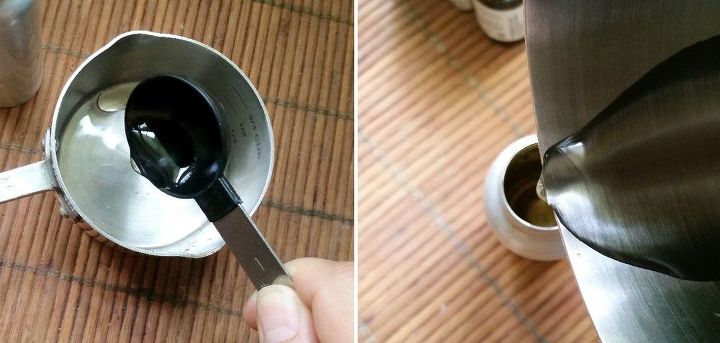
Step 4: Add water to a spray bottle
It's time to mist your dry ingredients. First, use a tablespoon to add 1 spoon of water to a spray bottle.
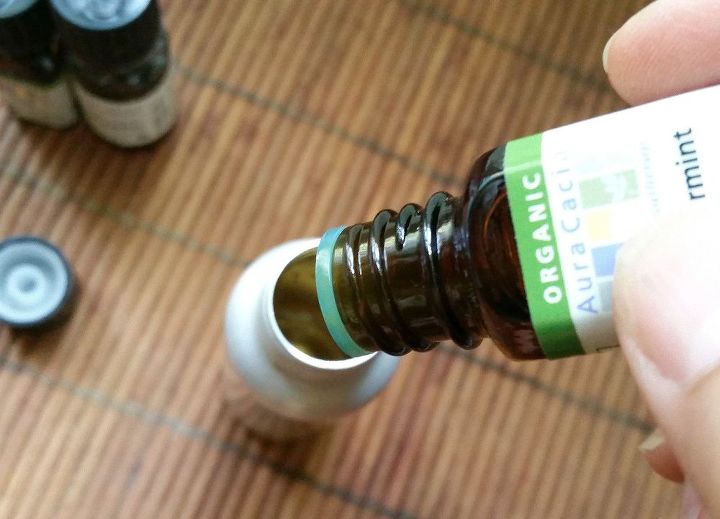
Step 5: Add Essential Oils
Next we’re going to add a few essential oils to the water to make a nice fresh 'n clean scent. That’ll leave a nice fragrance in your toilet bowl with no extra work!
You can use any oil you have: 70-90 drops of one, or several oils combined are a good amount.
My "fresh scent" recipe:
- Add 30 drops of each — PINE or TEA TREE OIL, EUCALYPTUS, and PEPPERMINT — to the water.
My "herb-y" recipe:
- Add 30 drops of each — LEMON, LAVENDER, and PEPPERMINT — to the water.
Tea Tree Oil and Eucalyptus are excellent air disinfectants, perfect for a bathroom! All citrus (lemon, lemongrass, grapefruit, lime ), Peppermint and Lavender are also very good air purifiers – not to mention they smell great!
Then just close and shake up your mixture to get it ready for misting.
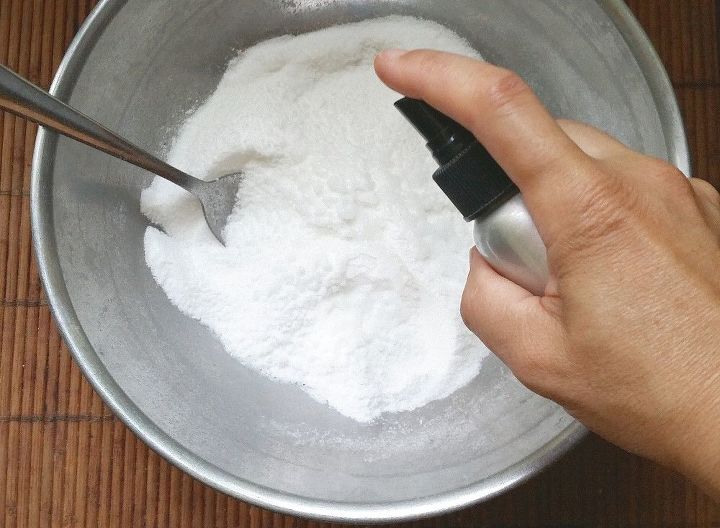
Step 6: Mist your mix
Start spraying the water & essential oils mix into your dry ingredients.
Spray a couple of times and mix with the tablespoon. Continue misting and stirring a few times until you see the texture changing.
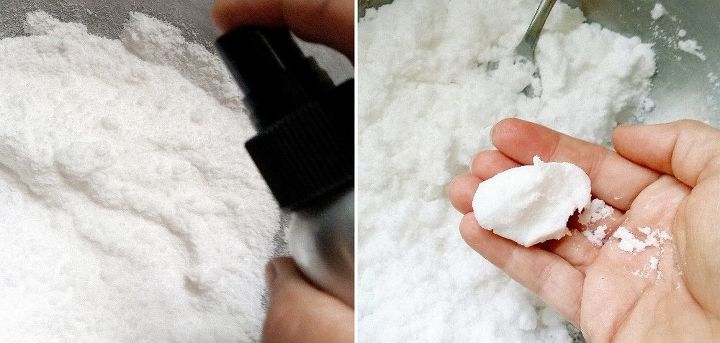
Step 7: Mix and mold
As you keep adding liquid to the dry ingredients, you’ll see small clumps forming. Continue stirring and misting until you've used 2/3 of the liquid in your bottle.
Now try molding it!
Get a small amount in your hand to make a fist. If it clumps well — it doesn’t need to be completely moist or wet! — it’s ready to press into the mold.
TIP: Wait a few minutes before you add additional water to your mix.
Keep in mind the ideal mix should be slightly dry, rather than a sticky paste.
The moisture will activate the citric acid and start a reaction between the citric acid and the baking soda.
CAUTION: If you add too much liquid, your mix will expand and start the fizzing now, instead of later.
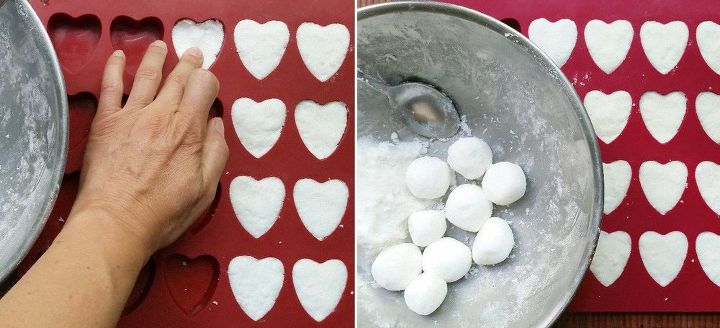
Step 8: Press into mold
With your mix ready, it’s time to pour into your mold. Silicone molds are best, since they’re easy to demold.
Pinch a small amount from your container and press into the mold. You may need to add a bit more to fill it to the top. Fill each one until you’re done.
TIP: Don’t have a mold handy? Use your hands to make small balls.
The mix yields a full mold, about 28 hearts. You can use half the amounts for a smaller batch.
Cover and let it dry for a few hours. You can wait up to a day or two, but keep in mind they won’t dry in the silicone mold.
Step 9: De-mold
Now, if your bombs are on the soft side they may be harder to demold.
But I have a little trick that I'll share with you: put your mold in the freezer for 30 min and try again. If still soft, keep them for another 1/2 hour.
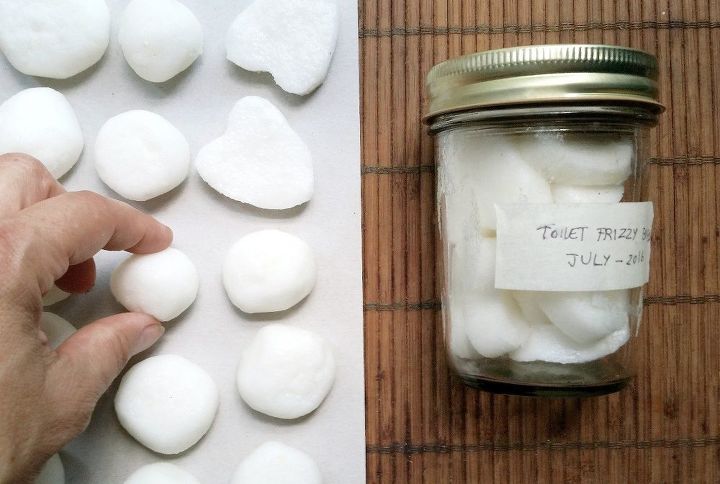
Get them out and demold right away!
So much easier, right?
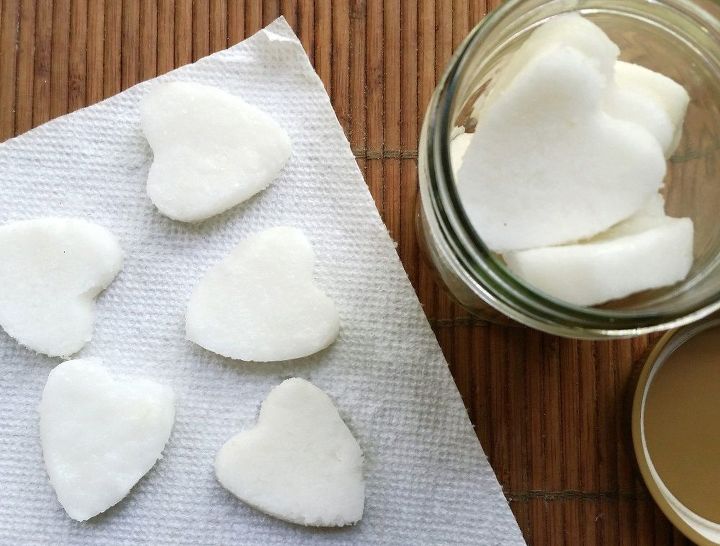
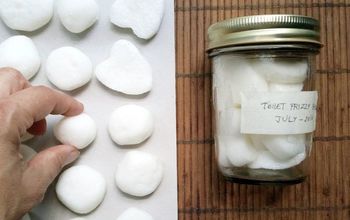
Store in a jar and label: put the name and date. You can also add the ingredients.
As it turns out, my bombs came up too moist. I’m going to close the jar and keep them in the fridge — it’s so hot (we’re having almost 100 degrees temps here!) that I’m afraid they’ll stick together.
Because they're cold, they may take a bit longer dissolving in the water.
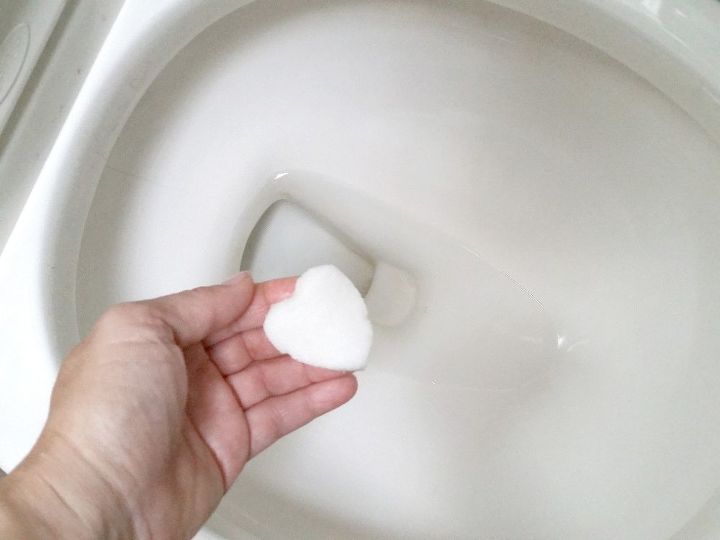
Drop one in your toilet right away to enjoy that fresh, glistening clean bowl!
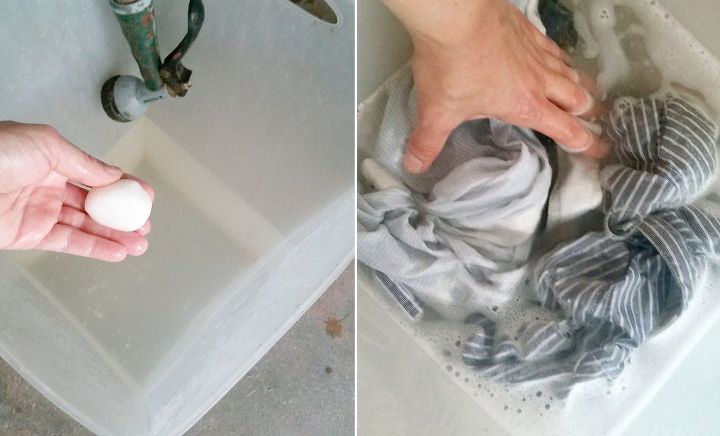
I added a couple of bombs to my laundry detergent, to hand wash a few delicate whites, but you can use them in your regular machine wash too.
TIP: If you’re doing whites, you can also add a 1/4 cup of white distilled vinegar along with your regular laundry detergent.
CAUTION: Though the bombs shouldn’t damage colors, you should try a hand wash with a color item first. Borax and citric acid may affect colors.
Enjoy!
Resources for this project:
See all materials


Comments
Join the conversation
-
I don't see when to add the citrus. It may be my eyes, but could you let me know if it goes in the water and essential oils? I really like the sound of these because we have so much calcium in our water that it causes ugly brown rings
-
The Citric acid (not citrus) is added in step 2.


Frequently asked questions
Have a question about this project?
Can these be used in a RV toilet.
Would it be possible to skip the molding step and keep this recipe in an airtight container with a scoop and then drop by scoopful into the bowl when you want?
How to get the glass in shower sparkling clean