


Basement Family Room Redo for Under $1000

Whats a 1957 house without a dark and dingy basement, right? After 5 years I decided that I desperately needed to redo our basement for the massive amount of toys our three year old son had accumulated. I enlisted the help of my husband to clear the family room out, mainly so he could be moral support if I came across a spider that wanted to attack me. Okay, so maybe I needed some muscle too.
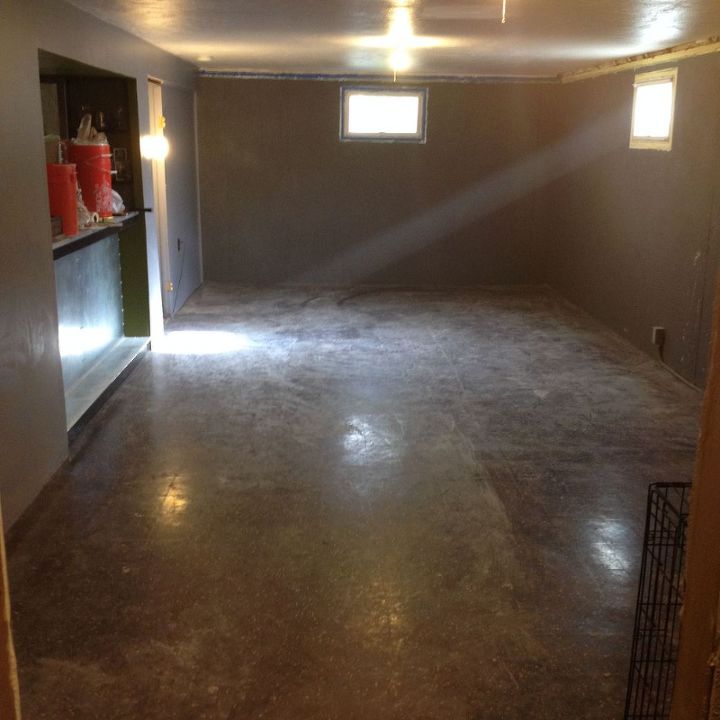
Here is the picture before I got started. When I see this picture it reminds me of everything I hated about our basement. I didn't take pictures but we did texture the whole room, which is really easy but the prep work is very time consuming.
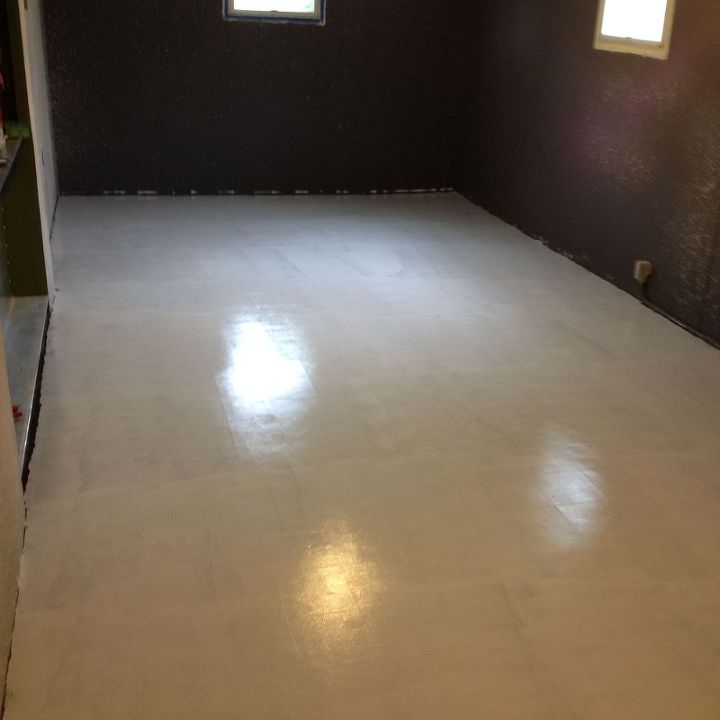
I cleaned the floor thoroughly, turned off the water heater and furnace and then added a coat of super amazing primer. By amazing I mean it allows you to paint almost any surface!
Once it dried I painted several coats of paint allowing each coat to dry prior to adding another. I love paint! I have a serious paint addiction. After that I applied Varathane crystal clear floor finish for high traffic floor areas. I applied five coats and of course each one was allowed to dry completely before applying another. I also turned off the water heater and furnace for the application of the Varathane.
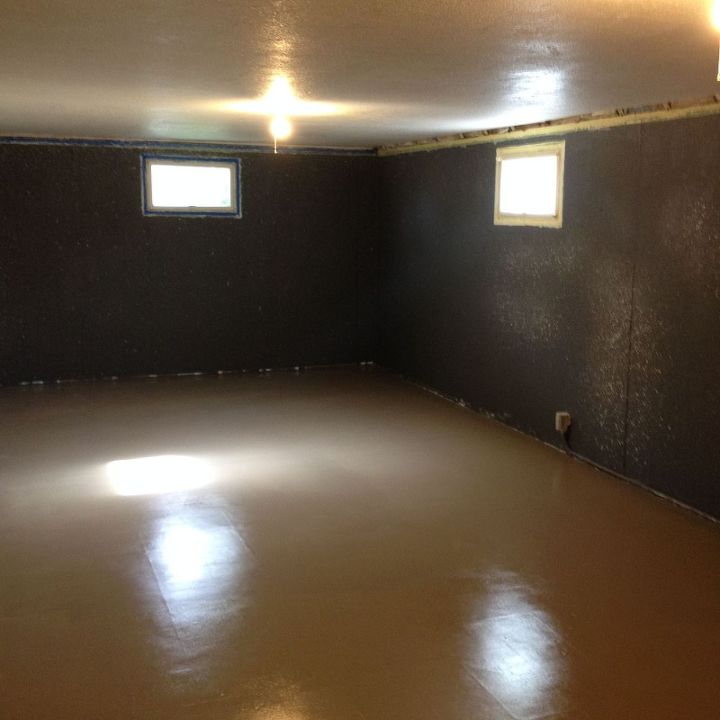
I then continued my paint addiction onto the walls. It started to lighten the room up, which really got me excited!
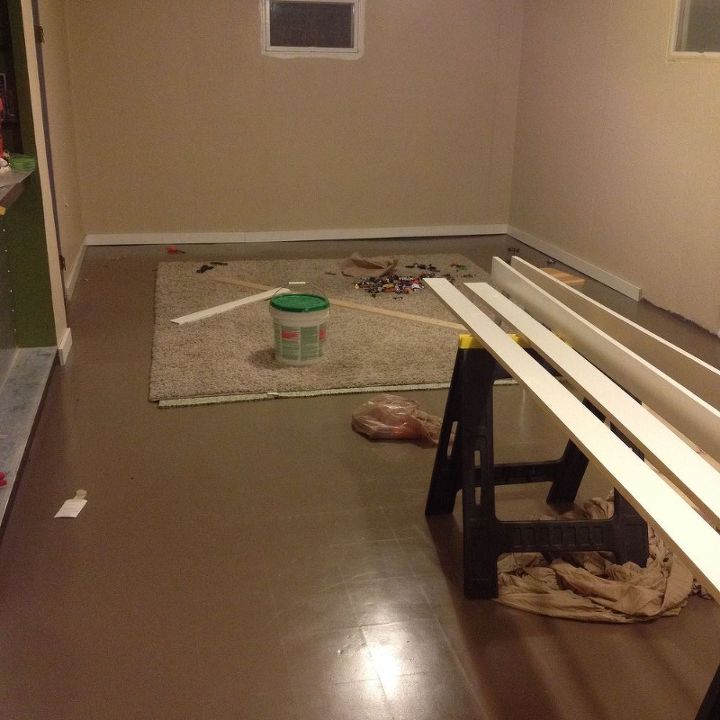
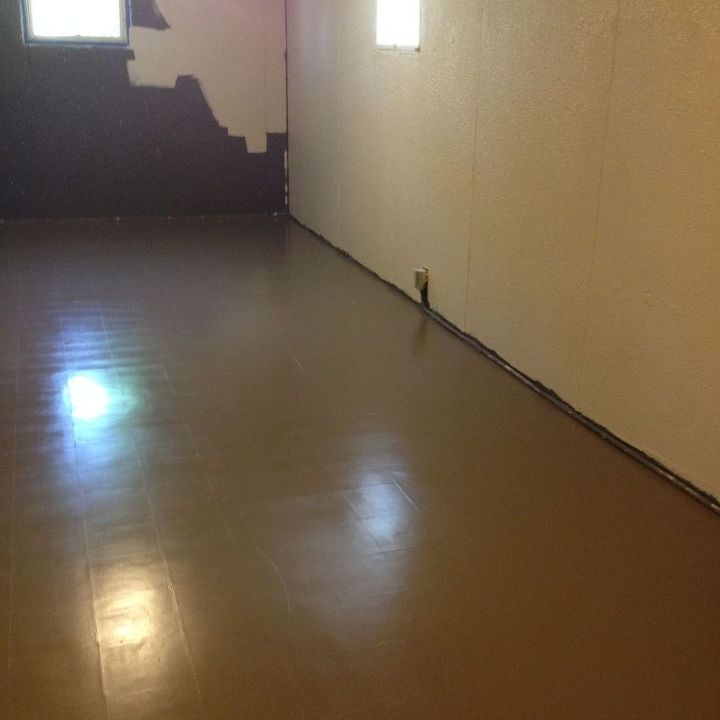
I decided to go with 1x4's as trim since the cost was less than actual baseboards. I painted them prior to putting them up. My son soon started taking the basement over with his cars. This had me a bit worried because I was doing this remodel with a broken foot, which was caused by one of the little hunks of metal. Anyhow, once I had the trim up I caulked it all and touched up the paint. I had to once again enlist the help of my husband when it came to the crown moulding since I was unable to hold a large section in place and maneuver the brad nailer. He was also very helpful in hanging the new light fixtures which gave us much more light and it no longer feels like a basement.
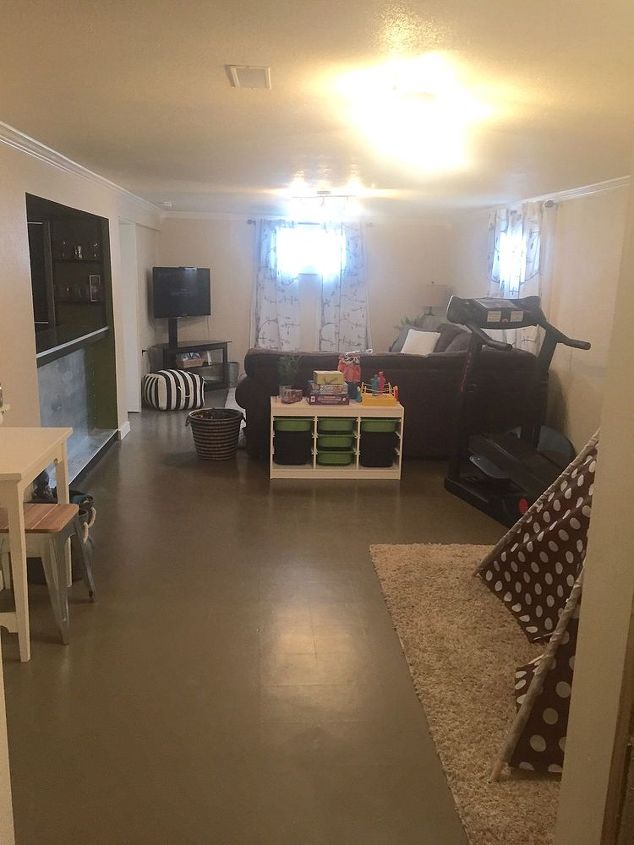
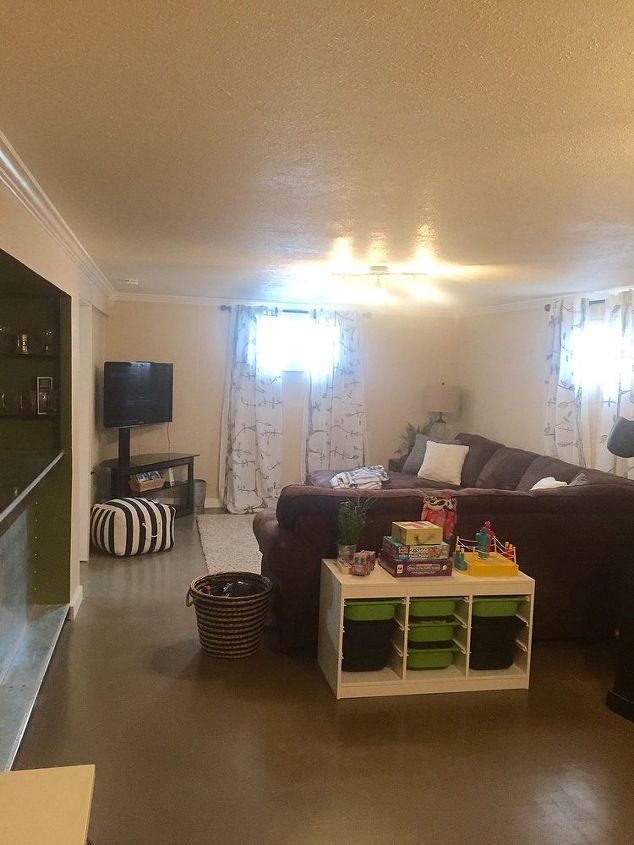
This is my current progress picture. I still have work to do on the bar which is located on the left, and I still need to decorate the space for it all to come together. I really enjoyed the challenge to come up with creative ways to extend a dollar in order to keep the cost under $1000. We already had all the furniture so I had no expense there, just the challenge of trying to make it all work in the space.
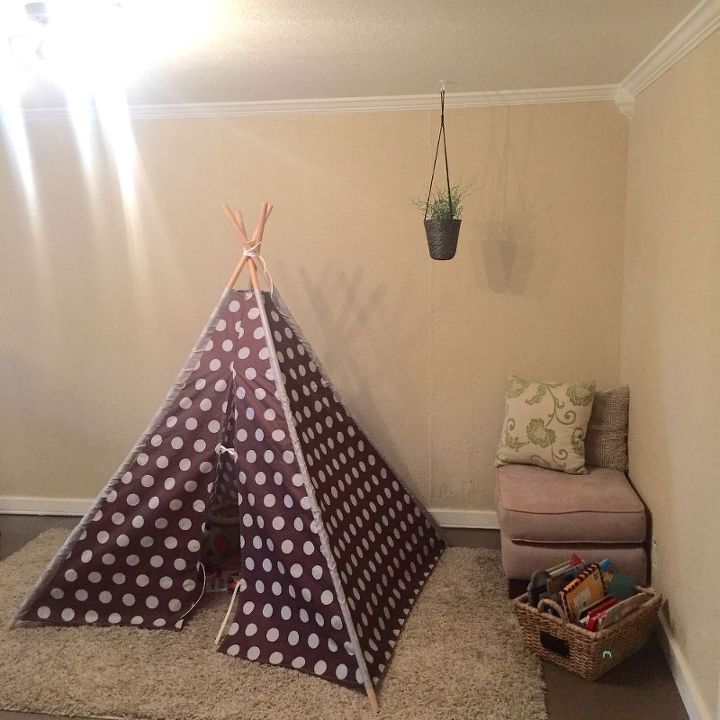
Here is my sons reading nook and hiding space which is really nice to give him his own space to hide in. I can't wait to add the finishing touches and then it will be off to find another project.
Comments
Join the conversation
3 of 5 comments
-
Awesome!
-
Just saw this. The room looks great and loved reading your post! Have you posted anymore?


Frequently asked questions
Have a question about this project?