


Candle Decoration
Addictive Candle Makeovers
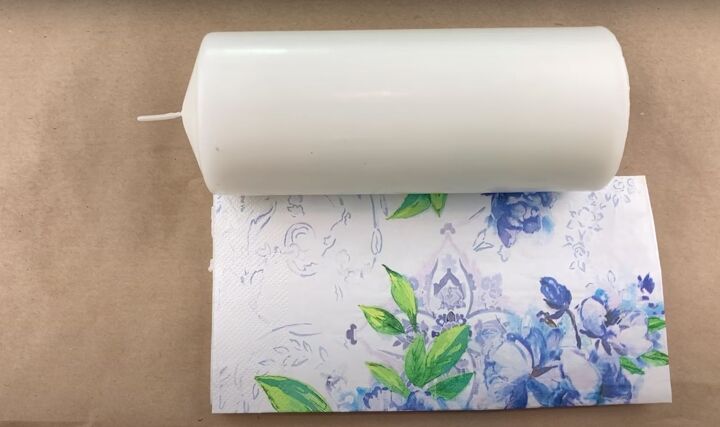
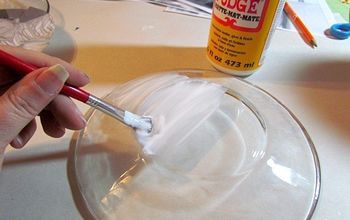
Today I want to show you how to take a white pillar candle and a paper napkin and make a candle decoration.
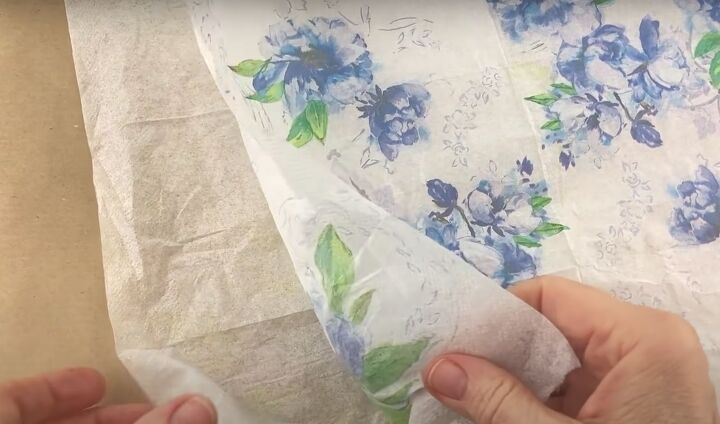
For this quick and easy project, the first thing I did was to separate the layers of the napkin. You only want the top patterned layer so you can use or recycle the rest. Most napkins have three layers, one patterned and two white layers underneath so you want to very carefully pull them apart.
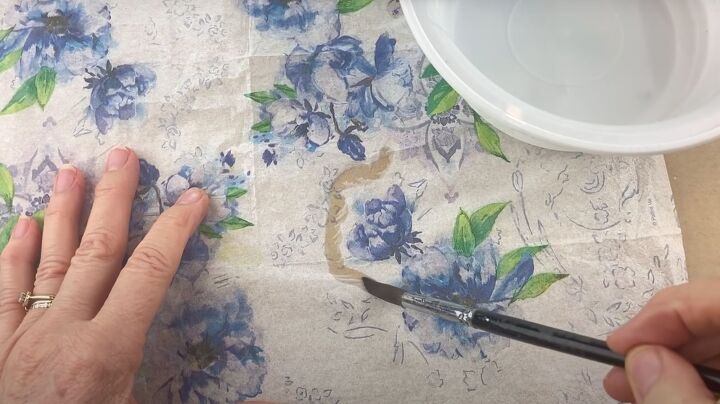
For the first candle, I used a very soft artist, paintbrush, and some clear water to separate the flower that I wanted to use by drawing a line around it. Since the napkin I used had quite a lot of white on it, I decided to separate the images and use what I wanted.
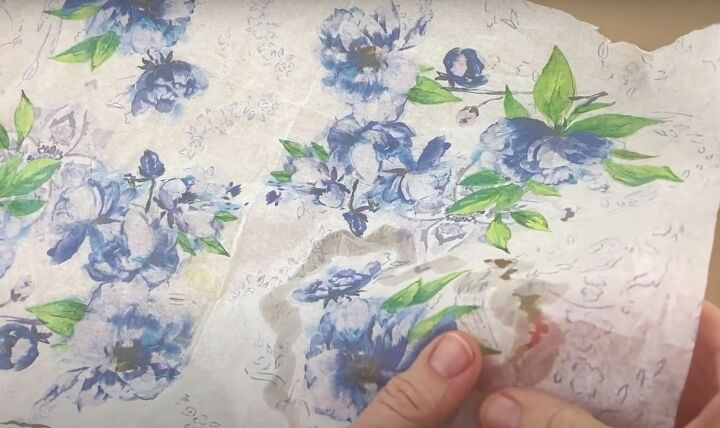
Then, very carefully, I separated the part of the napkin that I didn't want by pulling it away. Doing it this way gives the picture a very, very soft feathery edge. If I had cut it, I would have had a very sharp edge that looked too severe to me. You won’t be able to see how beautiful the edge is until the candle is lit.
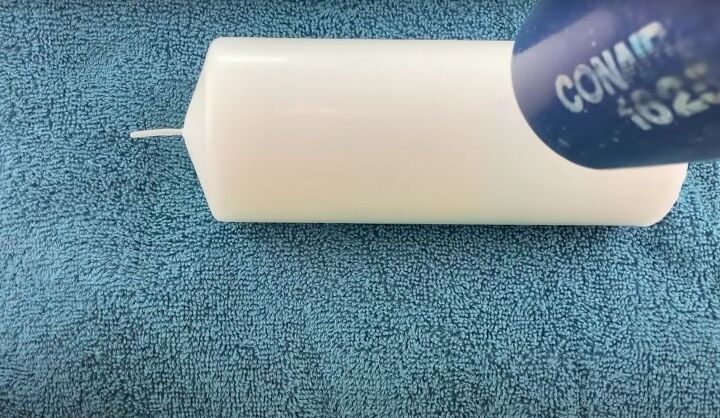
Once I had the flower I wanted, I used my hairdryer to warm up the candle wax.
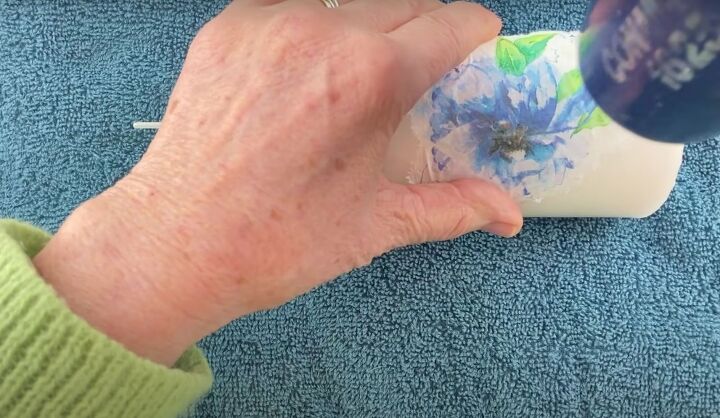
Then I took the little bit of napkin, placed it on the warmed-up candle, and then turned on the hairdryer again.

The hairdryer warmed up the wax of the candle and help the napkin in place perfectly. After only a short time, it was completely stuck to the candle. As the wax melted underneath as I heated it, the wax came through the paper and left a waxy surface on top of the tissue. When it dried, it felt like part of the candle.
The second way I decorated the candle was to use the entire napkin. Again, I only wanted to use the top, patterned layer so I worked out the size that I needed by laying the candle over the napkin.
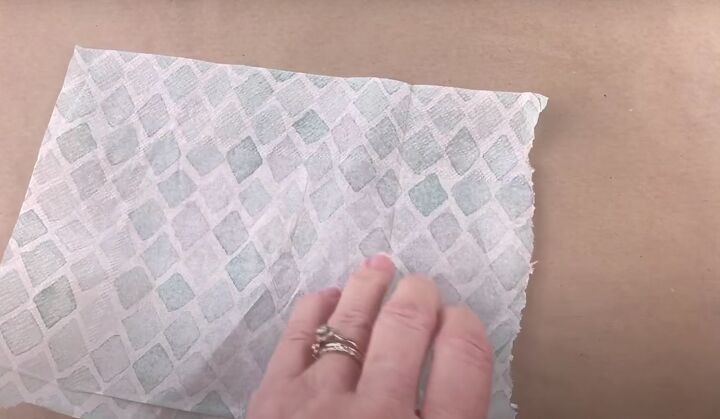
I used the water method to remove the edges.
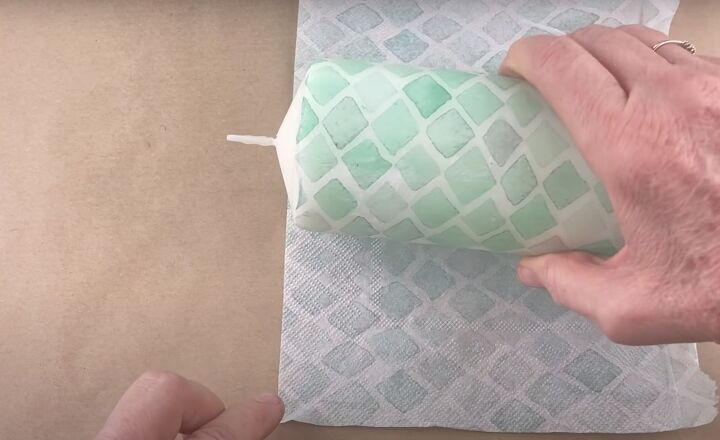
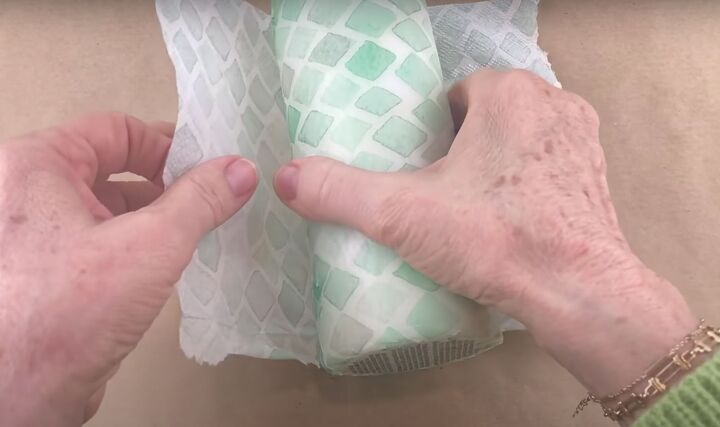
Then I warmed up the entire candle with the hairdryer and lined up the straight edge of the napkin with the top edge of the candle.
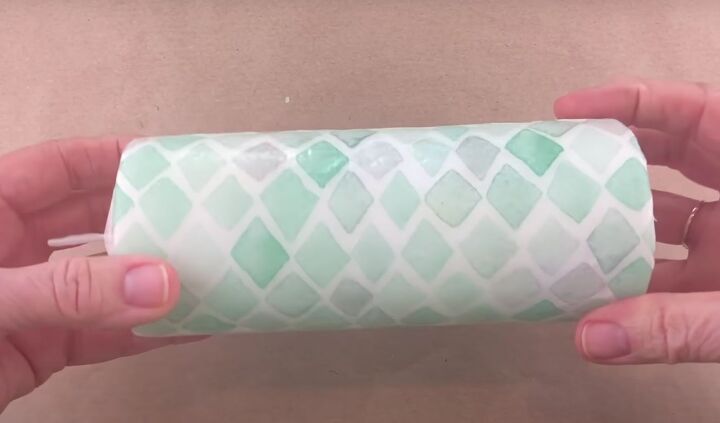
With the napkin lined up, I turned on the hairdryer again and once it was dry, it was all waxy like it was part of the candle.
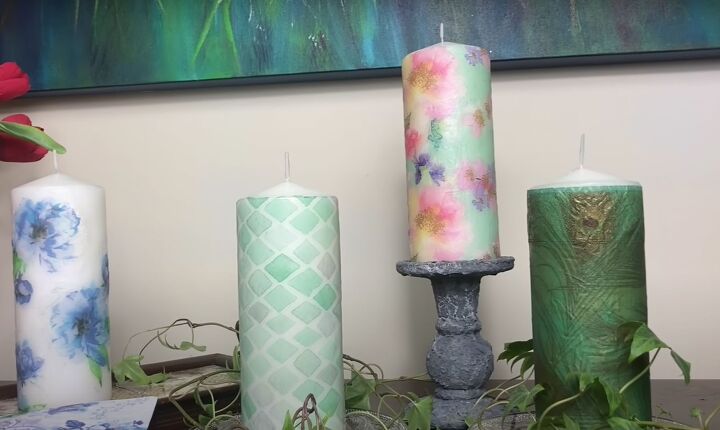
Here are some more candles that I decorated and I have to warn you that it’s very addictive. Imagine how impressed your guests would be if you had a candle decorated to matched your napkins! Pretty cool. I hope you've enjoyed this episode and I have inspired you to have a go.


Comments
Join the conversation
-
Separating the top patterned layer of the napkin and using a soft artist paintbrush with clear water to create that feathery edge is a neat technique. It's true, sometimes the softness of the edge can make a big difference in the overall look when the candle is lit.Your method of using a hairdryer to warm up the candle and adhere the napkin is quite clever.If you're passionate about candles and love trying out new ideas, you might find some fantastic candle options and inspiration at candlelore.com. They have a variety of candles that could complement your creative projects.
-
It is a game changer!


Frequently asked questions
Have a question about this project?
Does the paper napkin eventually burn causing a fire hazard?
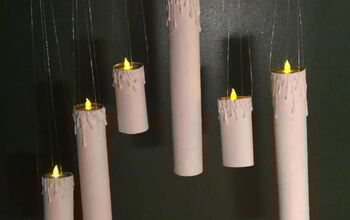
Could this be used on flameless candles?