


Natural Bug Repellent Candles
Are those pesky bugs driving you crazy yet? How about giving our Bug Repelling DIY candle! Made with simple ingredients like soy wax and essential oils, this tutorial is fun, simple, and easy enough to do with kids. They make for both a useful and cute addition to your outdoor space.

As you probably already know if you follow several of our projects already, we love using essential oils. You can tailor scents to what you like, you don’t have to worry about toxic ingredients in your home, and if you’re sensitive to chemicals you might breathe easier.
In our research about what oils repel flying insects, we found that they can’t stand citruses such as sweet orange, grapefruit, lemon, and lime. They also tend to stay away from scents such as lavender, peppermint, eucalyptus, tea tree, and more. Most of the oils listed above are very common to have in your home.
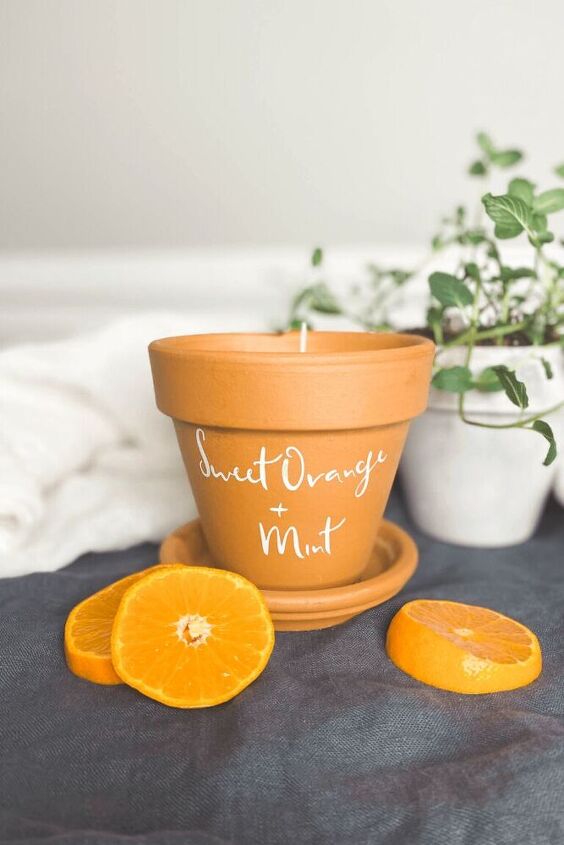
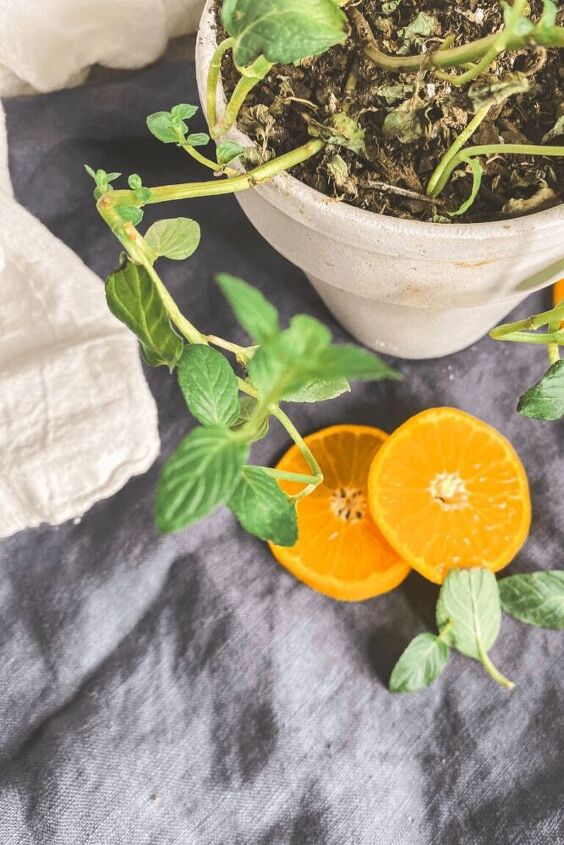
For this set of terracotta candles we’ve chosen two different combinations: Lavender + Eucalyptus and Sweet Orange + Mint!
You'll need: 5 cups of natural soy wax, candle wicks, 30 drops each of your choice of essential oils, terracotta pots, a pouring pot, a saucepan, a hot glue gun, and cardboard

Step 1:
After gathering your supplies, measure out 5 cups of natural soy wax. For measuring purposes, 10 ounces (weight) of soy wax is equivalent to 8 ounces of fluid volume.
Step 2:
Place a large saucepan with 2-3 inches of water over medium heat on the stove, add the wax to your pouring pot or a pot you are okay getting wax in.
If the water starts boiling turn it down to low. Add the wax and let it melt for roughly 10 minutes or until it gets to roughly 185 degrees (use a cooking thermometer to determine the temp).
Step 3:
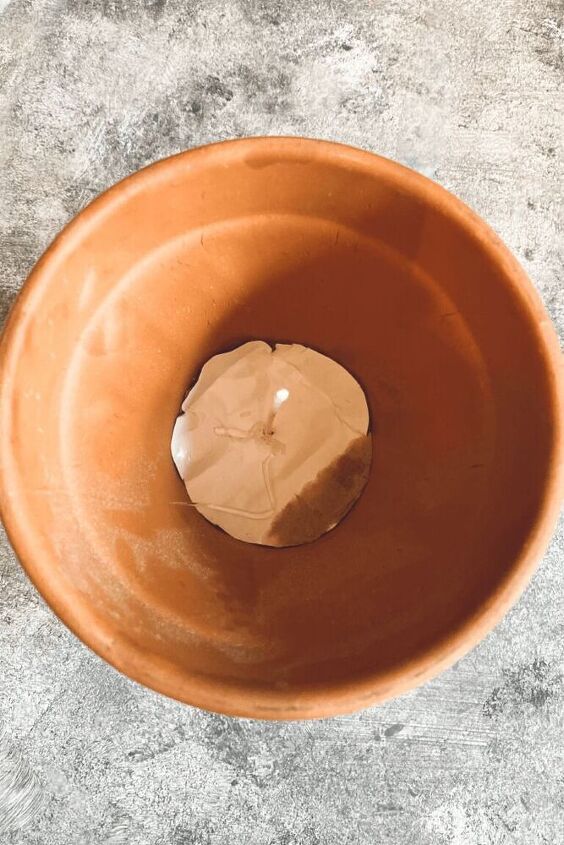
While your wax is melting take a hot glue gun and glue your pot to it’s matching saucer, then glue your candle wicks to the bottom of your terracotta pot or other chosen container.
Step 4:
Trace the bottom of your container on a piece of cardboard and cut out a circle that will fit the bottom of your container, as well as through your wick. Hot glue it to the bottom of each pot or container.
The reason we have you do this step is to ensure that the hot candle wax won’t seep through the hole at the bottom of the pot and on to your saucer… Yes, we made that mistake the first time we made these 😉
Step 5:
Once the wax reaches 185 degrees, add 30 drops of each essential oil you plan on mixing. We used 30 drops of Lavender and 30 drops of Eucalyptus essential oils for our first candle. For the second candle, we used 30 drops of Peppermint and 30 drops of Sweet Orange essential oils. However, it’s totally up to you on how much you decide to use.
Step 6:
Wait a minute or two to let the wax cool to roughly 120-130 degrees and slowly pour the wax in your jars.
Sometimes the heat of the wax can make the wicks move, so take a piece of scotch tape, slice a little hole and gently pull the wick through and tape it to either side of your pot to hold it in place while the wax dries.
Step 7:
Let the candles dry overnight. Cut the candle wicks to 1/4 inch above the wax.
Step 8:
Download and print our adorable candle labels from our Resource Library! You can cut the labels out with a vinyl cutter like the Cricut or silhouette, as we did, or use an Exacto knife to cut out the labels and modge-podge it to the pot.
And you're done!
Resources for this project:
See all materials


Frequently asked questions
Have a question about this project?
Do you have to use soy wax? Can you melt down old left over pieces of candles?