How to Make DIY Christmas Centerpieces With Dollar Tree Items

Today, I'm going to show you how to make a DIY Christmas centerpiece using things you can easily find at the Dollar Tree. A gorgeous festive centerpiece doesn't have to be expensive or time-consuming to craft.
This is such a great project that begins with some easy-to-find Dollar Tree items.
This post was transcribed by a member of the Hometalk editorial team from the original HometalkTV episode.
Hometalk may receive a small affiliate commission from purchases made via Amazon links in this article but at no cost to you.
Tools and materials
- Tray
- Hot glue gun
- Floral foam
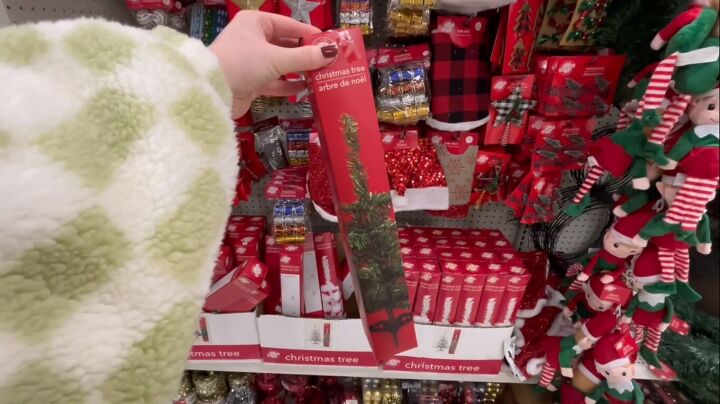
- Mini Christmas trees
- Wire cutters
- Festive picks
- Ribbon
- Scissors
- Floral wire
- Ornaments
How to make a Christmas centerpiece
1. Stick foam to a tray
Using a hot glue gun, apply a generous amount of hot glue to the tray.
Then, stick a piece of styrofoam down onto the tray.
2. Stick the Christmas trees into the foam
After your styrofoam is secured to the tray, you can open up your trees. Take out your tree and fluff the branches. You want to keep one side of the tree rather flat and fluff up the branches toward the other side.
Next, you're going to take the first tree and stick it into the side of the styrofoam. You can add a little bit of hot glue around where the trunk of the tree enters the styrofoam. Now, set this aside.
You're going to open up the third and the fourth trees and use a pair of wire cutters to cut off each of the little branches from the trunks of those trees.
When you have finished cutting all of the little branches off, you can bring your silver tray with the first two trees back and begin building up your centerpiece with those branches.
The branches from the trees are on wire, stiff enough that they will poke right down into the styrofoam securely. Arrange the branches in the styrofoam in a shape that fills in the space between the two trees on the end.
3. Add festive picks
Now is where you get to have some fun and personalize your centerpiece. I found these cute little gold bird nests with gold eggs in them and some red and gold sparkly poinsettias to use.
Just cut the wires of whatever picks you choose to add to your centerpiece and stick the wires down into the foam to secure them.
4. Add ribbon
I used just a little bit of this red gold ribbon, cutting short pieces and folding them into loops.
Secure each loop with a piece of floral wire and stick the wire into the foam.
For the ends of the centerpiece, I cut a long piece and again wrapped a piece of floral wire around the end to secure it into the foam and I had a ribbon tail at each end.
5. Add ornaments
Finish off your arrangement by adding some Dollar Tree Christmas ornaments wherever you want a little more color.
DIY Christmas centerpiece using Dollar Tree items
There you have it, a beautiful holiday centerpiece that no one would guess began as Dollar Tree Christmas trees. I hope this has inspired you to try and make your own Dollar Tree Christmas tree centerpiece this season.
Let me know what you think of this project in the comments below.
Enjoyed the project?

Comments
Join the conversation
-
Just loved the results, thanks for sharing this lovely item.
 Sheryl Monaspa
on Nov 17, 2023
-
-
I'm curious: What did this centerpiece cost you using Dollar Tree items? I understand that Dollar Tree now charges $1.25 each for most items.
 Mary Rose Teves
on Nov 19, 2023
- See 1 previous
-



















Frequently asked questions
Have a question about this project?