


Reinvent Old Salt & Pepper Shakers
6 Materials
$5
1 Hour
Easy
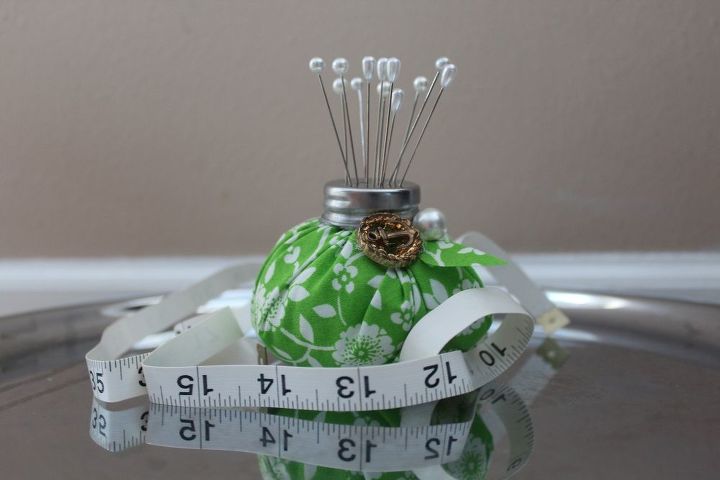
I want to share multiple ways to repurpose and reinvent old salt & pepper shakers with you today! This first one uses only the cap and is a clever way to store your sewing needles or push pins. Roll fabric into a tight ball and the hot glue a salt & pepper shaker cap on it. Embellish and enjoy your new sewing pin cushion!
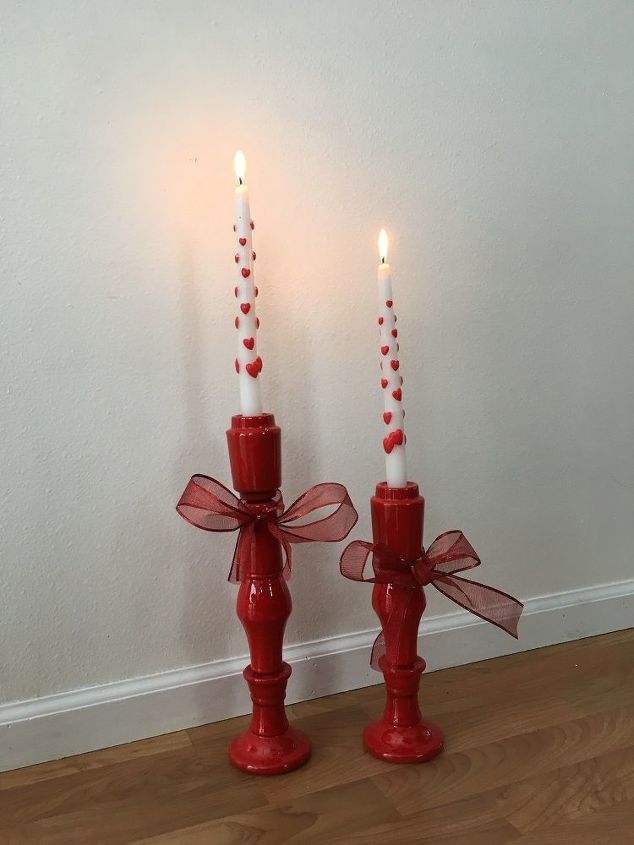
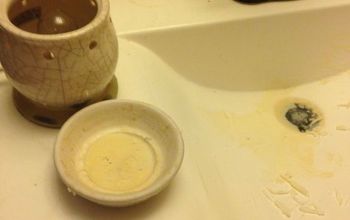
The next idea is for Valentine's day. Use hot glue or E6000 to connect multiple ceramic salt and pepper shakers together. Hit it with spray paint and you have made a unique candlestick! I did mine Valentine's Day themed.
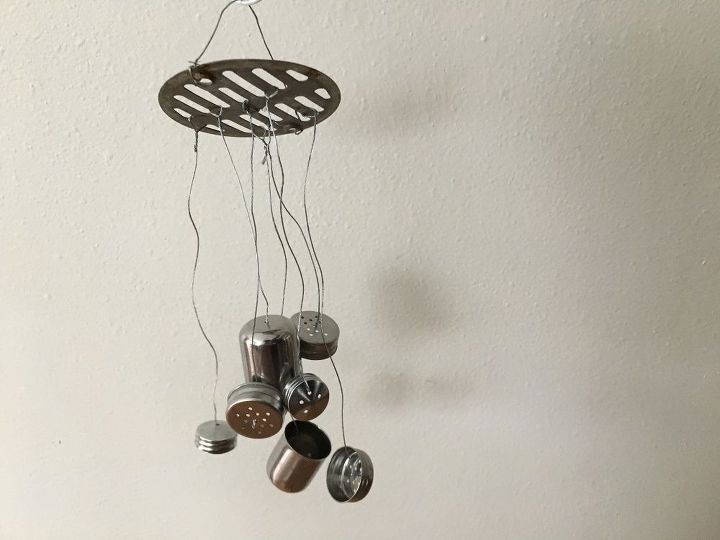
Here's a cool idea for metal salt and pepper shakers and their caps: string them with wire and hang as a windchime! I actually used a shower drain cap for the top...they make a beautiful and delicate sound!
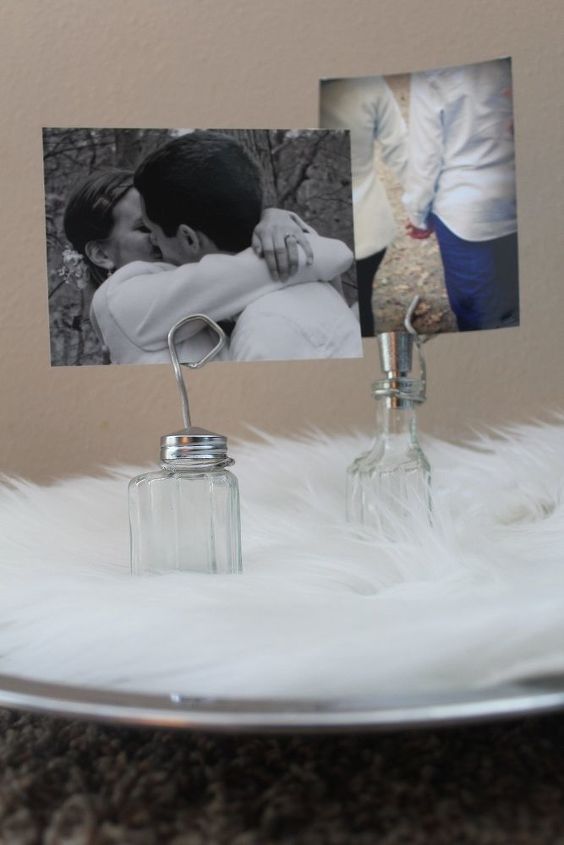
You can also use salt and pepper shakers as weighed photo holders. This idea would be perfect for a centerpiece at an anniversary party because the vintage shakers look so classy. Simply bend wire around the top of the salt and pepper shaker and bend the end of the wire into a circle.
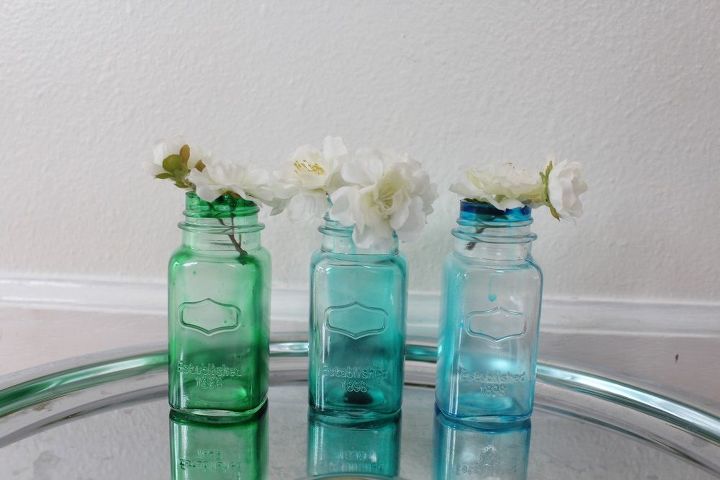
Tint glass salt and pepper shakers using just food coloring and mod podge to create adorable little bud vases! Simply combine 1 TBSP mod podge, 1 tsp water, and 40-60 drops food coloring into a smooth mixture. Coat the inside of the glass and let the excess run out for 5 minutes. Then place on parchment paper lined cookie sheet in a 200-degree oven for 15 minutes. Take them out and flip them right side up. Wipe the excess off the top ring. Bake for an additional 20 minutes and you're done! They are not food safe.
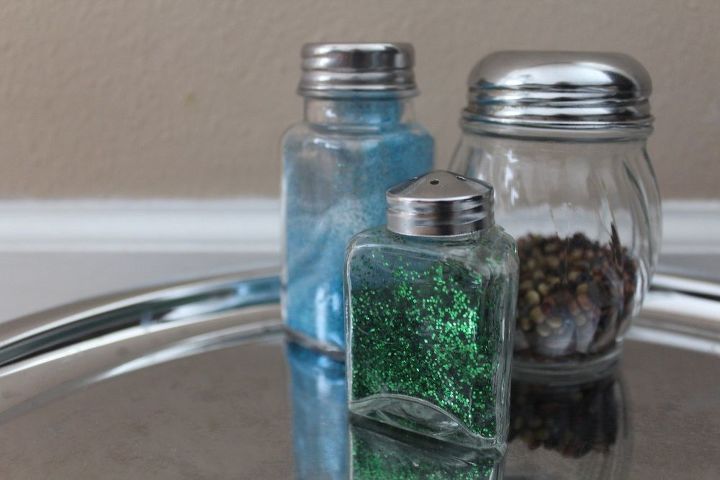
Another great idea for your salt and pepper shakers is to organize craft supplies like glitter, beads, toothpicks, or needles in them!
There you have it! I hope some of these ideas inspired you to repurpose your old salt and pepper shakers instead of dropping them off at the thrift store.
I like giving old things new life. Click to see what to do with old boxes and how to repurpose an entertainment center.
Resources for this project:
See all materials


Any price and availability information displayed on [relevant Amazon Site(s), as applicable] at the time of purchase will apply to the purchase of this product.
Hometalk may collect a small share of sales from the links on this page.More info

Want more details about this and other DIY projects? Check out my blog post!


Frequently asked questions
Have a question about this project?