


Santa Cookie Plate Tutorial
5 Materials
$10
2 Hours
Easy
This Santa cookie plate is inspired by the movie Elf with Will Farrell. We had some family photos taken and my daughter made some silly faces in some of the photos. The excited look on her face reminded me of when Elf get's excited about seeing Santa in the movie and shouts out "OMG SANTA!" I used a photo, a clear plate and some basic craft supplies to make this cookie plate.

Start by using photos editing software to remove the background of your picture. I use PicMonkey. I did this to save printer ink since we are only using the face portion of the picture and the background will be discarded.
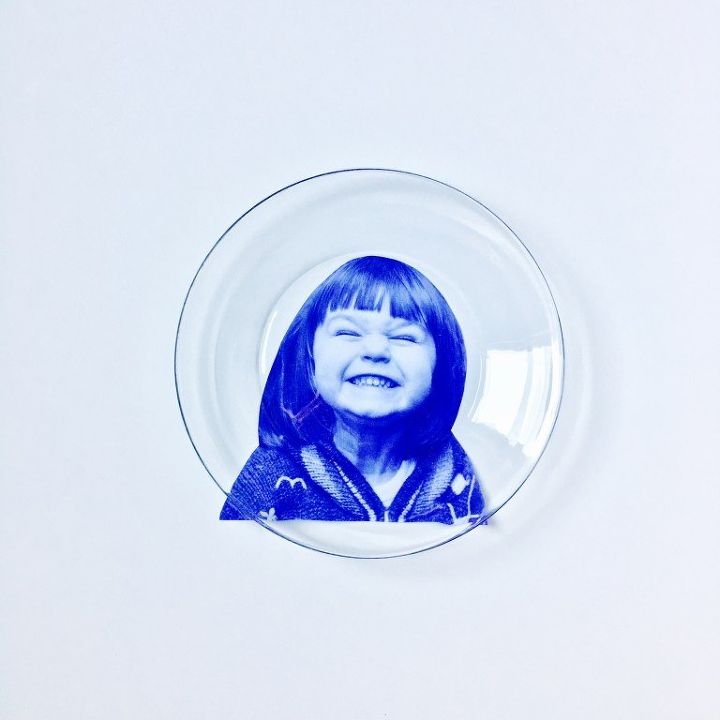
The printer printed it with a blue cast. I trimmed around the head and shoulders to clean it up a little. Place the picture under the clear plate to make sure it fits. Trim more if necessary.

Flip the plate over and arrange the photo face down. Plan out where you would like to paint on the text.
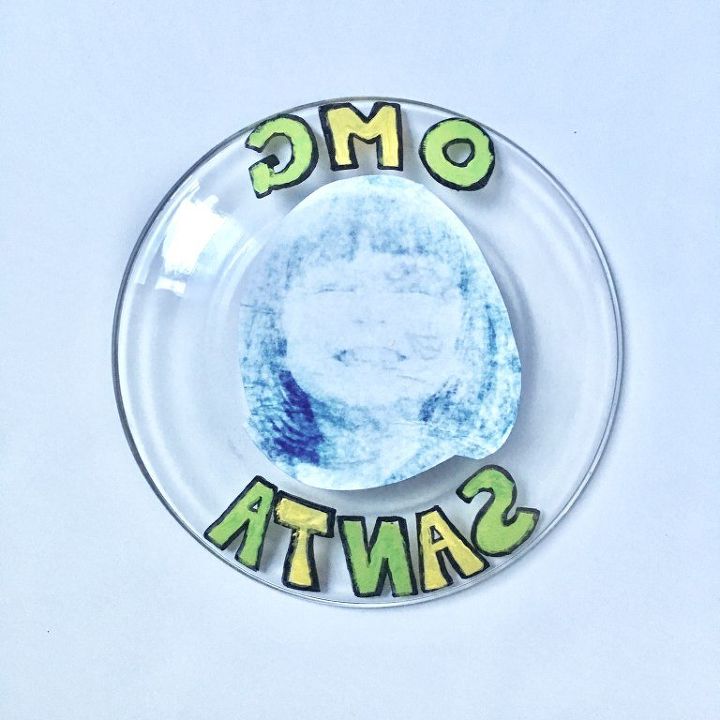
Write the words backwards with permanent marker on the back of the plate. When the marker is dry paint the inside of the letters. Use modge podge to decoupage the picture to the back of the frame.
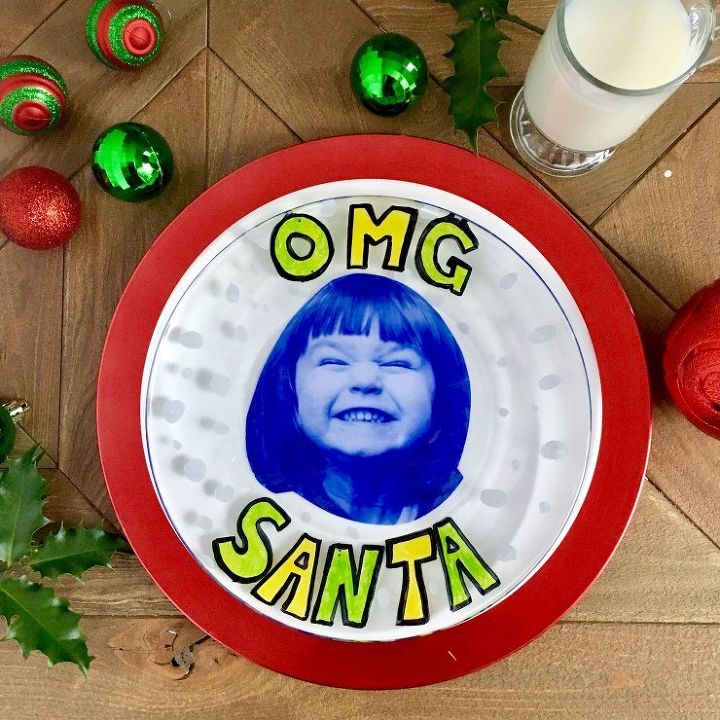
Paint white dots on the back of the plate to look like "snow". Let it dry completely and flip it over. Place it on top of a charger and it's ready for Santa's cookies. Wipe clean on the glass side of the plate only. Do not place in the dishwasher.
Resources for this project:
See all materials


Any price and availability information displayed on [relevant Amazon Site(s), as applicable] at the time of purchase will apply to the purchase of this product.
Hometalk may collect a small share of sales from the links on this page.More info

Want more details about this and other DIY projects? Check out my blog post!
Comments
Join the conversation
2 of 3 comments
-
Super cute! Will make a great memory.
-
Adorable! Santa won't be able to resist!


Frequently asked questions
Have a question about this project?