


DIY Spooky Halloween Village
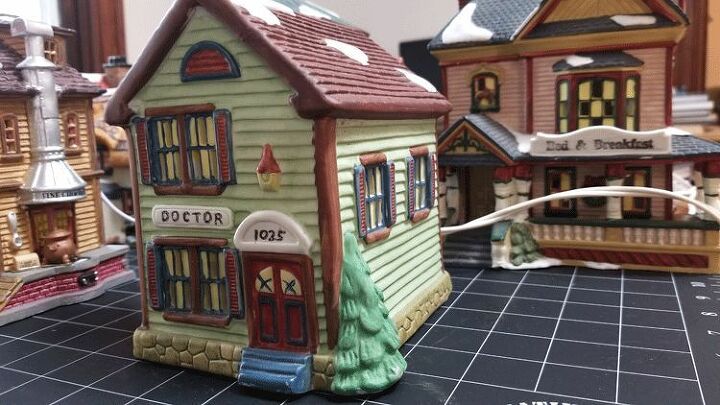
I used to love my Christmas village set but I hadn't used it in a long time. They were cheap and looked the same. So, I decided to transform it into a haunted Halloween village.
I needed more decor for Halloween and this seemed to be the perfect solution!
This was such an easy process and was very inexpensive since I had all of supplies on hand and I already had the village pieces.
The first thing I did was to remove all of the corded bulbs from the pieces.
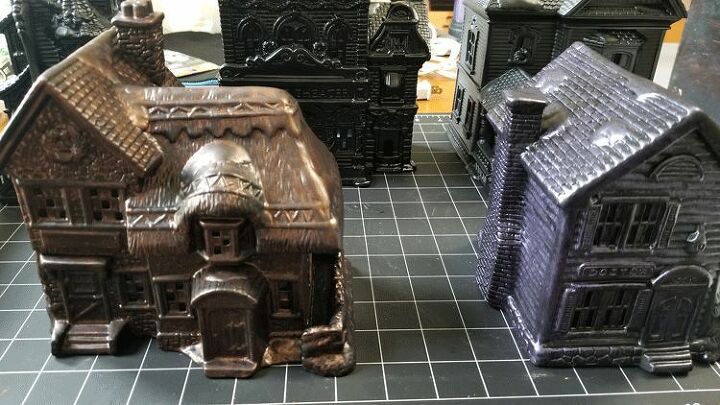
Since they had been stored for a few years I gave them a quick clean up before I painted them.
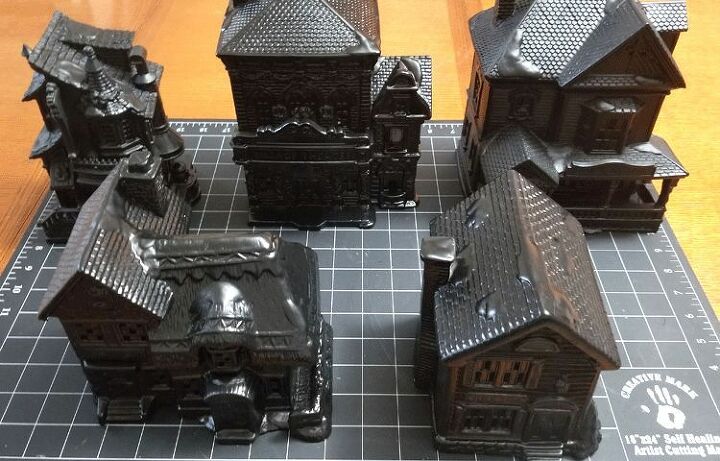
I sprayed them all black but I used different finishes. Some were flat black, a couple were satin finish and I even used a glossy finish. I just wanted to see if there was a difference in the end.
Spoiler alert: There was really no difference so use the type of finish you have on hand. Or just purchase one kind.
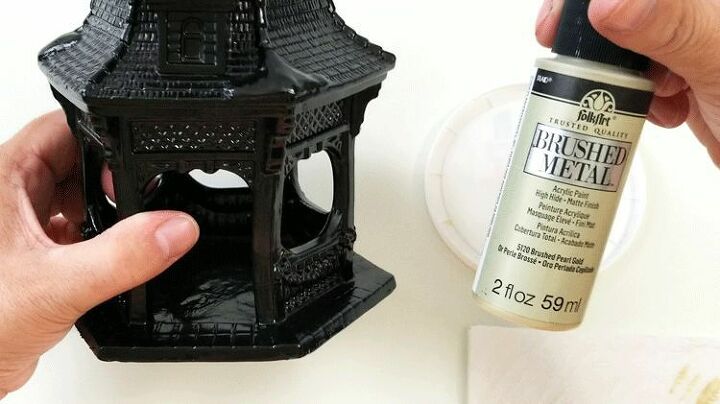
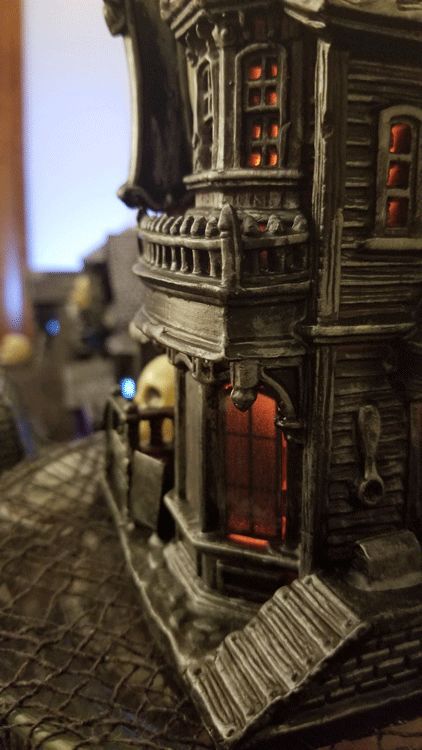
Once the black spray paint was completely dry I used some different colors of metallic or (affiliate link) brush metal paint to give them an old look and some detail.
This is a dry brushing technique. Use a dry brush and a small amount of paint to achieve the look you want.
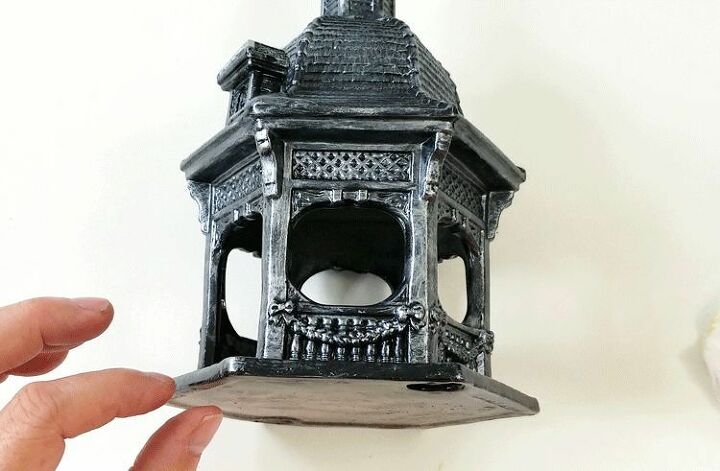
Add as much or as little paint as you like. This was what one of my pieces looked like when I finished the dry brushing.
I used some purple, copper and gold metallic paints on the different pieces.
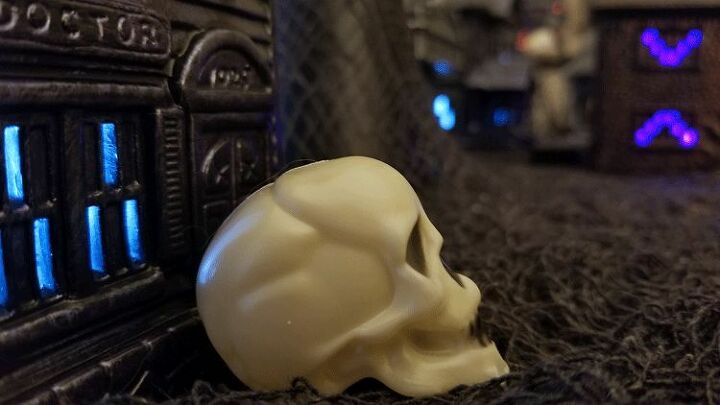
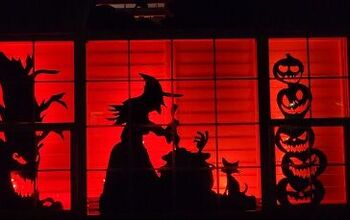
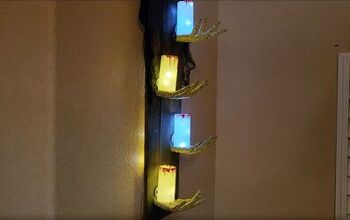
When the dry brushing was done, I added in some Dollar Tree battery operated lights with orange, yellow, purple and clear bulbs.

Isn't it fun? I love the way it turned out. It's not cutesy like the Halloween villages I see in the stores. It is spooky and haunted looking.
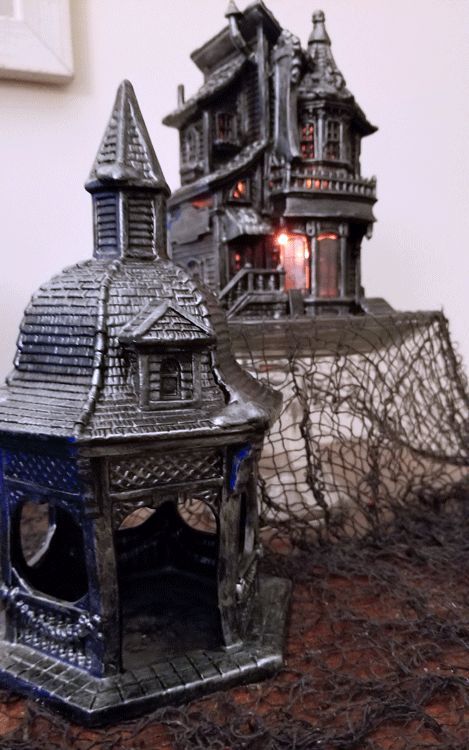
What do you think? I hope you will try this. I just love the way it turned out.
If you like this project you will probably like all of the of the projects I create on my blog. Sign up for my email/newsletter and you can get access to my free resource library full of printables, cut files and more.
Check out the short video at the top of this post to see the Halloween Village process and subscribe to my You Tube channel. Also hit the notifications bell so that you area notified each time I post a new video.
Resources for this project:
See all materials


Comments
Join the conversation
-
I love it! Half of my Christmas village stuff stays boxed up because I have so much and not enough space to put it all out. Im definitely gonna try this this Halloween. Thank you for sharing, It looks great!


Frequently asked questions
Have a question about this project?