


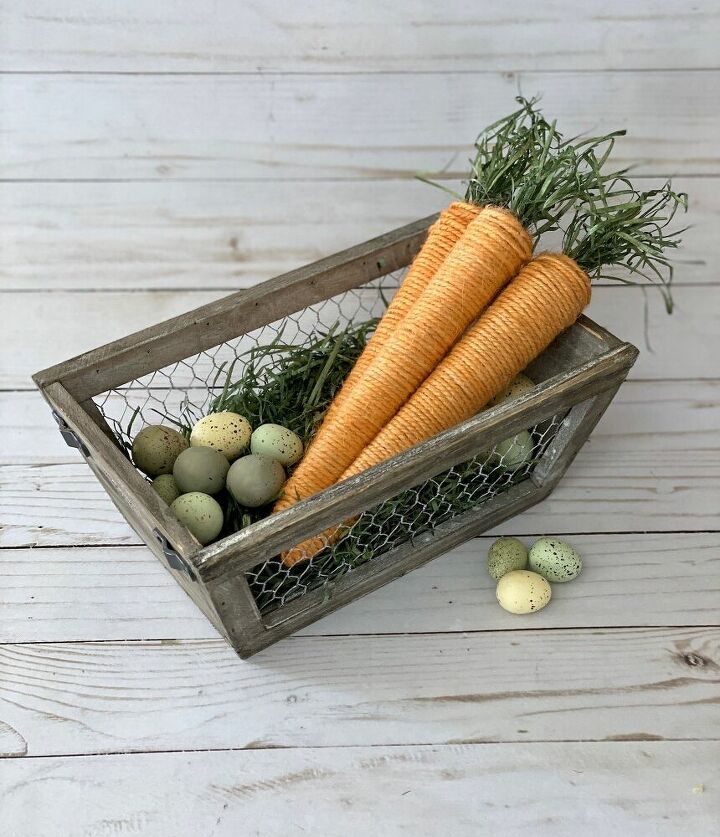
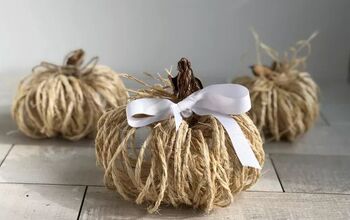
DIY Twine Carrots
I’ve been adding a lot of natural elements to my spring decor this year. I wanted to make some twine carrots but I couldn’t find orange twine locally. I ended up dying some myself (vinegar, water & food coloring) and I love how my carrots turned out!
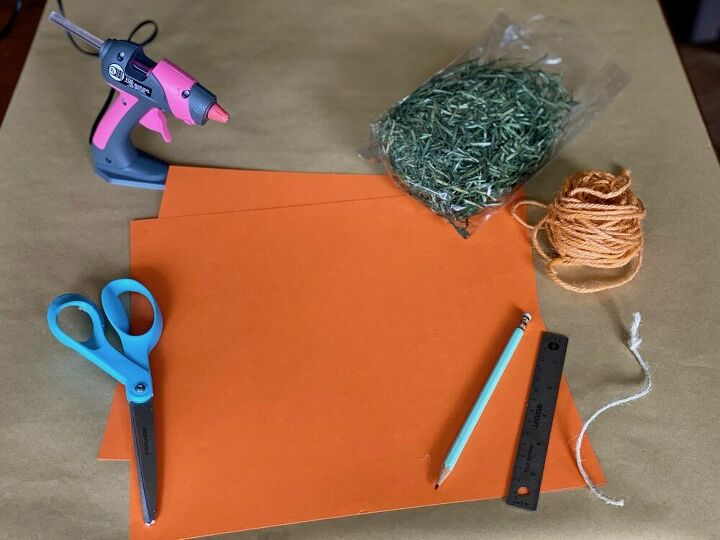
- Orange cardstock paper
- Faux grass
- Orange twine
- Tape/scissors
- Pencil/ruler/string
- Paper towels
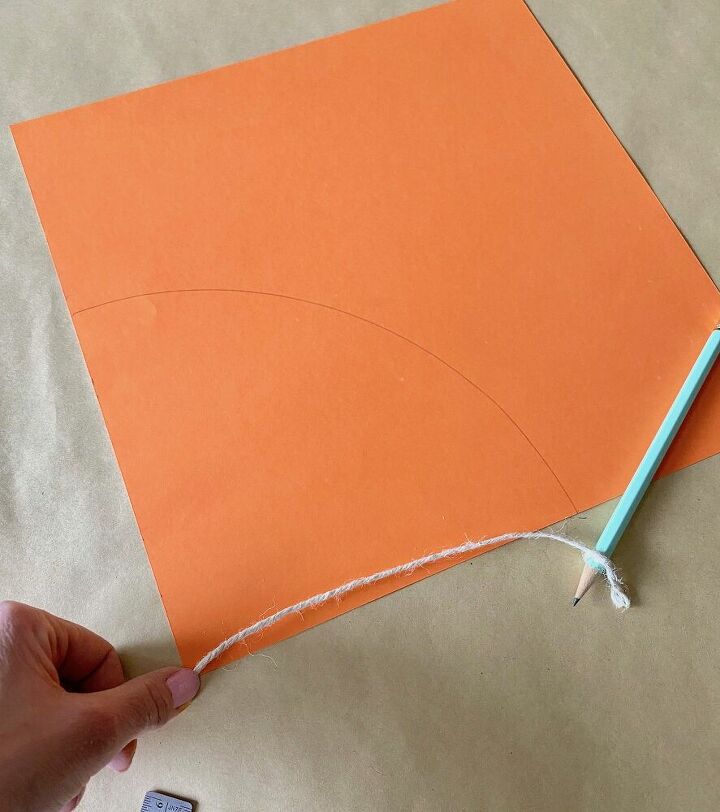
I started by making a 6″ cone out of orange cardstock paper. You could probably use any color but I wanted to downplay any spots that could show through the twine. To make a cone, I measured out a 6″ piece of string and tied one end around a pencil. Holding the other end of the string down with my thumb at the corner of the paper, I drew an arch from one end of the paper to the other.
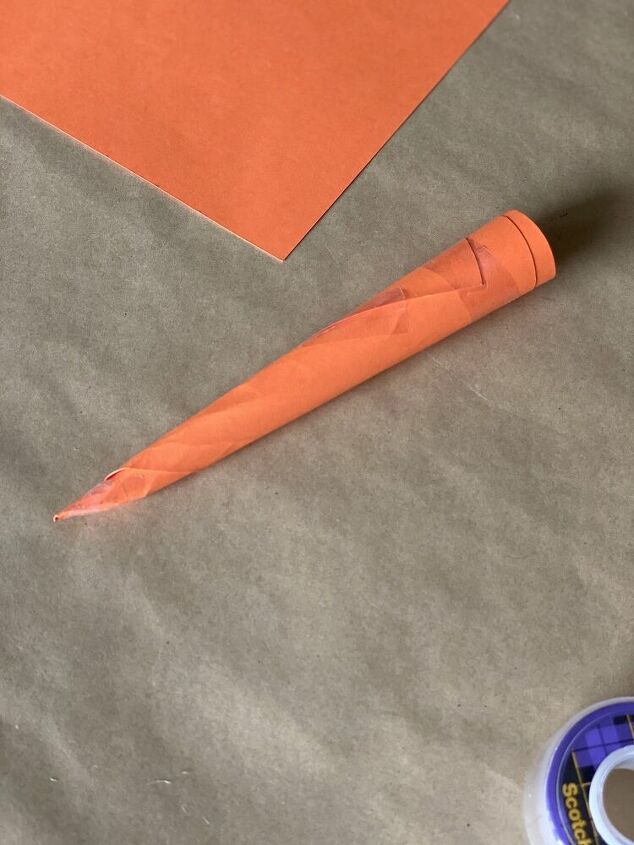
Starting with the tip, I made it overlap before rolling the paper into a carrot shape, using tape to secure it as I went. I put a couple fingers into the base of the cones and kept twisting so it would get smaller. This takes a few tries but just manipulate it as much as you can into a carrot shape, Hey, carrots aren’t perfect in nature!
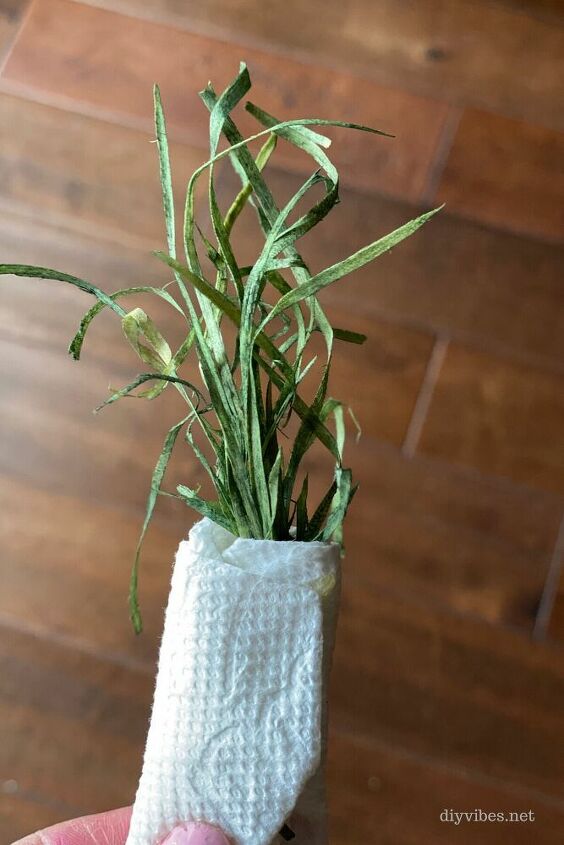
Next I grabbed a handful of Easter grass–I got my bag at the Dollar Tree’s craft section and it feels more like natural material, not plastic. I made a small pile, trying to match up the ends as much as possible. Once it was as thick as I wanted it, I taped the bottom of the bunch. I then took a half of sheet of paper towel and wrapped it around the bunch of grass and tucked it into the top of the carrot.
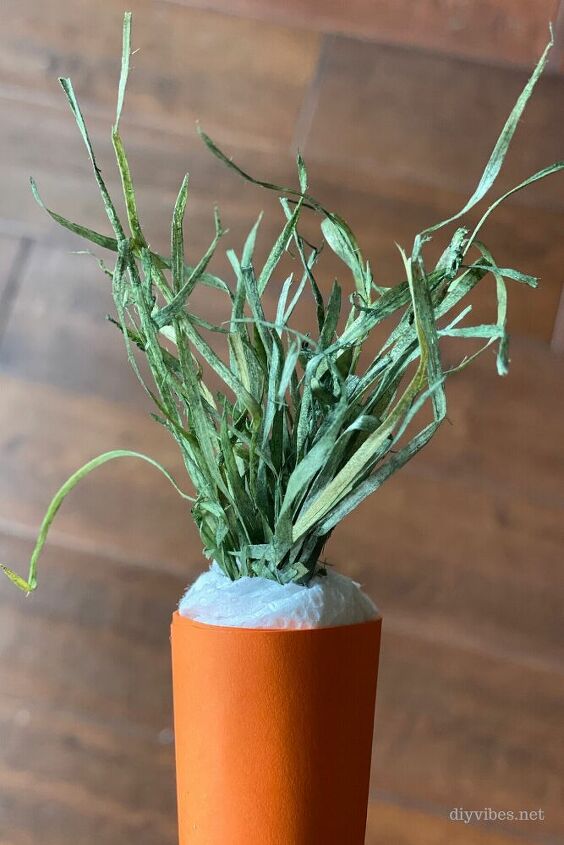
Puff it out a bit so that it fits the shape of a top of a carrot. You’ll be covering this with twine so it doesn’t have to be perfect.
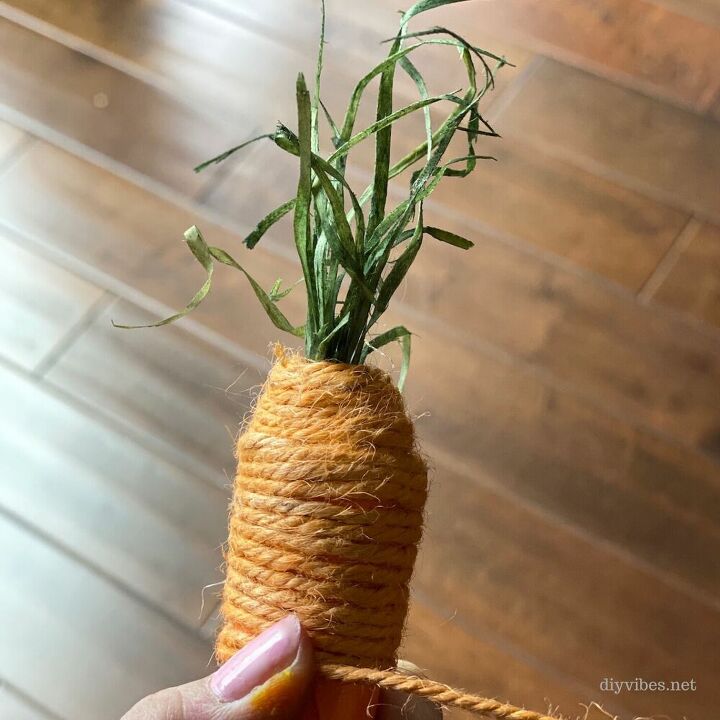
Starting at the top, dap some hot glue onto the tip of your twine and start winding down the paper. Every few wraps, scrunch the twine together so it bunches up and hides any of the paper underneath. Once you hit the bottom, put some hot glue on the end to finish off the carrot and secure it.
On my first carrot I noticed the distinct difference between where the paper towel ended and the paper began so I went back and added twine over just the part that looked to narrow and secured the top and bottom of that piece of twine with hot glue. I got better with the other two (isn’t that how it always is?)
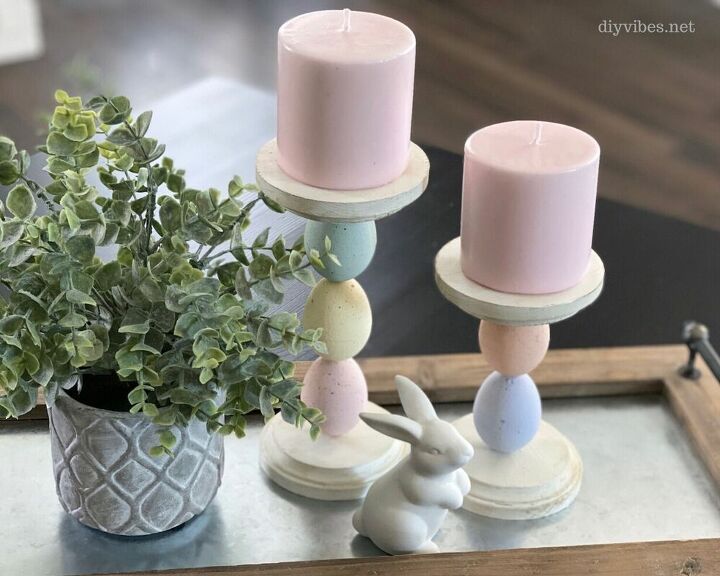
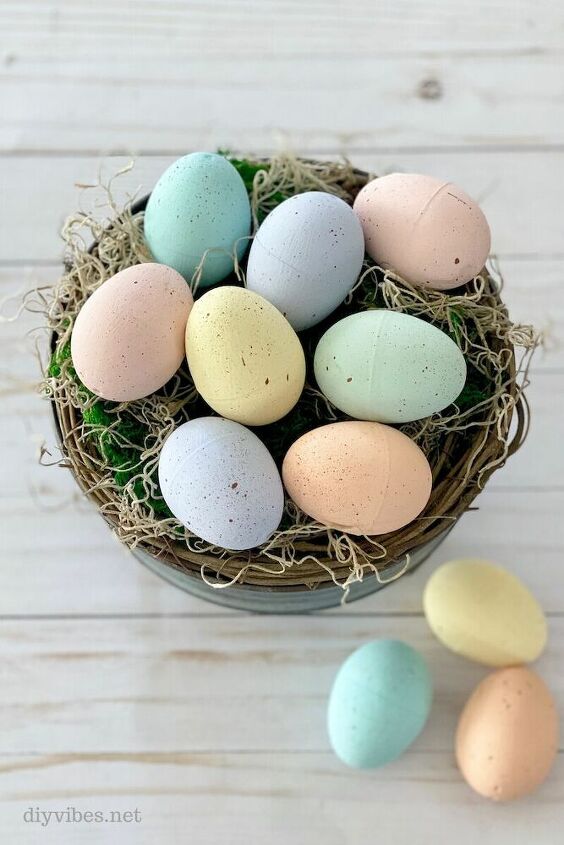
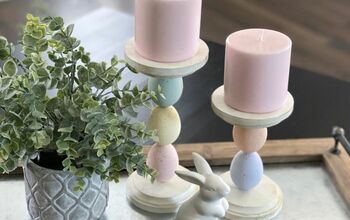
My Easter Egg Candle Holders or my Speckled Eggs for Easter
Resources for this project:
See all materials


Comments
Join the conversation
-
So cute!
-
These are wonderful! Thank you for sharing.


Frequently asked questions
Have a question about this project?