


EVERY Wicked Apothicary Needs Some UNiCORN SPiT !

9 Materials
$10
2 Hours
Easy
Fun and easy apothecary bottle Halloween decorations using UNiCORN SPiT, and items you probably already have around the house ! Super cute or super scary; you chose your theme ! This project gets a bit messy, but the results are worth it !
Scroll down for list of materials
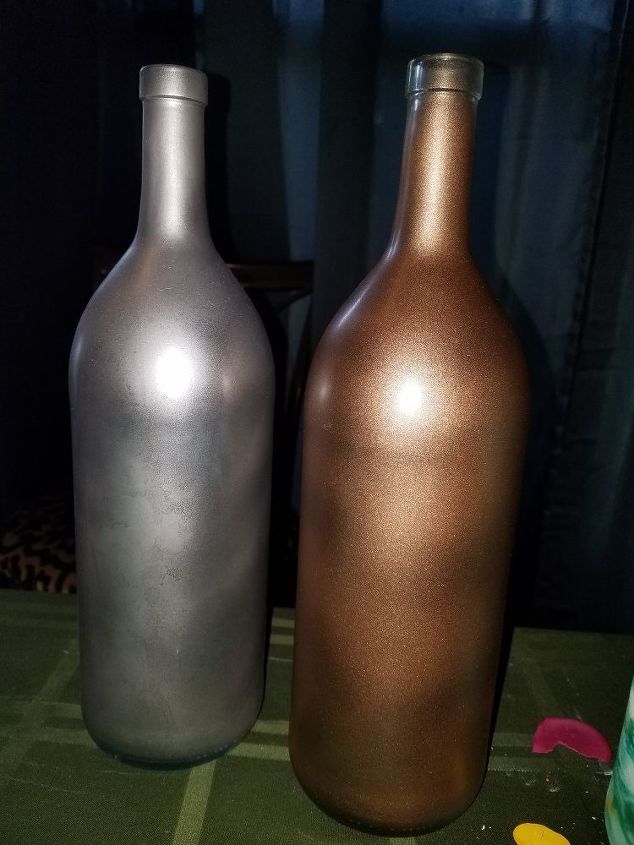
I saved some glass wine bottles and assorted jars; cleaned well, and let dry thoroughly. I primed the glass bottles with a light coat of metallic spray paint. Any light color will do as a base; it does not have to be metallic; just my preference ! You don't even need to be precise in your spraying skills, as long as the glass is lightly coated !!
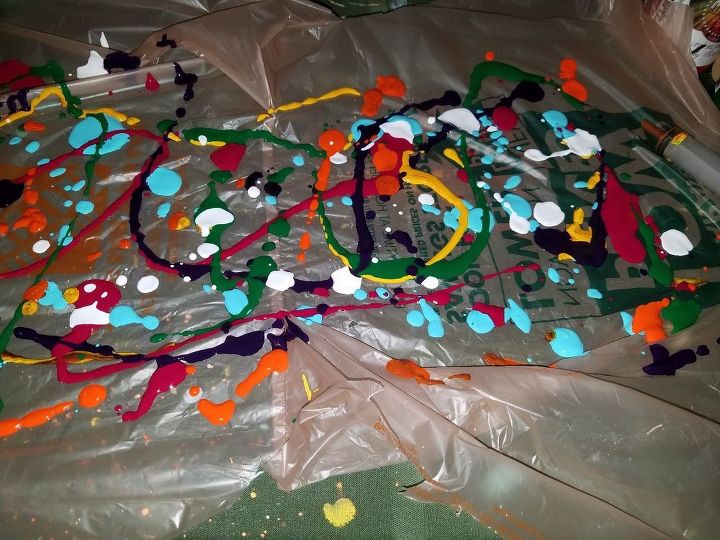
Next; I cut open a plastic shopping bag, and laid it down flat on my work table. I chose my UNiCORN SPiT colors for the desired design and haphazardly squirted them on to my plastic. This one was for the UNiCORN SPiT POTION !!! .....I went with a rainbow pallet !!

I placed my primed bottle on to the plastic and wrapped each side around; first one side, then the next, while carefully smoothing my hands over the outside of the bag to help my SPiT blend over the bottle.....HINT.....sometimes the top or neck doesn't get completely covered, and a little help is necessary. Place your hand UNDER the bag, and guide the SPiT over the desired areas.
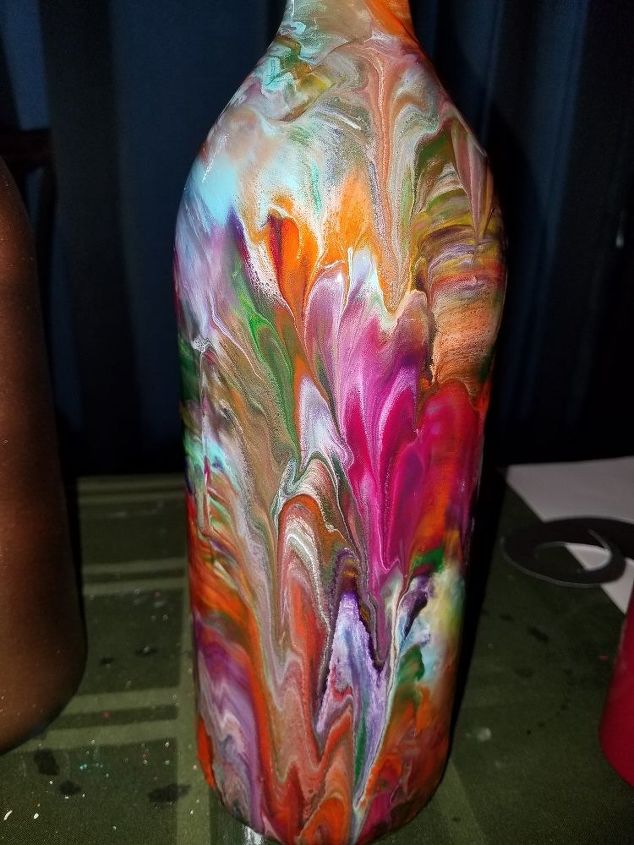
Once the plastic is pulled away from the bottle, you get an effect like this one ! ...There are several ways to design with SPiT on glass' but this way is not only fun, but sort of surprising when the design is revealed. Remember, UNiCORN SPiT is a water based product, so if it gets away from the confines of the plastic on to your hands, it's easy clean up ! It's also non-toxic, so safe for kids to join in the fun !
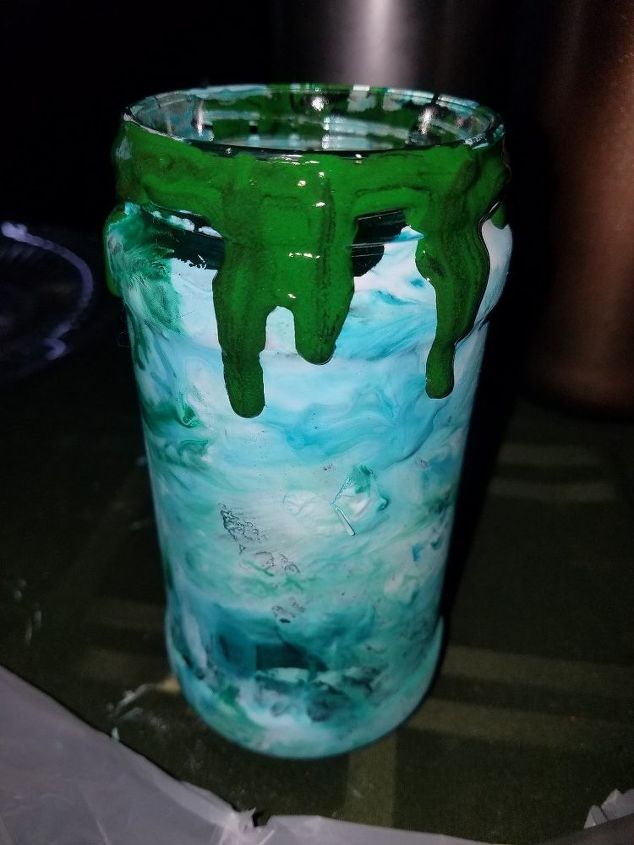
This example, is using a pasta sauce jar ! I chose a comical label "OGRE SNOT" .....So, I mixed up a slimy looking green color and dripped it from the rim down the jar for added effect ! This cool and quite yucky color can be achieved by mixing 2 parts Dragonsbelly, 1 part Lemon Kiss and just a few drops of Midnight Blackness......instant snot !!! Once your SPiT is completely dry {takes a bit longer for those thicker drips to dry}....Seal your bottles and jars with a coat of oil based polyurethane ! {dollar store brushes are perfect for this ! } HINT: for better durability, so you can use the decorations year after year, I recommend 2 coats of your oil based sealer{allow drying time in between}
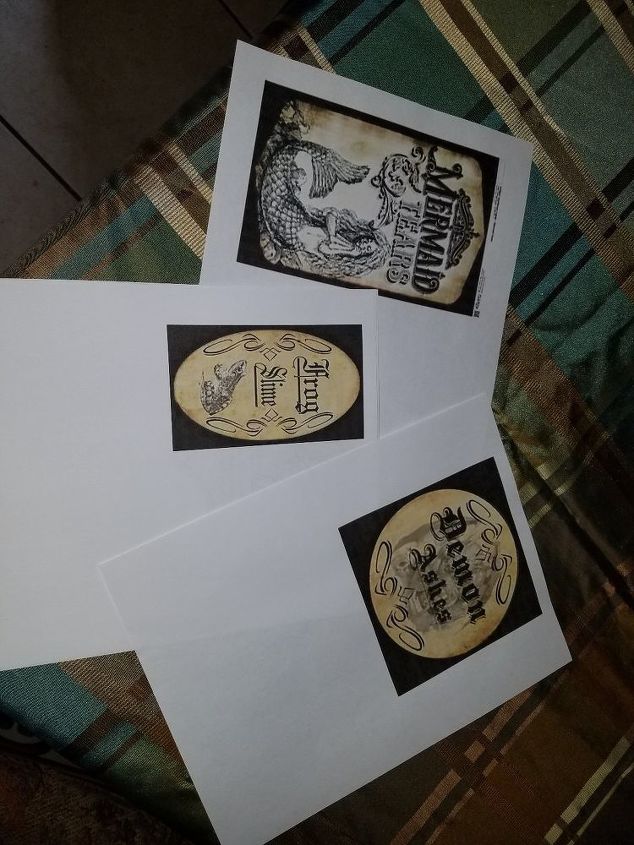
Google potion bottle labels, or Halloween labels and you get a myriad of options !!! ....simply save and print the ones you choose to create with ! ....You can size according to your jars or bottles. Cut them out, and get ready to make your potions !
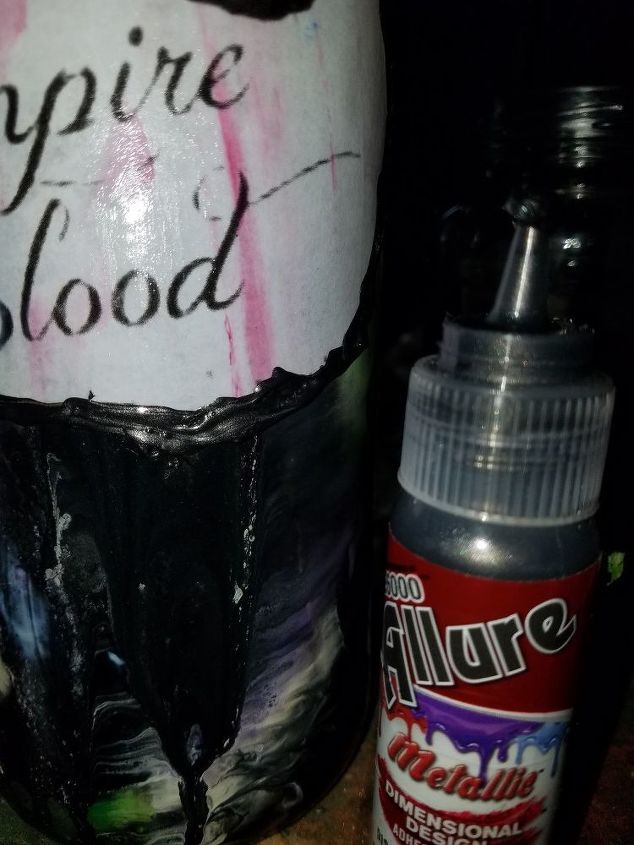
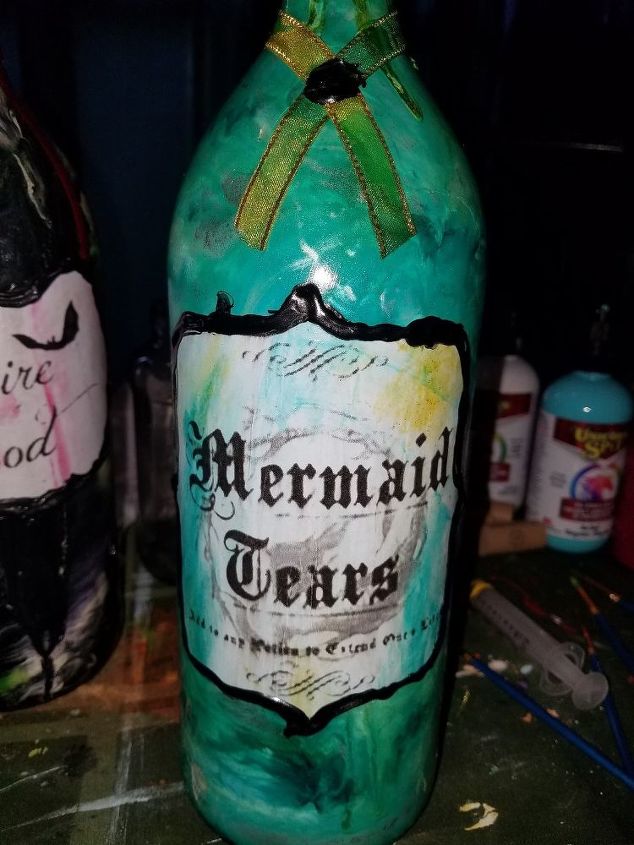
Using MOD PODGE, or regular school glue {a bit diluted}, apply your label to your bottle ! I added a little more detail by outlining the labels with ALLURE paint to give it that set in appearance; as if the bottles were from a real apothecary, and wax sealed ! The ALLURE is optional, but does give a finished look to your label !
I did several designs to illustrate that we can really create some scary rated PG décor, as well as some cool rated G potions, depending on how you prefer to decorate for Halloween !! These make awesome centerpieces for kids {or adults} Halloween Parties !!! .....ok, let's add some embellishments and detail !!!
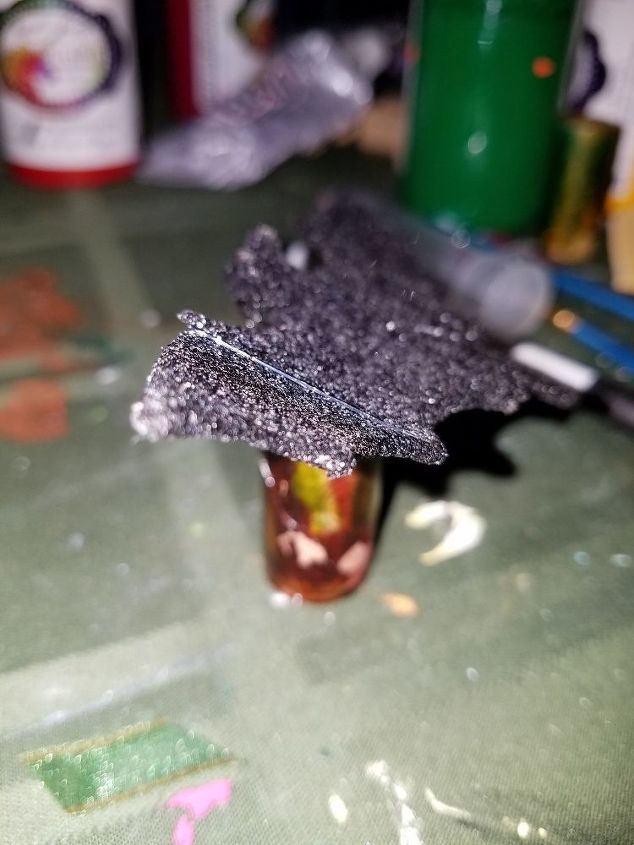
I saved the corks, and topped them off with glittery bats {3 for a buck !! }.....and plastic UNiCORNS {I think the whole bag was about $3 at the party store !}...Again, this is an option !!!
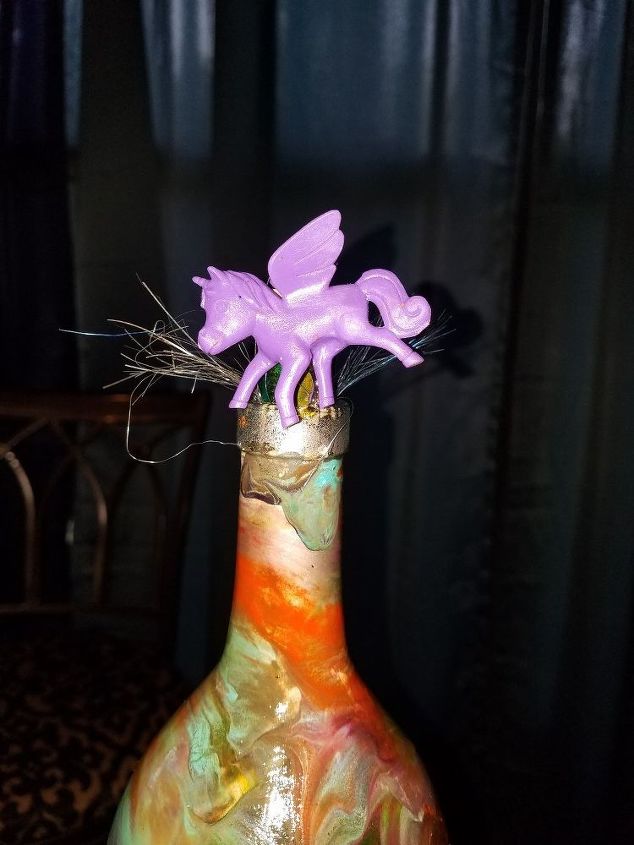
I think the detail on the corks is a super cute way to embellish the projects, but there are other ways to give them some bling !...I looked through my craft {a.k.a., JUNK/SCRAP} drawers {ys, I have more than 1}, and used what I found left over from previous projects...a little tinsel, some seashells, sequins, ribbon scraps; whatever I had !!!
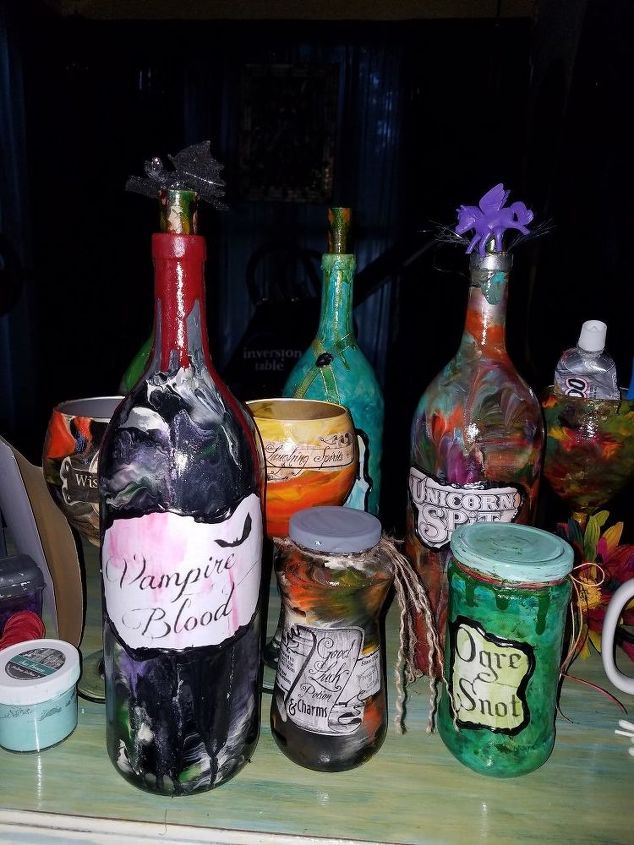
As you can see, my home made apothecary has grown to include all sorts of awesome potion ingredients ! ..Don't forget to save jar lids !, a quick coat of paint, {brush or spray} finishes the project nicely...{maybe some fingerprints or smudges !! } .....Get spooky with VAMPIRE BLOOD, or tone things down for the kids with MERMAID TEARS ! They are so fun, easy and the only limit is one's imagination !
We want to help you DIY, so some of the materials in this post are linked to sellers. Just so you know, Hometalk may collect a small share of sales from the links on this page.
Comments
Join the conversation
2 of 23 comments
-
Hello. I have tried your beautiful bottle above. The one with all the colors wrapped in plastic. I have 2 questions. 1. My colors come out muddy. Any suggestions? 2. How do you get the effect of "waves/swirls". Thanks so much in advance for your help.
-


Frequently asked questions
Have a question about this project?
LOVE the bottles!
BUT the paint is VERY PRICIE !! The Unicorn Spit paint starts at around $10.99 for 1 bottle!
To get an assortment it's over a hundred $ !!
Isn't there other craft paints you can use to create the same affect???!!!
I can't see paying that amount for crafting projects.
What do you use to seal the bottles?