


How I Used the DIY Cut Words: Thankful, Grateful & Blessed

Thankful, grateful & blessed! These are words to live by specially during the holiday season. We do tend to forget, so as a reminder, I made these fall wooden decors.
Materials were bought from everywhere...thrift stores, craft stores, or dollar stores. I used a square, round and oval wooden blanks. I will only add up the amount used for the square one cuz the others were from my stash.
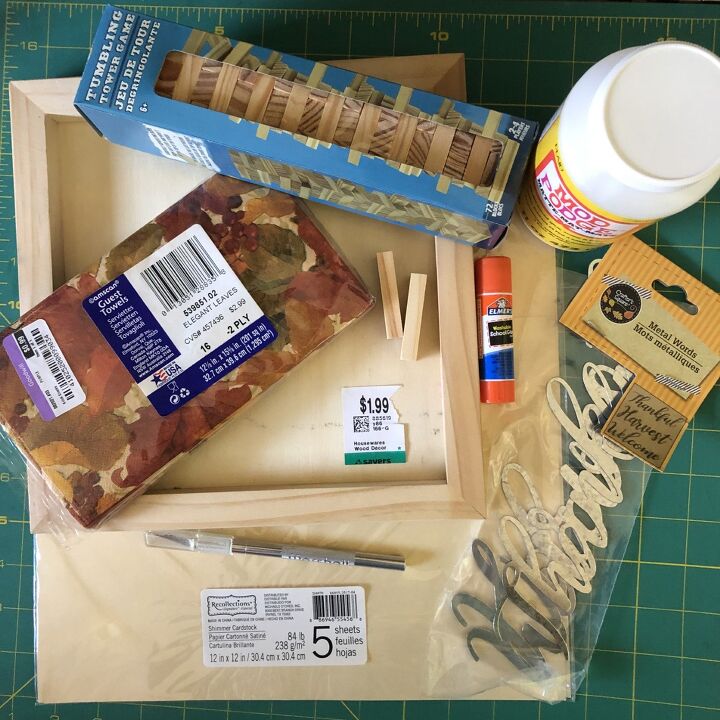
Materials: napkins, mod podge, cardstock (champagne pearl), different forms of words (metal, foam sticker and wood), hot glue gun, glue stick, 2 tumbling tower blocks, paint or stain, sponge brush, and exacto knife. My main machines were the Cricut Maker and the printer/scanner.
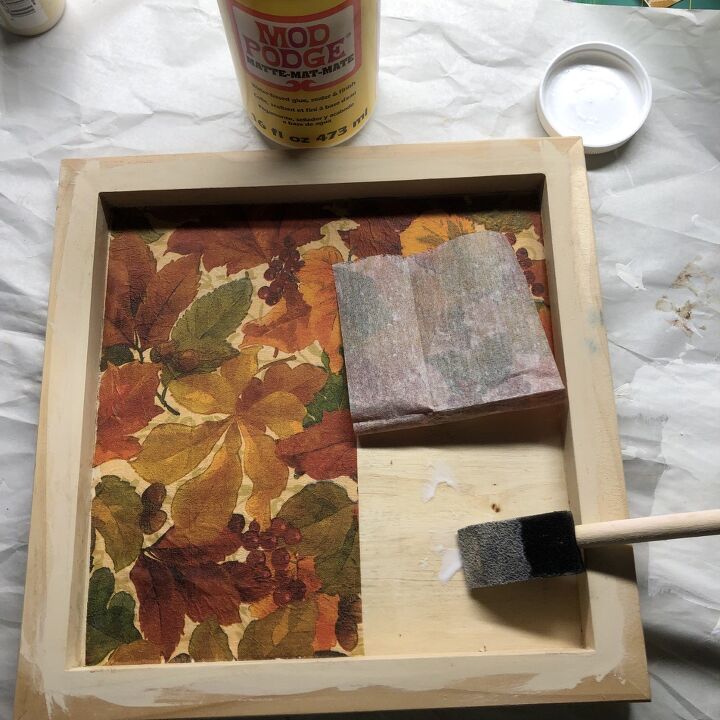
Peel off the plain 2nd ply of the napkin, then cut to size the designed ply and modpodge to the wooden blank. TIP: To rid of bubbles, use a big piece of plastic saran wrap to gently smoothen the napkin out. Let it dry.
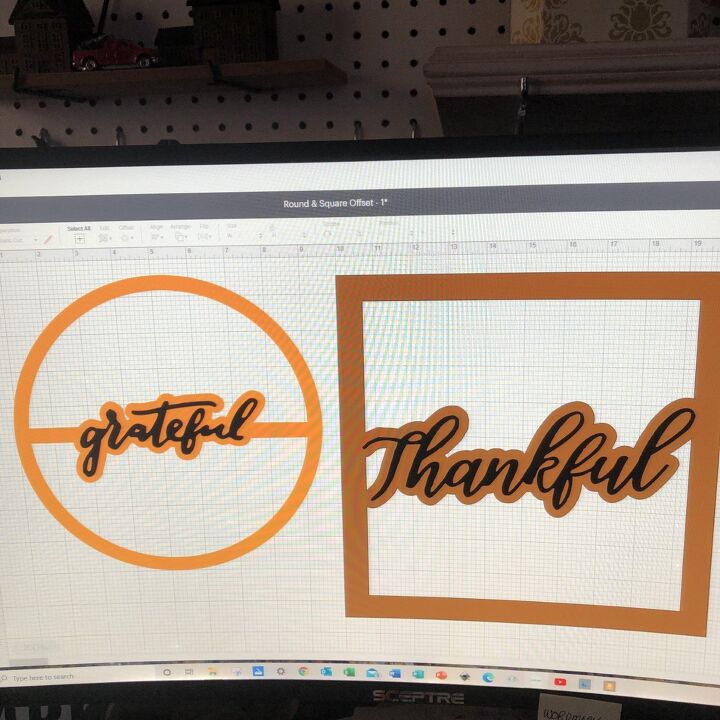
In my computer, I scanned the metal and foam sticker words and saved them into my files. Then uploaded them to the Cricut Design Space and did the offset feature, welding them to its square and round outlined shapes, making sure they are all in their actual word size and correct shape measurements.
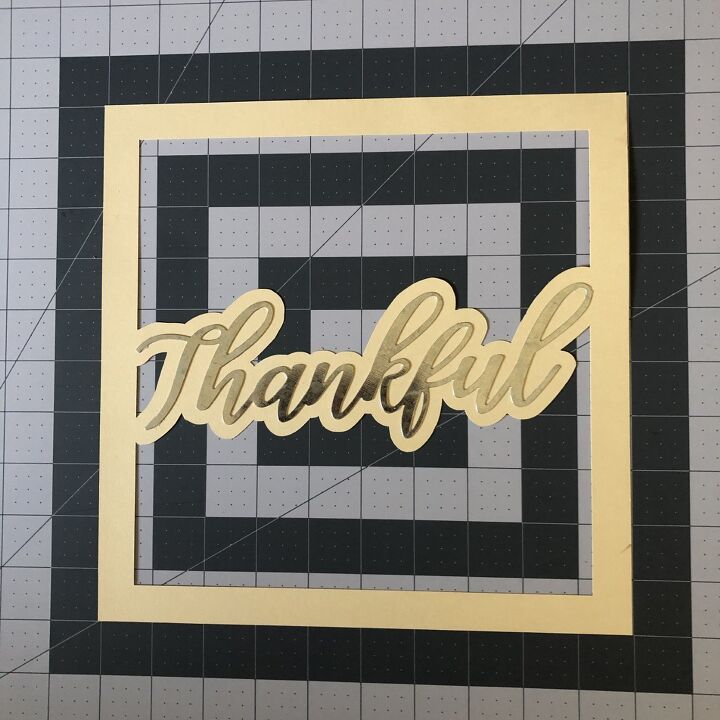
The design was cut using cardstock.
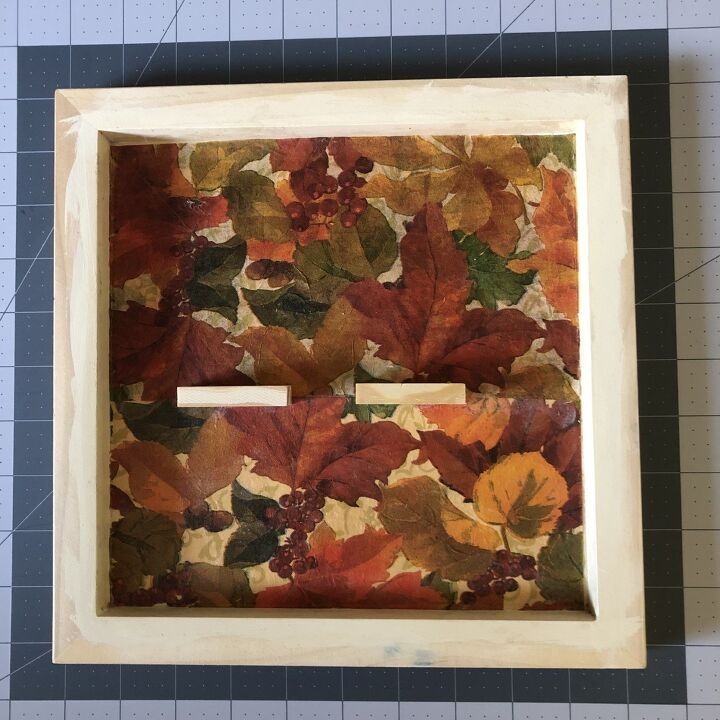
I glued the 2 tumbling blocks to hold "thankful" in place. If needed, trim off dried napkin from the inside edges with an exacto knife. Glue the cut cardstock over the frame giving it a 2D effect.
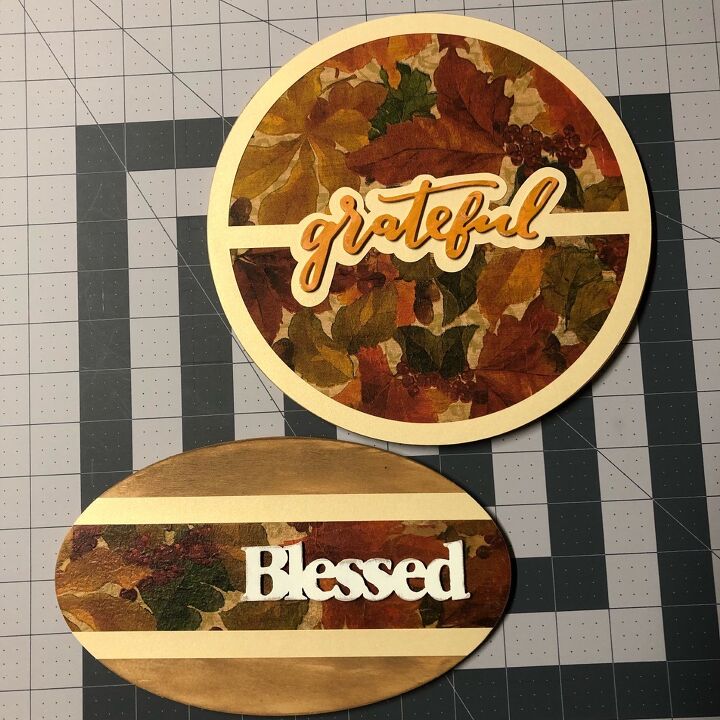
"Grateful" & "blessed" were glued directly in place.
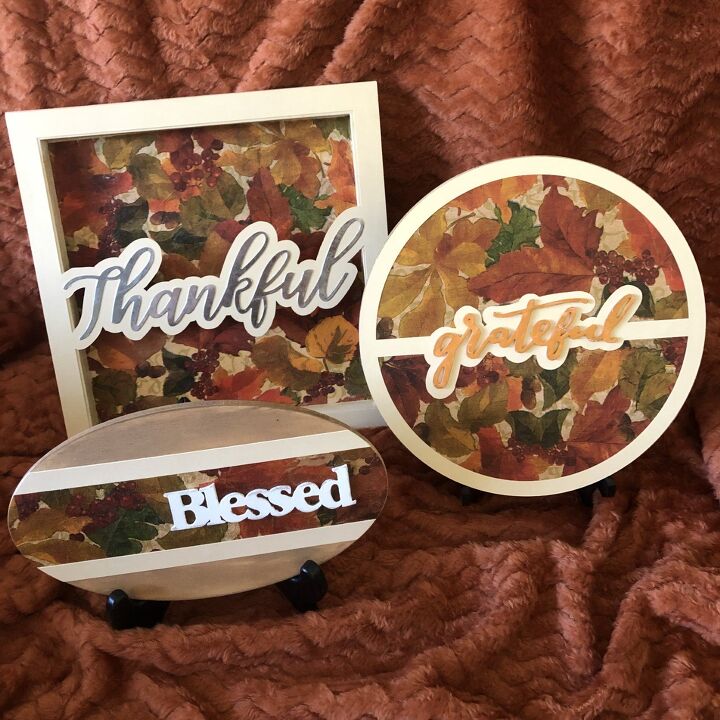
These are my reminders to always be thankful and grateful for all our blessings.


Frequently asked questions
Have a question about this project?