


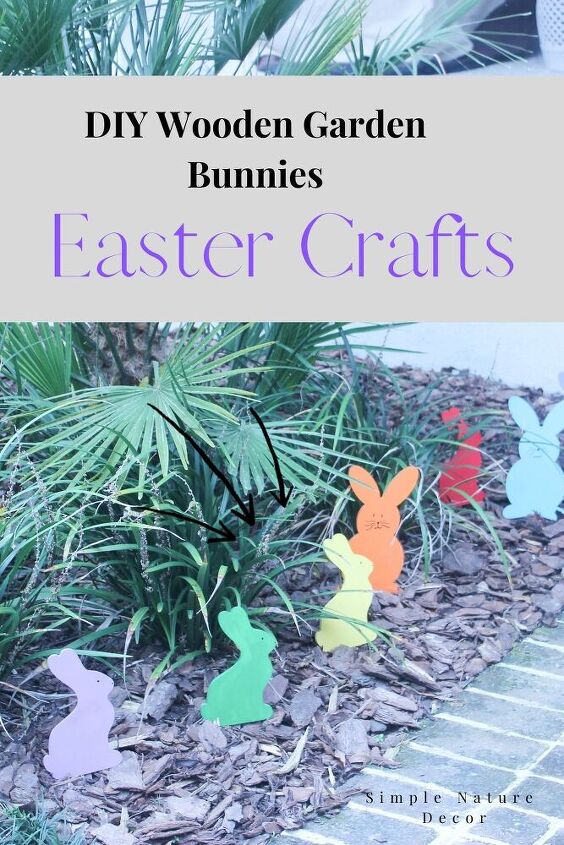
How To Make Wooden Easter Bunnies For The Garden
Add color to your garden for Easter with these adorable wooden Easter bunnies.
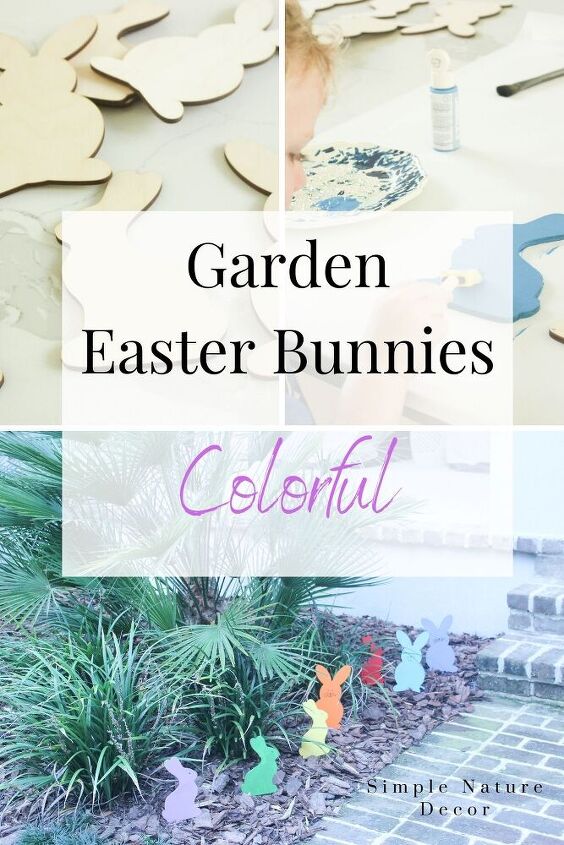
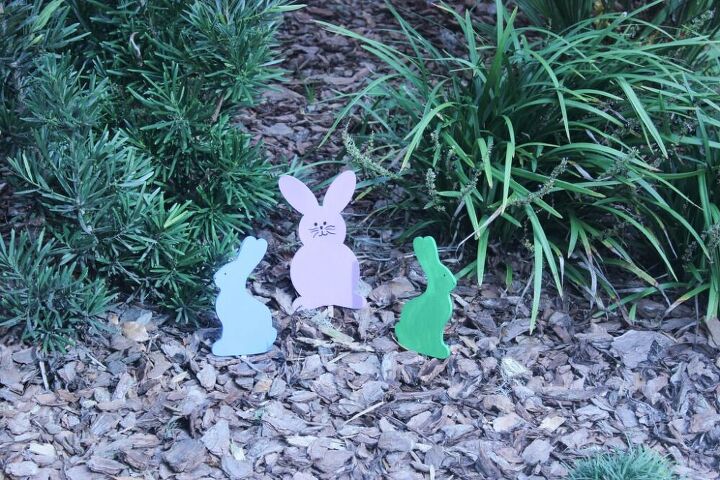
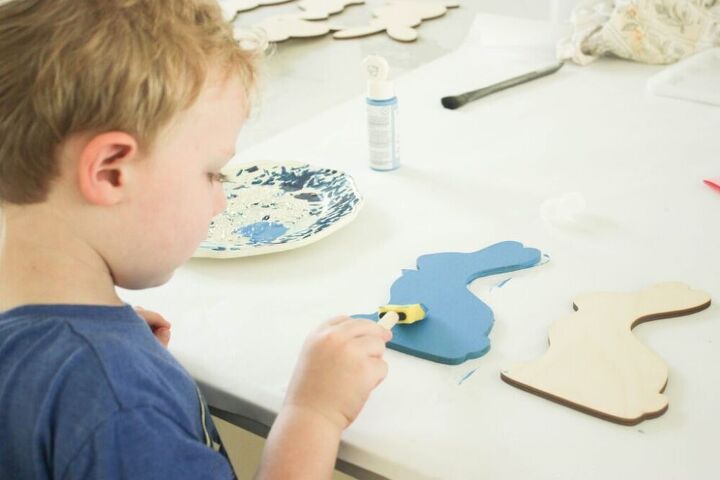
If you want to add color to your garden here is a fun craft you can do with your kids. My grandsons love to paint and using one color at a time makes it easy to paint these bunnies. If they are any spots they miss I can always paint over it. Noticed that isolated red bunny in the back, my grandson Preston loves the color red. Kids are drawn to bright color as it is a sign of happiness from what I have been reading.
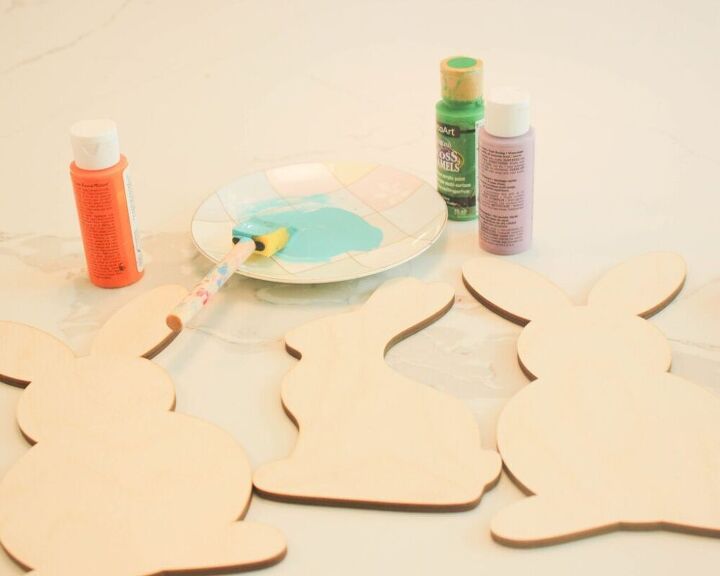
- Wooden bunnies: I found unfinished wooden bunnies here at 24 hour craft. You can order any size.
- Paint: Use paints you already have.
- Brushes: Foam brush
- Sticks: Popsicle sticks
- Gorilla gel glue
- Black magic marker
- Krylon Clear Finish
Step 1: Painting The Bunnies
Both the kids and myself used a foam brush, it’s so much easier to use than a bristle brush. We tried a bristle brush and the kids didn’t like it. We used as many different colors as I had. Throughout the years I have accumulated many different craft paints. My favorite were from DecoArt. Which was my favorite paint choice.
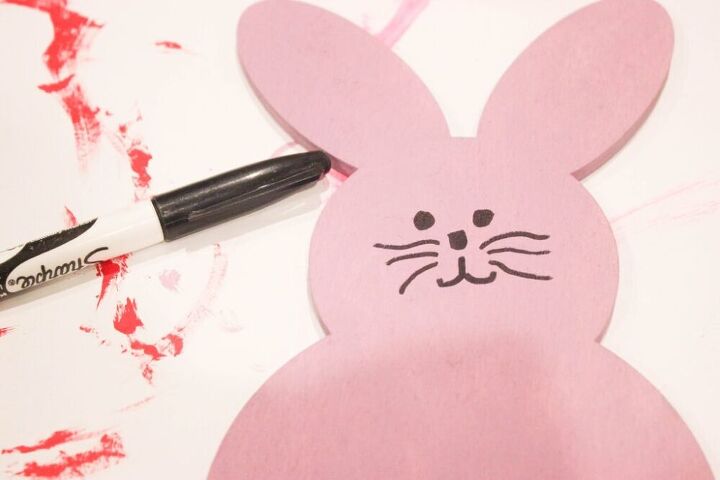
Step 2: Painting The Faces
This part I had the steady hand. What you will need is a magic marker and a few pictures of bunny faces. You can copy mine. Very easy to draw. The bigger bunnies I created this face in the pic below. For the smaller bunnies that shows a side profile all you need to do is make a dot for the eye and another large dot for nose.
Step 3: Glueing The Stick On The Back
For this part I used a popsicle stick. Gorilla glue stick gel was the best glue since they will be outside. Don’t let the kids do this part. Use gloves since this glue is very strong. Apply a small amount on the back of the popsicle stick. Position the stick in the center of the back of the bunny with the half of the stick used for inserting into the ground. Let dry for 24 hours. I tested the bunnies afterwards and very sturdy.

4. Spray The Bunnies With Clear Coat Finish
To protect the bunnies from rain, spray them with Krylon clear finish.
I am so excited how my bunnies turned out. They look great in the garden and the kids had a great time making them.
How To Make Pinecone Bunnies

Comments
Join the conversation
-
Too cute.
-
These came out adorable! 😍


Frequently asked questions
Have a question about this project?