


How To Make a Small Wood Manger
20 Minutes
Easy
Creating a wood manger is a fun yet meaningful craft for Christmas. You can hang it on the tree, display one anywhere you want, in a nativity scene, or use it for a larger item like the Tale of Three Trees centerpiece/mantelpiece I did here (tutorial here).
They are easy to make (children can help), are inexpensive, and don’t take much time (20 minutes or so).
They are easy to make (children can help), are inexpensive, and don’t take much time (20 minutes or so).
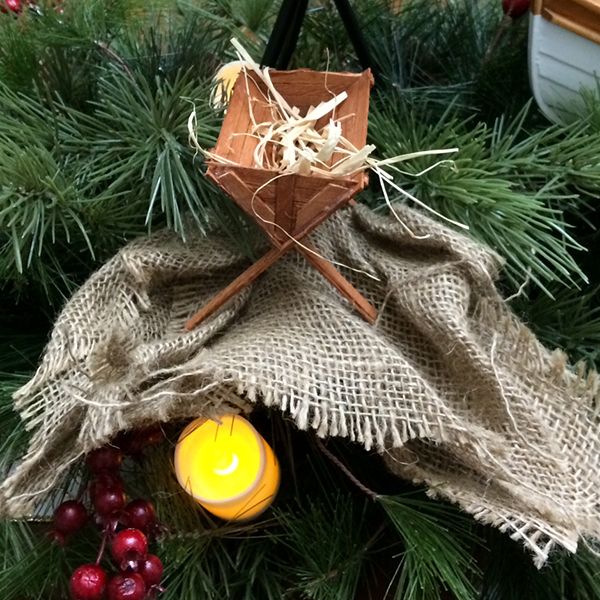
Here is the finished Small Wood Manger.
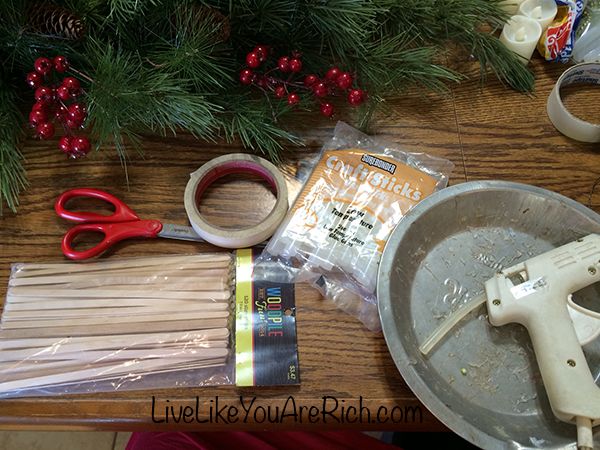
What You’ll Need:
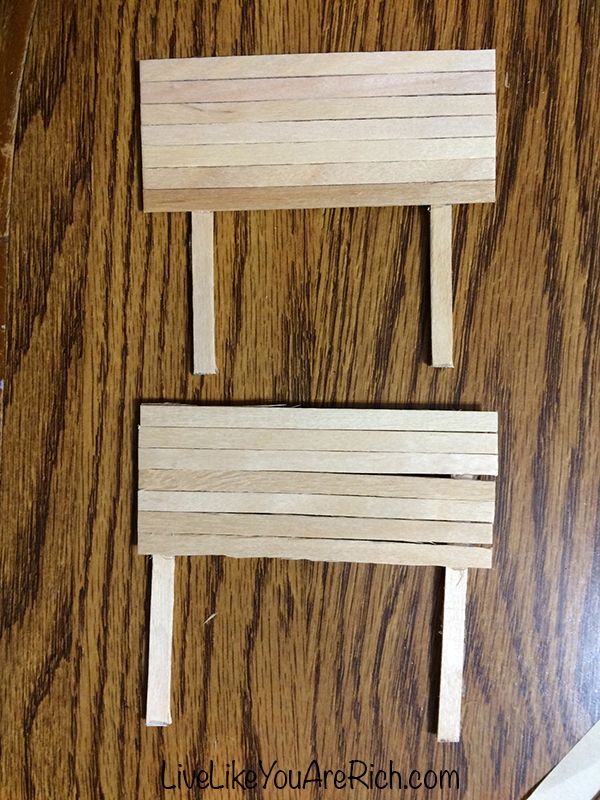
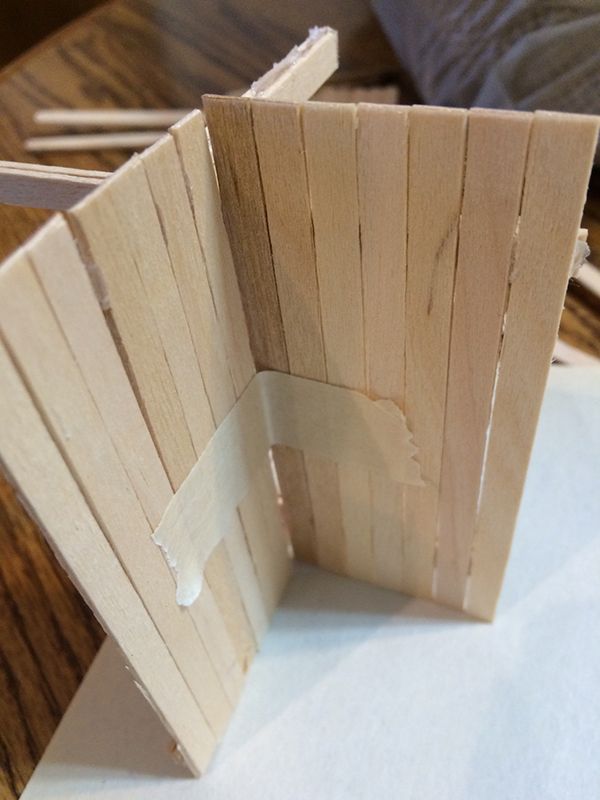
1- Lay 7 sticks horizontally and tape them with masking tape temporarily. Cut each of the finished ends off so that the length of the manger measures 4 inches.
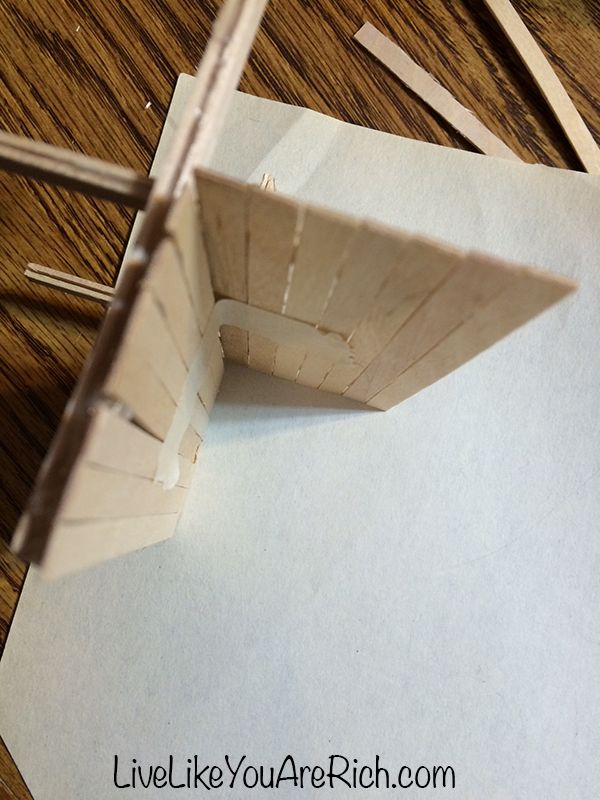
2- Then take a glue gun and glue in about 1/4 inch on each side (this is for the one side of the manger) and glue a stick to the line of glue. For the other half of the manger measure in and glue 1/2 inch. By staggering the measurements on both sides the legs will fit and not hit each other.
3-Next glue another skinny stick on top of the one leg to strengthen the legs of the manger. Cut the legs down to measure equal lengths I cut them at 3.5 inches long.

Want more details about this and other DIY projects? Check out my blog post!


Frequently asked questions
Have a question about this project?