


How to Make a Pretty Graduation Party Centerpiece

Learn how to make a simple graduation party centerpiece using upcycled cans, ribbon, and photos of the graduate or guest of honor.
For more simple and budget-friendly DIY project ideas, be sure to follow us on HomeTalk and visit our blog!
Photos are also a fantastic way to decorate for parties! When my son graduated from high school, I decided to make a photo banner with pictures from all his years at school. This wall of photos became the top gathering spot at the party.
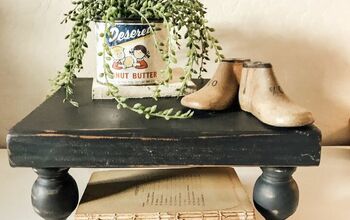
I also made these simple centerpieces showcasing more photos for his graduation party.
Photo Centerpieces With a Feminine Touch
When my twin daughters graduated from high school, I made the same kind of photo banner wall for them. I loved the centerpieces from Ryan’s party but wanted their party to look different from his.

I used the same concept of displaying matted photos on each table, but I made it look a little more girly. Their high school’s colors were blue and gold, so I decided to add sunflowers for a feminine touch.
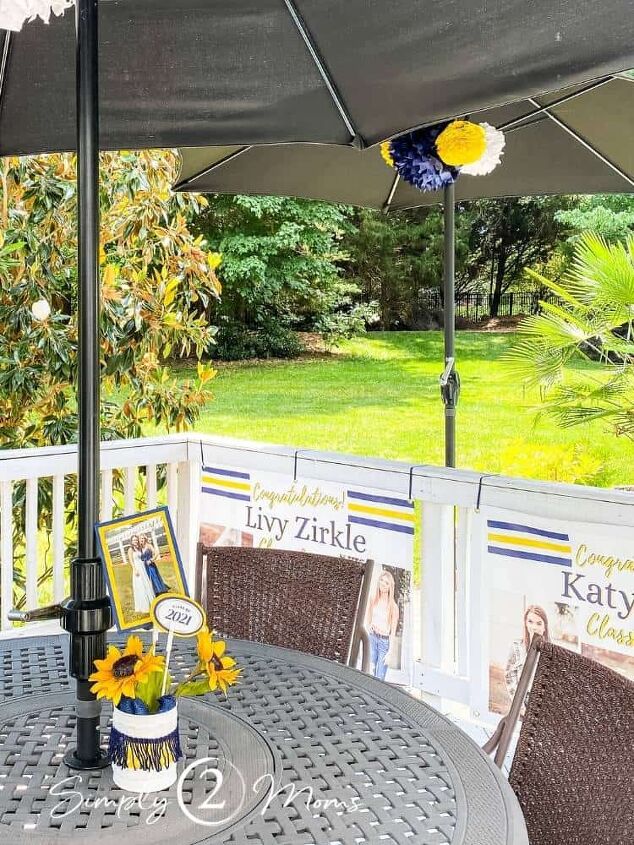
Even though there were lots of decorations, they were all easy to make and pretty inexpensive too. I placed these pretty photo containers on every table around their graduation party. Our guests really enjoyed walking around to see the different photos. And I have a little trick that gets guests checking out every photo I display!
Supplies You Need to Make Graduation Party Decorations
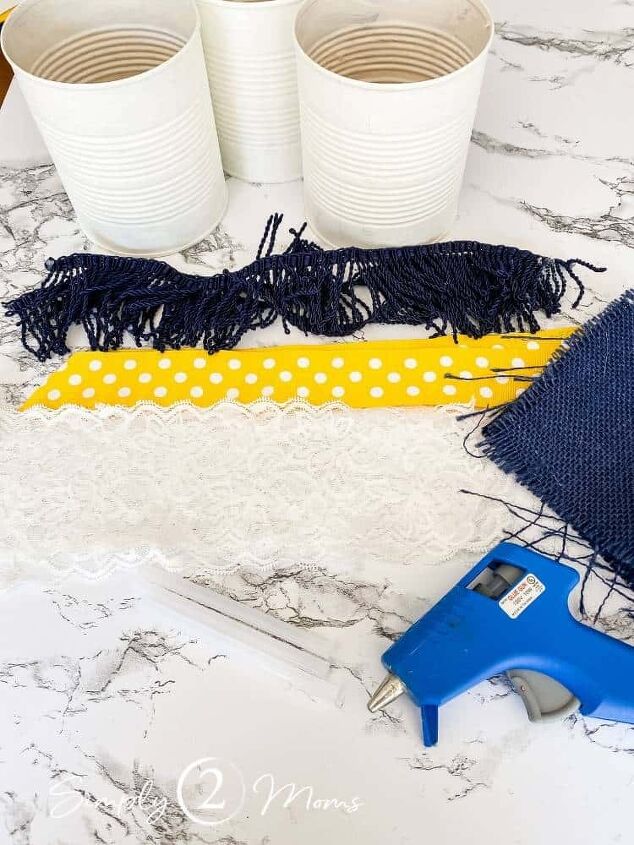
Here’s what you’ll need to make these graduation party centerpieces:
- Recycled cans (I used 28 oz. cans), washed with label removed
- White chalk paint
- Foam brush
- Hot glue gun
- Hot glue sticks
- Assorted ribbon
- wide lace ribbon
- yellow polka dots
- blue fringed trim
- Faux sunflowers
- Dry floral foam
- Long white cake pop sticks
- Scissors
- Paper trimmer (for easy straight cutting)
- Miniature clothespins
- Cardstock (I used their high school colors)
- Photographs
- Adhesive tape runner
- Stickers with graduation year or print at home
- Burlap fabric
I didn’t include lengths or quantities because those will vary based on how many of these graduation party table decorations you want to make.
You’ll need about 8 inches of each kind of ribbon for each centerpiece, and one 12×12 sheet of each color of cardstock.
I bought 6 yards of burlap fabric and cut it in half lengthwise to use as runners on the folding tables, then cut thin strips from each end for these decorations.
That meant the inner part of the centerpiece matched the table runner perfectly!
It’s little details like that that make me happy!
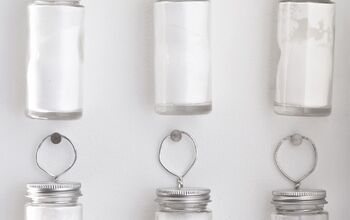
How to Prepare the Cans
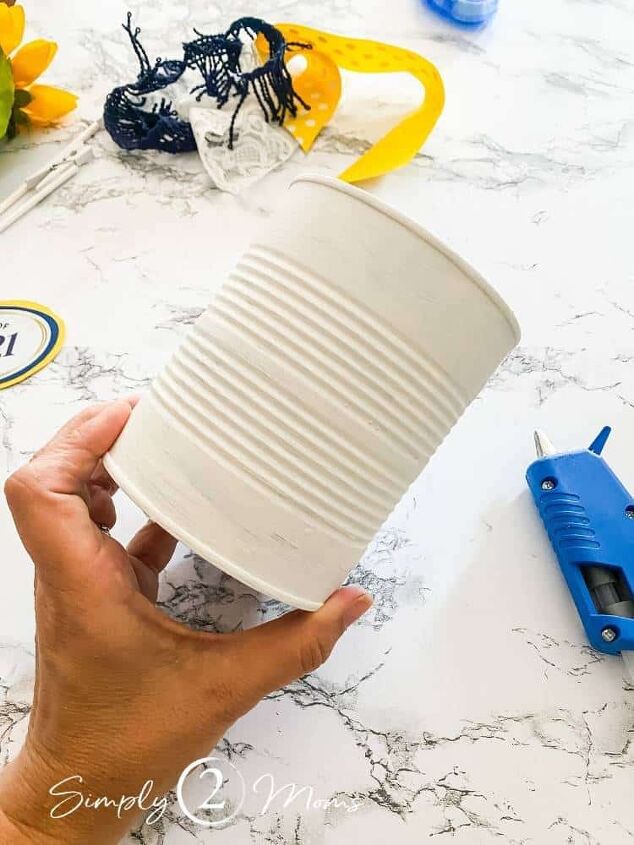
I began saving 28-ounce cans a few months before the party. Simply wash them out and remove the paper label. I chose to paint them all on one day, but you could always paint them as you save them.
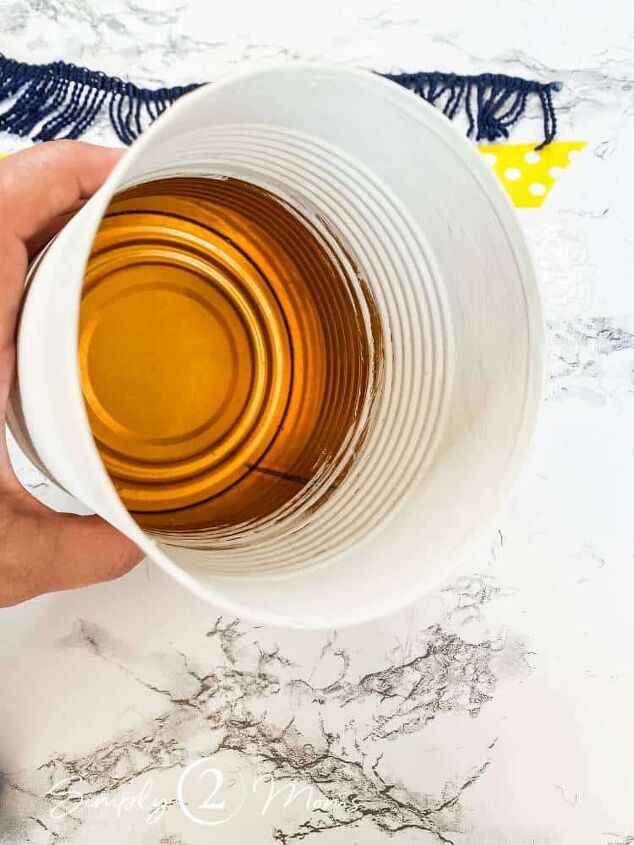
I knew I was filling the inside of the can but painted down a little further than necessary inside to be safe. Chalk paint is also super easy to distress if you want to give it a more rustic look. You could use antiquing wax or darker paint. Or lightly sand the cans in a few spots to remove a little bit of the paint.
How to Decorate the Cans with Ribbon
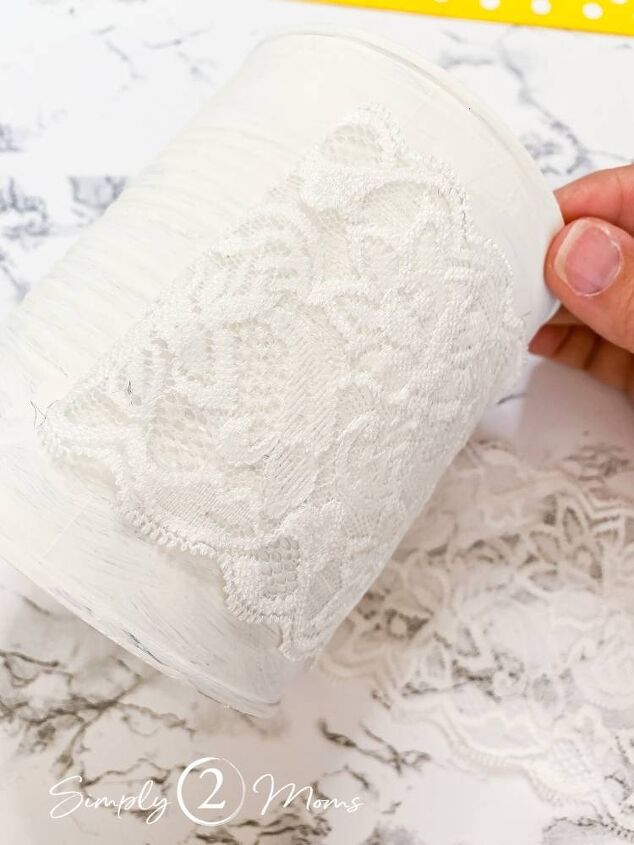
I knew I wanted the containers to have a feminine, girly feel to them, so decided to add a wide band of stretchy lace ribbon around the center. It adds some really nice texture too!
Wrap the ribbon around the can and let it overlap about an inch.
You can mark the lace with a pen or pencil if you want, but I just used my finger and cut the lace there.
It doesn’t have to be perfect!
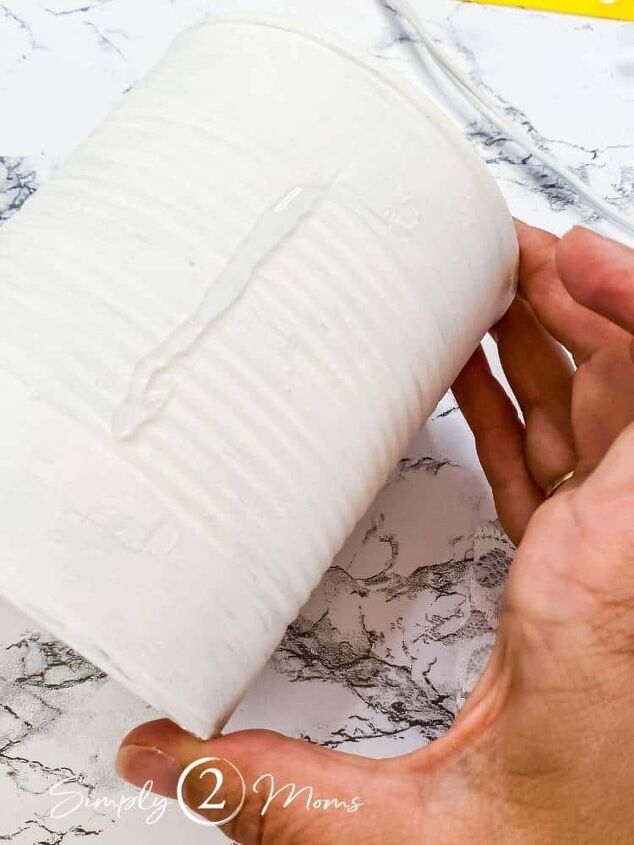
A strip of hot glue holds the lace in place.
Work quickly to wrap the lace around the can and the same strip of hot glue will hold both edges.
Now it’s time to measure the next ribbon.
I chose a fun polka-dotted pattern that was 2-inches wide.
Use the same method to measure how much you need: wrap the ribbon around and let it overlap about an inch, then trim.
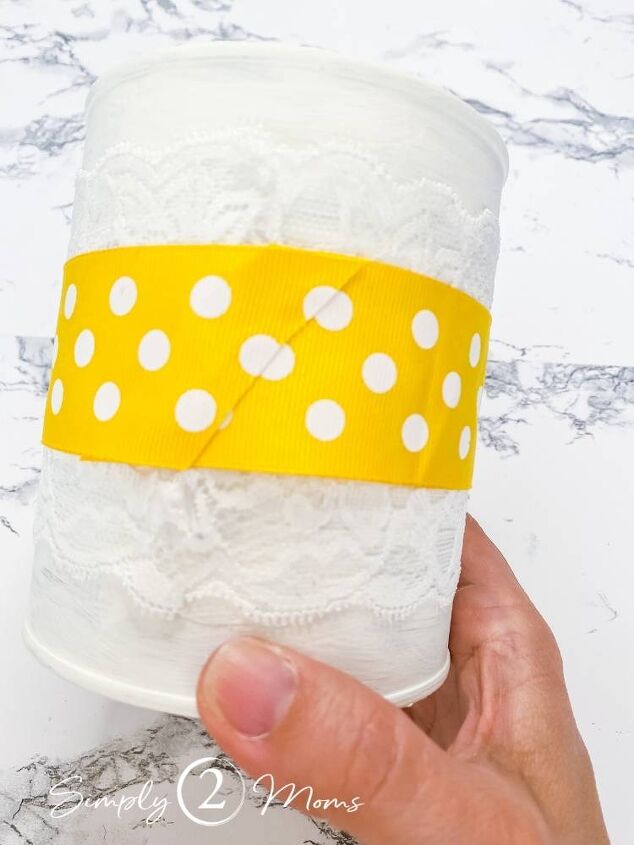
I chose to cut it on a diagonal because I thought it looked pretty that way.
Put a dot of hot glue on one end, wrap it around the can, then a thin line of hot glue along the edge of the other end holds it in place neatly.
There are lots of options from here! You can stop with just one layer of ribbon. Or you could use a more narrow ribbon (1/2-inch navy gingham would look pretty with the polka dots).
But I decided to get fancy…
Tricks for Using Home Décor Trims
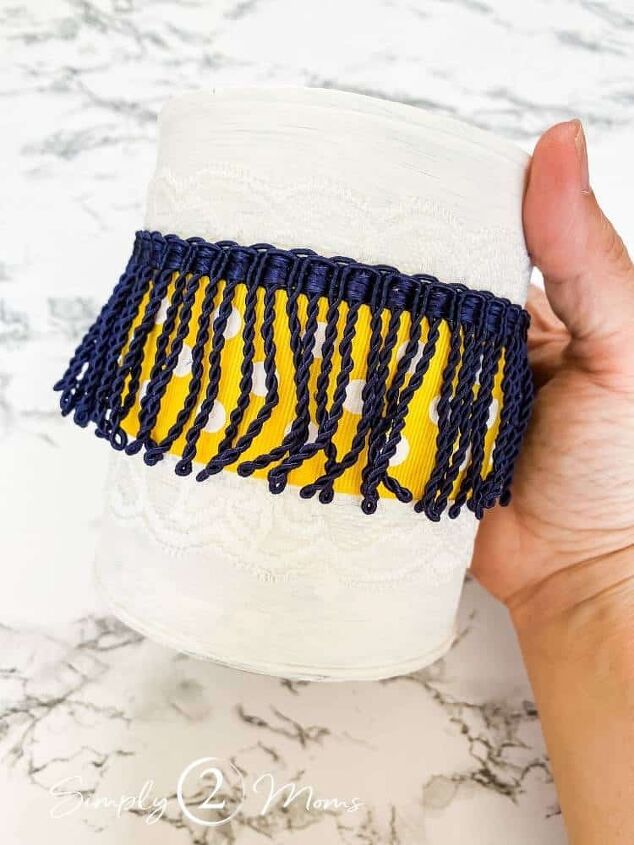
Hobby Lobby had a sale on this fun navy blue fringe, and I thought it would be super fun! My girls and I loved how the gold polka dots peeked through the navy fringe.
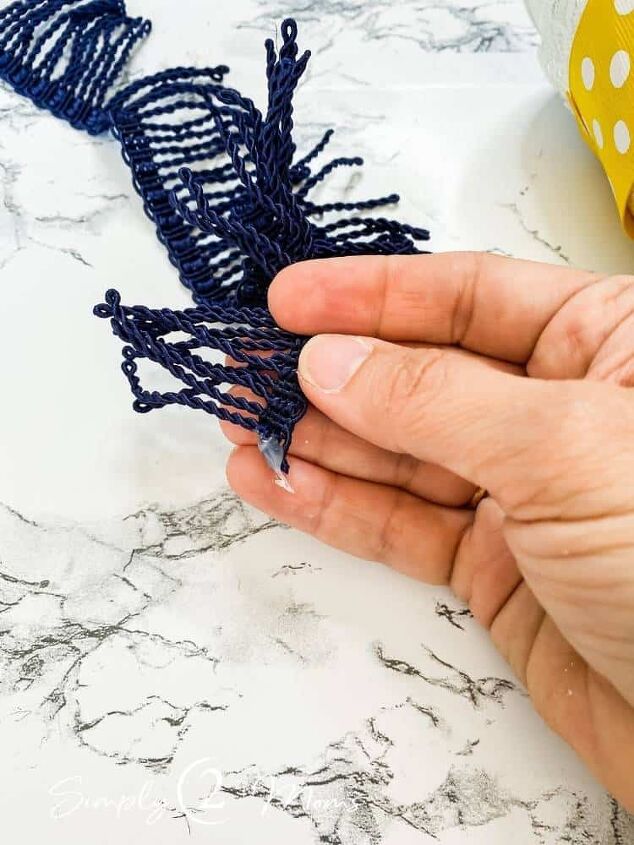
You do need to be more careful with trim like this fringe. When you cut it, it can begin to fray really quickly. A little dot of hot glue on each end prevents it from fraying.
When I measured the fringe for the centerpieces, I only overlapped about 1/4-inch. I used four small dots of hot glue around the top edge of the yellow ribbon to hold the fringe in place.
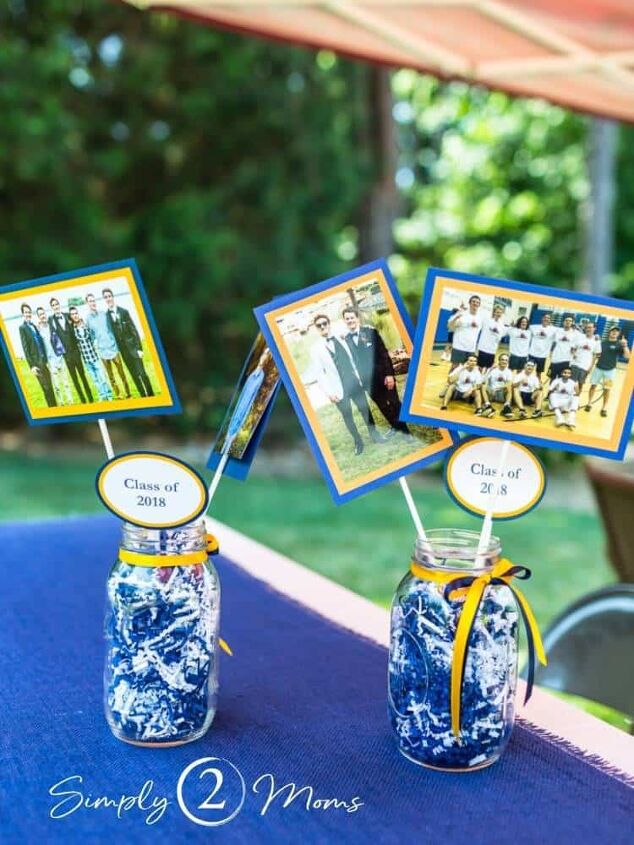
How to Add Photos to the Centerpiece
When I made my son’s centerpieces, I used double-sided adhesive and tape to attach the photos to the white paper sticks. I thought it would be fun to do something a little different this time around.
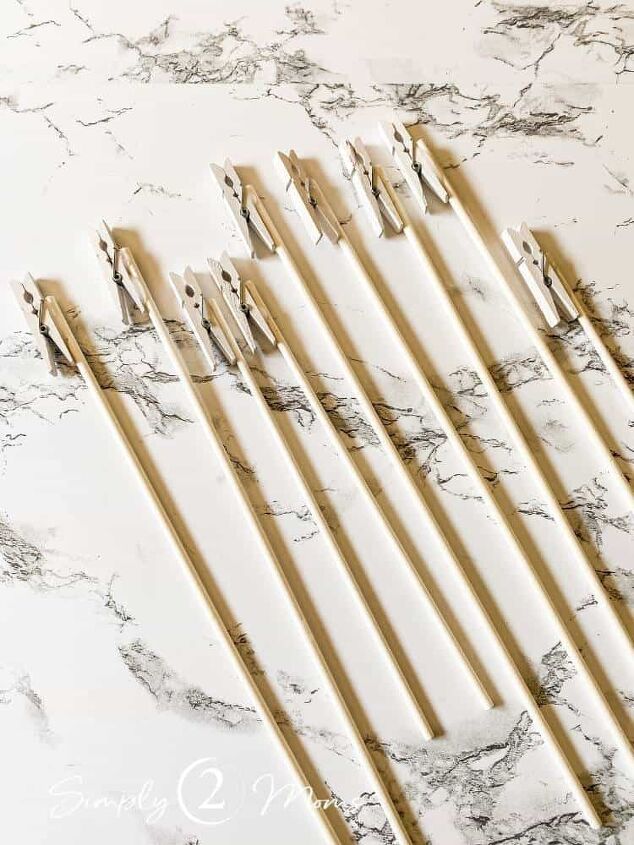
Mini clothespins glued onto cake pop sticks were the perfect solution!
Each party centerpiece had two longer sticks to hold the photos, and one short stick to hold a tag with their graduation year on it.
Choosing photos was so much fun for this project! And the way I chose the photos made these centerpieces meaningful for our guests too.
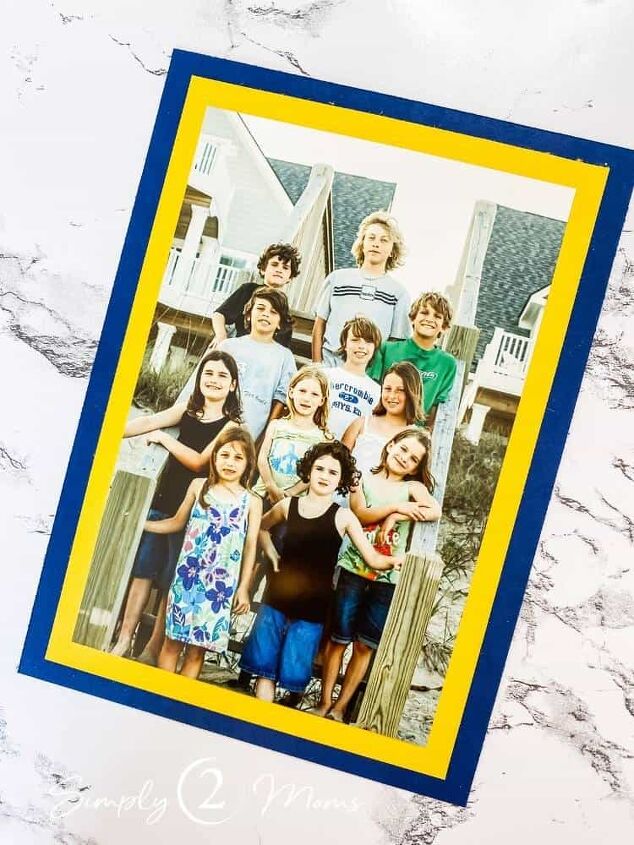
Each centerpiece had four photos: two from when the girls were younger, and two from their senior year of high school. When I chose the photos, I made sure that every guest who was invited was featured in at least one of the photos! Everyone had so much fun at the party looking for the photos that included them.
To mount the photos on cardstock, I cut one 5″ x 7″ rectangle in navy blue, and two 4.5″ x 6.5″ rectangles in gold.
A paper trimmer like this makes it so easy to get the perfect-sized rectangles with straight edges every time.
I attached a 4″ x 6″ photo in the center of each gold rectangle, then attached the two matted photos on the front and back sides of the larger rectangle.
This little trick meant I ended up using less cardstock than when I made my son’s graduation centerpieces.
Add Graduation Year Tags
Since I made these centerpieces for a graduation party, I added a tag with the graduation year.
If you wanted to make a similar centerpiece for a different kind of party, you can easily change this up!
Include a message like “happy birthday” for a birthday party, or the age of the guest of honor if it’s a milestone birthday.
A tag reading “It’s a Girl” or “It’s a Boy” would be fun for a baby shower.
Include the couple’s names on a tag for a bridal shower.
Use your imagination!
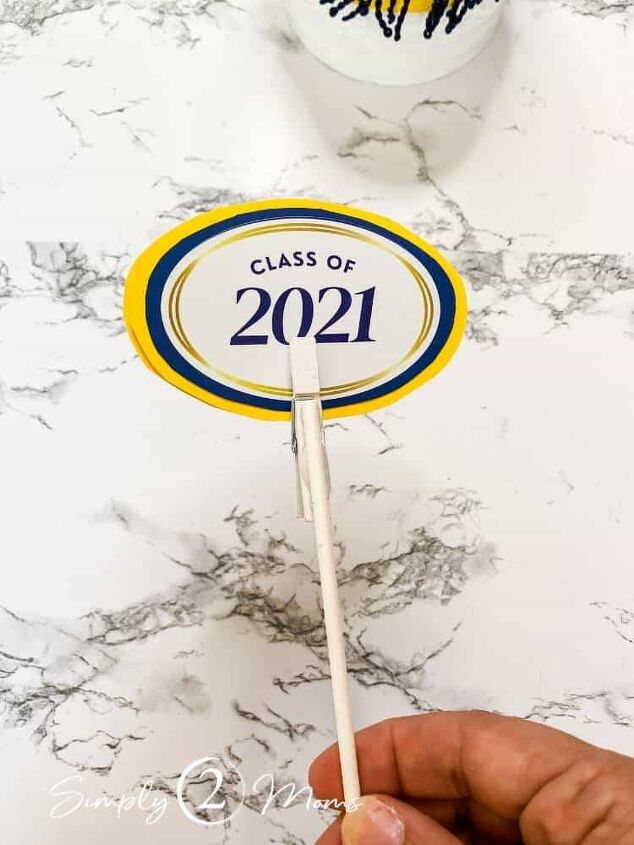
I ordered some sheets of custom stickers from Vistaprint that said Class of 2021 in the school’s colors. Then I attached the stickers to layers of cardstock to match the photo mats. I just eyeballed cutting out the ovals.
And yes, it bothered me that my cutting didn’t result in smooth edges… LOL But sometimes done is better than perfect, right? At least that’s what I told myself!
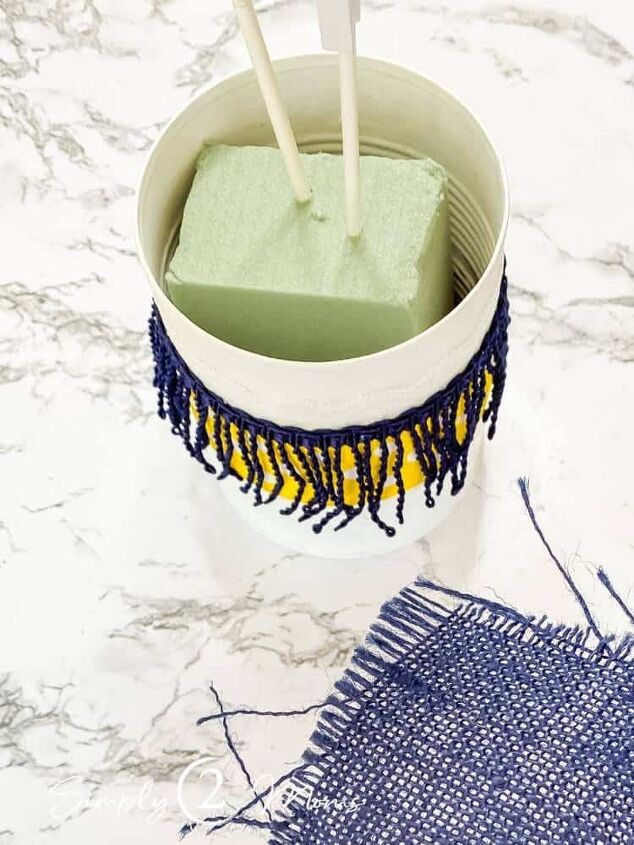
I cut blocks of dry floral foam to fit inside of the cans. This worked so well to hold the photo sticks and also some faux sunflowers.
Each centerpiece included two sticks with photos, one stick with the class graduation year, and two large sunflowers. You can add more photos or flowers if you want a fuller look.
To vary the heights of the photos, you can either cut the sticks to different lengths or just press some of them further into the foam.
How to Hide the Floral Foam
Even though the foam worked well, it didn’t look very pretty…
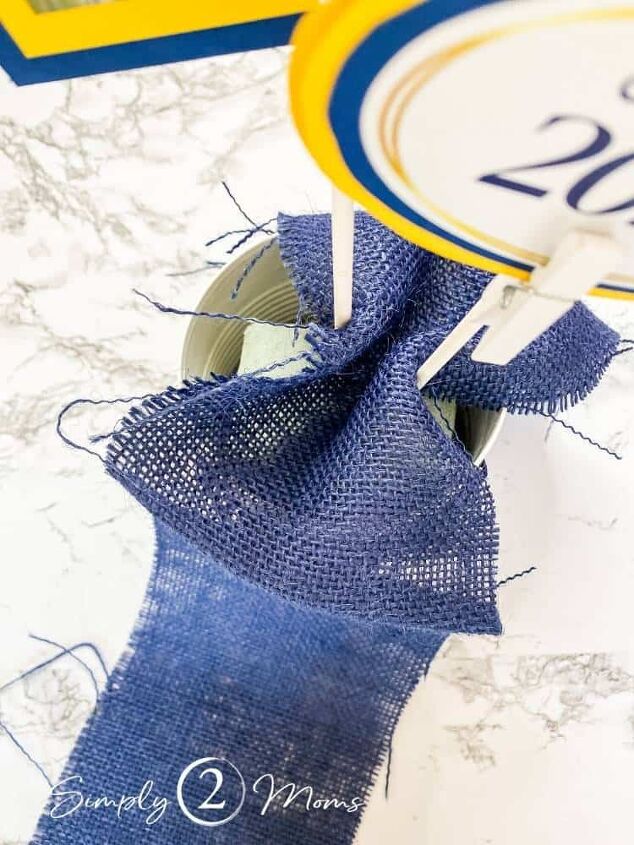
I used some navy blue burlap for table runners and decided to trim a few inches off of each end to cover the floral foam. I placed the burlap between the photo sticks with equal amounts on each side. Then I stuck the sunflowers into the foam.
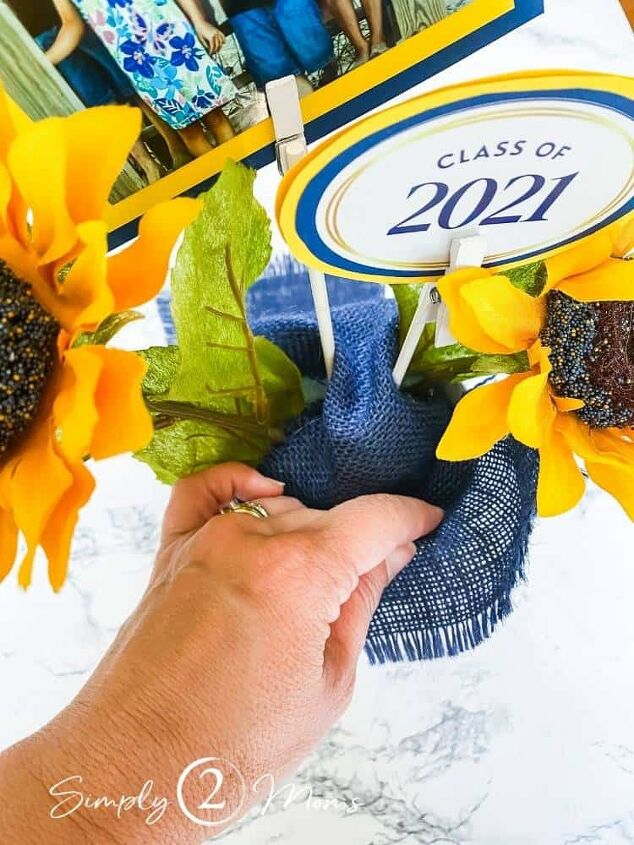
Next, I tucked in the burlap to cover the foam. For some of the centerpieces, I let the frayed edges hang out a bit over the top edge of the cans. And for others, I tucked the edges in all the way around.
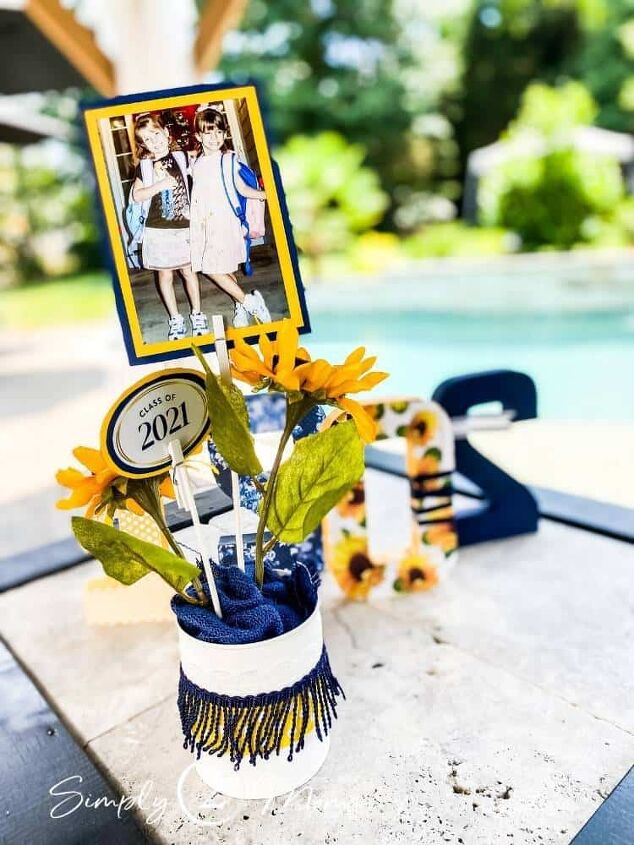
Then it was time to set out these fun DIY graduation party centerpieces all around the yard. Aren’t they fun with the decorated numbers?
Comments
Join the conversation
-
What a lovely and simple idea😍. I'm glad that recycled cans are being used here because it's eco-friendly. And the photos 💟- they're the most precious to me from my college days, as my everyday life of homework and classes has faded away. Under constant pressure from exam preparation and homework, the pleasure of learning was fading. Only the https://essays.edubirdie.com/essay-help I always did various essays here. This service saved me from doing without it.but printed photos in albums remain, and I occasionally look through them. Maybe I'm a bit old-fashioned🙈, but believe me, printed photos are a classic that electronic copies can't replace.❣️


Frequently asked questions
Have a question about this project?