


DIY Leaf Canvas
Welcome to Decorate and More with Tip!
It’s the first Wednesday of the month, which means it’s time for the monthly DIY Challenge.
For this month’s theme we are working with a canvas, any way we want to use them. It’s going to be fun going over and seeing what type of DIY canvases they are going to share, at the bottom of my page I will have all of my friend’s canvas project for you, but first let me share you what I did with a canvas!!
To check out all my past DIY Challenges you can view here → DIY CHALLENGES.
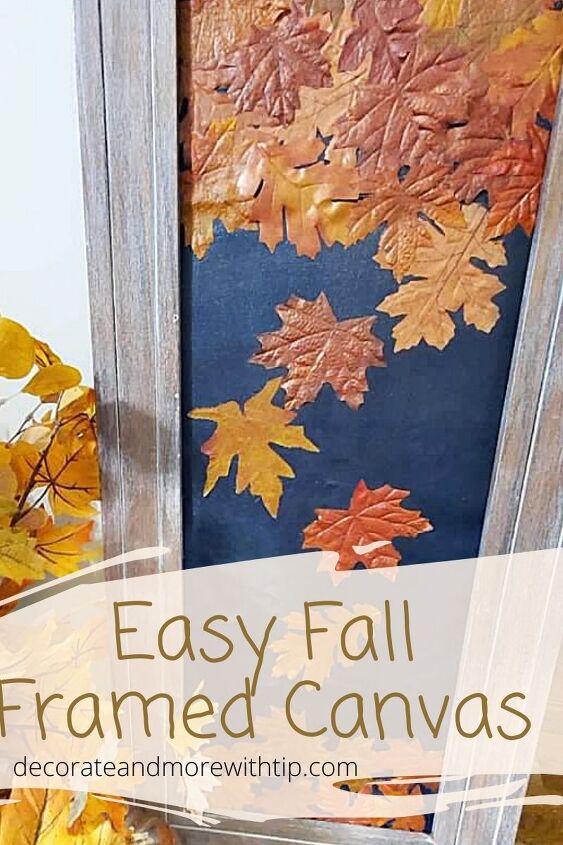
For my canvas project I am going to take an old canvas and make a cute wall hanging. I saw this on my Pinterest feed a leaf canvas, but when I went to the site it’s no longer available. So I took the photo and created my own canvas. Below is the tutorial for you to follow.
This post may contain affiliate links. Click {{ HERE}} for full disclosure.
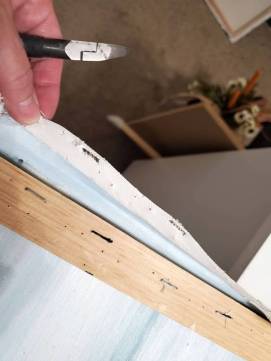
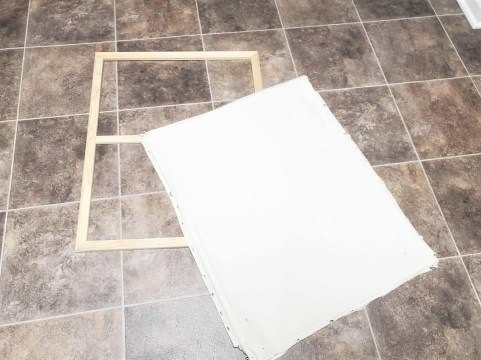
I cut the canvas to the size of my frame. I pieced mine because the frame was a bit longer, I am going to cover the part where the seam is.
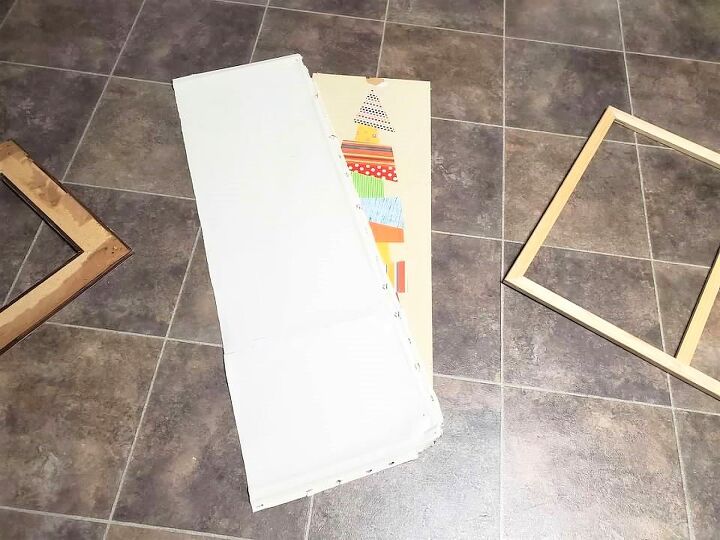
Traced the inner part of the frame onto the canvas, this will show me my work surface I have.
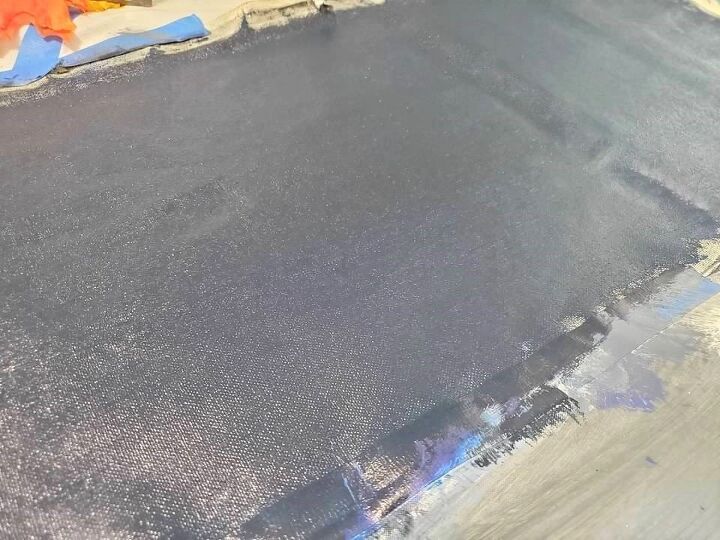
Let the canvas dry thoroughly.
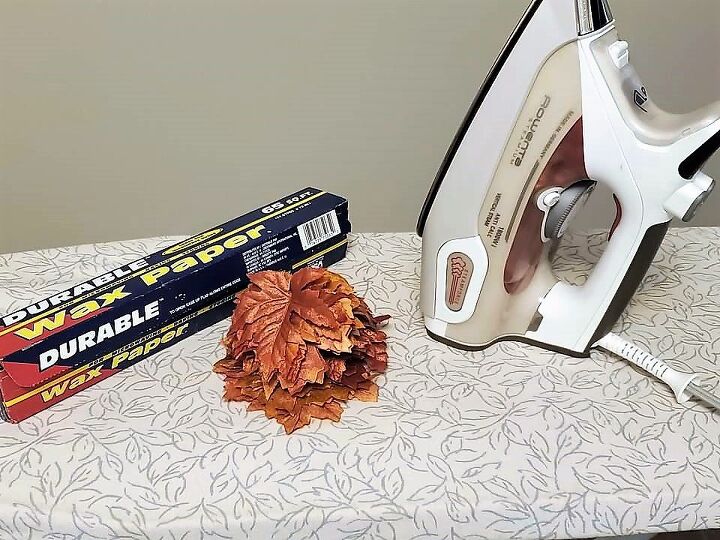
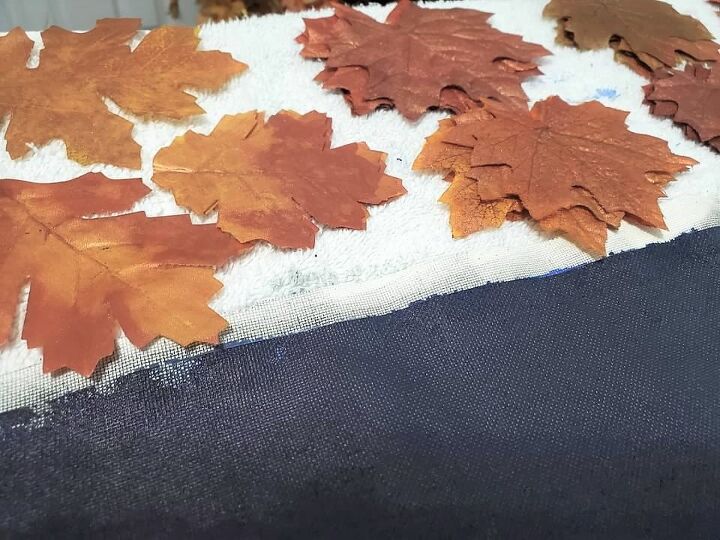
I took my leaves off their bundles. Removing the plastic veins from the back of each leaf as well.
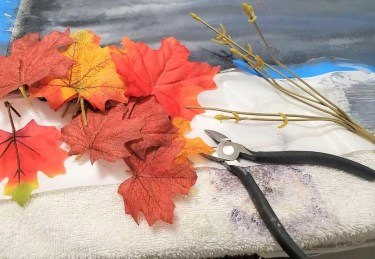
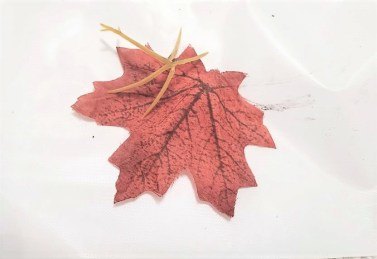
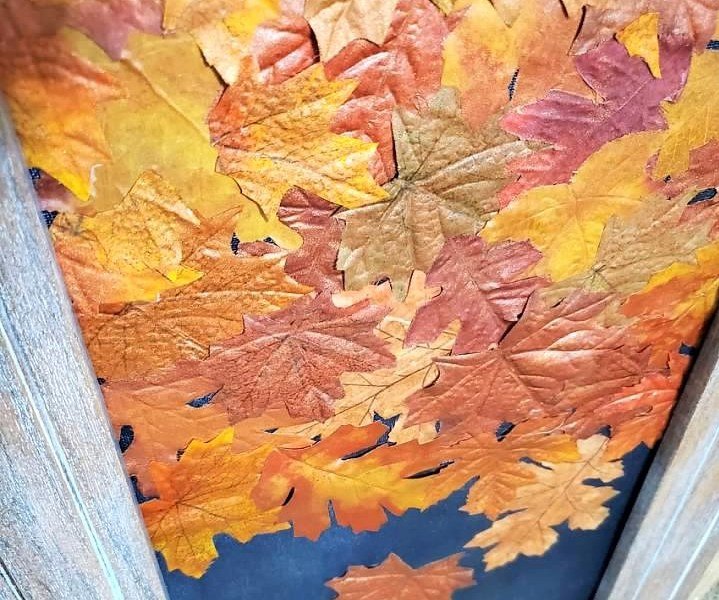
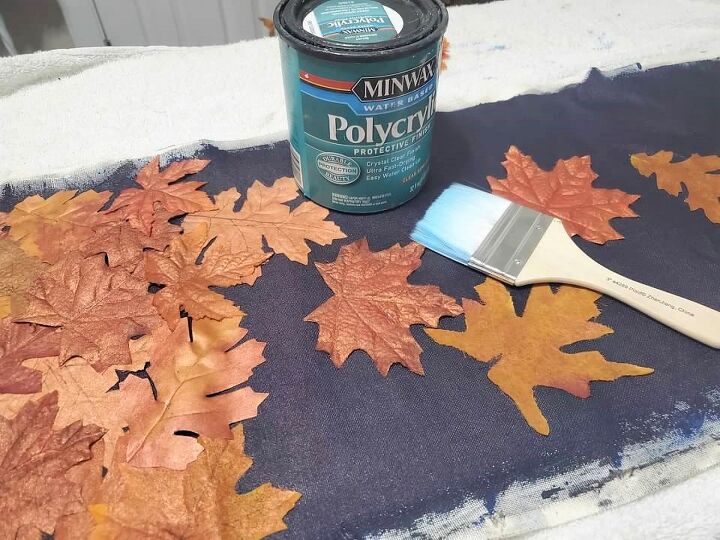
I gave my leaves a copper look to them by painting them with Folk Art metallic copper craft paint. I applied a light coat to each leaf.
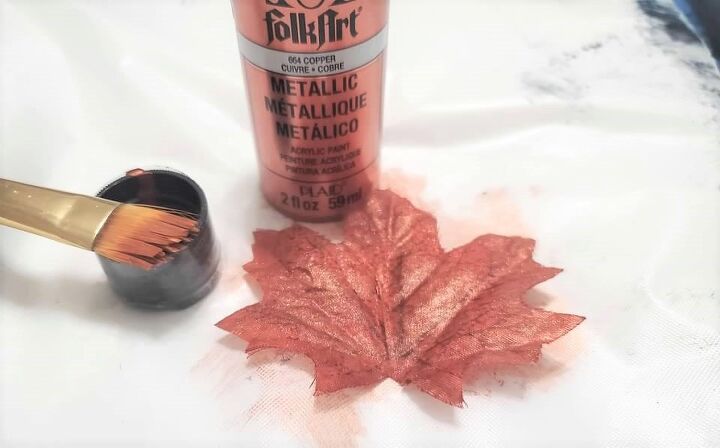
Painting the leaves kept the look flowing, with the different shades of leaves adding the copper gave them a different shade of copper.
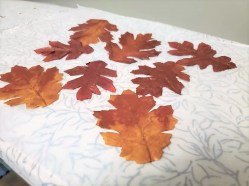
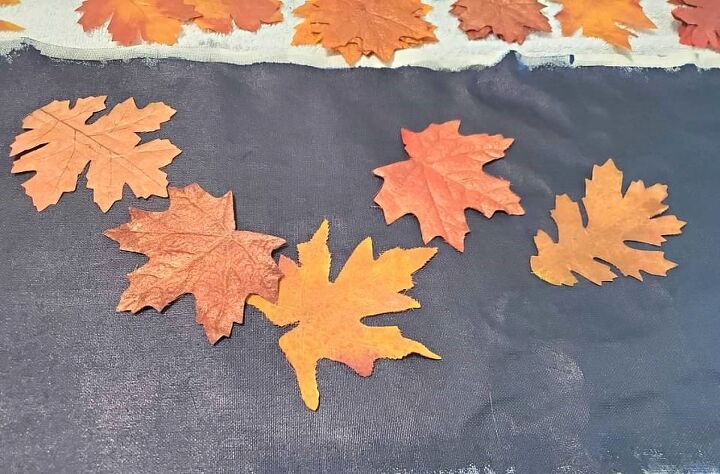
I separated my leaves per style and size. This will help me when I start the design.
How to make a Fall Design
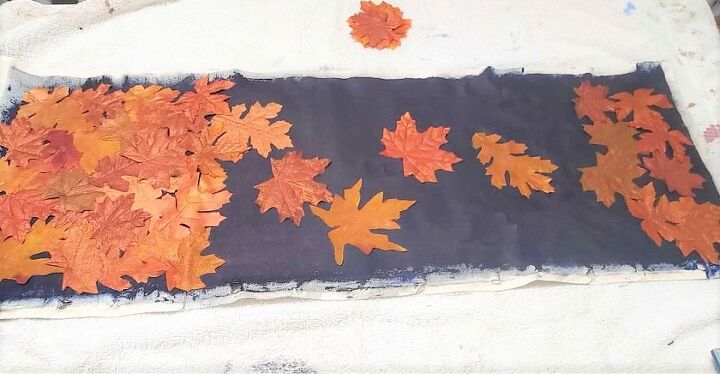
Starting out with your larger leaves, I placed them on the canvas in the center as if leaves were falling. Leaving space at the top and bottom of the canvas.
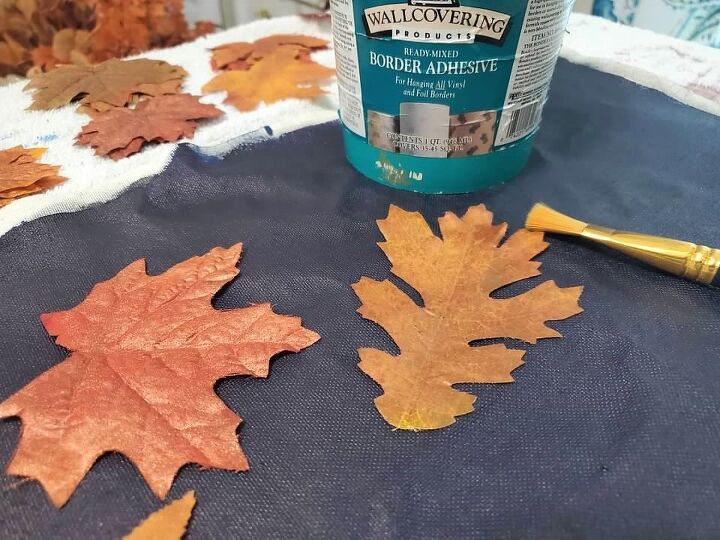
When I had the design I want, I glued the leaves to the canvas with wallpaper paste.
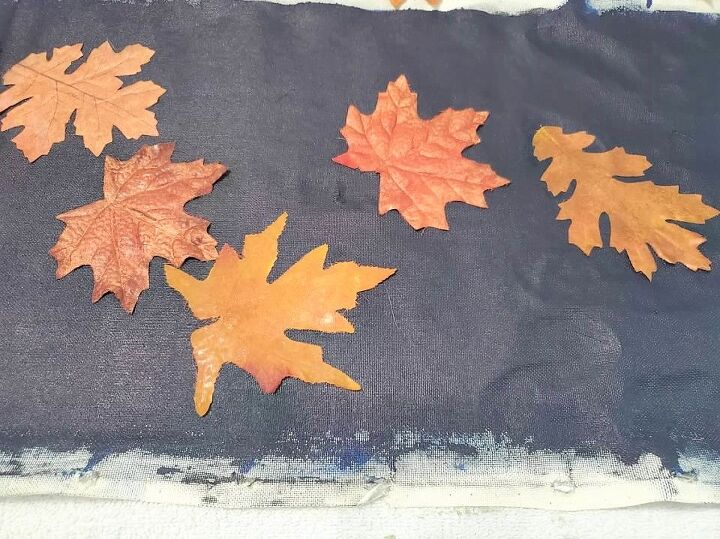
I creating a puddle of leaves to the top of the canvas, gluing as I placed the leaves on to the canvas.
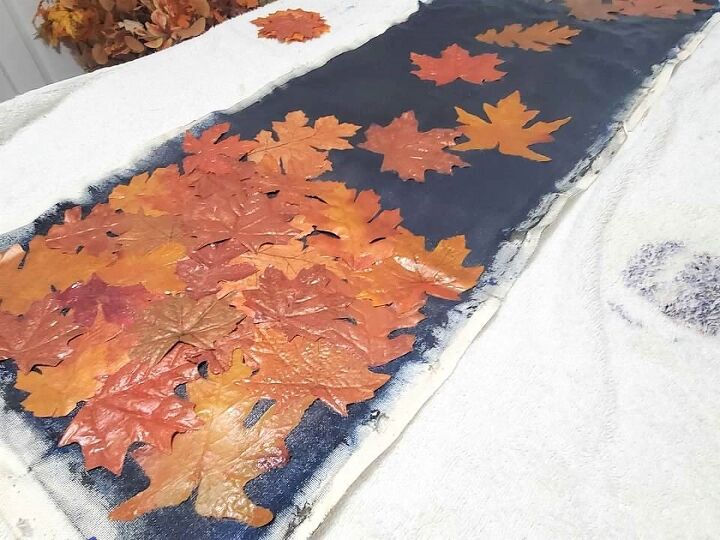
Once the glue of the leaves dried I applied one coat of poly to the entire canvas to seal my design.
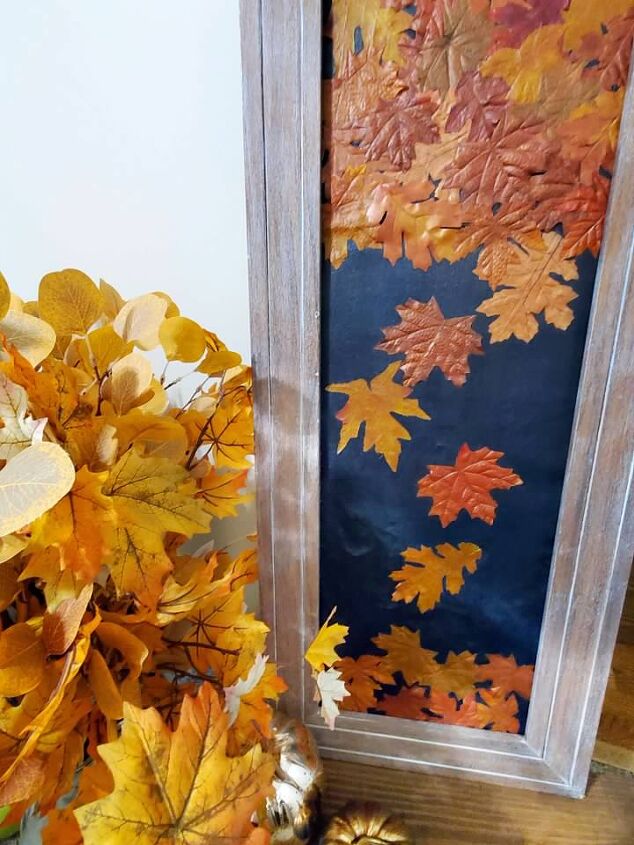
Now the canvas is dry I stapled on the back of my frame.
For the full tutorial you can jump over to my blog!


Comments
Join the conversation
-
Looks terrific!! What a cool and original idea!!


Frequently asked questions
Have a question about this project?
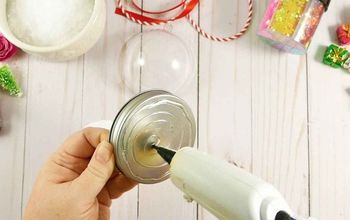
So what’s the iron for?