


DIY Sign Without a Cricut!
How to Use the Carbon Copy Method
On this site you will find lots of DIY home decor. I use my Cricut on a lot of signs and other decor items, and I get a lot of people ask if they can make these things if they don’t have one. The answer is YES! In this tutorial I’m going to show you how to make a DIY sign without a Cricut, using only your printer. This is sometimes called the carbon copy method.
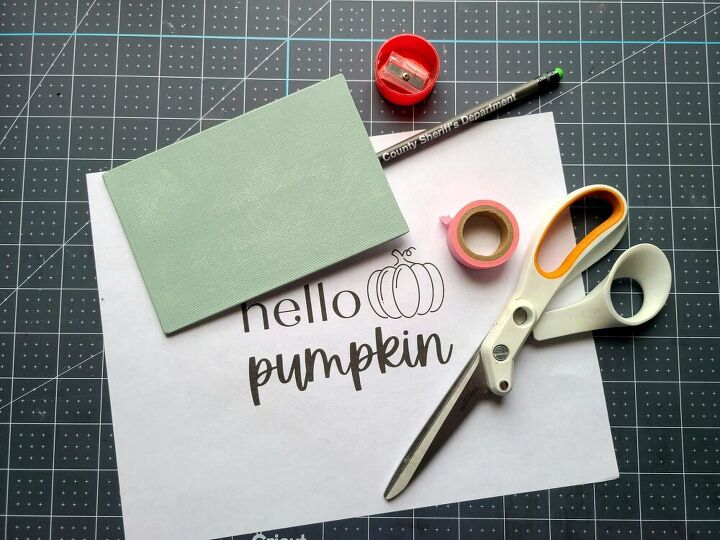
- To make a DIY sign without a Cricut you need:pencil & pencil sharpener
- design you want to use printed out on paper
- canvas or other item you want you design on- I used a 4×6 canvas because I wanted to place it in my fall tiered-tray.
- tape- I used washi tape because it’s easy to remove.
- paint & paint brushes- You could also use chalk or markers. I used aqua, orange, nutmeg brown, sage, & Spanish moss paint.
Create & Print Your Design
First you need to create the design you want to use on your sign. You can use Microsoft Word, Pic Monkey, Ripl, Canva or other design software. I made a simple design for this project because I don’t use this method a lot. Practice makes perfect. The more you do this, the more intricate designs you can use. If you’re great at painting you can go for a more difficult design. If you’re decorating for fall and like my design, you can download and print it below. When you open it in the PDF viewer and click print, make sure you click on actual size under more settings otherwise it will print to fill an 8.5×11 piece of paper.
Prep Your Canvas
If you’d like to have a base color on your canvas, go ahead and paint it now. I painted mine a while back for another project that I didn’t end up using. Sage is a fall color so I decided to go ahead and use it. It’s 4″x6″ (I used it landscape so it’s 6×4) so it easily fits on my tiered-tray.
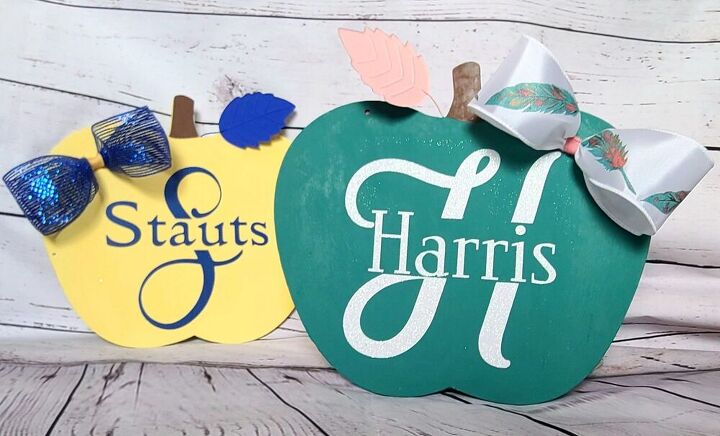
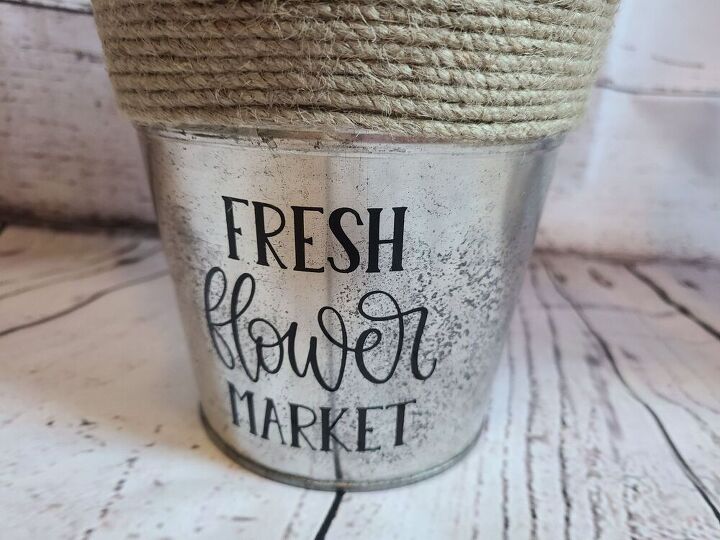
You can also use this process on a ton of other DIYs. Make these reversible faux books and use this process to add book names on the spines. It’s back to school time and this DIY teacher door hanger is adorable. Make a split letter monogram with this method to make a great gift for your child’s teacher. If you have a farmhouse theme in you home and you don’t have a Cricut, you can now make all of the adorable signs you’ve seen on Pinterest! Check out this galvanized metal flower pot with farmhouse decals that you can make with the carbon copy method. You’ll also find the tutorial for aging galvanized metal.
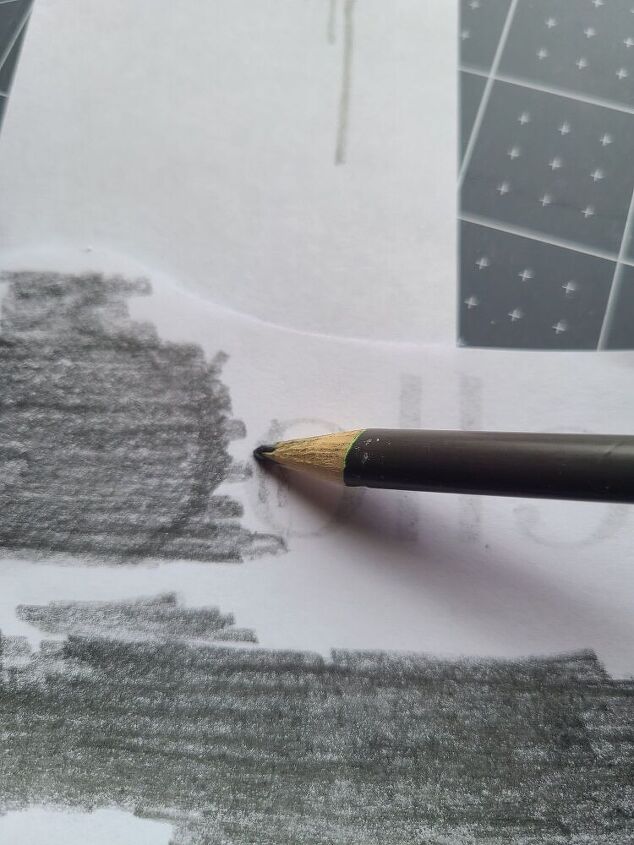
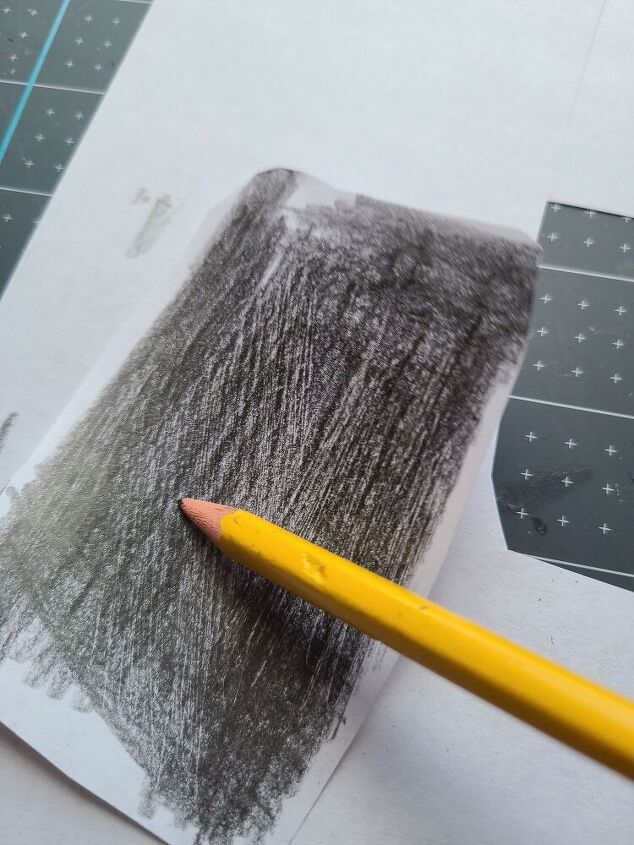
Cover the Back of Design in Pencil Lead
Scribble on the back of of the paper with your design on it. Turn your pencil a little to the side and color the entire back of paper. Make sure you get a lot of lead on it because this is how you will transfer the design to the sign. This is similar to the process we used back in elementary school to make leaf “rubbings.”
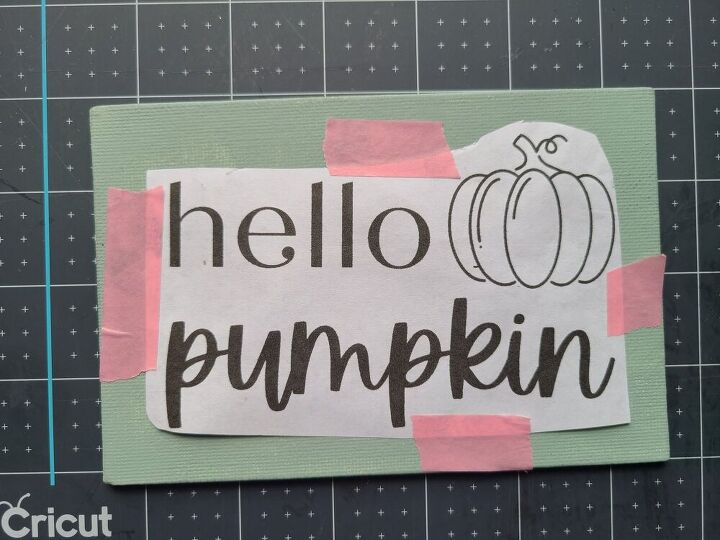
Tape & Outline the Design on the Canvas
Cut around the design and place it face up on the canvas with the pencil lead face down. Tape it in place using washi tape. If you don’t have any, you can use regular transparent tape. I used washi because it comes off very easy without damage.
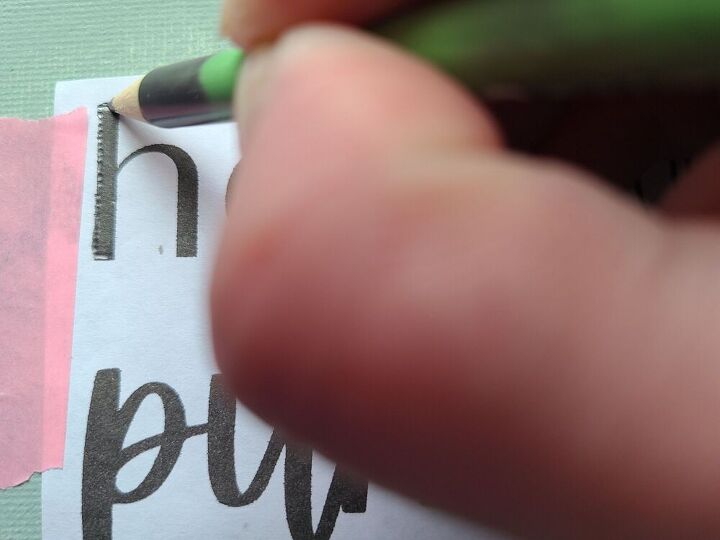
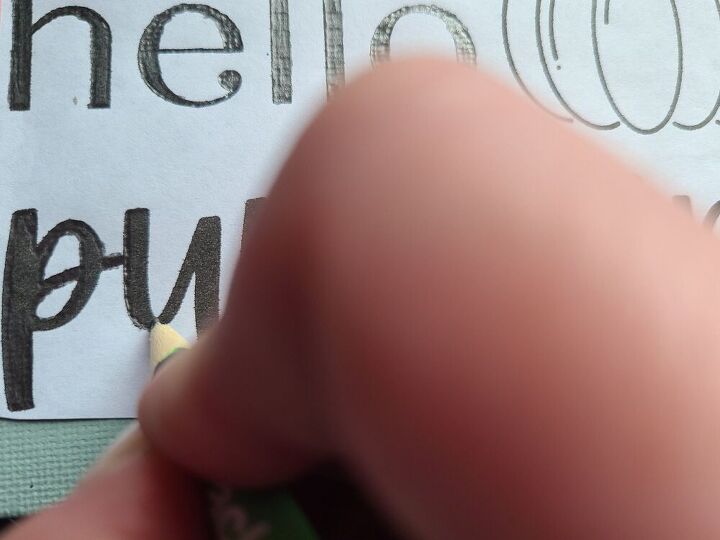
Use your pencil to trace around the design. Press down firmly and go up and down several times as you trace. You can choose to fill in the thicker lines or just go around the edges. I filled in most of the thicker lines because I had been doing this on a chalkboard for hours. It was a tiny Dollar Tree “chalkboard.” I thought I would need to do what I did on it on this canvas. However I did not! The design traced perfectly and easily onto the canvas, so you don’t have to fill the lines in if you are pressing firmly and going over the lines several times. You can lift up the design a little as you go and see how effective your tracing is. If you need to, go back over it with the pencil.
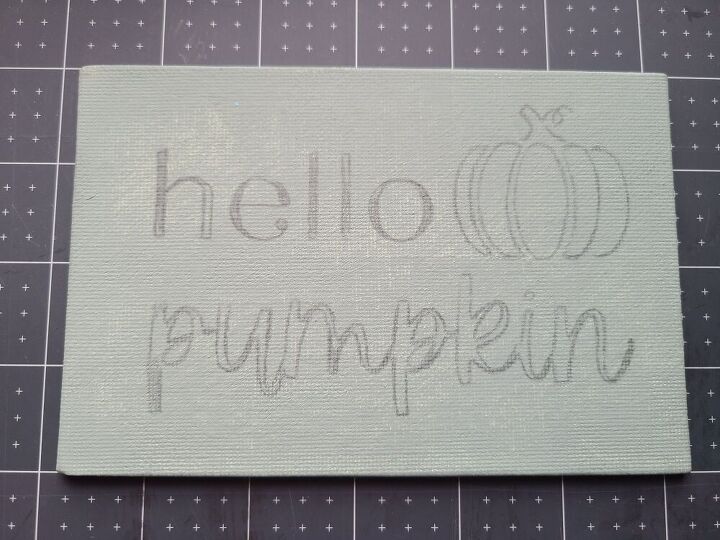
This is what you will have when you have traced the entire design.
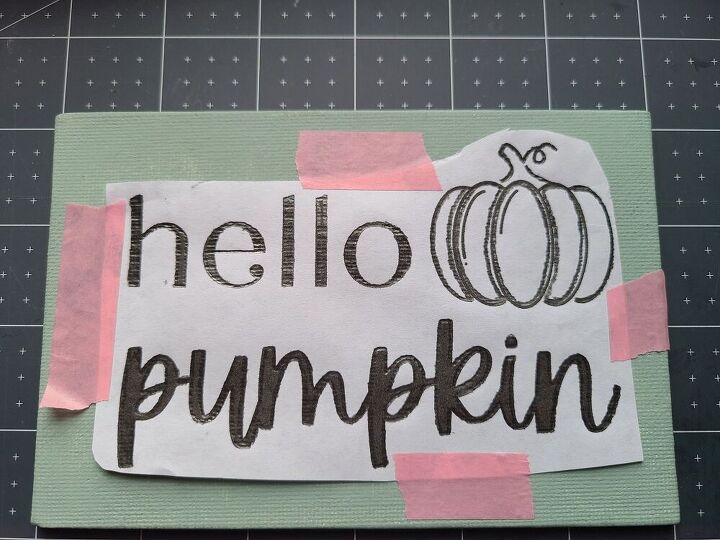
Carefully lift up the tape on one side and make sure you are happy with the transfer. If you are, remove the tape and design. Check out with the progress of my DIY sign without a Cricut!
Paint the Sign
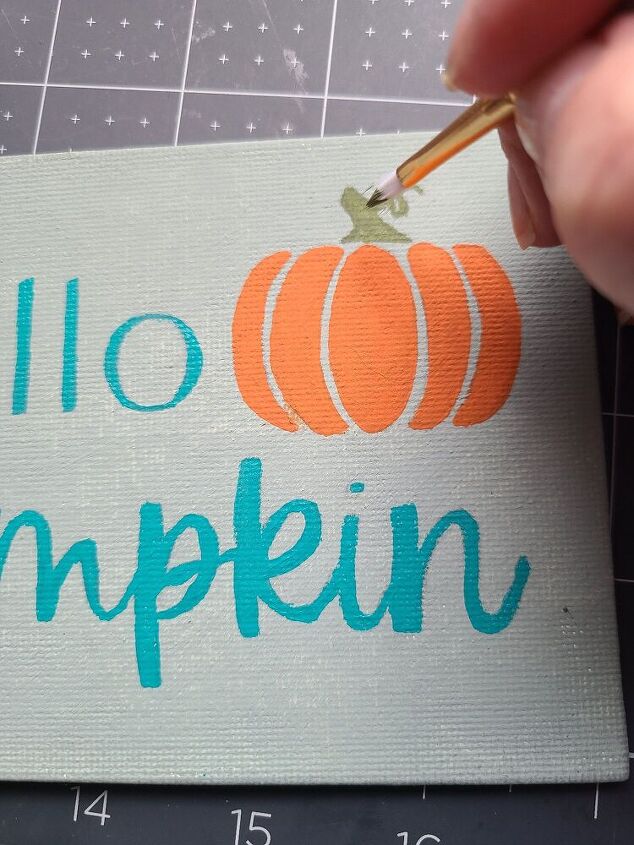
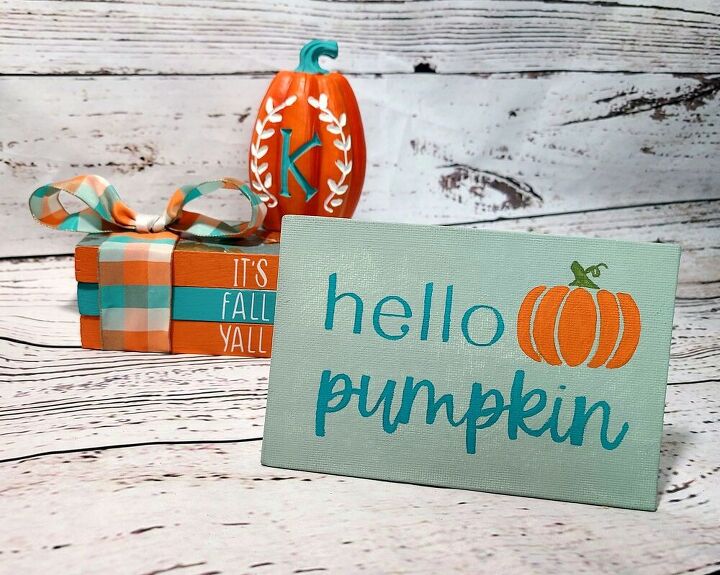
Now that your design is transferred onto your DIY sign, without a Cricut (woohoo!), it’s time to paint it. I made this to match my fall reversible faux books, so I painted the words aqua and the pumpkin orange (obviously). If you are painting thin lines, use a very thin paint brush. I used the thinnest I could find because I had to paint two coats to cover the pencil lines and the base paint coat.
Your DIY sign without a Cricut is complete!
Allow your sign to dry then hang or place it out proudly! Here is mine next to an upcycled monogram pumpkin from Dollar Tree.
I hope that this tutorial helps you make a lot of the projects that you see shared on here and on Pinterest. If you have friends and family who want to make personalized signs and other items, share this tutorial with them. Tag me when you make your DIYs so we can see all the ways we can use this carbon copy method. Comment below on the ways you plan to use it!
Make sure you enter your email address in the sidebar or at the bottom of the page so you don’t miss these tutorials, free printables, and other great posts. You’ll get an email when a new post is uploaded, and you will never get any spam! I’m working on growing my social media channels (finally), so use the buttons below to follow on your favorite platform. Let me know when you follow and I’ll give you a follow back. Building up your fall decor? Check out and follow my Pinterest board. I’ll be adding to it as fall approaches.
If you’re one of my blogger friends, share your family friendly posts with us on our link parties, Happiness is Homemade, You’re the Star Blog Hop, and Traffic Jam Weekend. You can widen your audience and have a chance to be featured on the next week’s party. If you’re not a blogger, make sure you check out those parties for tons of ideas and inspiration for DIYs, recipes, crafts, home and seasonal decor, fashion, family ideas, and so much more!

How to Make a Bow for a Wreath
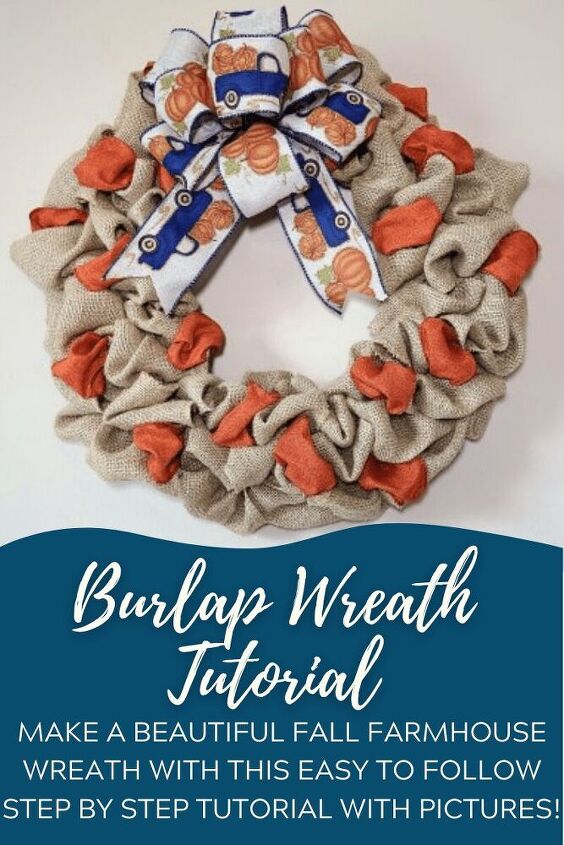
Burlap Wreath Tutorial
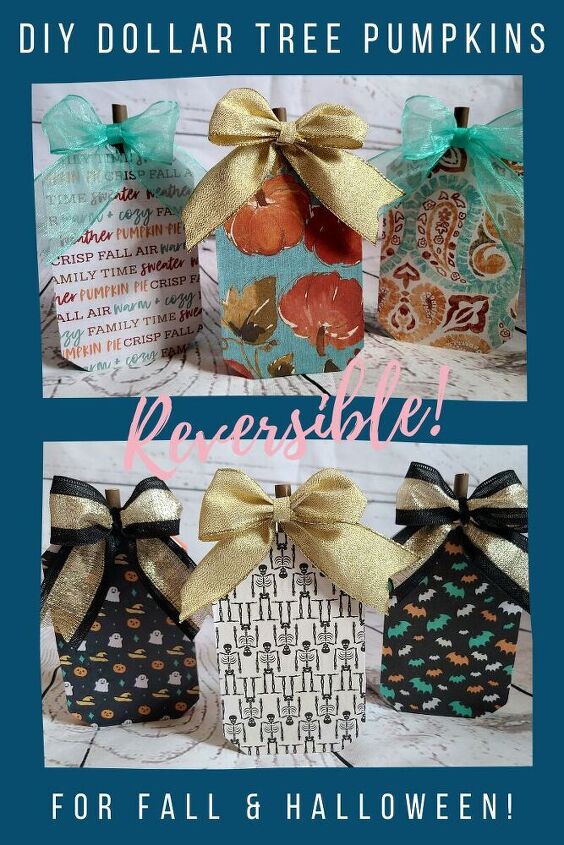
Reversible Dollar Tree Pumpkins Tutorial
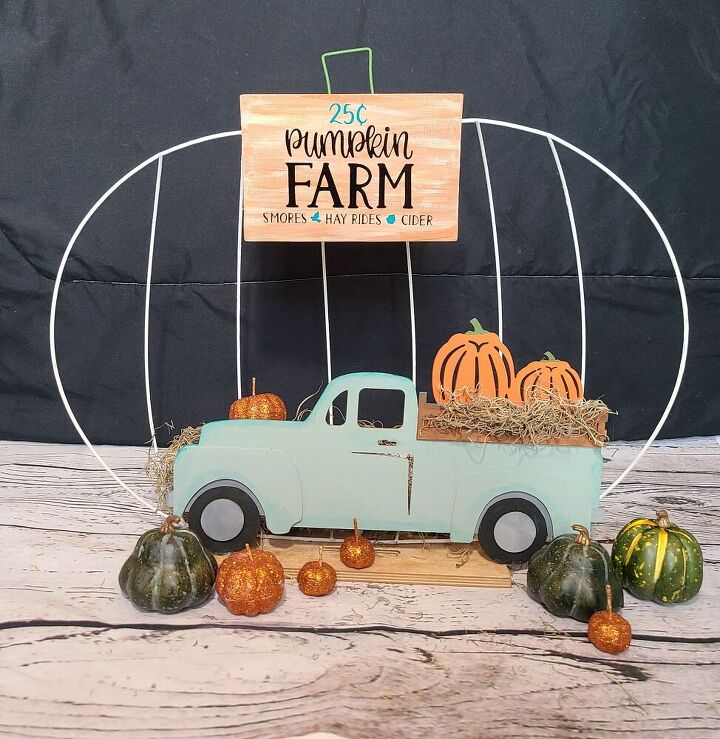
DIY Fall Centerpiece from the Dollar Tree
Reversible Faux Books Tutorial
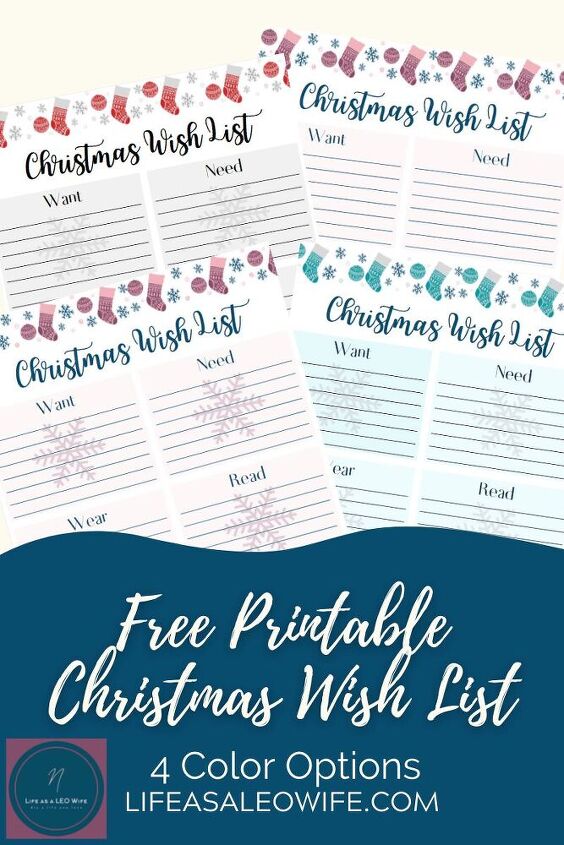
Free Printable Christmas Wish List

Teacher Door Hanger DIY Tutorial

Split Letter Monogram Cricut Tutorial


Comments
Join the conversation
-
Old school! Thank you for reminding me of this transfer trick. I DON'T have a Cricut.
-
That's clever!!


Frequently asked questions
Have a question about this project?
I'm just curious, why didn't you use carbon paper? You would save yourself the whole step of all the pencil rubbing work. Carbon paper is so cheap and easier to use and it doesn't smear like pencil.
Is there a tutorial for painting the Monogrammed pumpkin? 🥰