


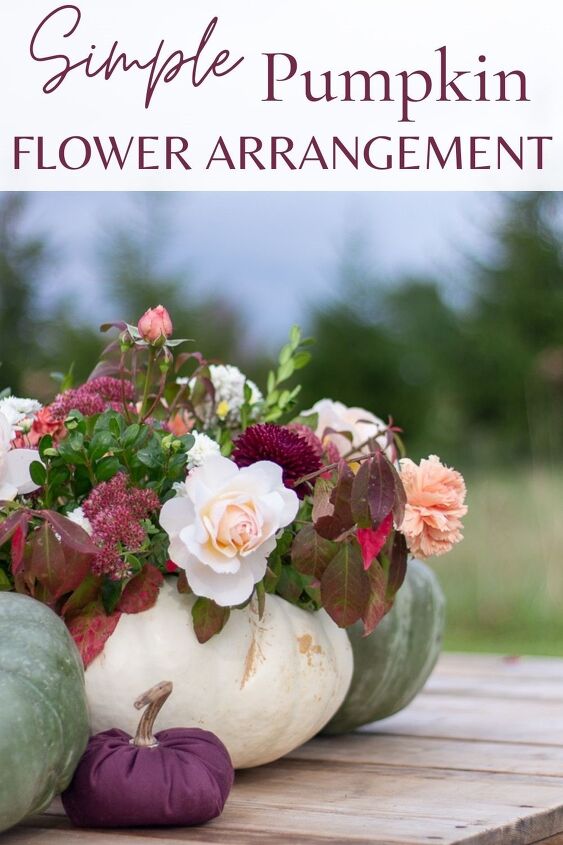
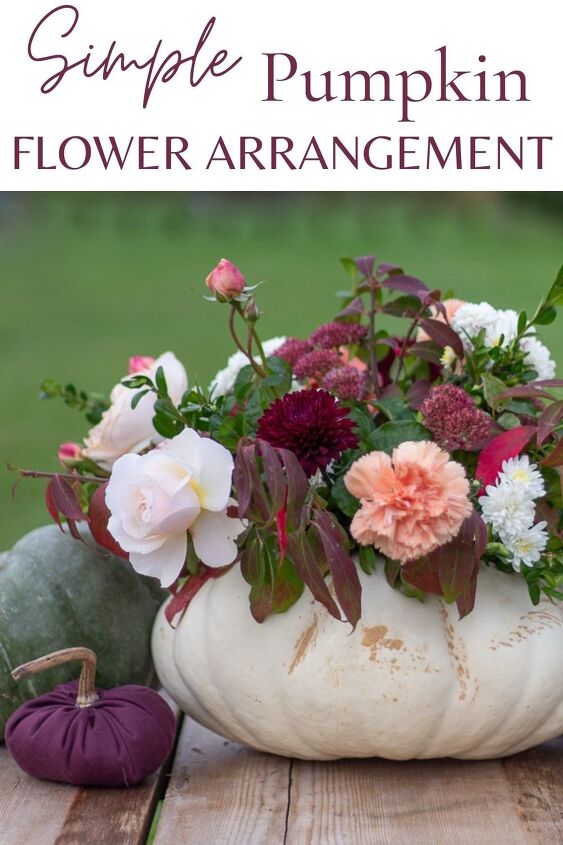
How to Make an Easy and Beautiful Pumpkin Flower Arrangement
I’ve seen these gorgeous pumpkin flower arrangement for years now. So I decided to try one myself. I was nervous but it was so easy!
I know it might sound silly, but these pumpkin flower arrangements have always intimidated me.
In all honesty, every time I decide to create a flower arrangement I get nervous.
How in the world do a bunch of flowers scare a grown woman?!
I’m afraid I’m going to try to create something beautiful and it’ll turn out to be a flop.
Do you guys hear a repeating theme in all these posts??
- I decide I want to do something.
- Fear tells me I’m not good enough to do it.
- I do it anyway because fear is a LIAR!
- Then I’m proud of myself for pushing past my fear and doing it scared!
The milk paint fireplace, the Christmas wreath from last year, the girls’ bedroom makeover, especially their built-in bookcase, and the open shelves in the kitchen just to name a few.
Let’s go ahead and add a group of flowers and a pumpkin to the list!
It’s become such a normal trend for me, that I almost don’t notice the fear.
ALMOST haha!
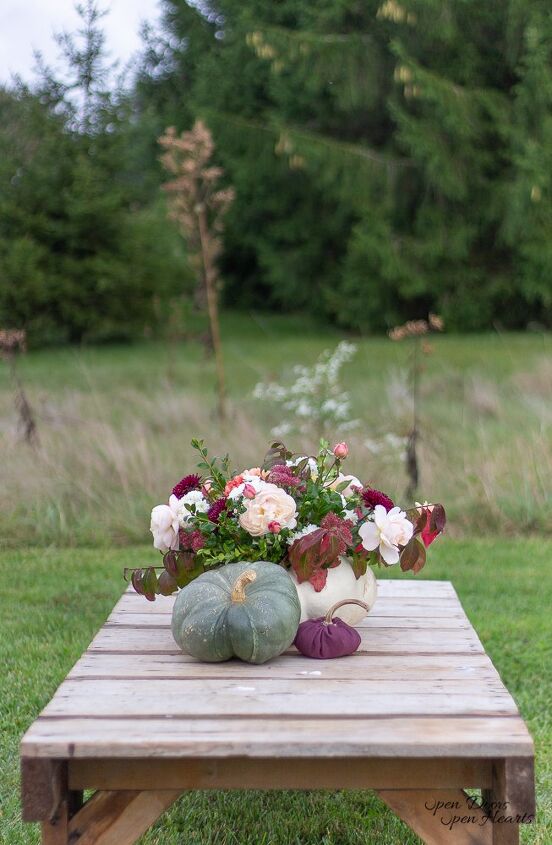
Anyway, I’m happy to report, this pumpkin flower arrangement turned out beautiful and was not worth an ounce of fear.
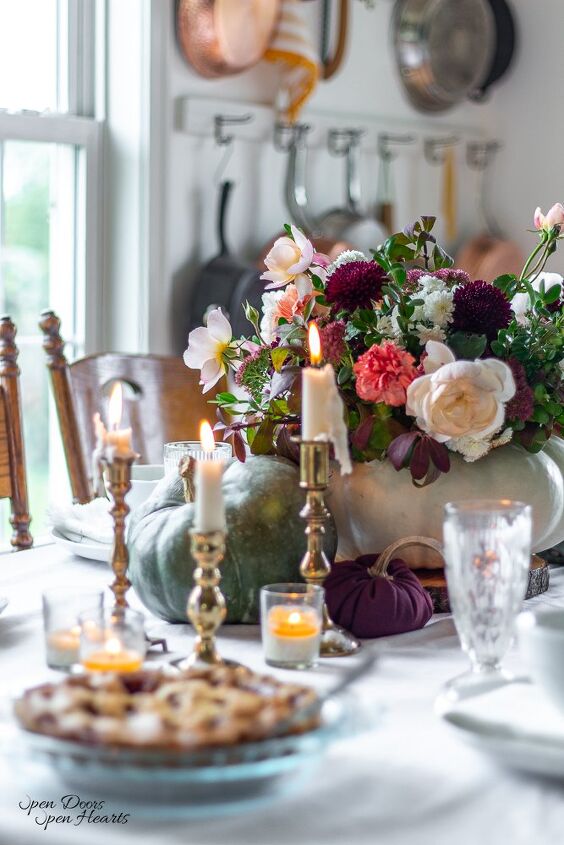
If you’re interested you should go check out the table setting I used this pumpkin flower arrangement for!
How long do pumpkin flower arrangements last?
This depends on a couple of factors.
Are you using real flowers and a real pumpkin?
Did you use a vase full of water or did you put water directly into the empty pumpkin?
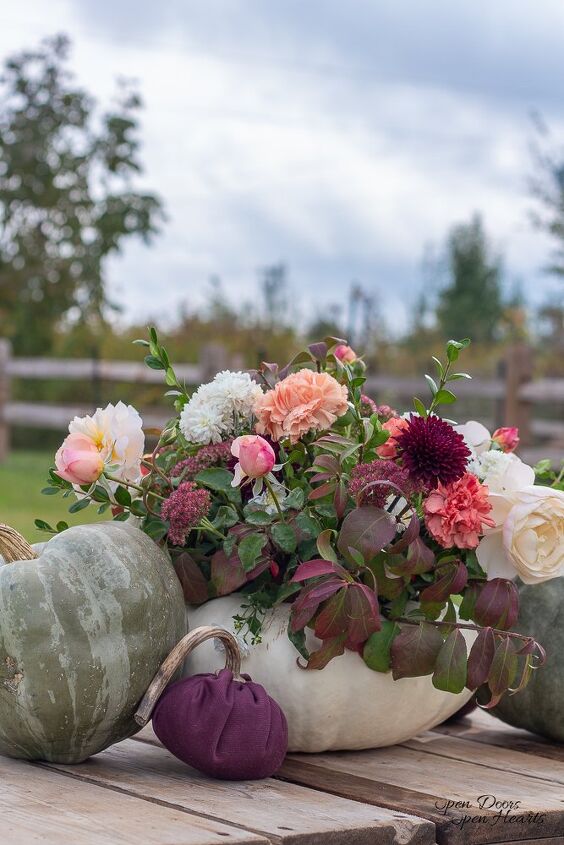
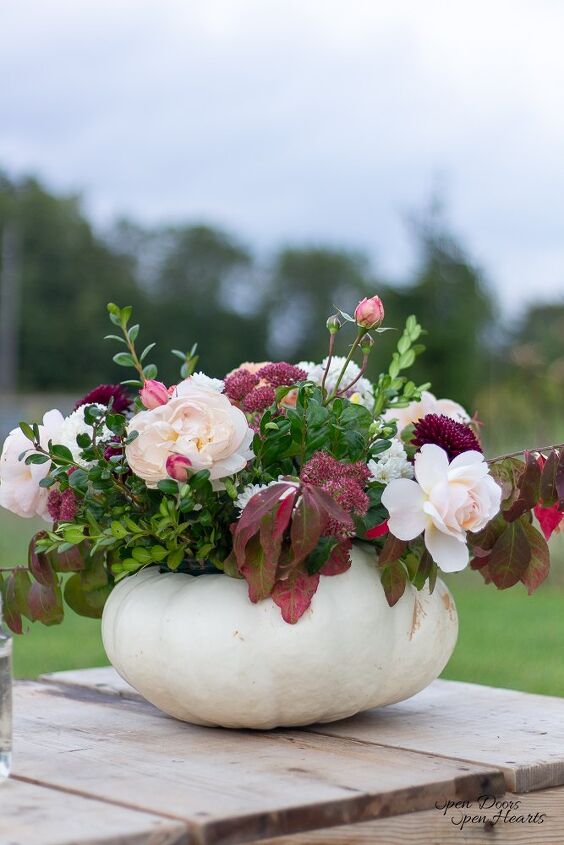
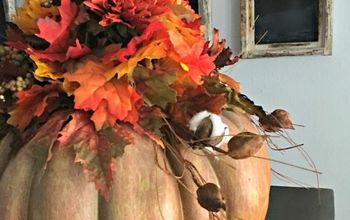
This pumpkin flower arrangement has real flowers and a real pumpkin.
But I opted to use a vase to hold the water and it has lasted me a week so far.
If you remember my Fall kitchen tour then you might recognize a few of these flowers from that Autumn floral arrangement.
Those flowers are starting to look sad, but they were on the discount rack at the grocery store and have been at my house for over a week now.
But the pumpkin is holding up really well!
The key for keeping a real pumpkin in good condition is 100% starting with a clean pumpkin and using a vase inside of the pumpkin to hold the water.
In my research, I learned that pumpkins with water poured directly into them don’t last as long.
How do you use a pumpkin vase?
I actually created a fun Friendsgiving tablescape with this vase that I can’t wait to share with you next week!
But they can also be used on a coffee table or side table in the living room for Fall decor.
The sky is pretty much the limit for how to use a pumpkin vase.
If its Fall then you put some flowers in that vase and put it anywhere you want!
Sometimes we get hung up on all the “rules” when we decorate our homes.
I almost fell into this trap for my Fall decor this year.
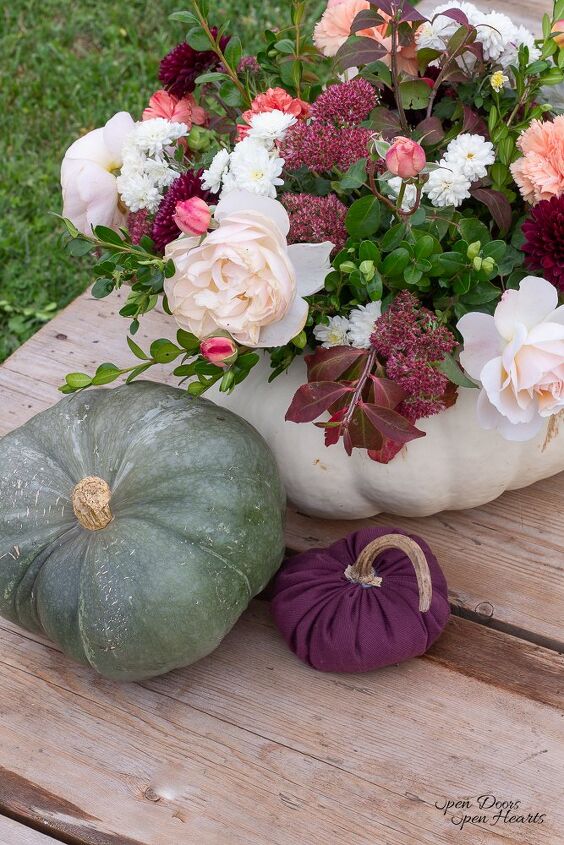
I felt compelled to go with plum, mauve, and copper.
Not necessarily your traditional Fall colors.
But something inside of me really wanted that color scheme.

I almost didn’t do it because it wasn’t trendy or traditional Fall colors.
Then a friend of mine reminded me that those are colors my mother used in my childhood home.
After that, I was sold and never looked back!
How do you make a pumpkin flower arrangement?
Pumpkin Flower Arrangement: Supplies

- Pumpkin (that sits flat)
- Flowers of your choice
- Vase or bowl that fits within the pumpkin
- Flower tape
- Knife and Spoon
Pumpkin Flower Arrangement: Instructions
Step 1
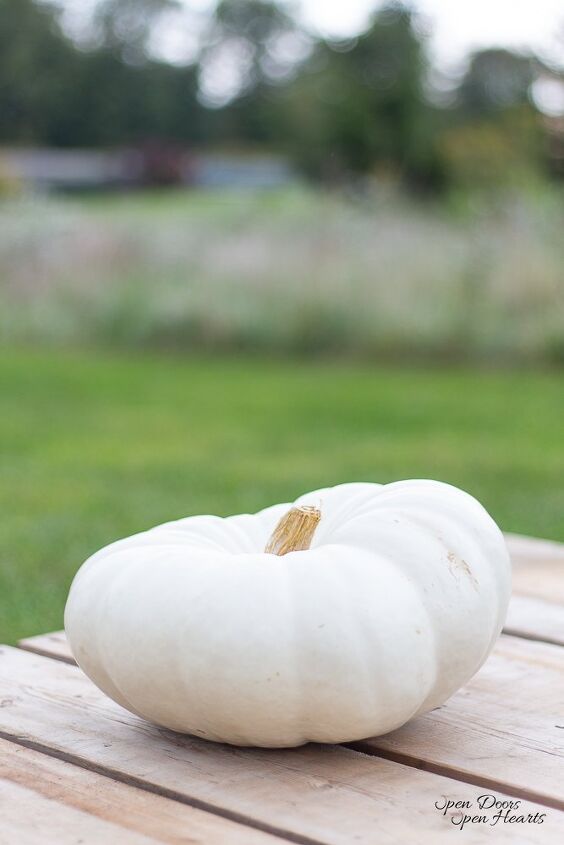
First, select a pumpkin that sits flat.
Step 2
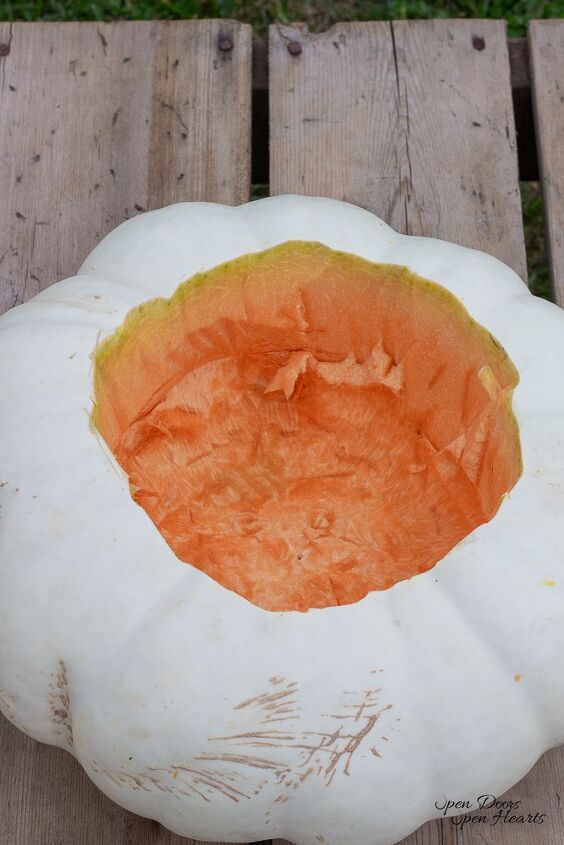
Next, use the knife and bowl to score the pumpkin top so that that bowl/vase will easily fit within the hole.
After you know how big to make the opening, cut the pumpkin top off and scoop out the insides.
(Hint: If you like to roast pumpkin seeds don’t let those little guys go to waste!)
Step 3
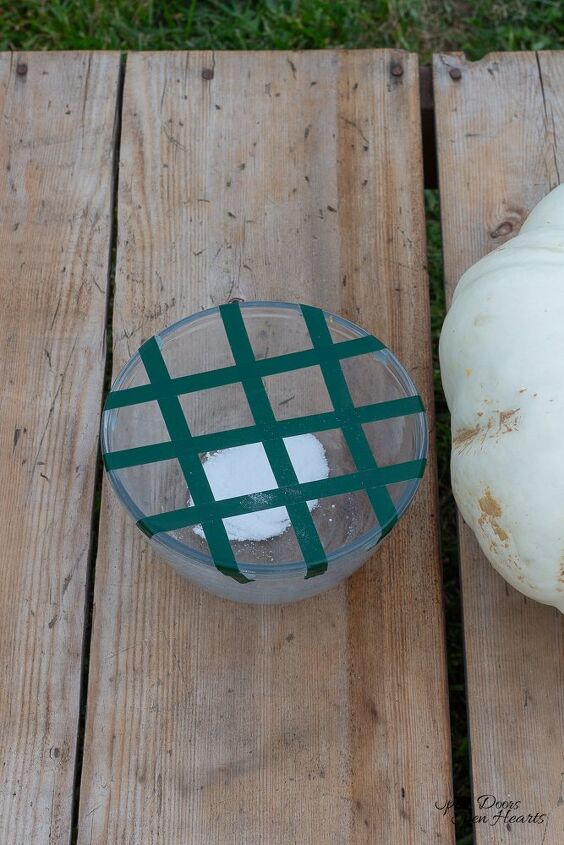
Now take the flower tape and begin taping a gride across the top of the bowl/vase.
When you’re done with this step go ahead and set it inside the pumpkin before you fill the bowl/vase with water.
Step 4
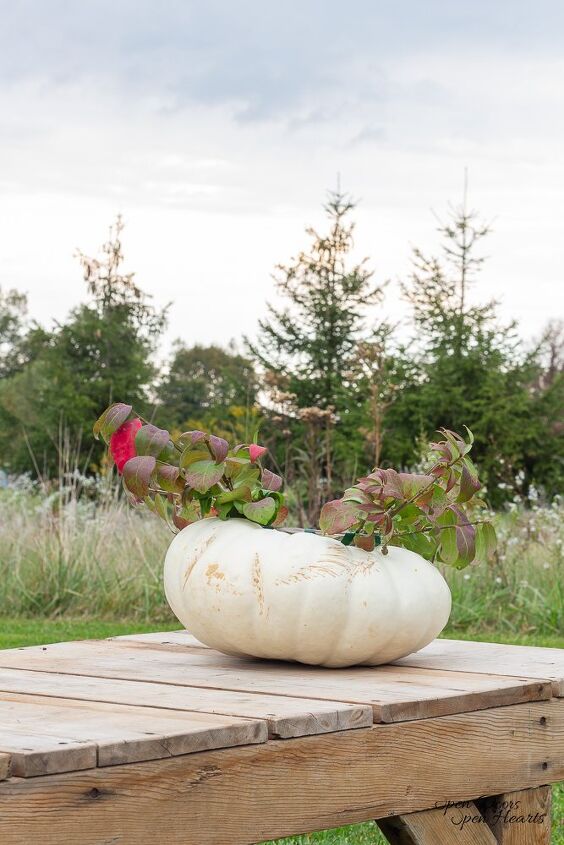
I started by adding my structural greenery around the outside of the bowl.
By structural I mean, something with a stiff and sturdy stem.
For this, I used some cuttings from our burning bushes.
I thought the green fading to purple and then crimson was a beautiful touch for this arrangement.
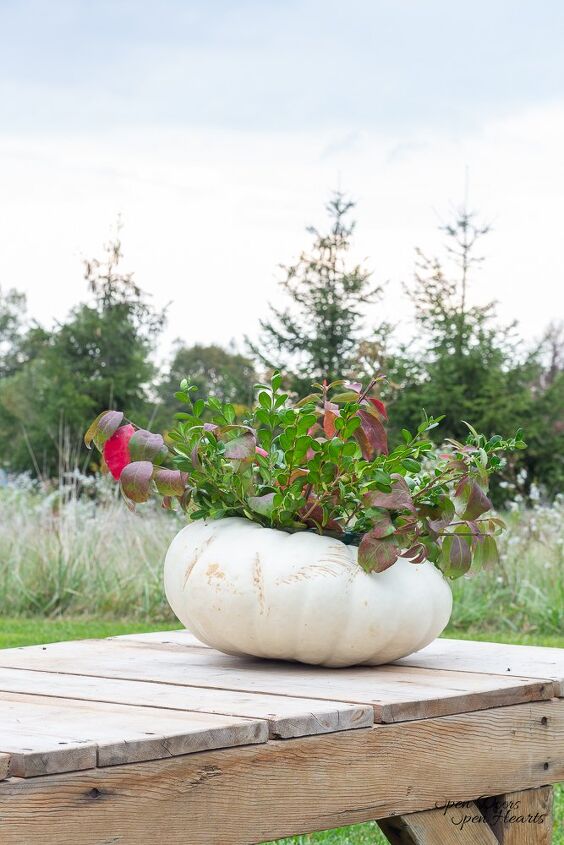
Then I placed some of the filler greenery around the outside of the bowl as well.
I used a few clippings from our boxwood bushed from our front garden beds.
I guess one of the benefits to having bushes that are HUGE is that you get to prune them haha!
Step 5
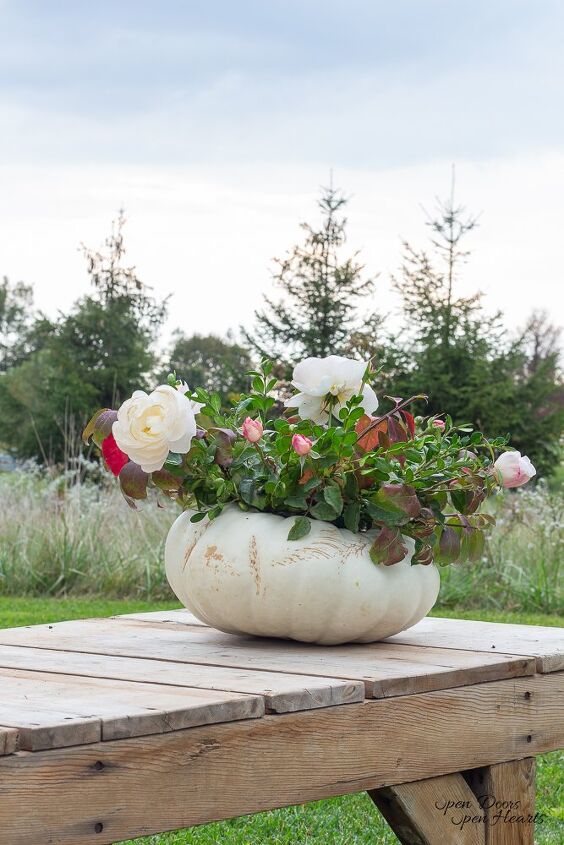
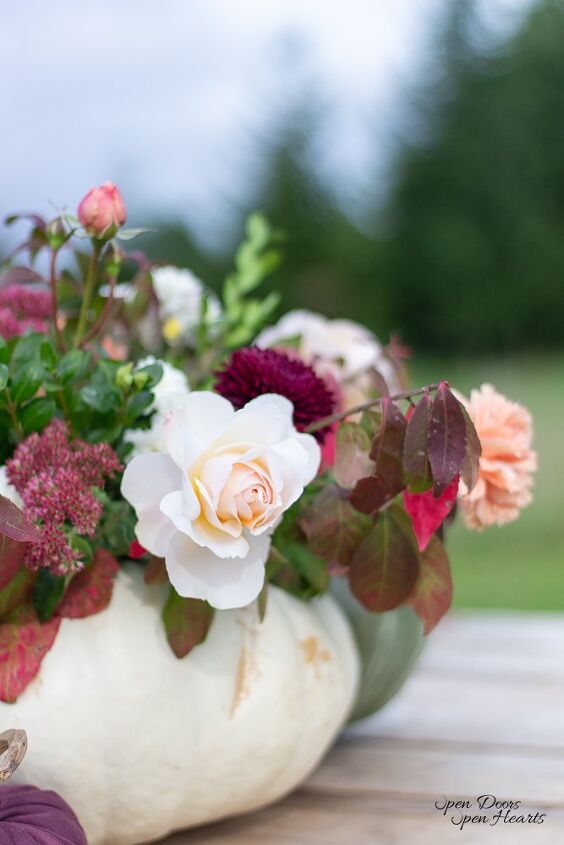
After you are done with the greenery, I started adding my “big” main flowers.
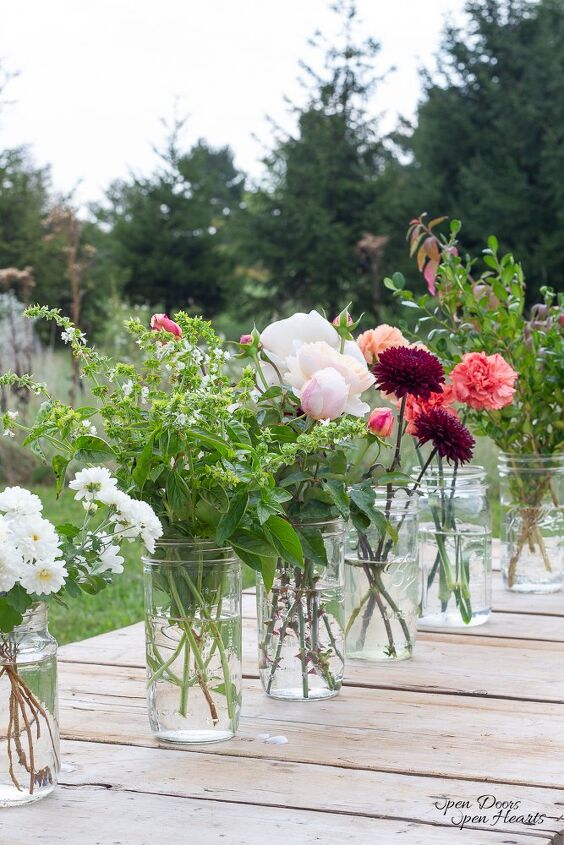
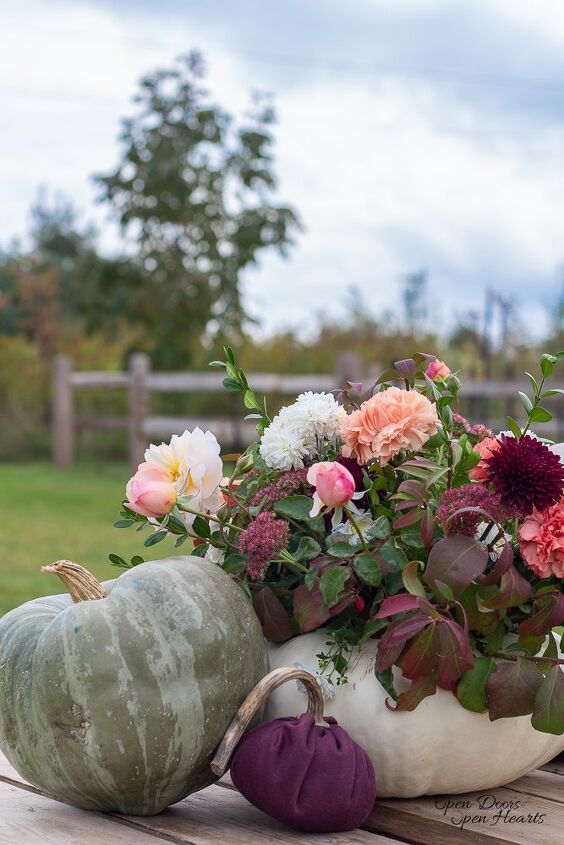
I used the last blooms from my garden rose bushes that I planted in the garden this Spring then carnations and dahlias from the grocery store bouquet.
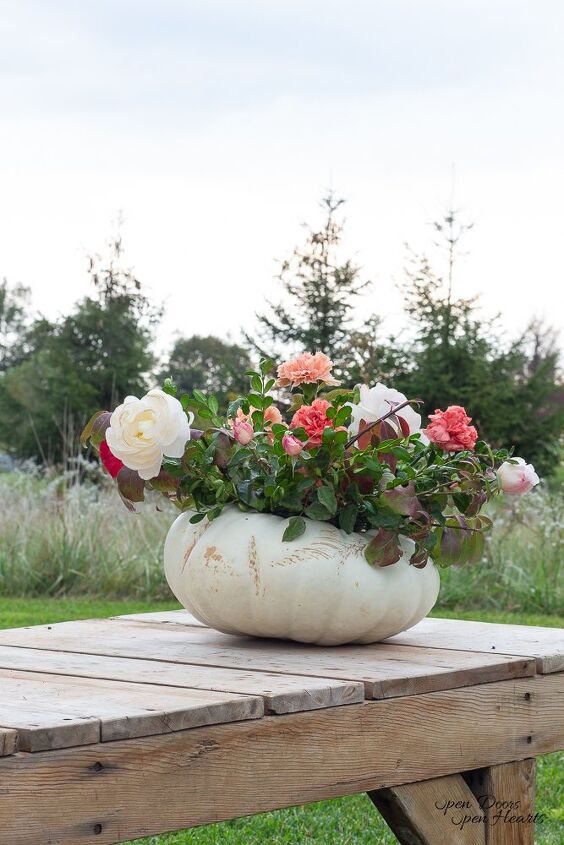
Step 6
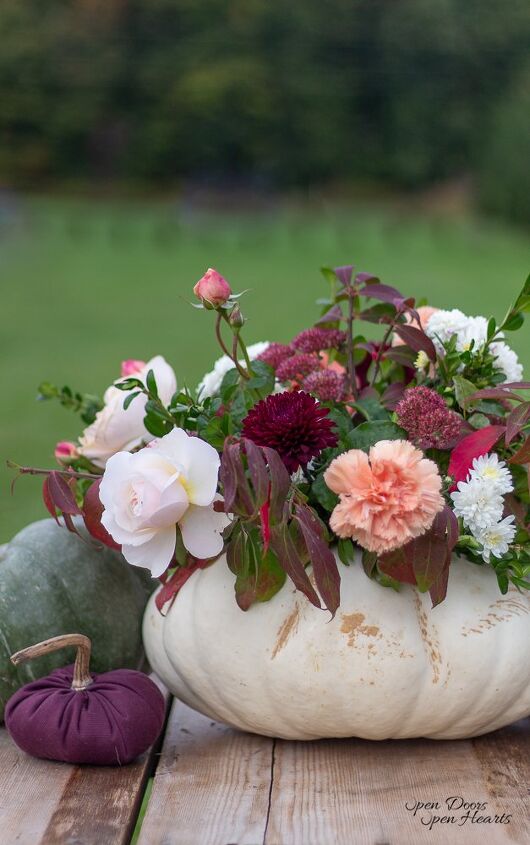
Now that I had the main stems in the vase it was time to fill it with some of my smaller blooms.
I used a few smaller stems from my white mums and my autumn joy to fill in the empty spots in this fall flower arrangement.
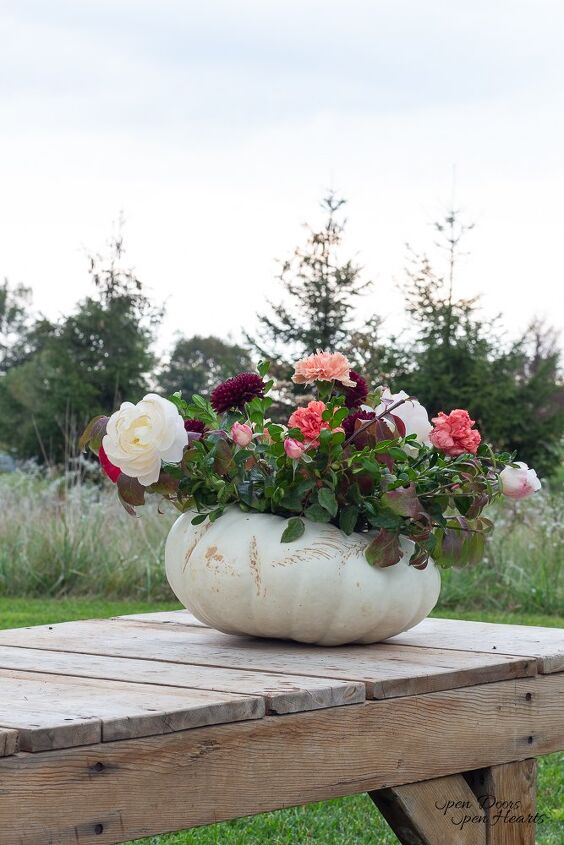
Step 7
When you have everything in the vase, it’s time to “fluff and fill”.
This is my favorite part.
There’s just something about the final details.
The random burning bush stem I decide needs to be added, or the boxwood that needs to be shortened.
It’s just a balancing act after you have everything in the vase and I love it!
Enjoy Your Pumpkin Flower Arrangement
My pumpkin flower arrangement was a family affair.
They usually are.
But this time it was a family affair for a completely different reason.
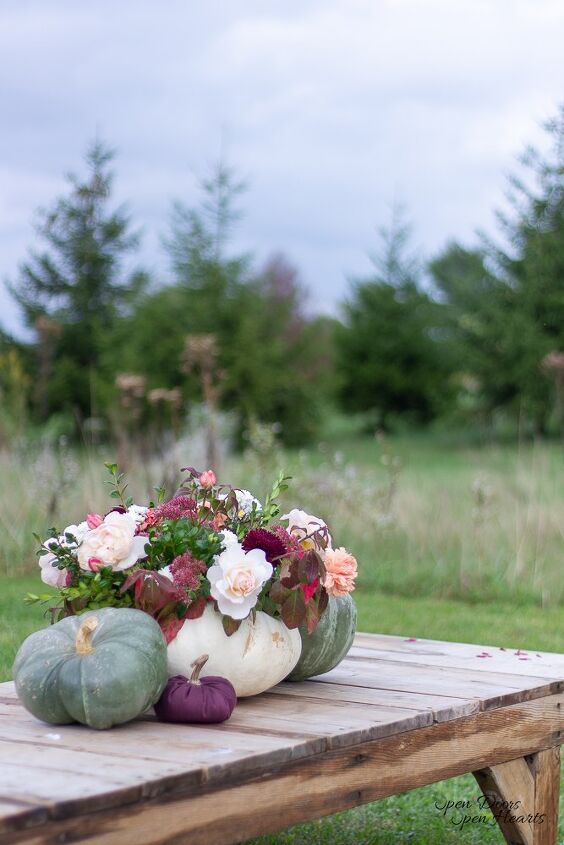
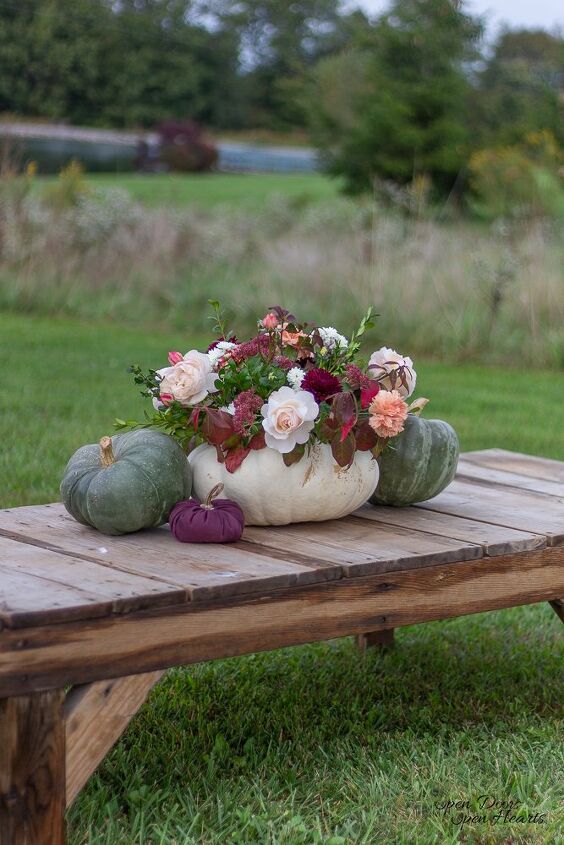
I wanted to take the picture outside on our new picnic table (this is my favorite place to take pictures if you haven’t noticed haha).
But mother nature didn’t cooperate.
In spite of the fact that I knew rain was coming I thought I could finish this fall floral arrangement before it came.
Ummmm, I was wrong.
So my husband, daughters, and I were running back and forth in the downpour as we brought all of the stuff back up to the garage.
At the time I didn’t think it was fun, or funny.
But now that I think back at it I wouldn’t have that memory any other way.
Sometimes it’s those moments that turn into the memories you laugh about later.
Now that the pumpkin flower arrangement is finished I can enjoy it not only because of its beauty, but also because of the way my family banded together and helped me.
So I put it in a place I’d see it often and have a smile brought to my face!
Pin for Later!
Don’t forget to head over to your favorite social media platforms Facebook or Instagram.
Also, make sure you follow along on Pinterest to check out all the other Fall decor ideas I’ve been pinning for this year!
Have a great week! XoXo
Open Your Doors,
Aliya
If you missed it, make sure you head to the top or bottom of this page and sign-up to join Open Doors Open Hearts!
You’ll be the first to find out all that’s going on over here and you’ll get decor and DIY inspiration!
Popular Posts:
- How to Create a Simple & Stunning Early Fall Apple Tablescape
- The Joy In Our Simple Fall Front Porch | Mums & Cabbage
- A Beautiful Shared Girl Room Update
- European Farmhouse Inspired Early Fall Entryway: Beautiful & Earthy
- How to Organize a Shared Kids Closet


Frequently asked questions
Have a question about this project?