


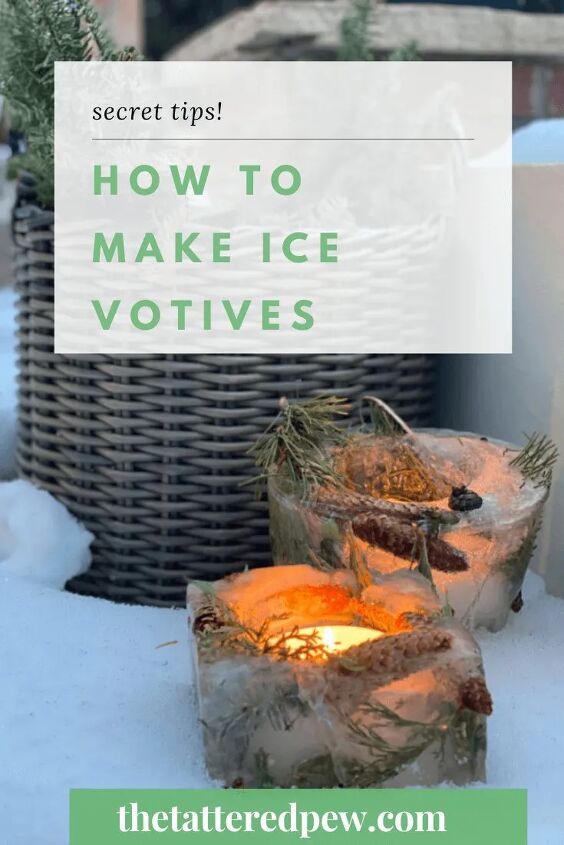
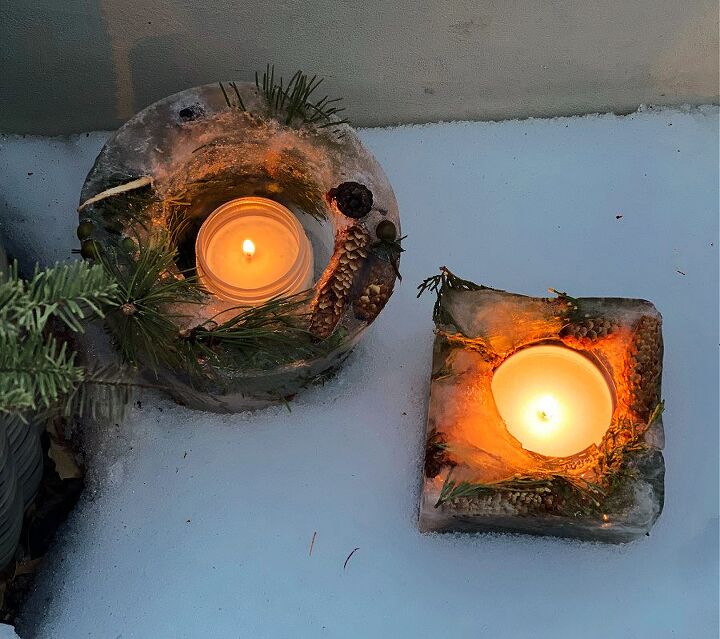
How To Make Ice Votives
As you may have noticed this post is titled How To Make Ice Votives. Have you heard of these? Just like their names says they are large blocks of ice that you can set candles in just like votives or luminaires. So basically an ice candle holder. I discovered them over on Instagram and have been dying to make them!
See more of my DIY projects over on my blog, The Tattered Pew.
But in all honestly, I should have titled it , What Not To Do When Making Ice Votives, because friends, this DIY was a hot mess just like me!
Let me explain.
Winter DIY and Projects
If you are new here I’m Kelly and I live in Colorado where I am a kindergarten teacher by day and DIY/lifestyle blogger by night.
I love quick and easy DIY projects that anybody can do (like these votives).
Faith, family, and flea markets are also at the top of my list! And of course as you will come to find I’m a hot mess who loves Jesus, coffee and lately, thanks to the hubs, whiskey!
Now let’s get down to the project!
How To Make Ice Votives
So like I mentioned above this tutorial will be guiding you on not only how to make ice votives but how not to make ice votives. I made some silly mistakes along the way and wanted to share those with you so you don’t make the same mistakes I did!
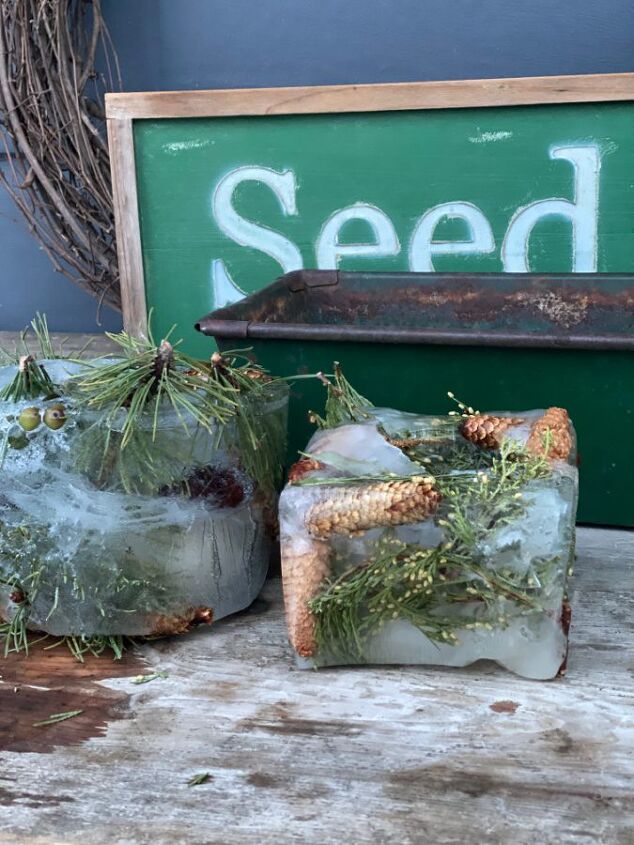
The good news is I’m normal. And I adore how they turned out. Perfectly imperfect! Just like me!
The bad news is, I might have missed a basic science lesson at some point in my schooling.
What can I say? I fell in love with an image on Instagram and tried to recreate it a little to quickly!
Here we go…
Supplies Needed to Make Ice Votives
- Duct Tape
- Rocks
- Containers (make sure they are NOT glass!) Plastic and metal works well.
- Plastic solo cups
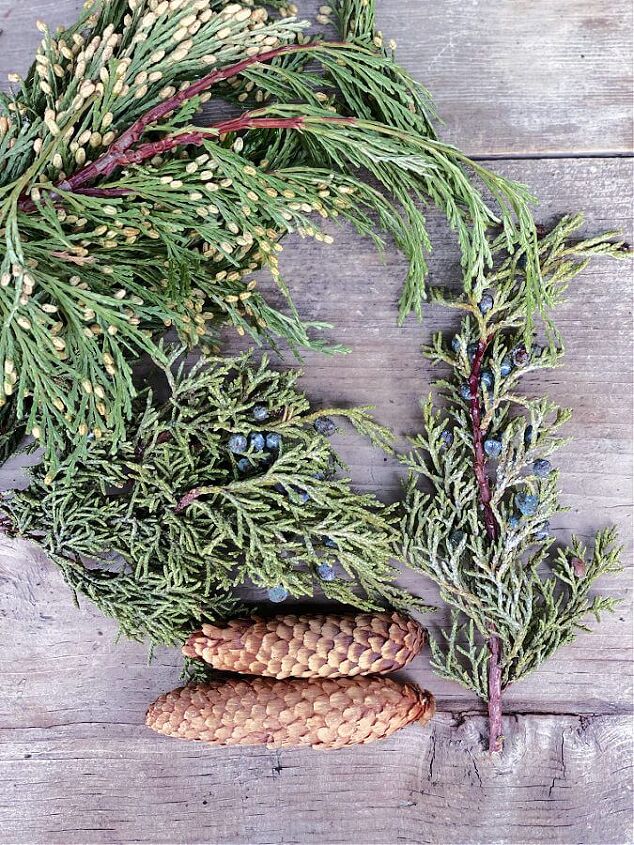
- Tree trimmings, pinecones, berries, natural objects
- Candle or battery operated candle
- Water
Steps To Follow
Making these beautiful ice votives is actually very easy. They do require a bit of patience while you wait for the ice to freeze but I promise they are worth it.
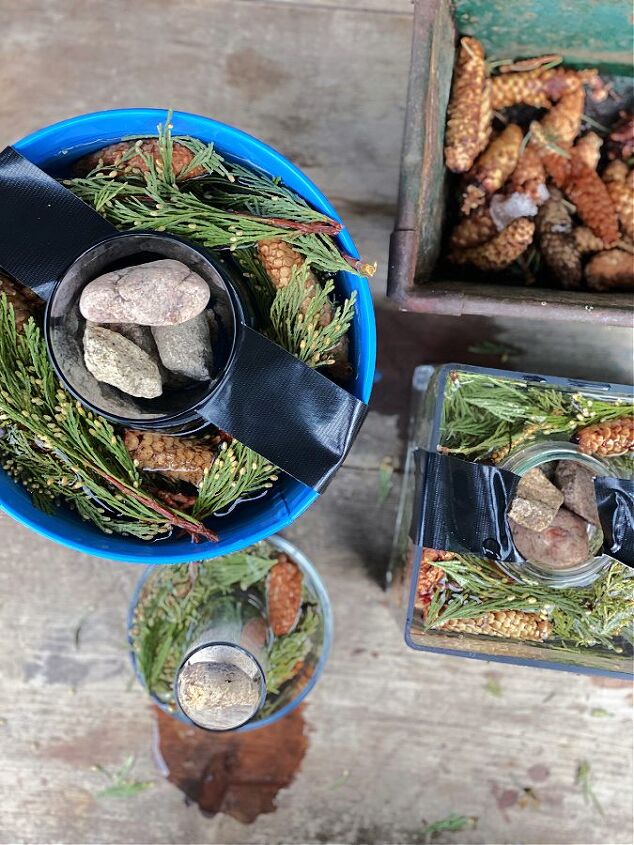
Step One– Gather your supplies in an area that can get wet. I used my outdoor potting table.Step Two-Using duct tape ( or electrical tape), secure your plastic solo cup to the center of your bucket or non glass container. It should appear as if it is floating.
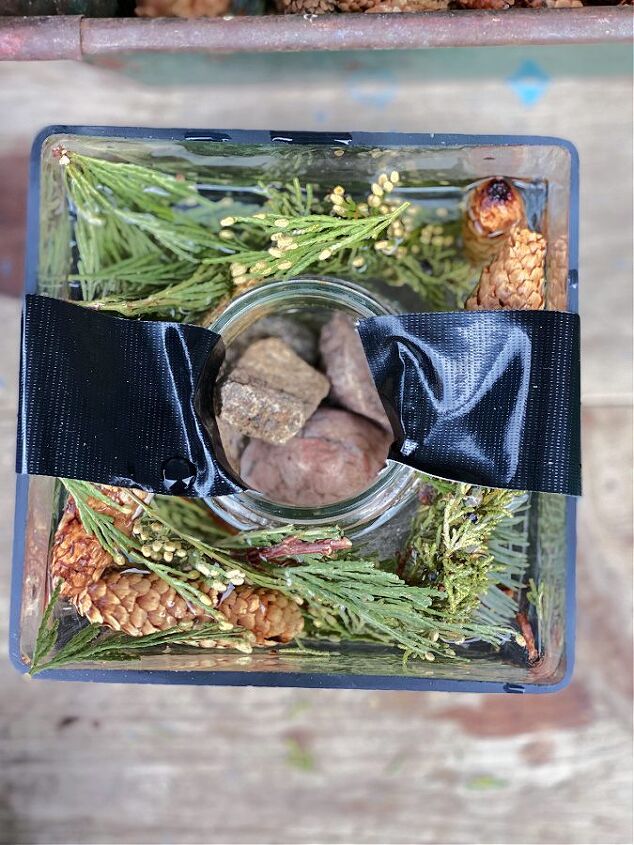
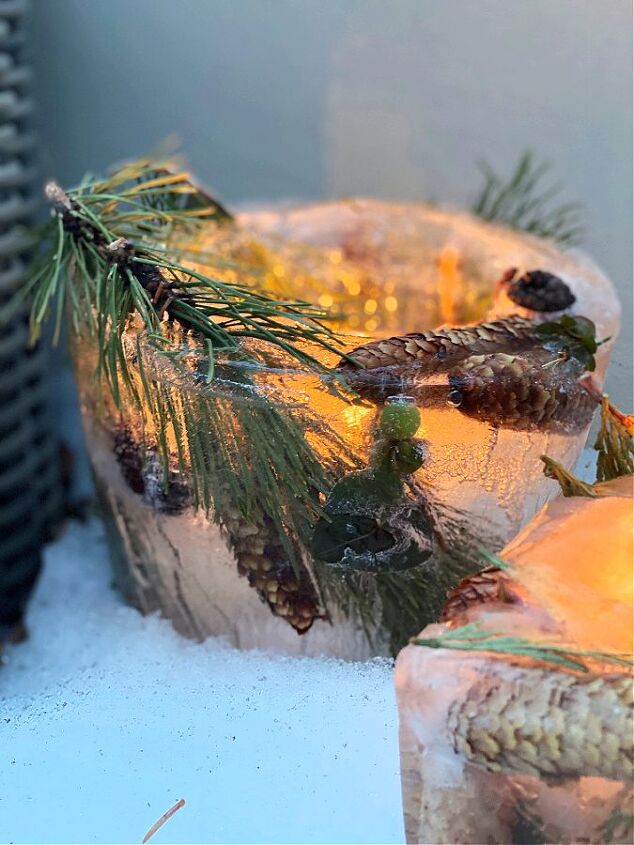
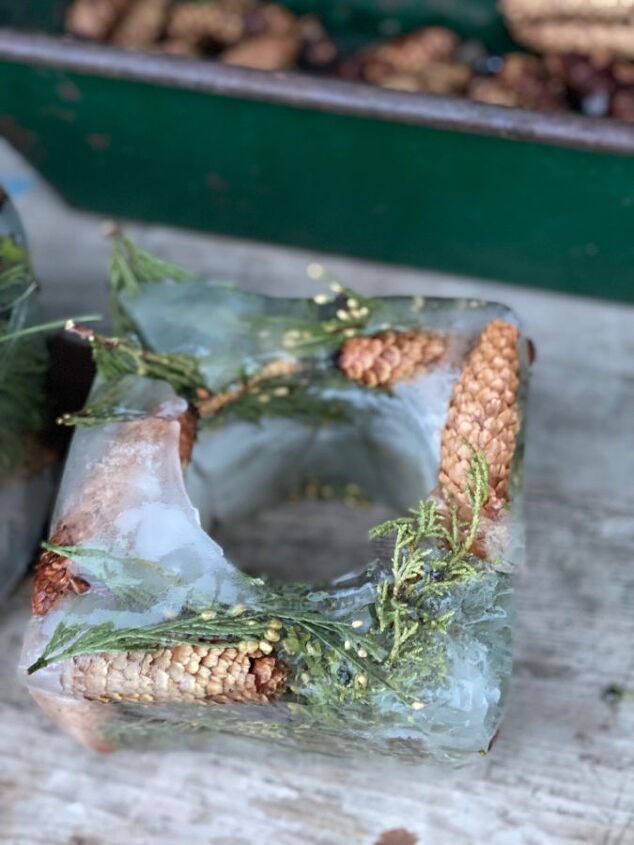
Step Three– Add rocks to the solo cup to keep it in place so it doesn’t float to the side and make your candle holder wonky. (That’s a word, I promise!)Step Four– Add your natural materials around and under the solo cup and then fill it with water. You will have to push it down some with your fingers. A few pieces will stick out but I love the natural and organic touch it adds!
Step Five– Either leave it outside if there will be freezing temps or place it in your freezer for several hours.
TIP: If you have no choice but to use a glass container, just make sure to check on it every hour or so.
Step Six– Remove your containers from the freezer or outdoors and run the sides and center under warm water. Your votive should slide right out. (This is where my glass started cracking! ugh)
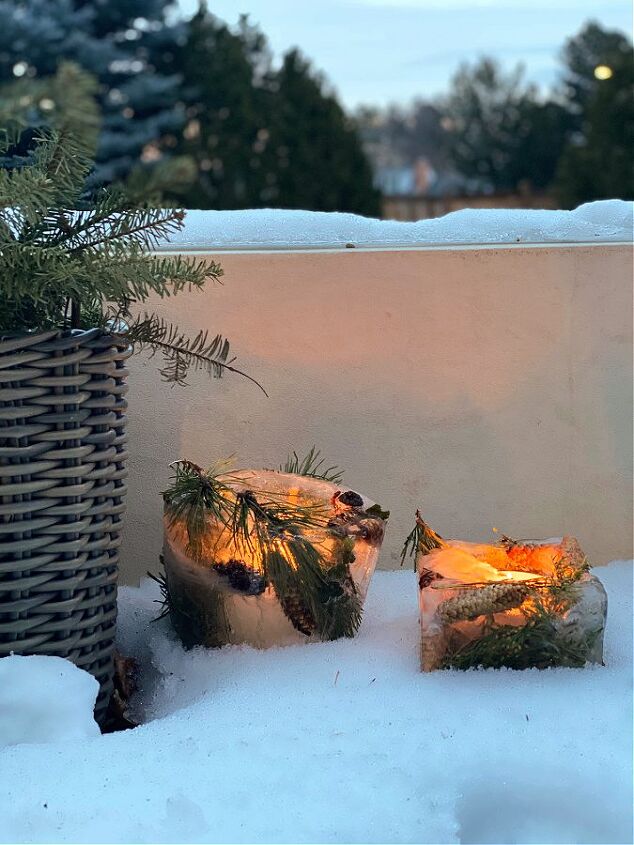
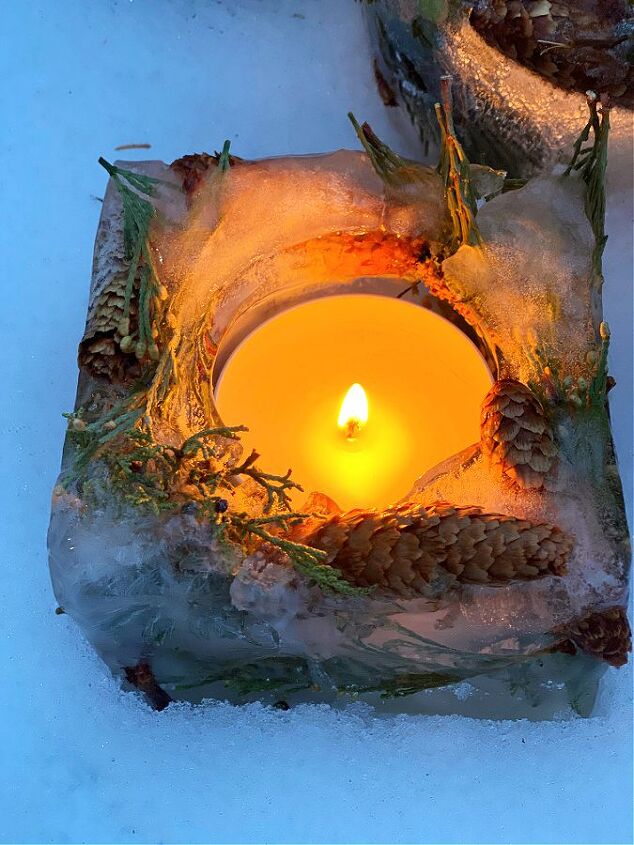
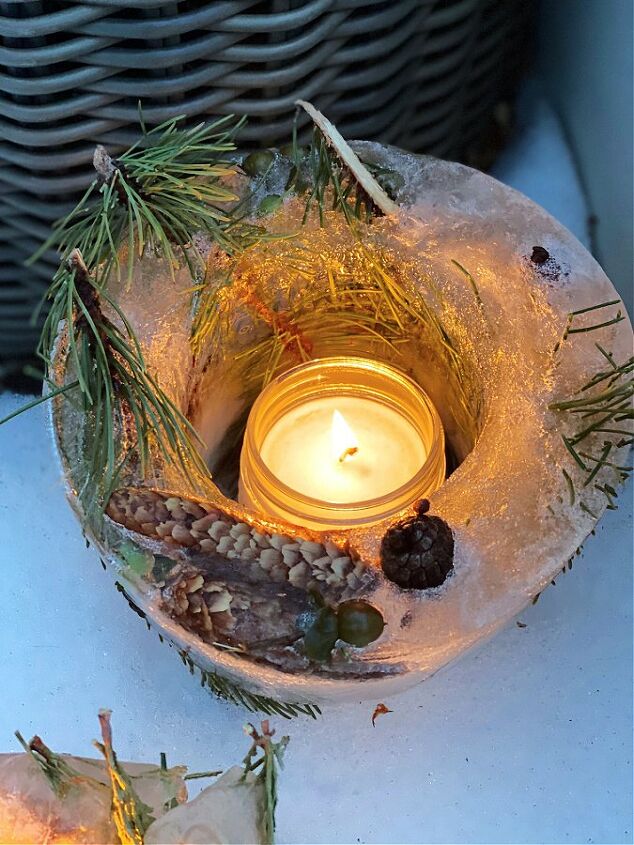
Step Seven– Place them in a location where they can be seen, add a candle (or battery operated candle), light it and ENJOY!
Mistakes To Avoid When Making Ice Votives
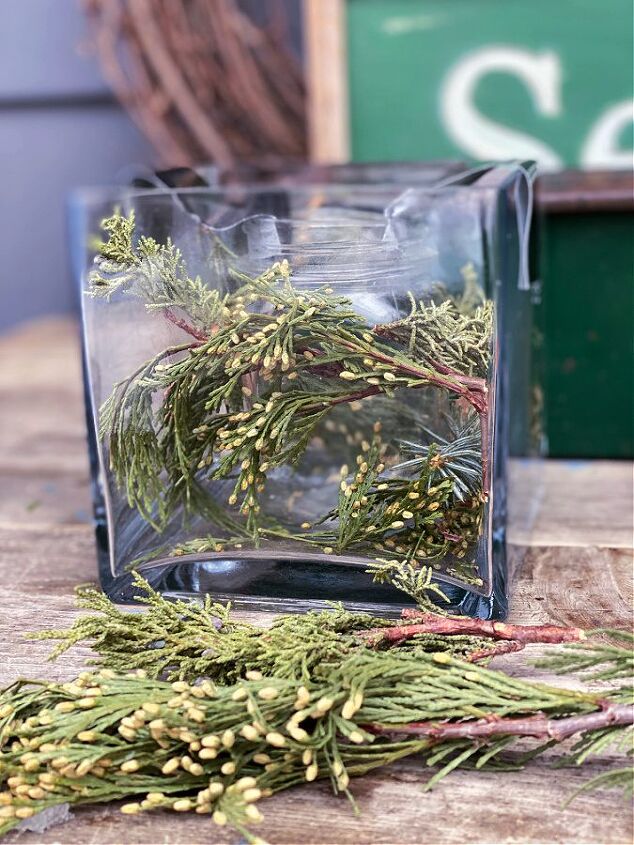
- First and foremost do not use glass containers to make your votives if you do not have to. Two out of my three were glass vases and they broke when the water froze and expanded and when the warm water touched them. ugh So obviously not my brightest moment.
- Do not use containers that have sentimental value. ( Sadly the square glass vase I used was from our wedding.)
- Make sure that the object you use to place in the center is plastic and not glass also. The moment it touched the hot water it expanded and cracked. Solo cups are perfect for this project!
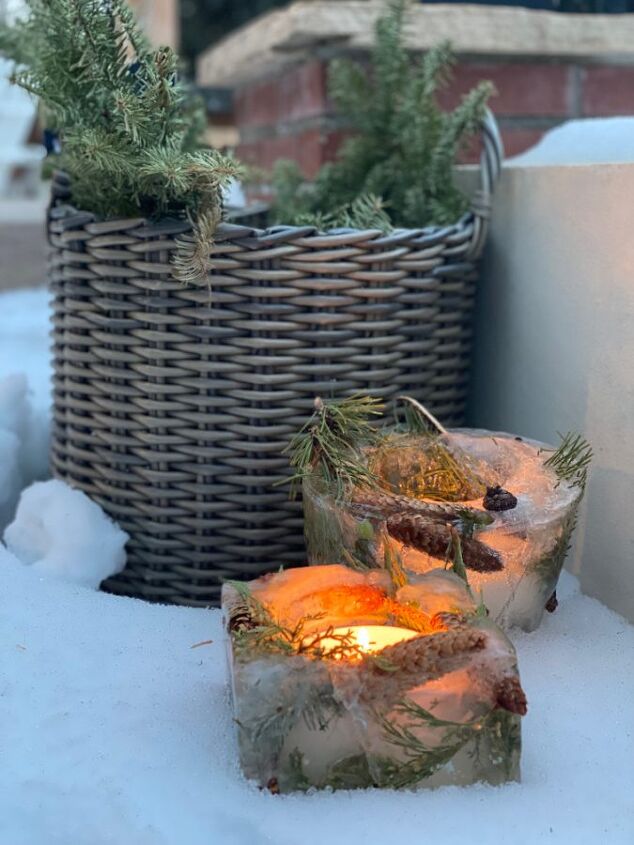
- Next, make sure your center object is a plastic cup that doesn’t touch the bottom of your container. Water should be able to go under the cup. This will allow your ice block to be a true votive and hold the candle. Mine touched the bottom and my votives were more like ice rings. Could you tell? See the picture below!
- Finally, if you plan to leave your ice votives unattended for long periods of time I would recommend using battery operated (flameless) candles or votives.
Ideas for Decorating With Ice Votives or Ice Luminaries
You may be wondering what are some ways I can use these lovely ice votives? Well my friends there are SO many ways.
Why not use them at a winter wedding? You could line the path to the church or possibly have them line the aisle if it is an outdoor wedding?
What about using them for an outdoor centerpiece for a party or family gathering? Or a few casually nestled together on your front stoop?
I envisioned them lining our brick path leading up to our home around Christmas time. What a way to greet your guests?
How To Make Ice Votives
So now that I have shared how to make ice votives and how not to make ice I am curious…is this a project you might try? How would you use these ice lanterns?
Oh, and if you liked hanging out with me today I would love for you to come hang out with me some more over on my blog, The Tattered Pew!
xoxo,
Kelly
Resources for this project:


Comments
Join the conversation
-
When I I lived up in the snowy north, luminaries were very common. I made mine out of ice in different colors with a small hole in the bottom so the water could run out. Looked pretty on the side of the street and sidewalk. And the kids loves playing being colored water!
-
I absolutely love this idea 💡I live in Colorado too and with it being so cold they would last a long time! thank you for sharing your idea👍


Frequently asked questions
Have a question about this project?