


How to Make a Beautiful Rustic Paper Bag Snowflake Craft
Winter décor doesn't have to be all about shiny, glittery snowflakes and frosty motifs. If you're looking for something a little more down-to-earth and affordable, then this paper bag snowflake craft is perfect for you.
This 3D paper bag snowflake is easy to make and uses materials that you can find around your house or at a local store. So, if you are looking for a rustic craft for decorating your home this winter and Christmas season, follow these paper bag snowflake instructions to create this stylish decoration.
This post was transcribed by a member of the Hometalk editorial team from the original HometalkTV episode.
For more details, watch the paper bag snowflake video tutorial above.
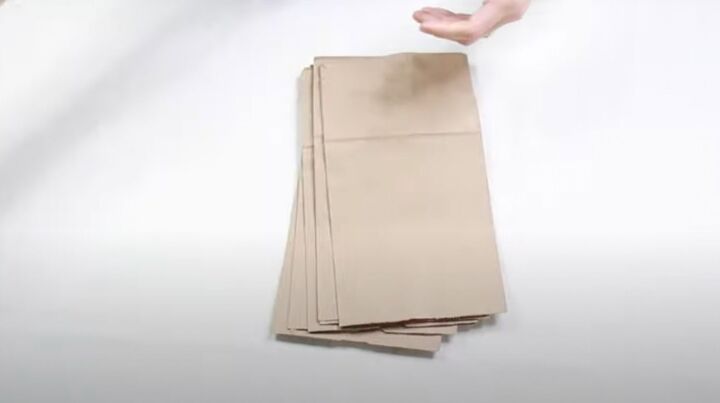
1. Gather brown paper bags
First, I counted out seven paper bags. You'll notice there is a side that has the bottom of the bag and a side that is smooth. You will want the smooth side facing up for this 3D snowflake.
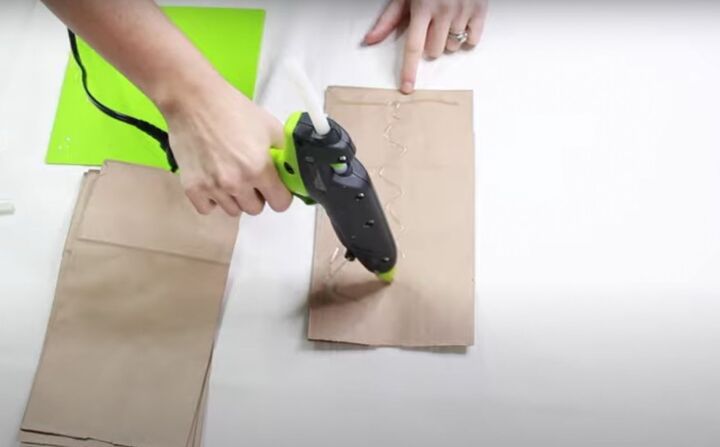
2. Stick the paper bags together
With the folded sides down, I took my glue gun and put a line of glue across the bottom of the bag. Then I went across and made a really thin zig-zag toward the opening with the hot glue.
Before the glue dried, I laid another bag on top of the first, making sure the folded side was down. I then smoothed it out. I kept repeating this process for each layer until I had used up all 7 bags.
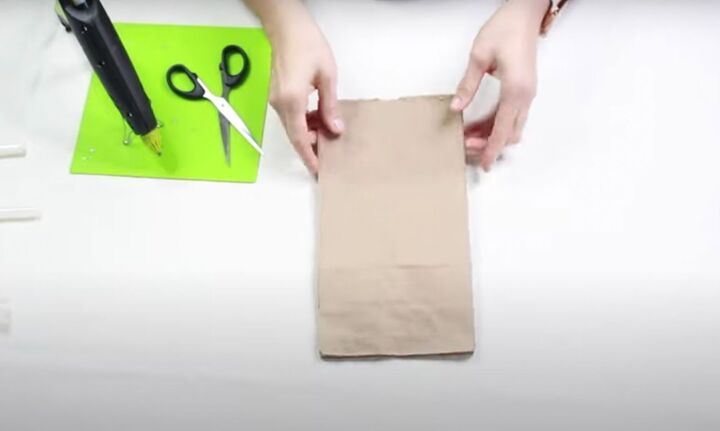
3. Cut the snowflake shapes
With the paper bags all glued together, I pulled out my sharp scissors and began to cut. I flipped the stack around so that the base was facing away from me and the openings were facing me, and I cut a V. To cut the V, you want to start in the center and go outward towards the sides.
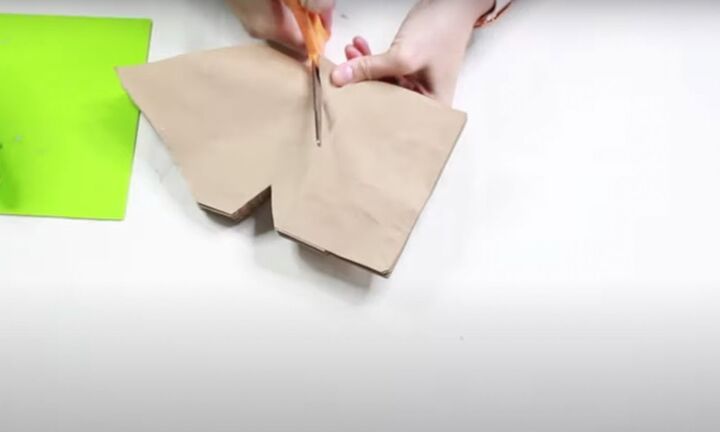
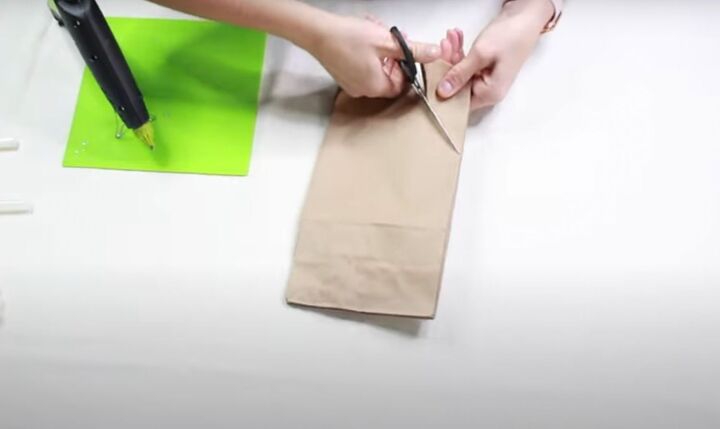
After I cut the V, I turned the stack sideways and, just above the crease of the bag, I made one little triangle on each side of the stack of bags.
You can make this as big or as small as you'd like.
You can add more cuts if you like to make your snowflake from paper bags even fancier, but this is where I stopped cutting.
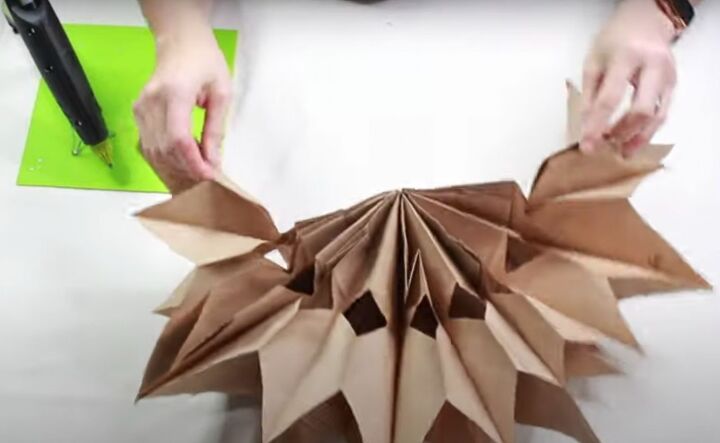
4. Fan out the sides of the bags
Once you have your cuts done, you want to fan out the paper bags, pulling down from each side. This will open everything up to reveal your paper snowflake.
5. Glue the sides of the paper together
I joined the ends of my DIY paper bag snowflake with more hot glue and held them together while it dried.

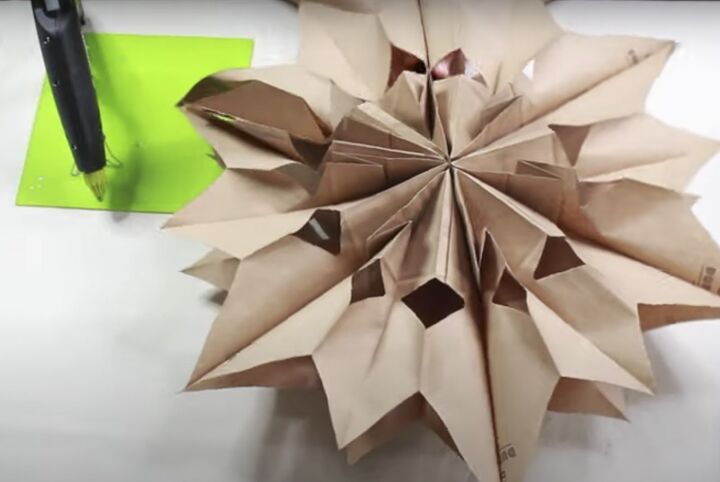
That was it! How easy was that?
I made a variety of snowflakes in different sizes. These make fabulous wall decorations. You can also use fishing line and hang them from a Christmas tree, or change it up by using white paper bags instead of brown.

Tutorial 3D paper snowflakes
Making a 3D paper bag snowflake is an enjoyable and creative activity that is suitable for people of all ages. The process is simple, requires few materials, and allows for a lot of personalization. They can be hung throughout the winter season and are a gorgeous addition to your Christmas decorations.
This tutorial is a great way to add a touch of rustic charm to your home and a fun craft for a snowy day.
So, gather your supplies, follow these steps, and let your imagination run wild. You're sure to end up with a stunning and unique snowflake that you'll treasure for years to come.
I would love it if you shared your creations in the comments below. Let's bring a touch of warmth and charm to this winter season together.


Frequently asked questions
Have a question about this project?