


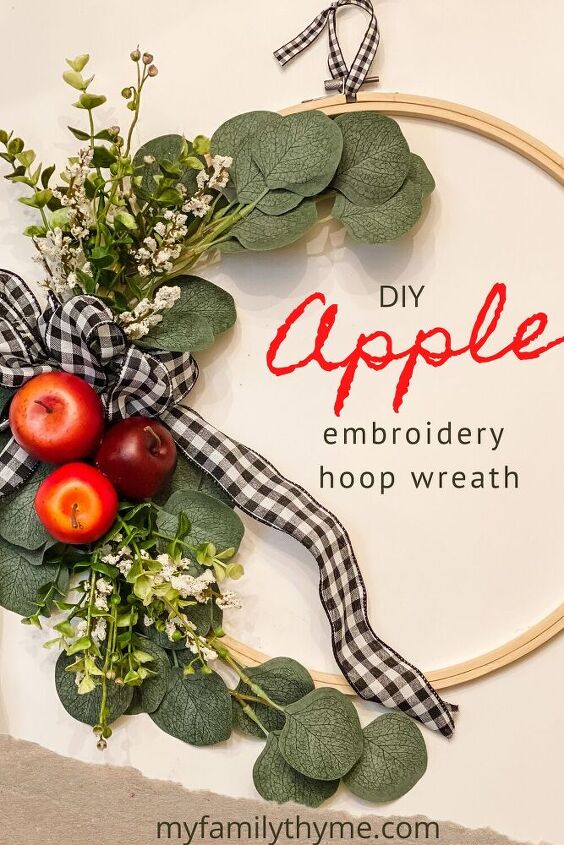
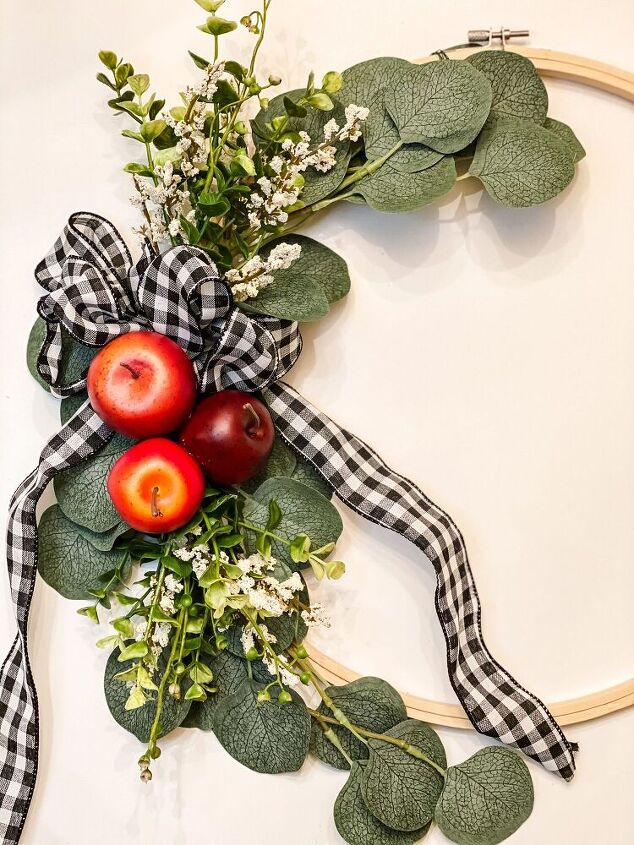
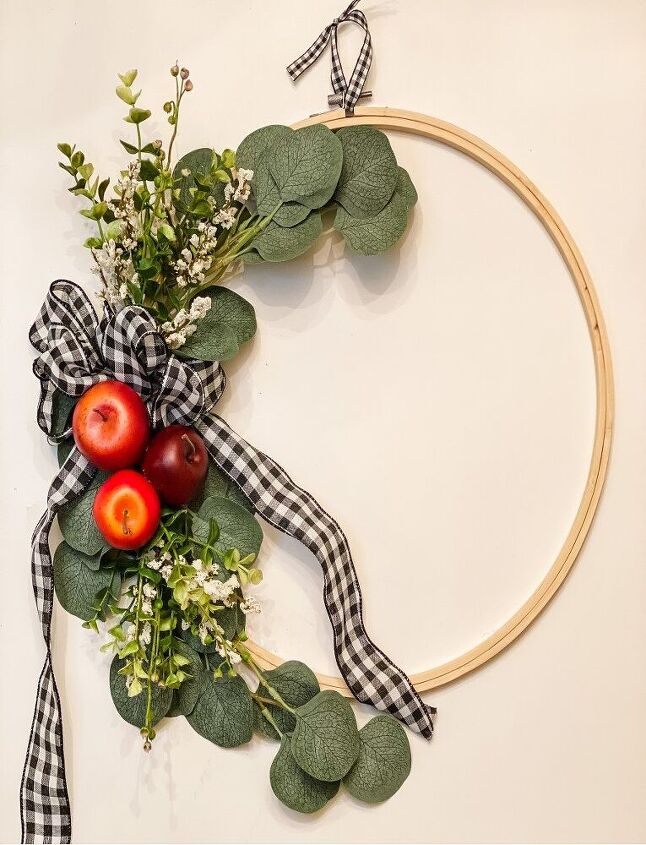
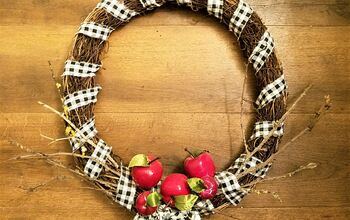
DIY Apple Embroidery Hoop Wreath
Decorate your home for fall with this simple DIY apple embroidery hoop wreath.
This post contains affiliate links. If you make a purchase after clicking my links, I will receive a small commission at no additional cost to you.
Do you love decorating for fall to make your home feel warm and cozy? If so, you have come to the right place! For those who are visiting from My Wee Abode, welcome! I am so excited to be joining a wonderful group of bloggers for “There’s No Place Like Home” Autumn Blog Hop! This week we are sharing some of our favorite fall crafts with you. You will love all of the fun and creative fall crafts linked at the end of this post!
Recently, I made a trip to Target and saw these cute artificial apples in the Dollar Spot. For just $3, I picked up a bag…not really knowing what I would do with them. Then I had an idea!
How about making an embroidery hoop wreath…simple, easy and so pretty! This was the first time I made this type of wreath, but it definitely won’t be the last. This DIY apply embroidery hoop wreath was one of the quickest and easiest wreaths I have ever made.
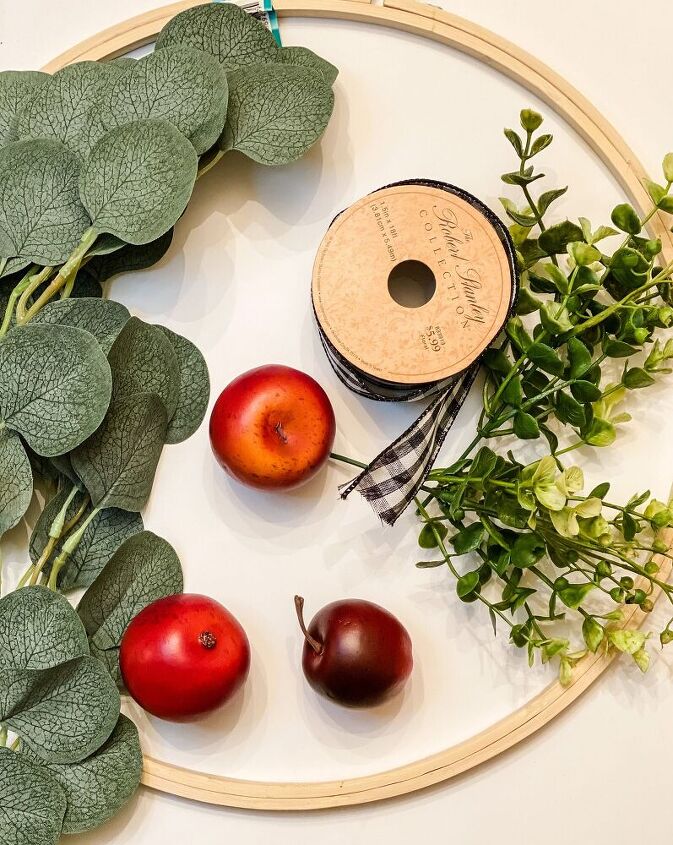
Supplies needed for this wreath:
- 12 inch embroidery hoop
- greenery (I used pieces of this eucalyptus garland and some artificial boxwood.)
- artificial delicate white flowers (I found these at Michael’s Crafts.)
- floral wire
- wire cutters
- ribbon
- Bowdabra bow maker
- Bowdabra silver bow wire
- scissors
- glue gun and hot glue
To make your wreath, follow these simple directions:
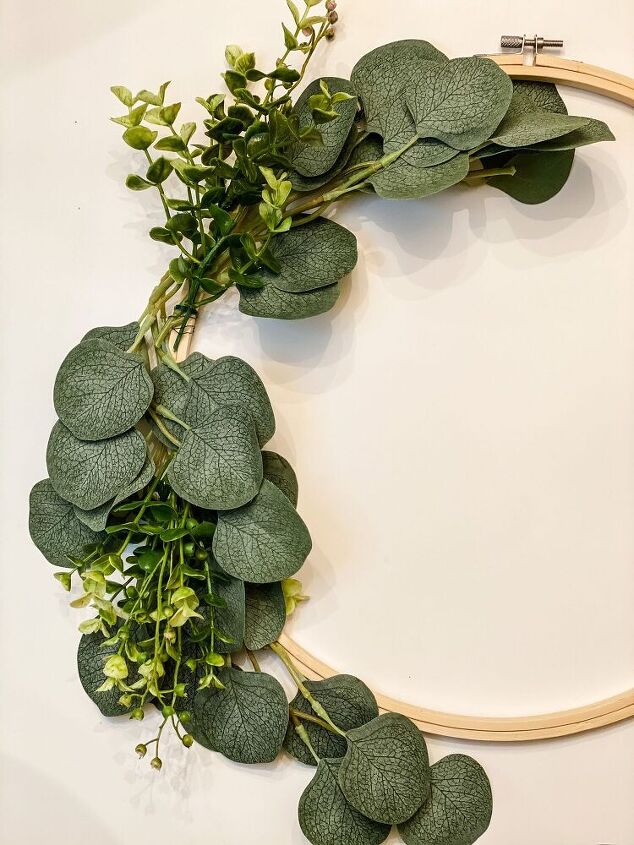
- Using your wire cutters, carefully cut pieces from the eucalyptus garland and boxwood.
- Place the artificial greenery on the wreath. When you are happy with the placement, using floral wire, attach the eucalyptus to the embroidery hoop.
- Next add the boxwood pieces to the wreath and attach with floral wire.
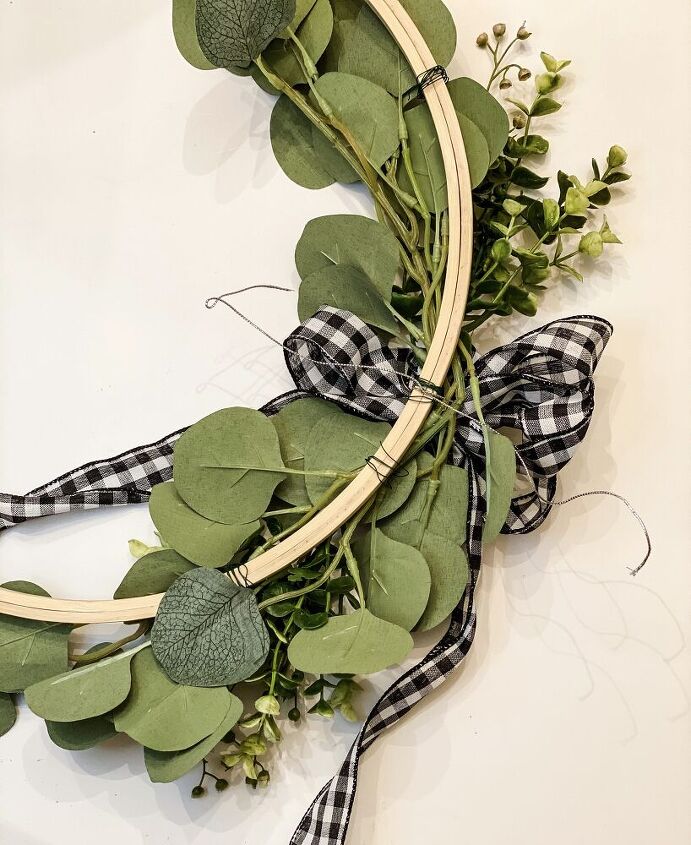
- Using the Bowdabra and silver Bowdabra floral wire, make a bow with your ribbon. The Bowdabra Bow Maker is one of my favorite crafting tools. I have had mine for at least ten years and use it all the time!
- Tie your bow to the embroidery hoop with the silver Bowdabra floral wire.
- This is where I decided the wreath needed something else… Carefully using a hot glue gun, I added some delicate white flowers to the greenery. Use your judgement and go with what looks good to you!
- Lastly, I carefully used hot glue to add the artificial apples to the wreath.

How long does it take to make this wreath?
After gathering all of my supplies, it took me about 20 minutes to make this DIY apple embroidery hoop wreath.
How do you hang your wreath?
One thing I didn’t think about when I made this wreath was that it is heavier on one side and didn’t hang straight. A simple solution for this was using Command Strips. I use these all around my home…like for these canvas prints and all types of seasonal decor. Simply adhere the Command Strip to the back of the embroidery hoop, in multiple places, and then adhere it to the wall or door.
Another idea would be to alter the design of the wreath. By placing the greenery and decorations at the bottom, the wreath would hang straight.

If you like this craft, you might also like these fun ideas to bring a little fall into your home!
Wicker Paper Plate Holder Pumpkin
Leaf Stamped Tea Towels
Homemade Slow Cooker Applesauce
Perfect Pumpkin Bars
Warm and Cozy Fall Amazon Home Decor
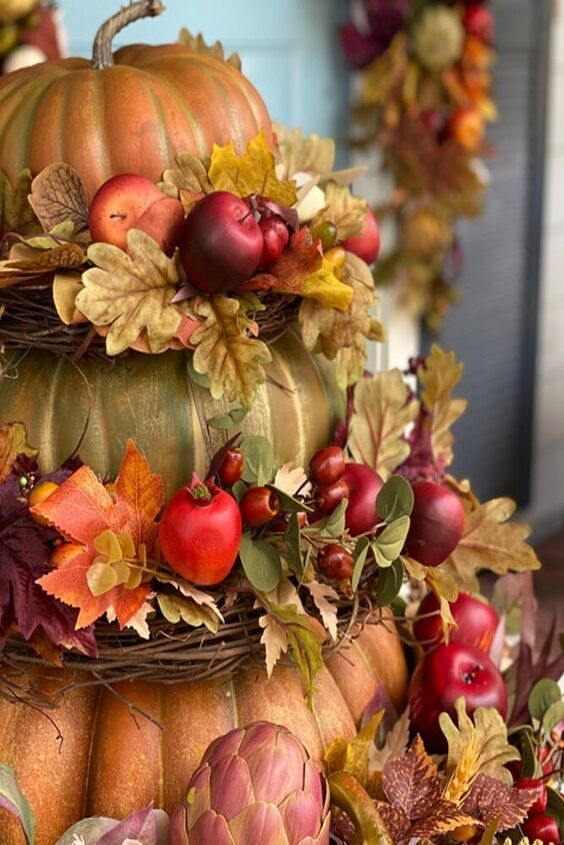
Thank you for visiting! Be sure to visit my friend Chloe’s blog Celebrate and Decorate to see her beautiful stacked pumpkin craft!
Autumn Blog Hop – “There’s No Place Like Home” – Crafts
Blue Sky At Home
Thistle Key Lane
Karin’s Kottage
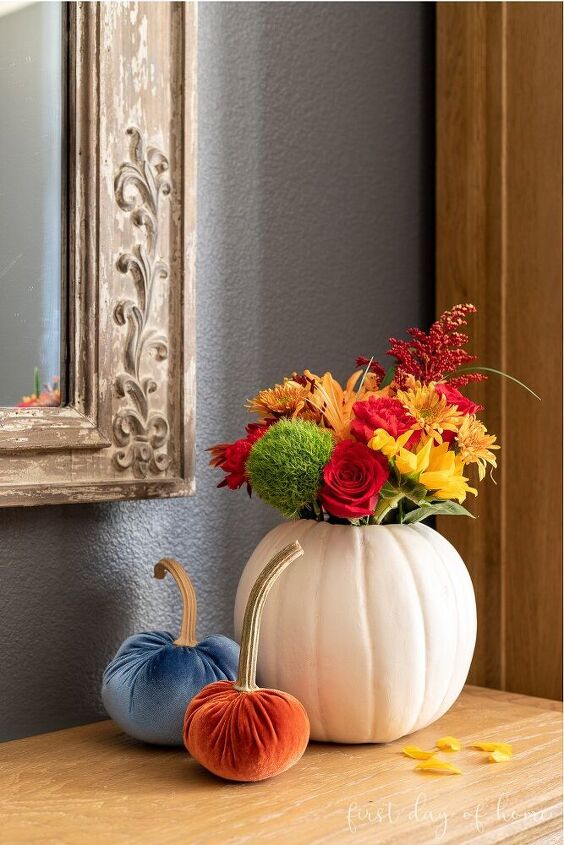
First Day of Home
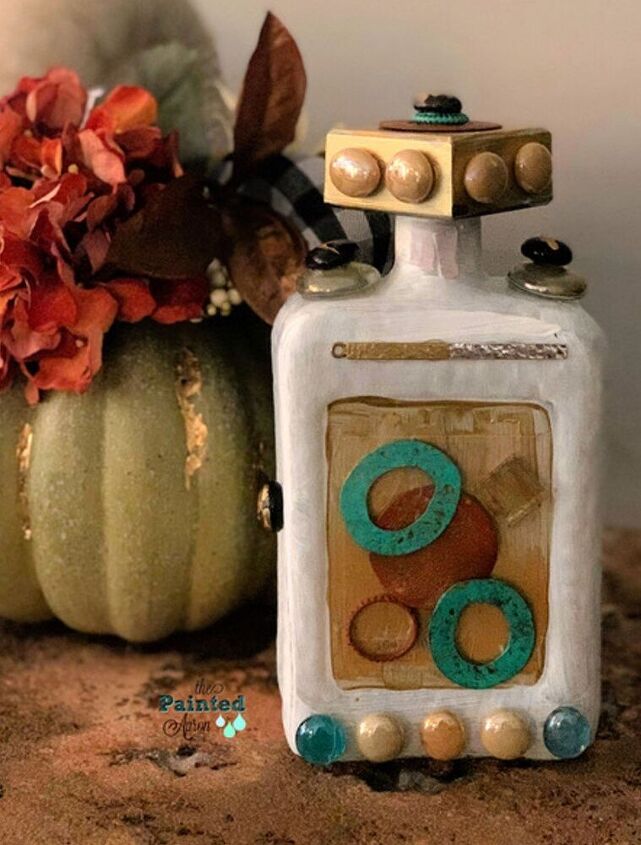
The Painted Apron
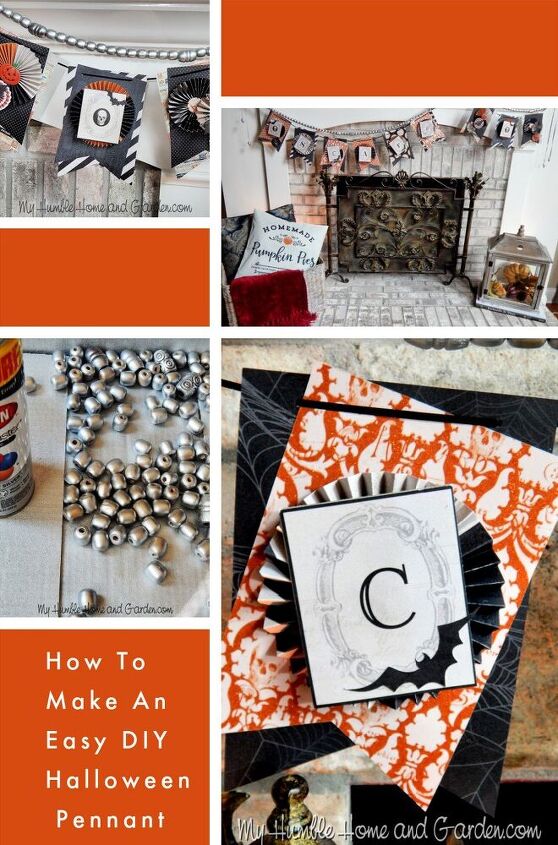
My Humble Home & Garden
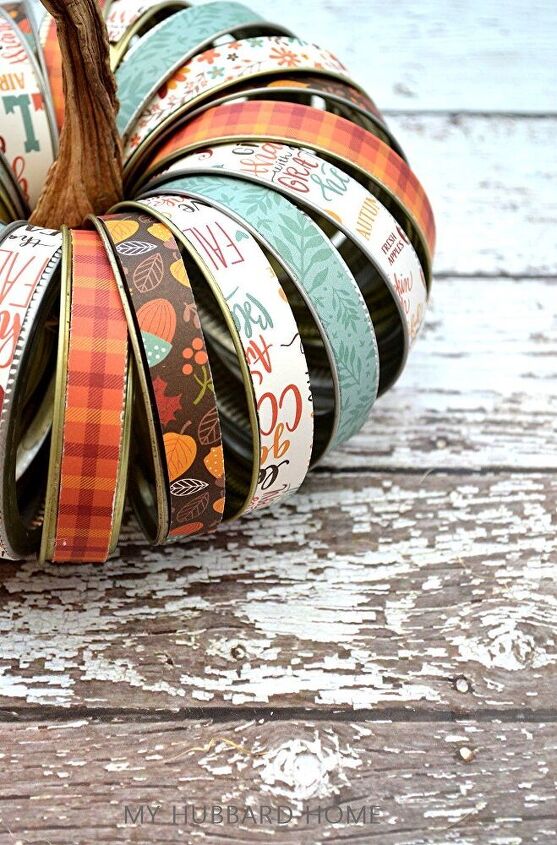
My Hubbard Home
Mantel and Table
My Wee Abode
My Family Thyme
Celebrate and Decorate
Resources for this project:
See all materials


Comments
Join the conversation
-
I love it! Pretty design! 💖
-
I love checkered ribbon and apple decor! I did this a couple years ago. Still one of my favorites!


Frequently asked questions
Have a question about this project?