


Best Way to Add Fake Snow to Brighten Your Decor
You are in control! Rather than a spray can, this way you can build up drifts of snow and you can place the snow just where you want it,
It's the BEST way to add drifts of faux snow to branches, berries, wreaths and more. PS: It’s addictive.
Do you hang onto your Christmas decor year after year, probably well past its prime?
Me: Guilty as charged!
But I’ve been perfecting some ways to brighten, refresh, even revitalize my tired decor greenery. I shared last January how I restore the stems of berries before they get stored away for the next 10 months. It’s such an easy process, just need to do it when we have time, like during the snowy, lazy days of Winter.
And then I shared how I bleach and then “frost” pinecones for just a bit of sparkle.
But here, I am excited to share how I build up layers of snow, or flocking, on just about anything, but mostly my Christmas and Winter greens that are tired and sad. This is not your typical spray can of snow.
It’s amazing how adding some fresh white snow, and optionally some sparkling snow, takes years off these harbingers of Christmas.
This is with gel medium and snow only!
Looks like a cheap version of just frost.
So I tried with the paint over the top. UGH! One big hot mess!
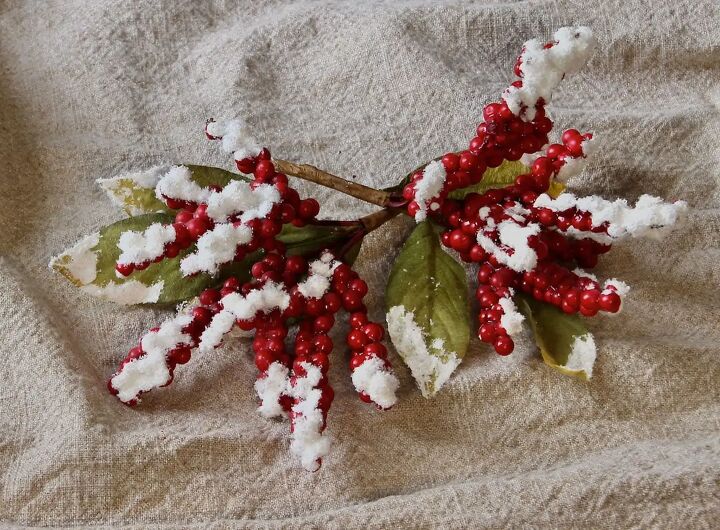
This is what I wanted. And what you’ll get with the steps below.
How to Flock a Wreath and other Christmas Greenery — The Right Way:
Materials & Supplies:
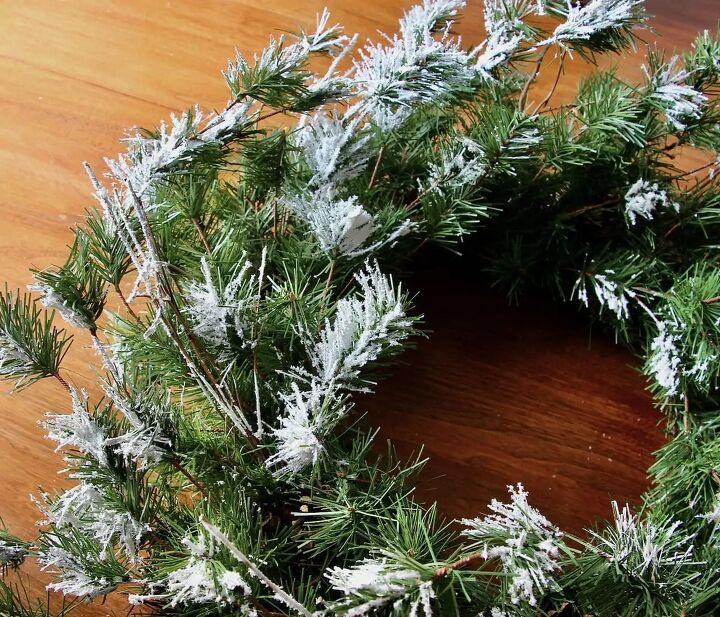
- Your decor items that need brightening — here I’m showing a nice, but boring wreath and my old red berry picks
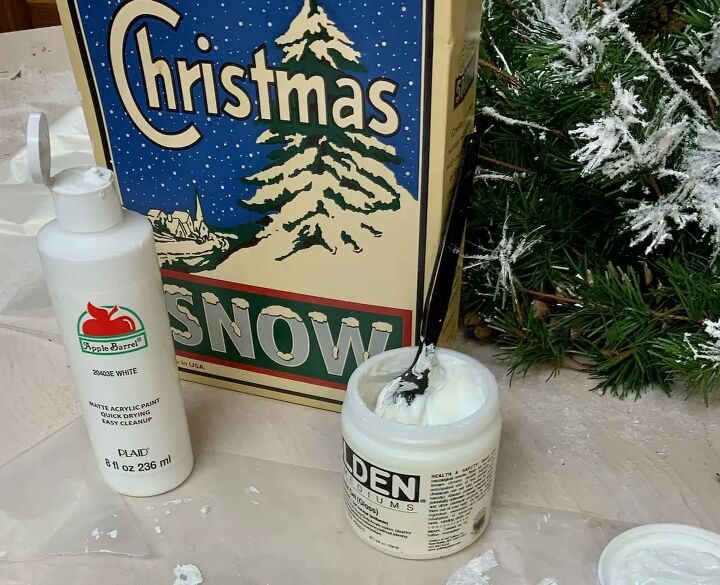
- White craft paint, any brand will do
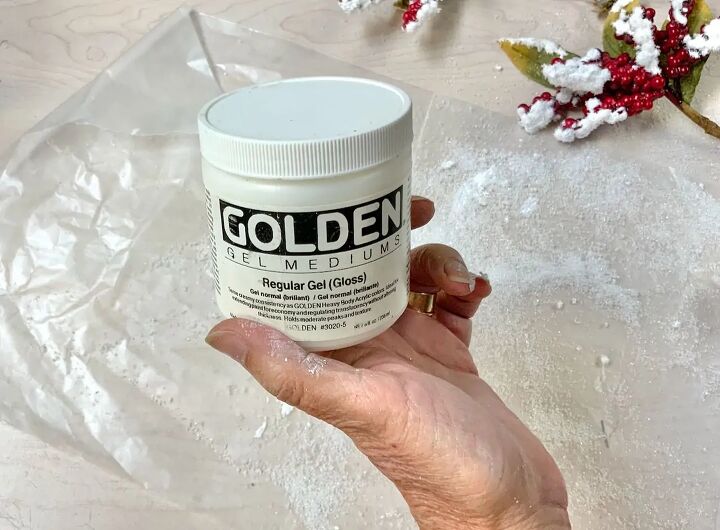
- Gel Medium — I LOVE this stuff and always have a jar on hand in my supply stash!
- Artifical snow for the sparkle and texture
- Covering for your work surface
- Wax paper for collecting overflow of snow
- Small disposable container for mixing
- Craft paint brush (nothing nice and fancy here)
- plastic utensil or craft stick for mixing
SNOW NOTE: the one below looks as close as I could find to what I used. You want a fine powder type, not the larger shredded cellophane type.
Medium weight gel medium to add texture and depth to paint and snow!
Let's get started Making It Fake Snow:
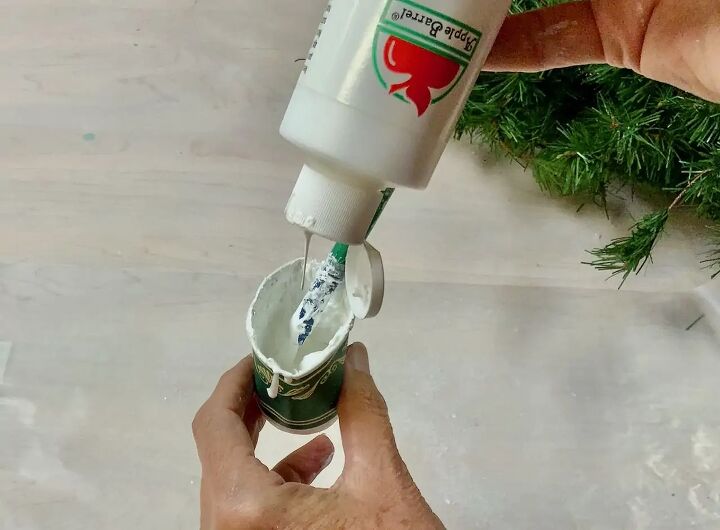
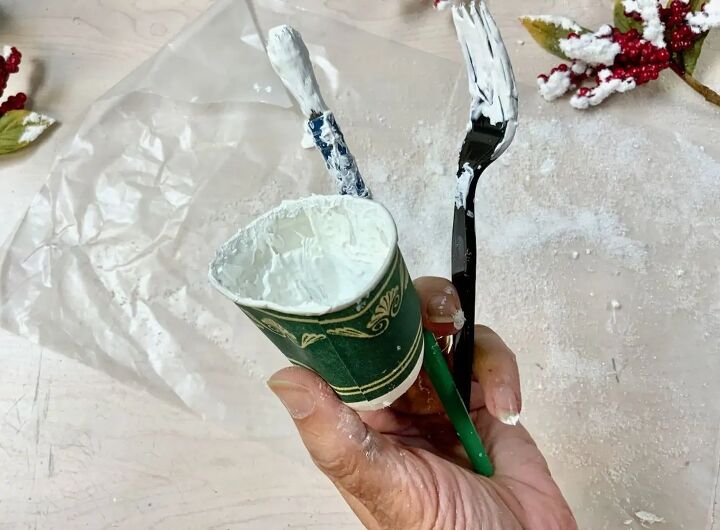
Step 1) Mixing You Paint and Medium
Add a generous dollop of gel medium to your disposable mixing cup.
Add a good squirt of white paint. You might be tempted to skip the paint, but don't. Remember the "What NOT To Do" earlier, the gel medium will dry clear and no one wants clear snow.
Mix thoroughly.
HINT: You want to work fairly quickly between steps 2 & 3. So if you are doing a large project, break it into several areas. Step 2 then 3, step 2 then 3, step 2 then 3, until the whole area is finished.
Step 2) Apply the Thickened Paint
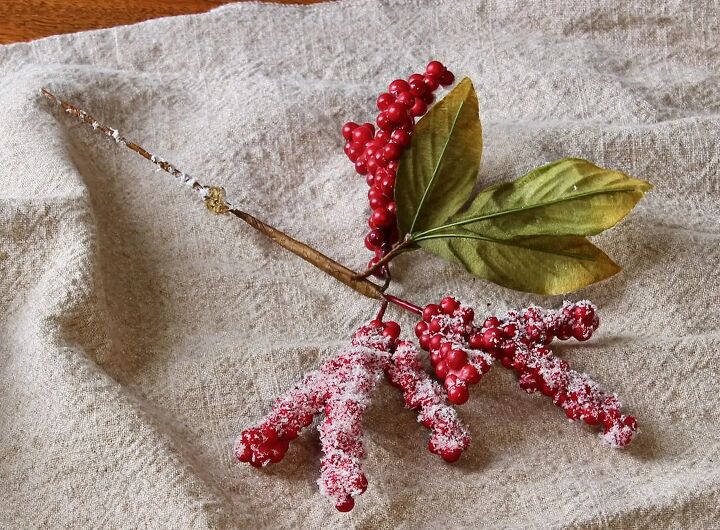
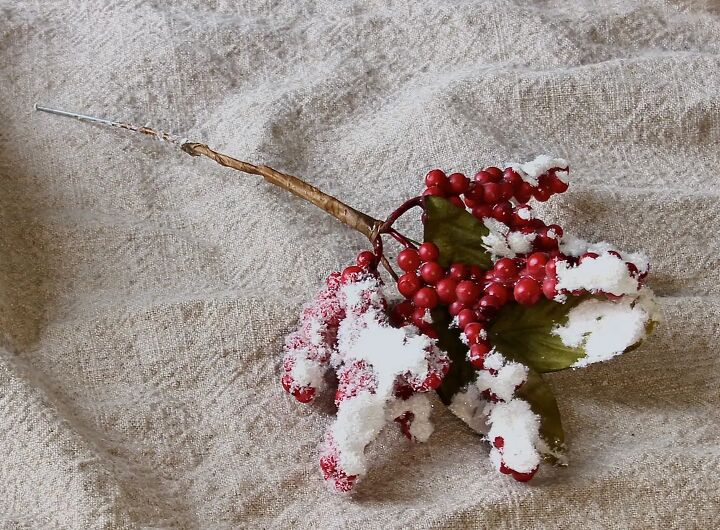
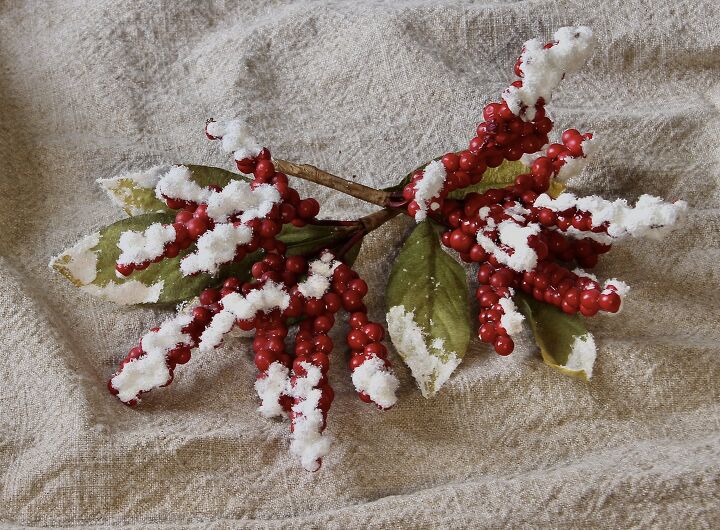
I found a pouncing motion with the craft brush worked for me on the berries. Snow tends to mound in little peaks on a smooth surface like berries and branches.
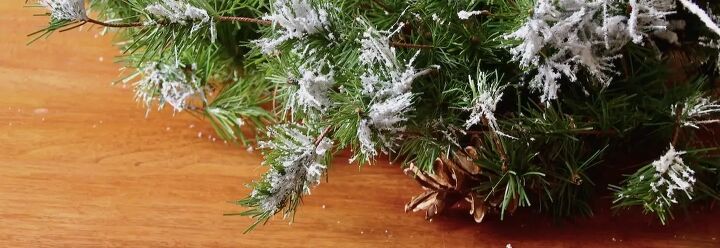
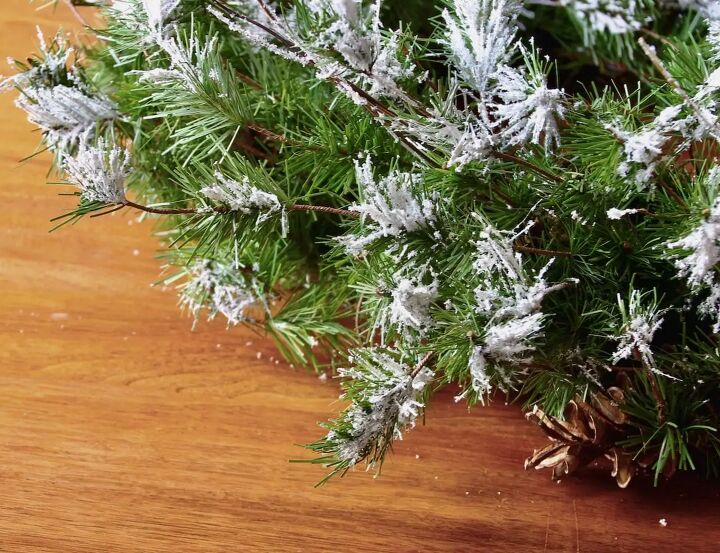
Then on the wreath, I used more of a sweeping motion mimicking how blowing snow gets caught in the fir needles.
HINT: Keep in mind the top of the wreath when it is hanging and try to focus all the snow as it would falling form the sky. Do not put any snow on the underside of the bottom or the underside of the top
Step 3) Add the Fake Snow
HINT: Remember, work quickly between Step 2 and 3
With the paint fresh and wet, over a generous piece of wax paper, sprinkle the fake snow over the paint. Don't skimp here! Anything extra will land on your wax paper.
Then carefully lift your wax paper from opposite sides and fold and tilt gently so all the beautiful unused snow can go back in the bag or box to sprinkle again and again.
Step 4) Now Wait
I know, it's hard. But since you're using acrylic paints, it doesn't take very long.
Treat yourself to an indulgent cup of something or other and your Christmas greenery will be ready to debut fresh and renewed.
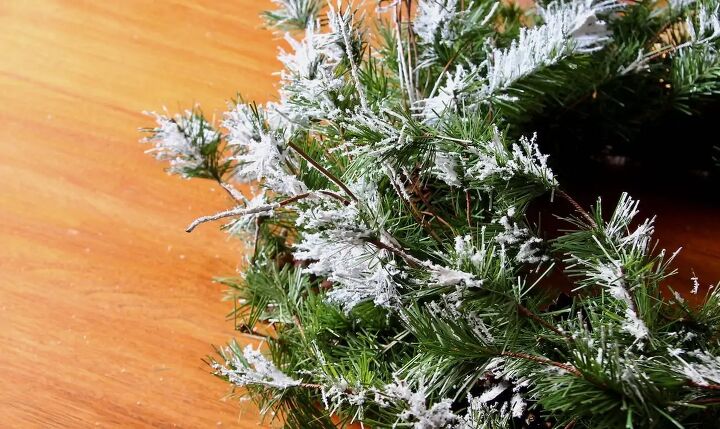
Doesn't that make such a difference? You get to control how much snow and where.
Don't forget about the tips of the leaves if your berries have leaves.
If you are adding a bow or ribbon to your wreath, do that first and then add some snow to it just as it would in nature.


Comments
Join the conversation
-
This is very pretty. My mother used to make snow by whipping in a mixer powdered detergent and some water. Most years it was white but there was the year she used Gain. It was blue!


Frequently asked questions
Have a question about this project?
Instead of the Gel Medium can you use Modge Podge? I have used it on other projects and it dries clear and sets glitter and fake snow.
Thanks for sharing this idea, I have many boughs of greenery that I would love to try this on for next year! 🎄
It looks beautiful. Could you please show a photographer the whole wreath or whatever greenery you did? Thank you.
Does the snow stay on the tree and greenery? I’ve done flocking in the past and
it just made the biggest mess when it was touched or when it is being put
up for storage until
next season.