


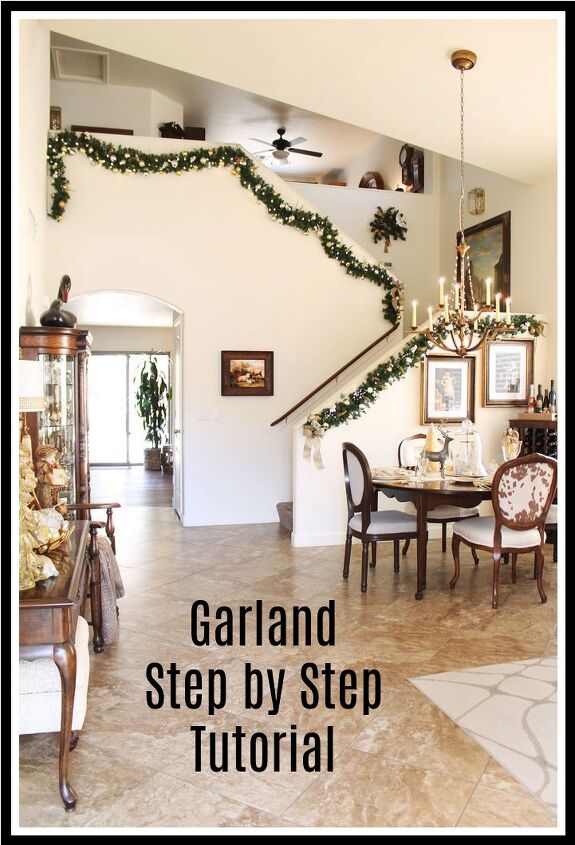
Christmas Stair Garland – Step by Step Tutorial
Christmas Stair Garland – Step by Step Tutorial. Welcome to the November Pinterest Challenge. This month we are focusing on Garlands, so I thought it would be a great time to share my Christmas Stair Garland – Step by Step Tutorial.
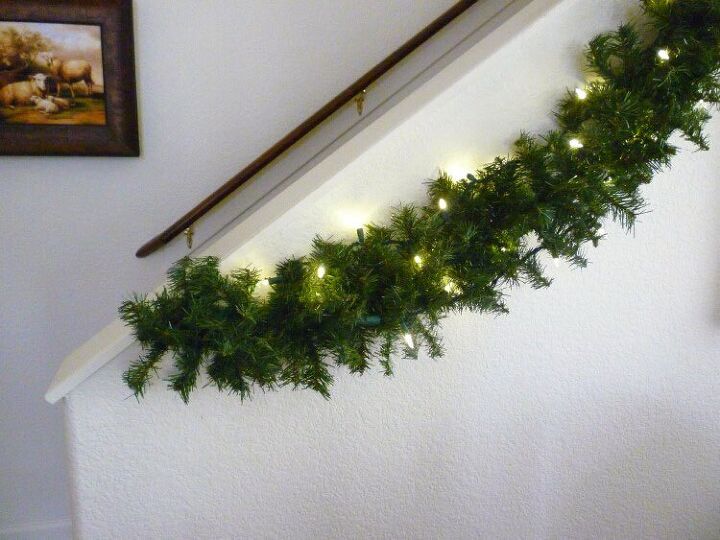
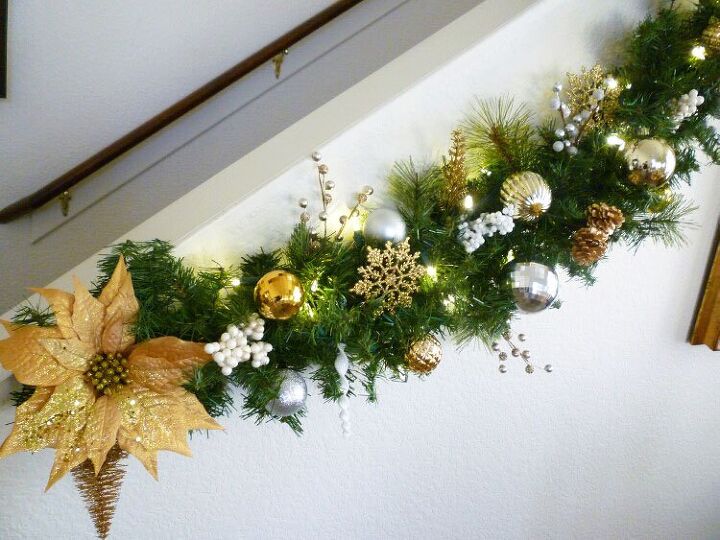
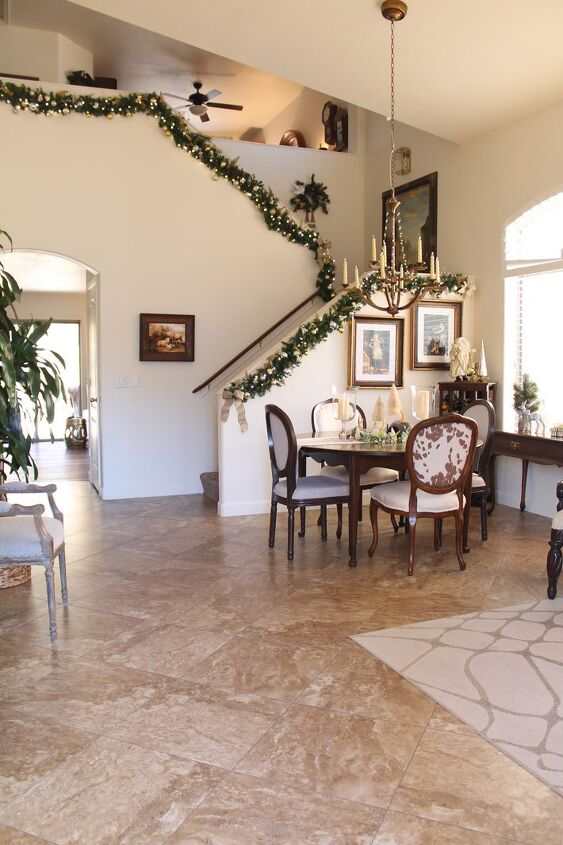
We doubled up a string of lights, and hubby wove them in and around each garland.
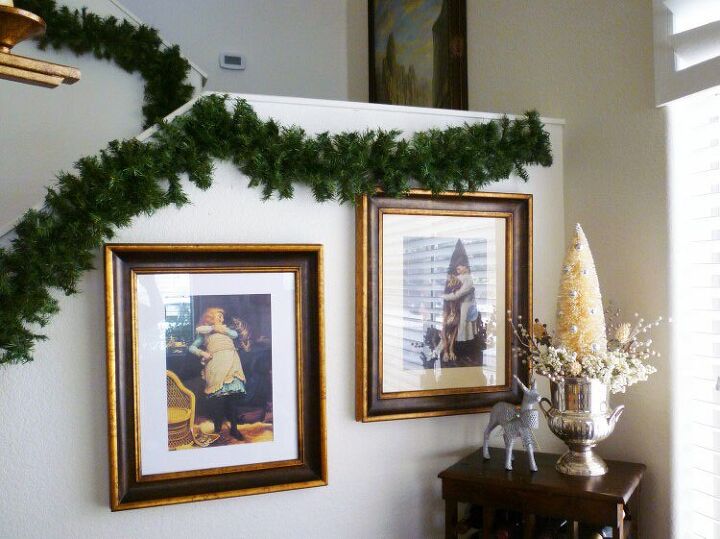
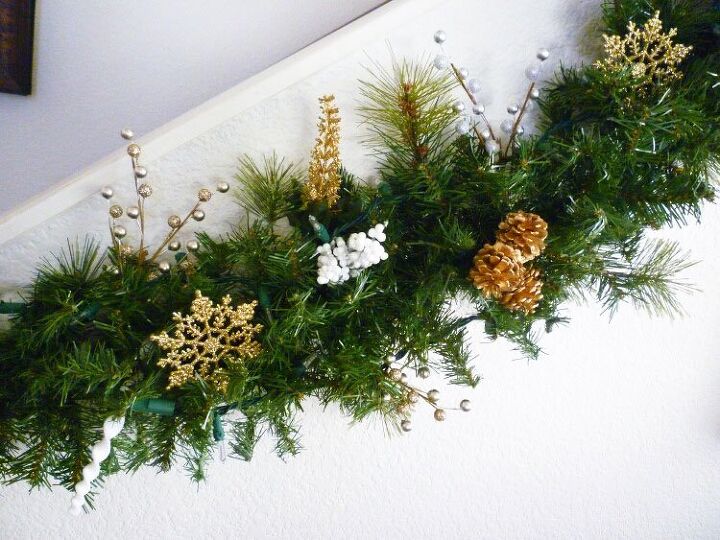
Ok, on to the rest of the garland. This all looks so uniform that I think it needs a few springs of greenery every now and then to make it appear more natural. I found a spray of greenery and cut it all apart, so I can add a little here and there.
Adding the green sprigs, berries and a few other picks gave it some dimension and made it look more free form and natural.
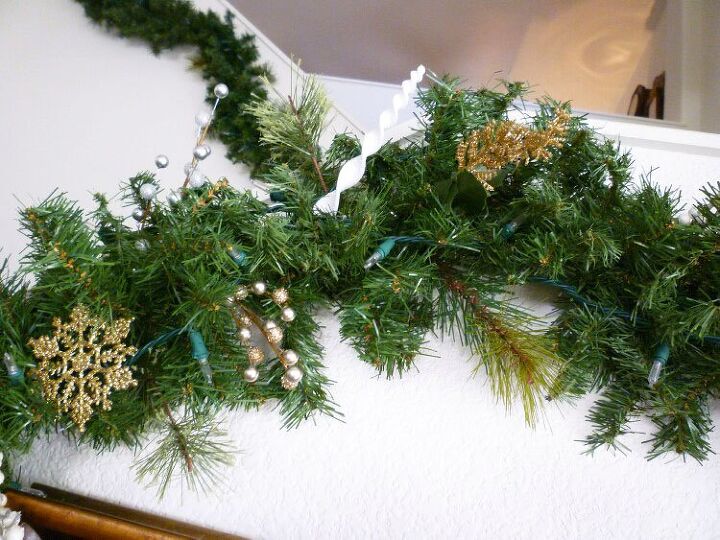
Doesn’t it look better with the green sprigs and all the picks, it upped the game a ton? I just used an assortment of picks, so use whatever you have or like. I found a ton of things at the $ store.
With a few silver and gold balls of all kinds and it looks fabulous. I attached them with twist ties to the stems of the garland. Everything I read said knowing when to stop is key, so I am stopping. (Secret – I used those plastic ball ornaments that you find at the $ store. They won’t break so easily and they can be attached with twist ties so easily. My second secret is we don’t take the decor off the garland, we just carefully place it in plastic tubs. It comes out pretty good with just a few adjustments and refreshing.)
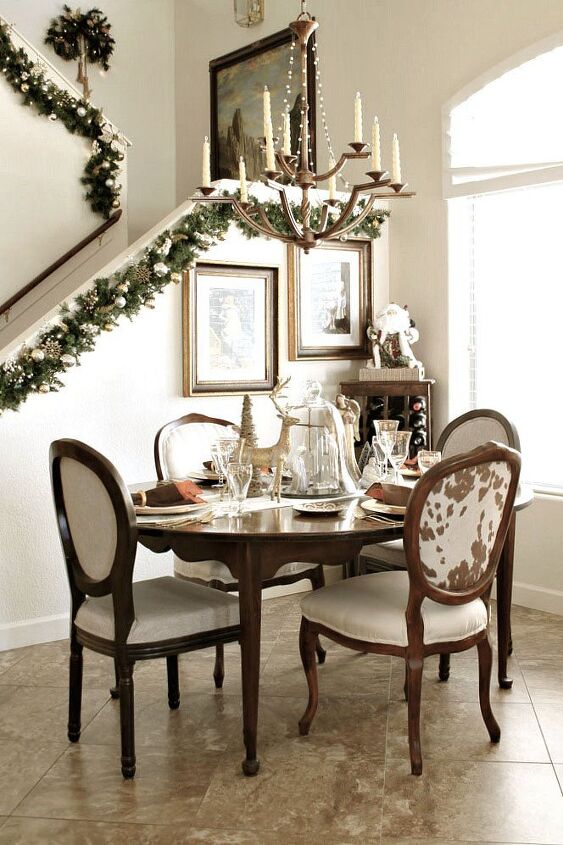
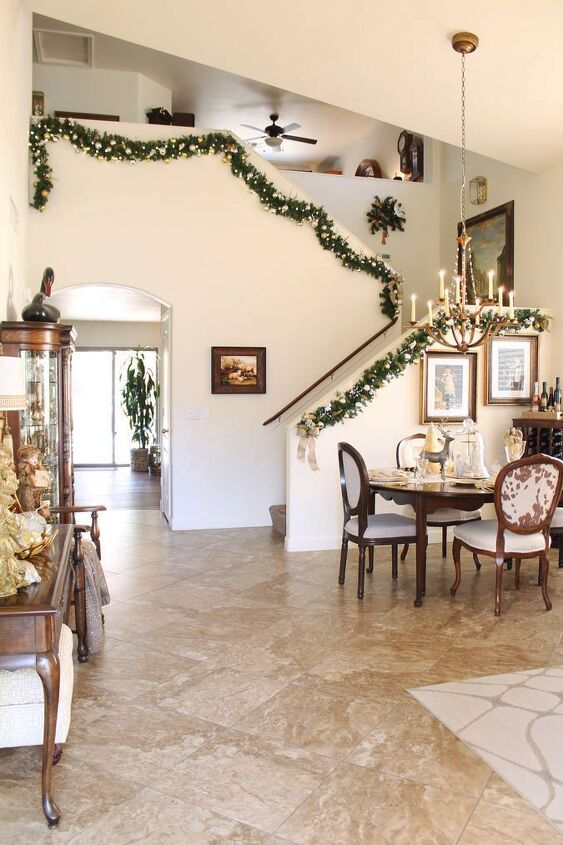
It adds so much to the stair wall. I love it and add a few different balls and pics every year. The view from the front door when you first walk in is so fabulous. It definitely says Christmas. This was the look for my 2019 Christmas Home Tour.
This was my 2020 Christmas Home Tour.
If you don’t have a railing, then just hang your garland on the wall, it will look amazing. Pin my Christmas Stair Garland – Step by Step Tutorial below so you can do yours this year too.

Next up on the tour is Our Southern Home. Check out how Christy decorates her home with garlands. She always has such inspirational ideas. Then be sure to check out all the tours, just click on any pic below.
You are invited to the Inlinkz link party!
Click here to enter
Resources for this project:
See all materials


Comments
Join the conversation
-
I used small nails and put them in just below the wood top railings. Then I just hooked the garland over them. After Christmas I just pull them out and you can't see anything.


Frequently asked questions
Have a question about this project?
It looks lovely! How did you attach the garland to the wall?