


DIY Christmas Felt Garland

Christmas Felt Garlands, who hasn't seen them and fallen in love? Plus it is the perfect all season decoration. Easily changing the colour scheme can make this the perfect addition to your mantle or wreath any holiday. Today I am focusing on Christmas and a standard colour palette.

- Cut the felt into 1/2 inch wide strips. Don't worry about the lines and cuts being perfect. This is a handmade felt garland, eyeball the strips and get cutting. Best size is about 5 inches long and a 1/2 inch wide.

2 create a loop at the end of the twine. Don't worry about cutting the twine yet, work with the ball of twine until you figure out the length of the garland strand. For me, I just kept adding bows until I ran out of felt.
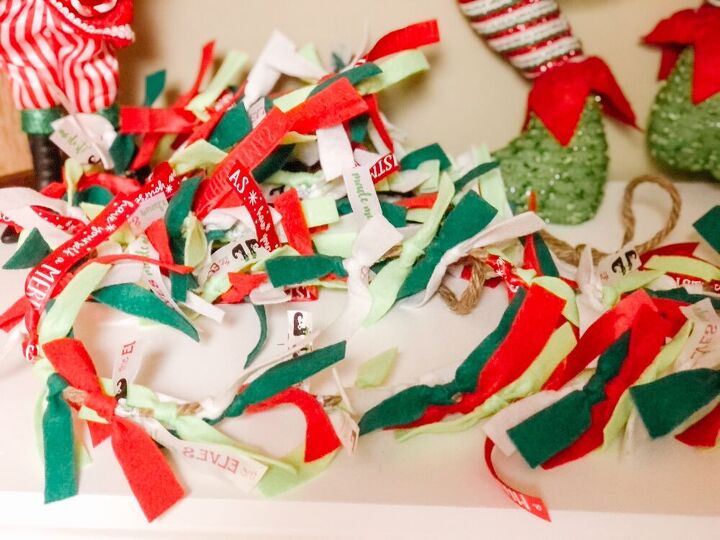
alternating your felt colours, tie the felt on to the twine. I would recommend you alternate the angle at which you tie on the felt pieces, it creates that messy close together look.
Keep tying the felt on the twine until you reach the end.
Cut the twine allowing enough space for a loop at the end.
Easy peasy, you are done, just figure out where you want to hang it.
I added mine to the mantle and I love it.
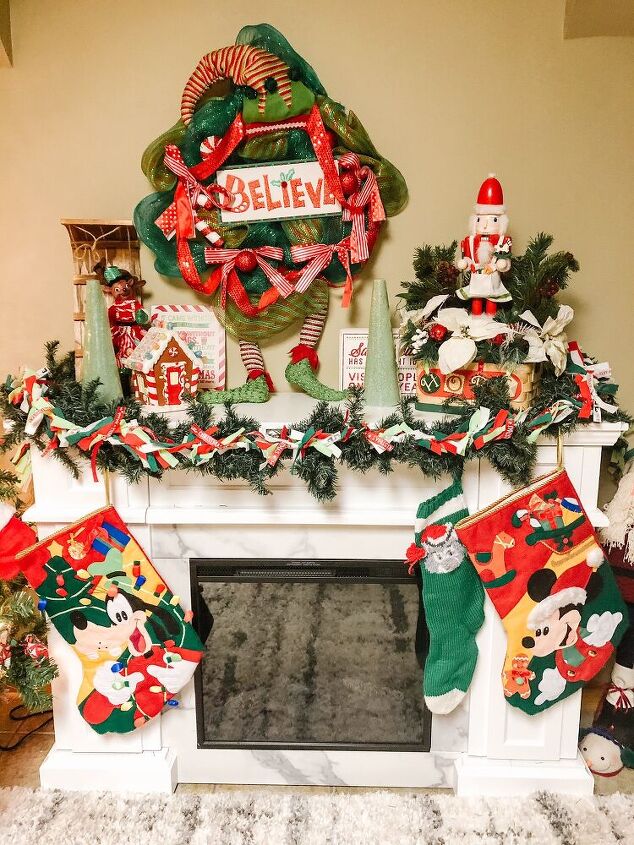
Such a quick and easy craft and one the kids can easily try. I have made a few in different colours to match my various trees


Frequently asked questions
Have a question about this project?