


DIY Christmas Wood Sign
Rather than keep the same old wall art I have up year round, I decided to make my own Christmas version this year. Let me take you through how I created my very own rustic Christmas wood sign for my front entry.

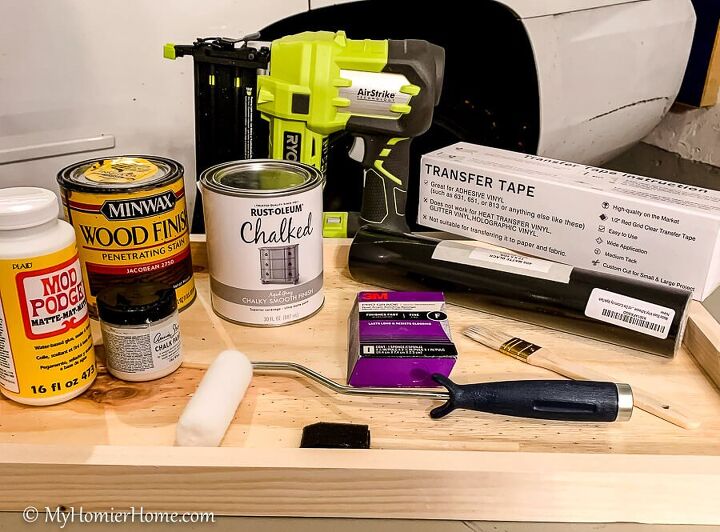
1.Gather your materials
- 1-1/4” brad nails
- 18 Gauge Brad Nailer
- Piece of Plywood cut to 13-3/4”x 21-3/4” and 1/2” thick
- 1 – 1x2x8 cut into 2 – 21-⅝” and 2 – 15-3/16”
- 12in. Miter Saw (optional)
- Rustoleum Chalk Spray Paint in Aged Gray
- I used a small can of this same paint because they were out of spray paint, but spray paint is much cheaper & easier.I love this color so much, I even used it on my front porch and my fireplace.
- Minwax Jacobean Stain and a rag
- Sanding Sponge
- Mod Podge in Matte
- White Chalk Paint
- I used Annie Sloan Old White Chalk Paint
- Transfer tape
- Vinyl any color for creating your stencil
- Vinyl pick and scraper
- Clamps (I used two 12″ and two 24″)
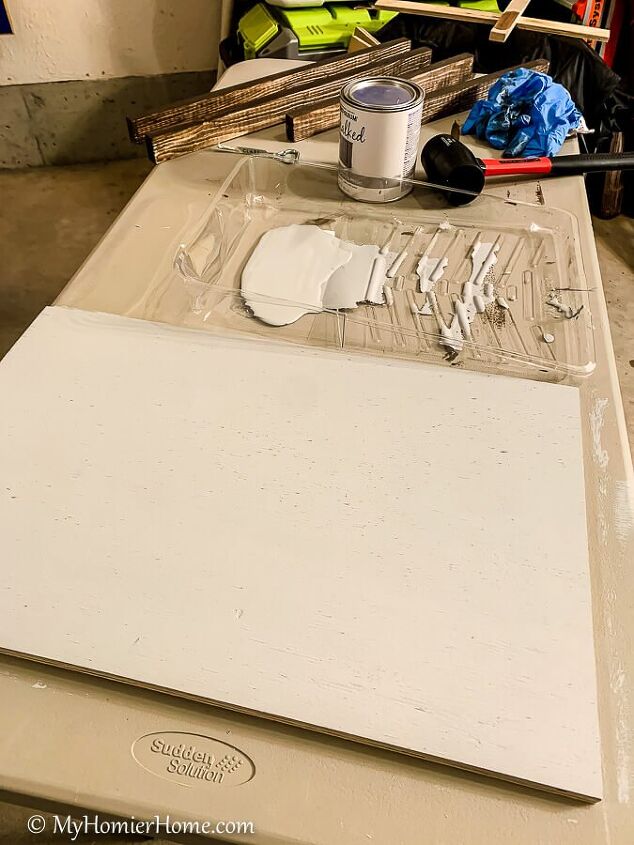
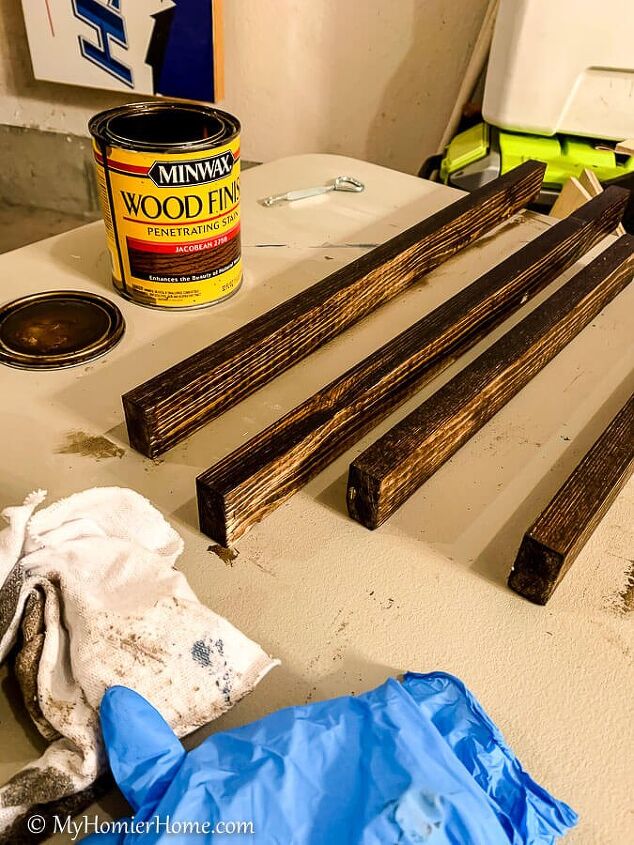
2.Paint the main board and stain the frame
After you've checked the length of the frame around your piece of wood to make sure it all fits snuggly, lightly sand each piece of wood before painting and staining the main piece and the frame.
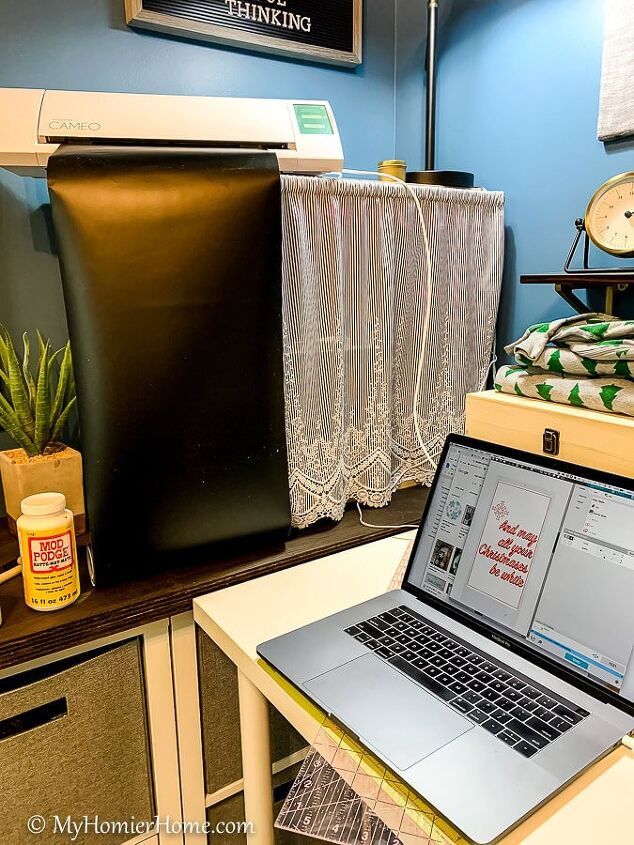
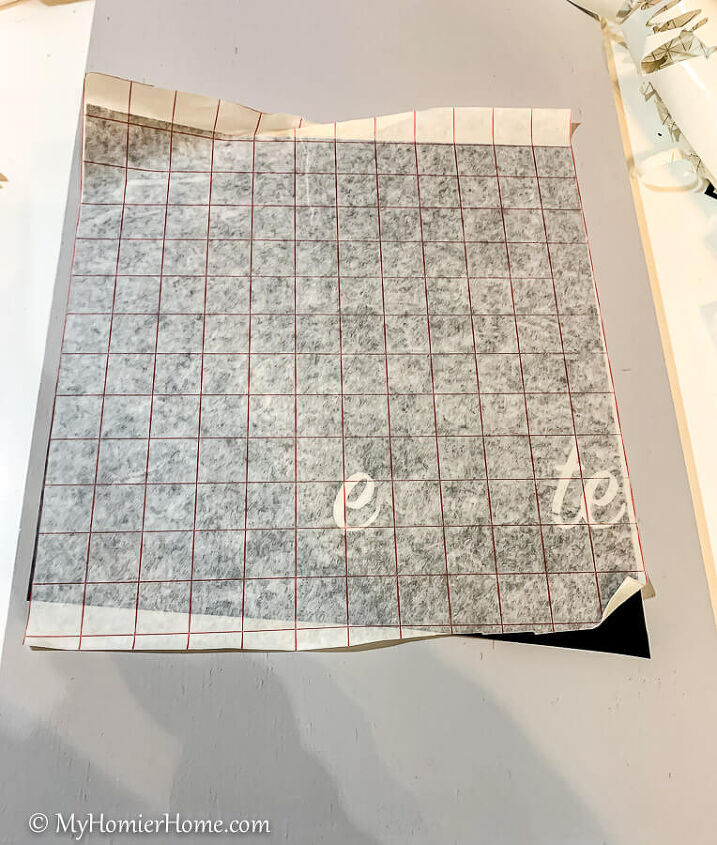
3.Create your vinyl stencil.
While the paint is drying, this is a great time to create your vinyl stencil. I used my silhouette cameo to create my stencil. I used the SignPainter script.
I used the lowest setting to cut, but it still cut through all the way on the vinyl, but it still worked with a little more of a delicate touch when peeling the backing off.
After running the design through the Silhouette, I added transfer paper to the top of the design, removed the vinyl from the cutting mat, removed the backing of the vinyl, and used my pick and scraper tool that came with the silhouette to remove the inside lettering pieces to form my stencil.
4.Transfer your stencil to your dry wood piece.
Be sure your paint is fully dry. I waited two hours and then applied my stencil, but with the strength of the vinyl, it did take a little of the paint up when I removed it. I actually liked this look, but wait longer, like overnight, if you don't.
It will be helpful to use a ruler to align your stencil words appropriately. Once it aligned, make sure there are no bubbles and that it adheres to the wood.
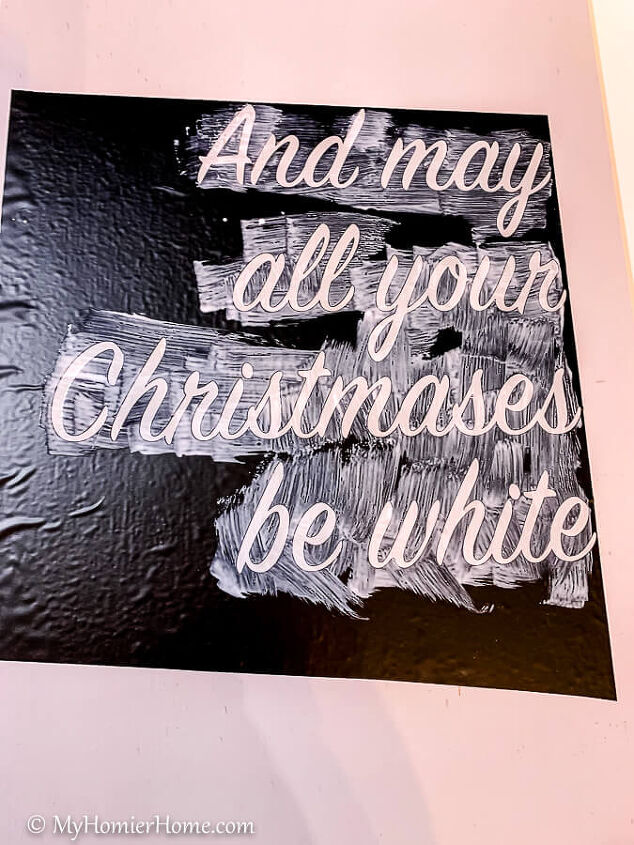
5.Apply matte mod podge over the stencil
This helps the paint to go on evenly and not seep under the stencil
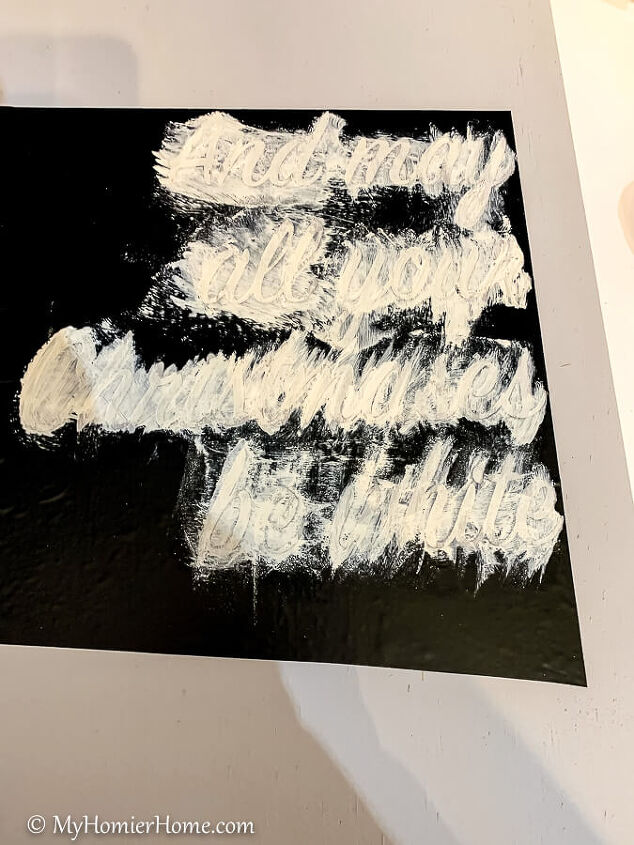
6.Paint your chosen color over the stencil
After the mod podge dries, use a small brush in a circle motion to paint over the stencil.
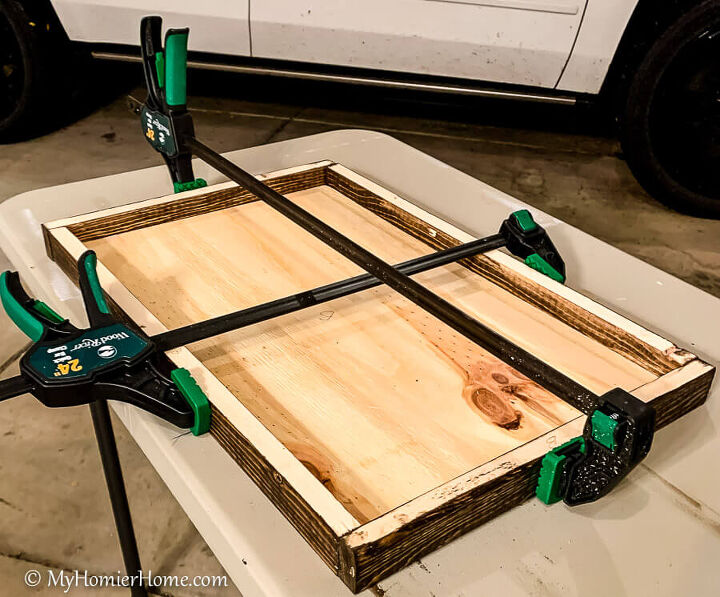
7.Nail the frame pieces to the sign
Once dry, use your clamps to put the sign together. Then, use your nail gun to nail the frame to the wood piece.
8.Hang your artwork!

What do you think?
Resources for this project:


Frequently asked questions
Have a question about this project?