


How to Paint Ceramic
In this step-by-step tutorial, I’ll show you how to paint ceramic with no-bake ceramic paint. Painting ceramics is a fun and easy way to express your creativity, and with this simple DIY, you’ll be able to create stunning pieces in no time.
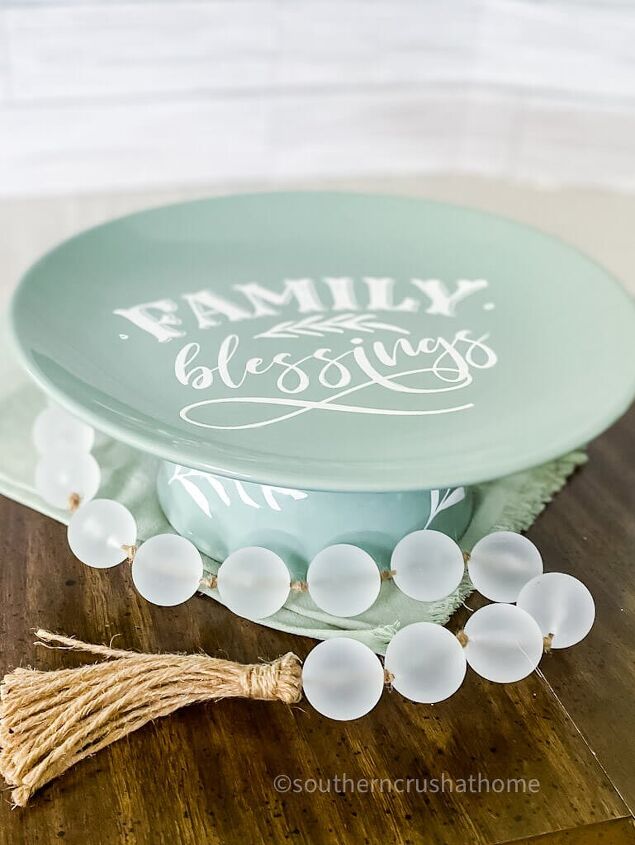
Plus, I’ll share an easy way to use your painted pieces to make a serving tray or cake plate. Be sure to make two so you can gift one and keep one!
Supplies Needed to Paint Ceramic
- Family Blessings Mesh Stencil
- Ceramic Paint – Angel Wings (this brand is food safe and dishwasher safe)
- Dollar Tree Ceramic Plate, Bowl, and Mug
- E-6000
- Squeegee
- Hot Glue Gun
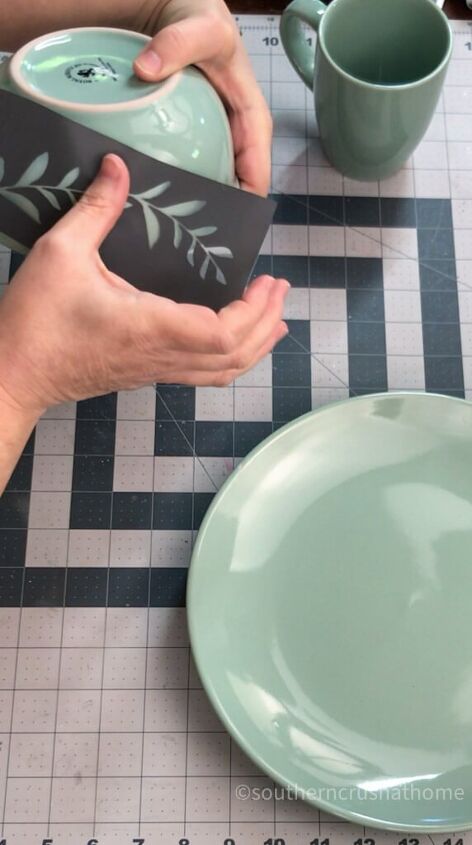
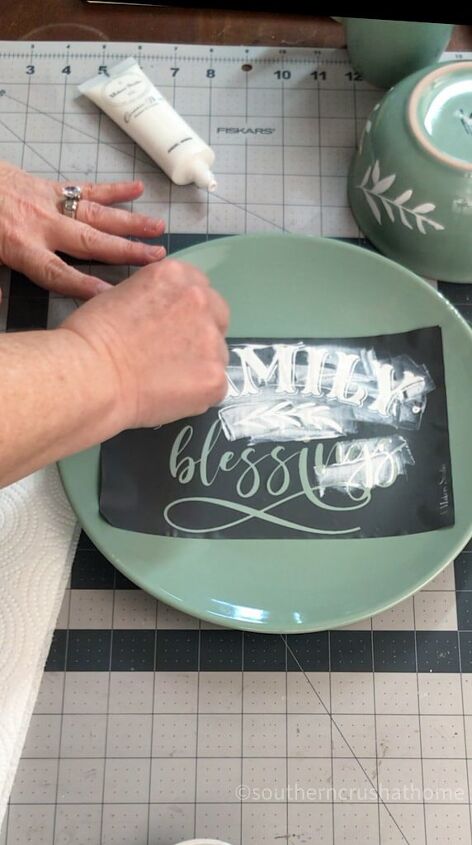
Step 1. Apply the Stencil
Start by placing the mesh stencil on the ceramic piece where you want to add the ceramic paint. These stencils are so easy to work with because they have a sticky backing so there is no tape needed!
Plus you can wash them off and use them over and over again. I chose to add a pretty floral design to the bowl.
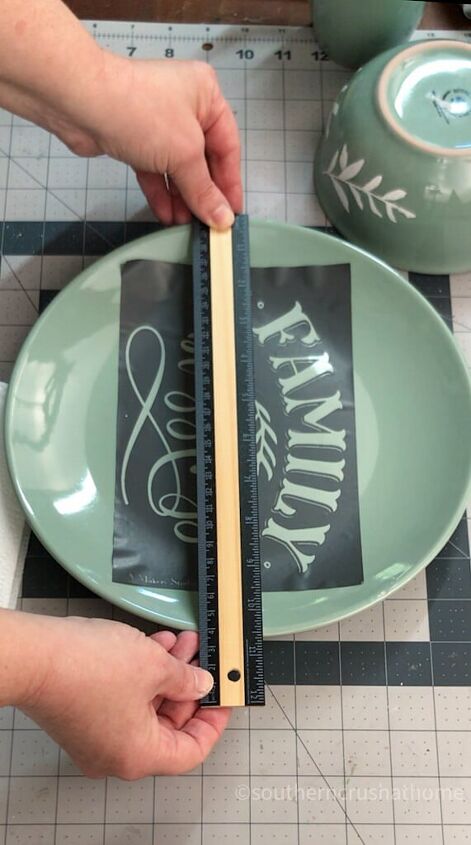
Step 2. Mark the Center
I normally don’t measure but for the ceramic plate, I made sure to find the center of the plate so the quote was in the correct place.
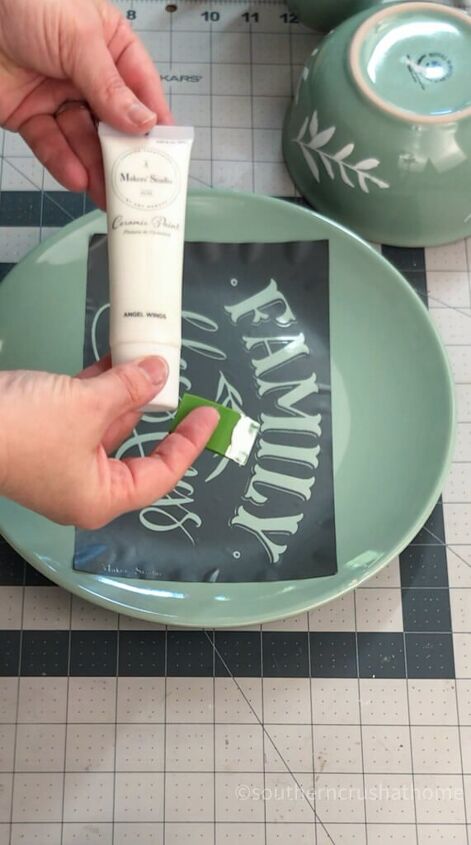
Step 3. Apply the Ceramic Paint
Use a squeegee to apply the ceramic paint across the stencil. You don’t need a lot of the ceramic paint. A little bit of it goes a long way.
When you apply paint like this ceramic paint you should only need a first coat, no second coat is necessary.
You apply it by scraping it gently across the stencil to apply a light coat of paint. The fewer passes you can make over the stencil opening the cleaner your result will be once the stencil is removed.
You can get super creative with this and use multiple colors and even create a fun ombre design by blending two colors at a time.
Step 4. Touch Up Any Paint
The paint is very forgiving so if you make a mistake you can use a small artist paintbrush (or even your finger or paper towel) with a little isopropyl alcohol to wipe it off. Any painting mishaps are completely erased. Easy peasy!
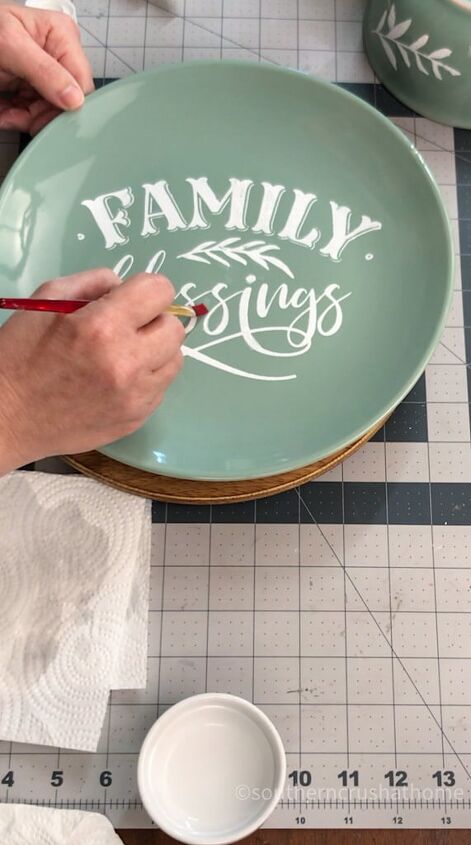
I repeated this process after each of my stencils were applied anywhere there was ceramic paint that was out of the “lines” of my design. I actually really enjoyed this part of the painting project!
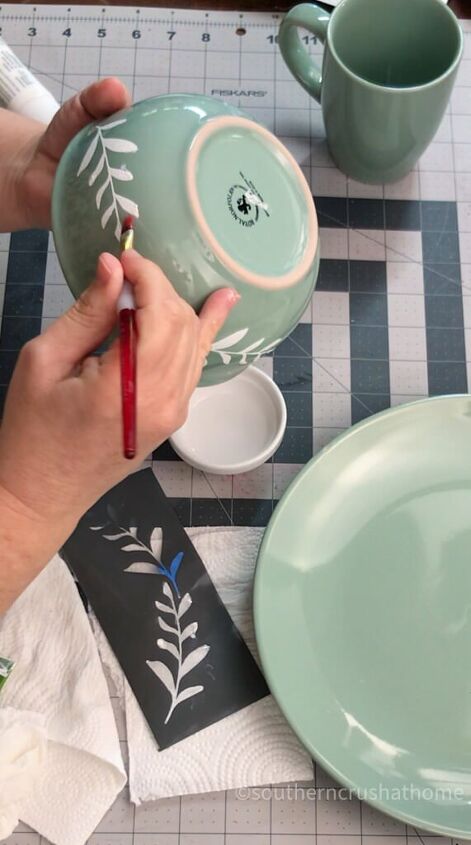
Step 5. Repeat the Steps
Follow these same easy steps on any of your other ceramic pieces. Just think of all of the things you could use this painting technique on!
My favorite part is how super easy this painting technique is to customize special personalized gifts too!


Frequently asked questions
Have a question about this project?