


Easy Envelope Fold Pillow Covers
7 Materials
1 Hour
Easy
Update any decorative pillow in your home easily and in under an hour using fabric or in this case, a tablecloth, a sewing machine and sticky velcro with only a few minutes of straight stitch on a machine are required!
I love this method because I love to change my decor often (as you can see on my Insta Page ) and as a mom to 8, the fact that it can easily be removed and cleaned is a definite plus! Mom Win!
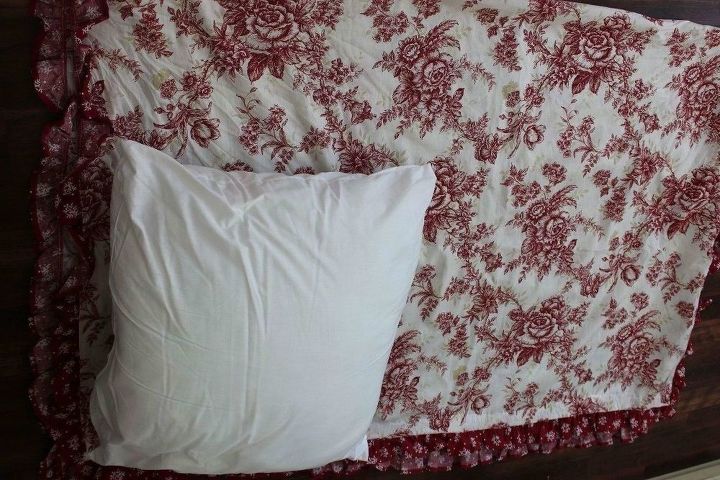
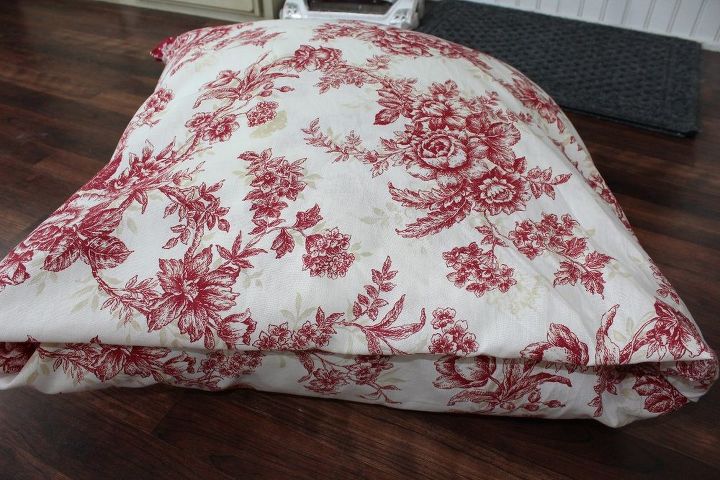
For this project, I am covering 2 Euro Sham size pillow forms. The tablecloth I had on hand was large enough to cover both pillows.
*To check - Lay your pillow form across your laundered and ironed fabric to ensure that the fabric is large enough to cover the entire pillow (or pillows). You want to make sure that not only is your fabric wide enough to cover your pillow, but that your fabric is also about half your pillows size in length as well for the envelope fold at the end*
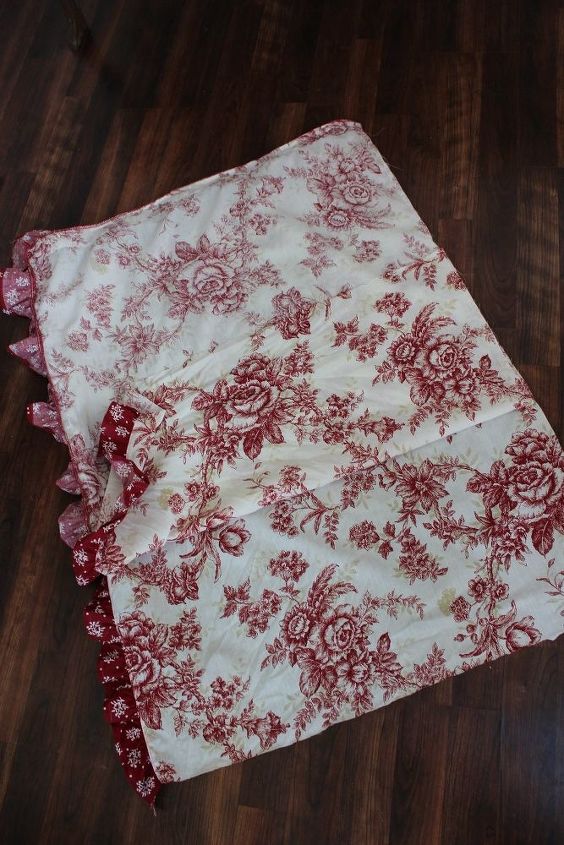
Once your fabric is cut to size, lay it with the "good" sides touching. This is to keep your stitch hidden in your final product.
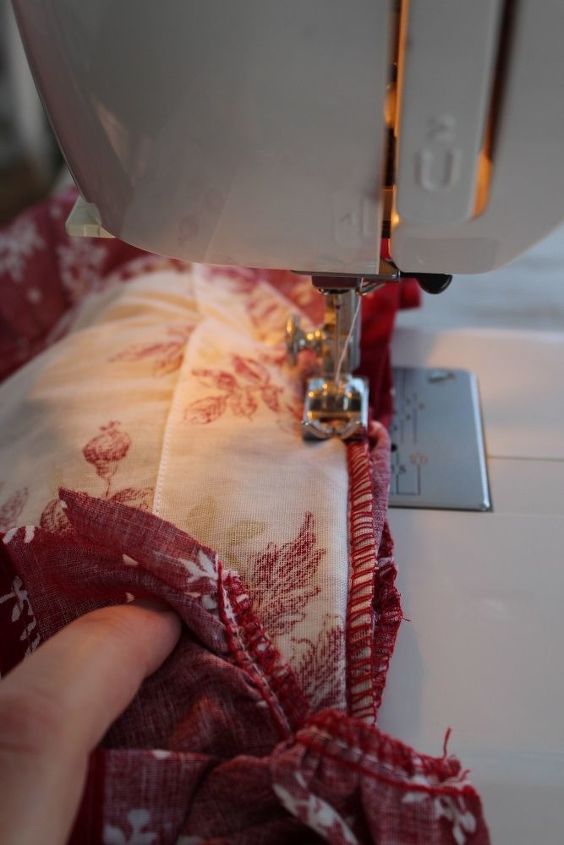
Stitch 3 of the 4 sides using a simple straight stitch.
Once you are finished stitching your 3 sides, turn your fabric right side out and insert your pillow form. Tuck in the top piece of fabric alongside the pillow.
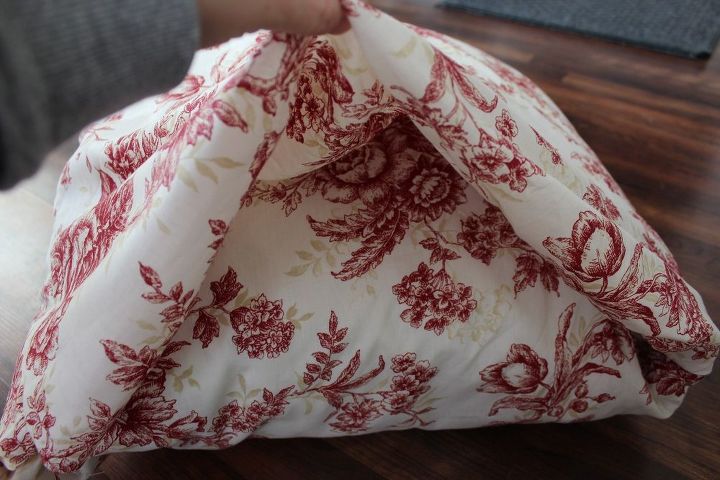
You will then take the other piece of fabric from the end and tuck it OVER the pillow and into the coordinating side.
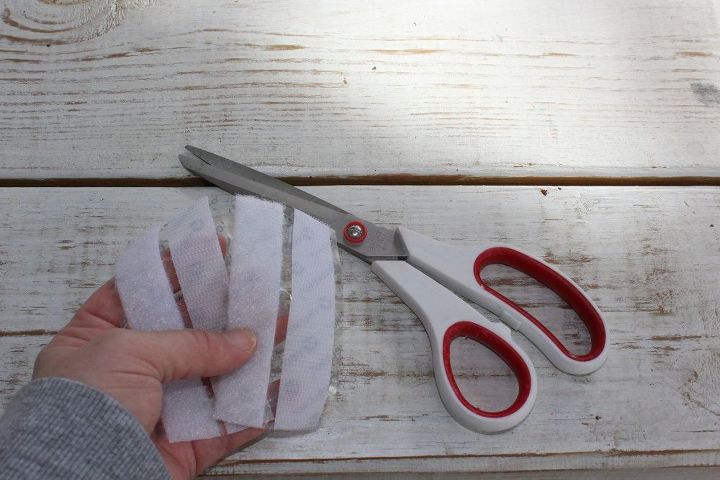
These pieces are to hold your enveloped fabric in place. Only 2-3 inches are needed per pillow.
Place your first piece of velcro and remove tape backing to adhere to fabric.
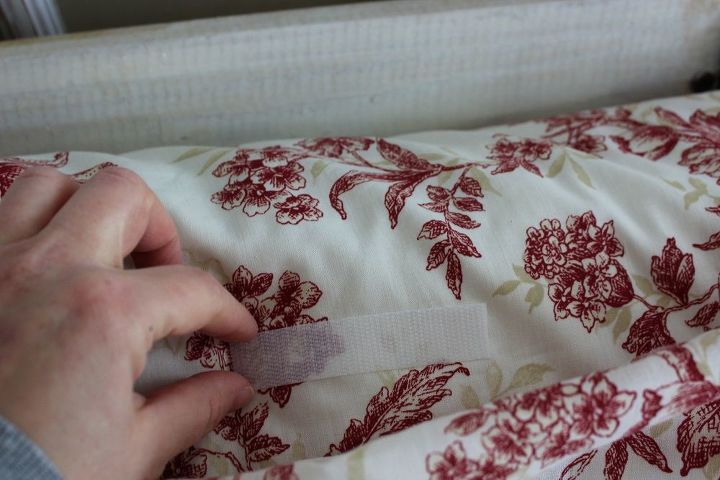
Line your velcro pieces together and place onto fabric pressing firmly (velcro may also be sewn on instead of using the sticky back velcro)
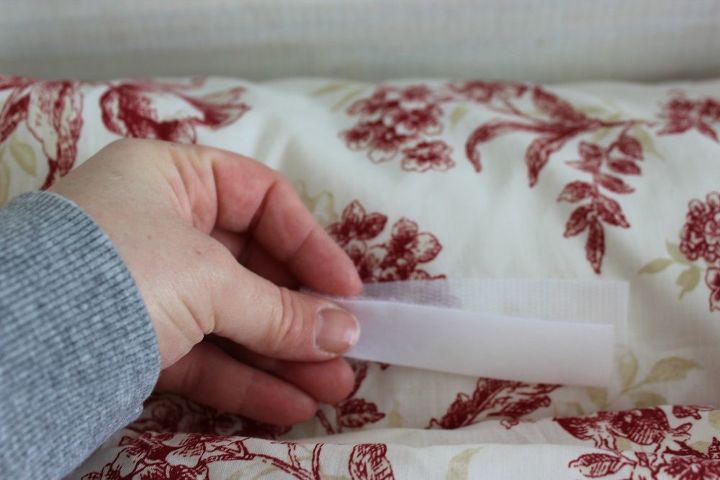
This is what your envelope fold will look like once it is velcroed.
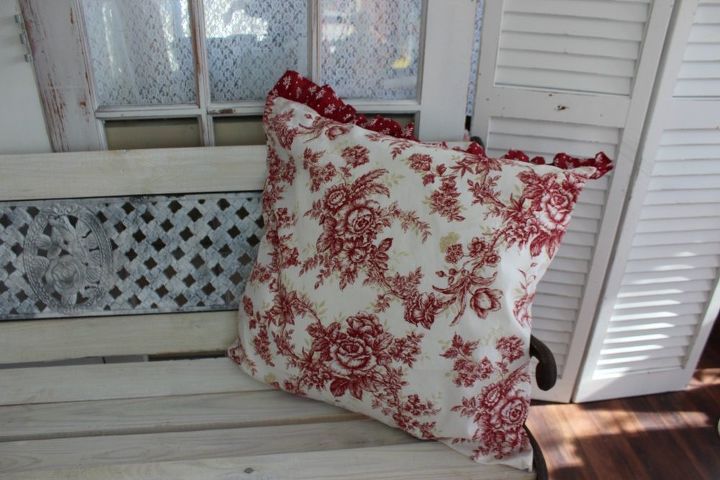
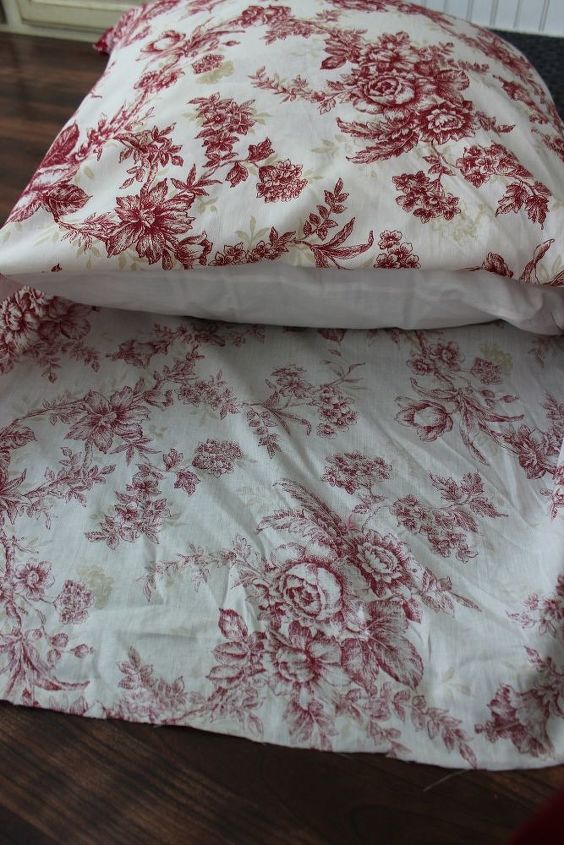
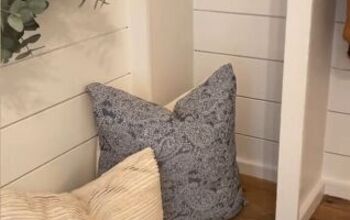
Finished Product. I left the ruffle from the tablecloth because I really liked the look. But, I could have easily trimmed off the ruffle before sewing if I preferred.
Resources for this project:
See all materials


Any price and availability information displayed on [relevant Amazon Site(s), as applicable] at the time of purchase will apply to the purchase of this product.
Hometalk may collect a small share of sales from the links on this page.More info

Want more details about this and other DIY projects? Check out my blog post!
Comments
Join the conversation
3 of 17 comments
-
Just a tip...several years back I had a very expensive mistake sticky back velcro will ruins your sewing machine how do I know it ruined mine be sure to use non-adhesive velcro to avoid the adhesive gumming up inside your sewing machine. Have fun,,,
-
You can buy "Sew on Velcro" no glue to ruin sewing equipment. I keep both on hand. I preferer to use a Leather sewing machine needle they are triangle very sharp tips.


Frequently asked questions
Have a question about this project?
I don’t get the fabric being 1/2 the pillow size in length. Did you mean twice or double, then extra to tuck in?
Ive never had luck with the stick on Velcro! It pulls loose, especially if it gets warm used outdoors, and becomes a sticky mess. How do you solve this problem?
Great project to reuse thrifted sheets/table cloths/shower curtains. :)