


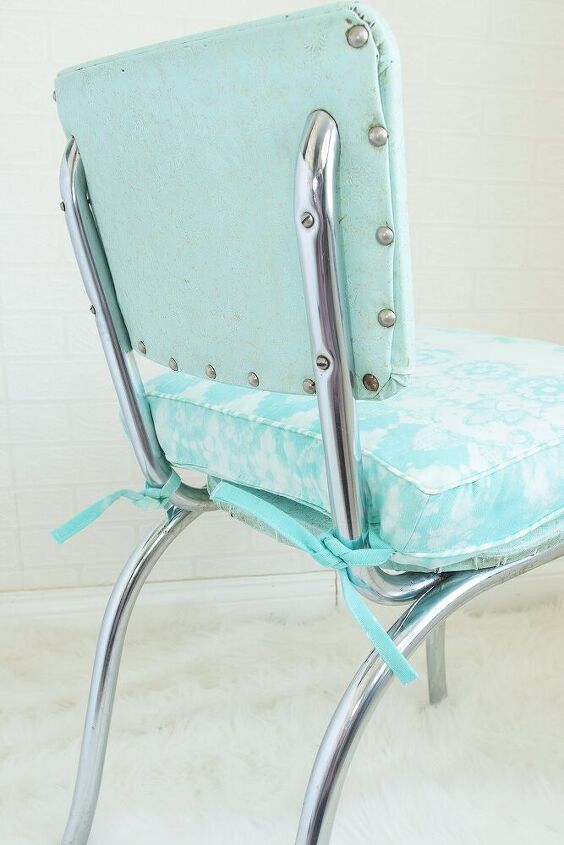
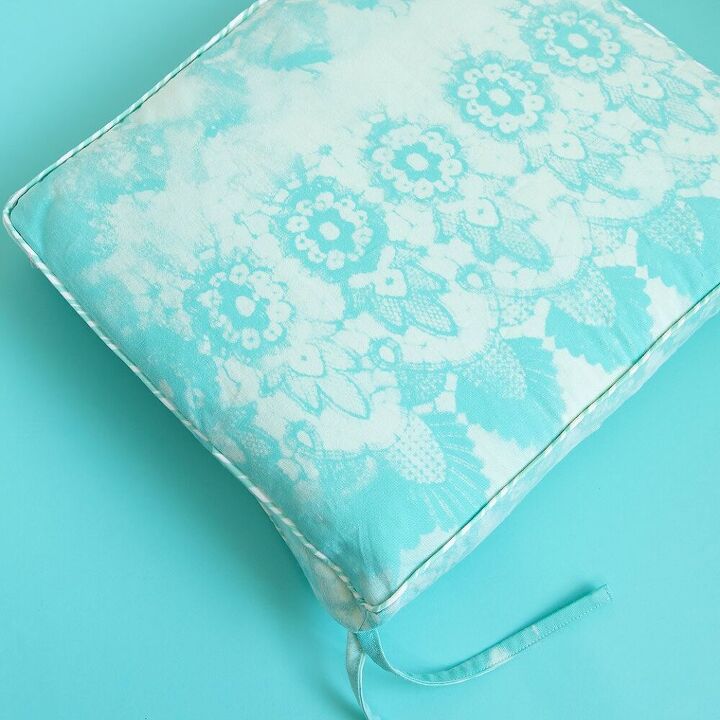
Make Your Own Chair Cushions
10 Materials
$10
1 Hour
Medium
Nobody likes a hard chair, so why not make your favorite dining room chair a little more comfy with a DIY chair cushion.Your backside will thank you and you'll be adding a heckuva lot of personality all in one go.And because we’re making tie on chair cushions, you can easily move these cushions from one spot to another. Any chair can now be your favorite one!So let’s bust out the piping and get to work.
This page contains affiliate links. As an Amazon affiliate, I earn on qualifying purchases. If you purchase a product through one of them, I will receive a commission (at no additional cost to you). I only ever promote products that I use and love and I think you will love too. Thanks for supporting me!A note about chair foam cushions:Foam comes in tons of sizes. Cutting foam is zero fun, so I would recommend buying a pre-cut cushion. Sewing and craft stores have several options. I’m using the 2″x15″x17″ which is a good size for most chairs, but there’s bigger and smaller options.Whatever size cushion you choose, add 1″ to every dimension for your fabric pieces when you go to cut.First things first, cut:
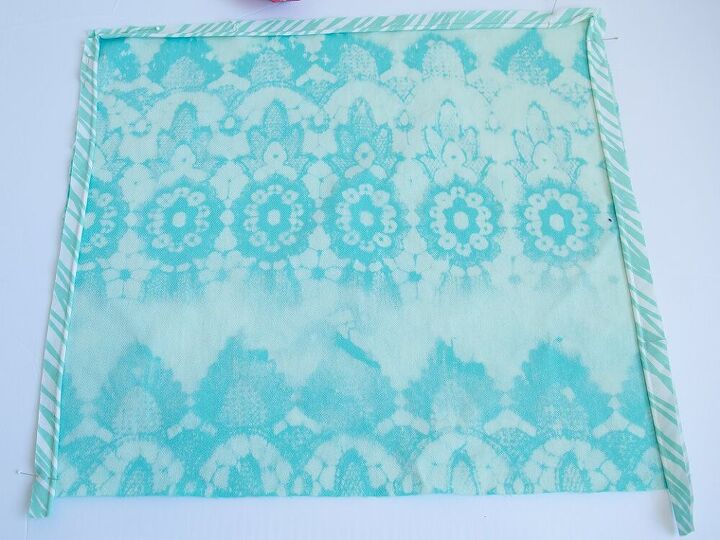
- Top/bottom: 2 pieces, 18″X16
- Sides: 2 pieces, 3″ X 18″ and 2 pieces, 3″X16″
- Ties: 2 pieces, 2″X18″
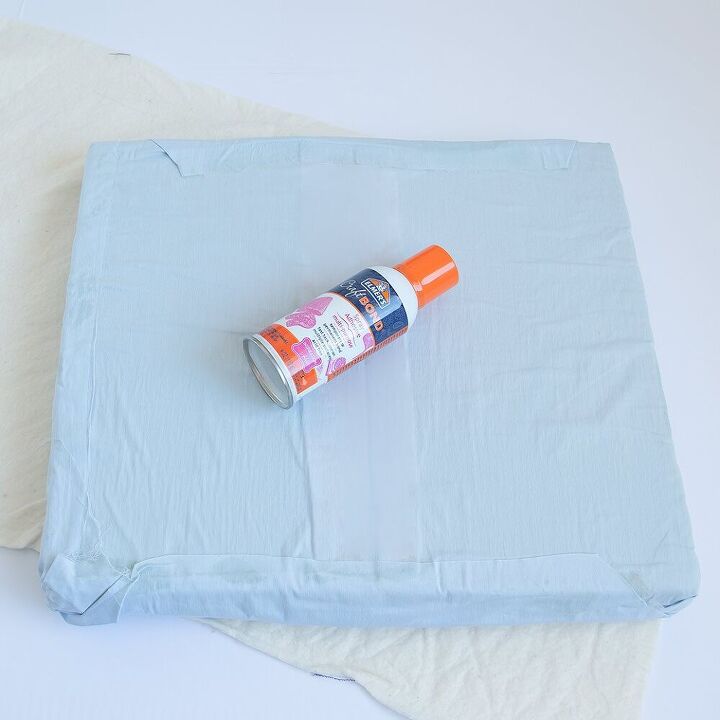
First you need to wrap the foam insert to keep the foam from getting worn on the inside of the cushion.Lightly spray the foam top and bottom with a little spray adhesive. Next wrap the foam inside the muslin like an envelope. Press the fabric in place, then cut off any extra. This doesn't have to be perfect!
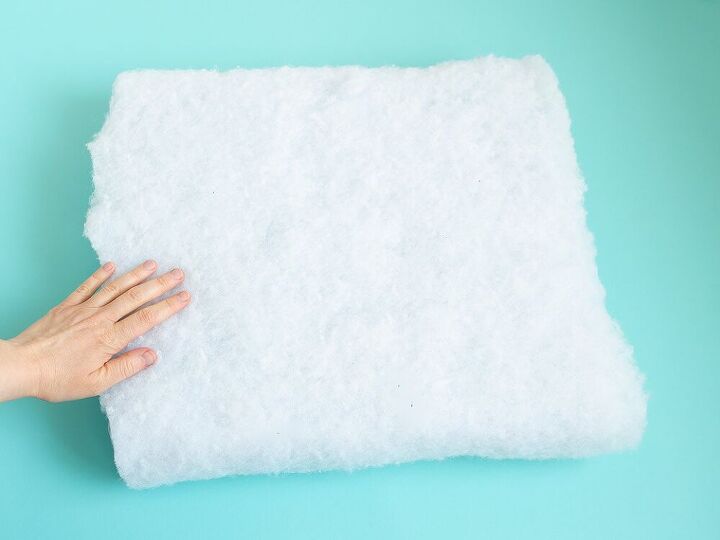
Repeat the adhesive and wrapping with Dacron. Set it aside the cushion to let the adhesive dry and air out. Spray adhesive is stinky!
Take the side pieces and alternate them: long side to short side to long side to short side.Match the short ends right sides together in this order. Next, sew a 1/2″ seam down each of these short sides. Press the seams open.Now you have the sides of your box cushion. Set this aside.
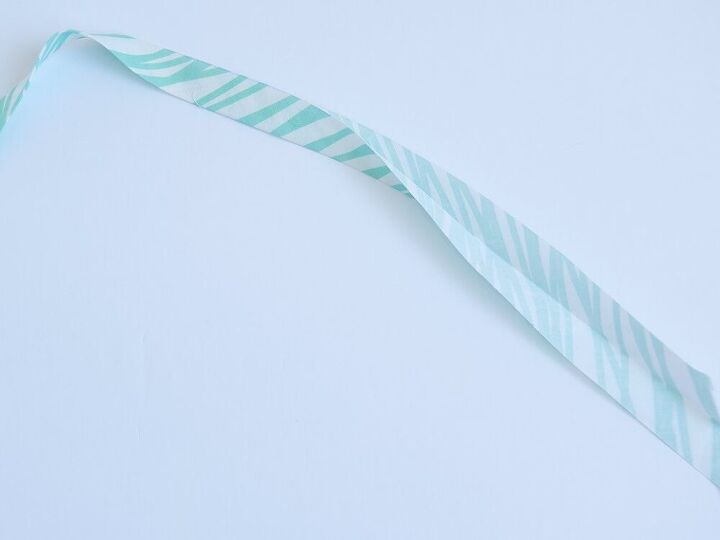
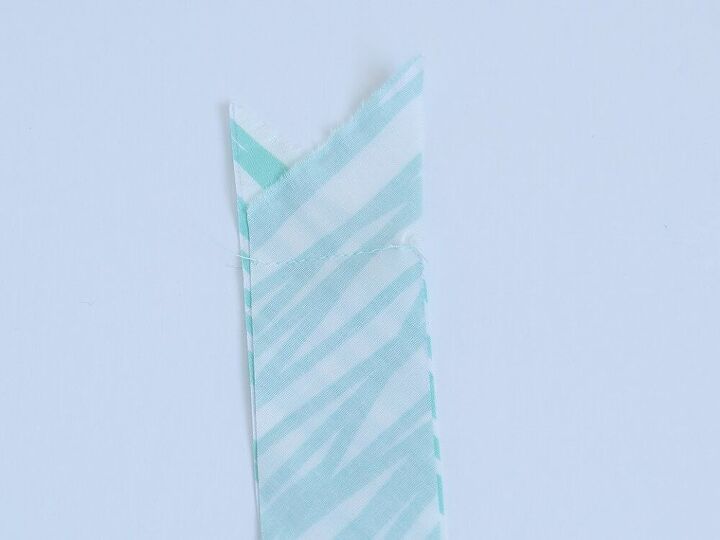
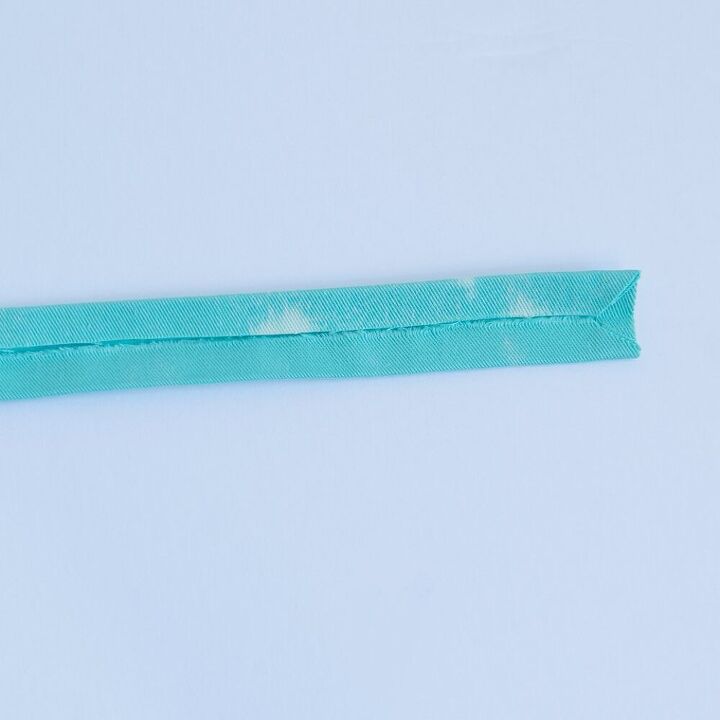
Cut 2" wide strips of bias from a piece of contrast cotton. You can of course skip this step and use packaged piping, but handmade piping is way more fun.First, cut strips of bias 2″ wide. You’ll need about 4 yards total.If you’re short on fabric, try making continuous bias instead of cutting strips with how to make bias tape.From there, match the strips right sides together and stitch the ends together. Trim the seams down to 1/4″. Press the seams open, then press the tape in half widthwise.
- joining bias strips together
- press bias tape in half
From there, measure along the stitching line with a ruler and draw a chalk line 1/2″ away. Trim anything past that point. This will make for even piping all the way around your cushion.Time to add this fab piping to the chair cushion top and bottom.
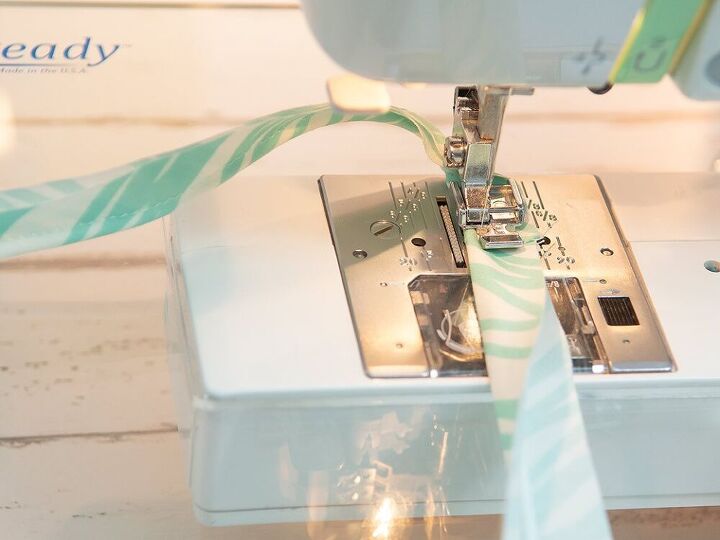
Pull the cording at one end of the piping out of the bias tape. Cut off about 1″ of the cording only, then tug on the piping. This will keep the bulk out of the end.
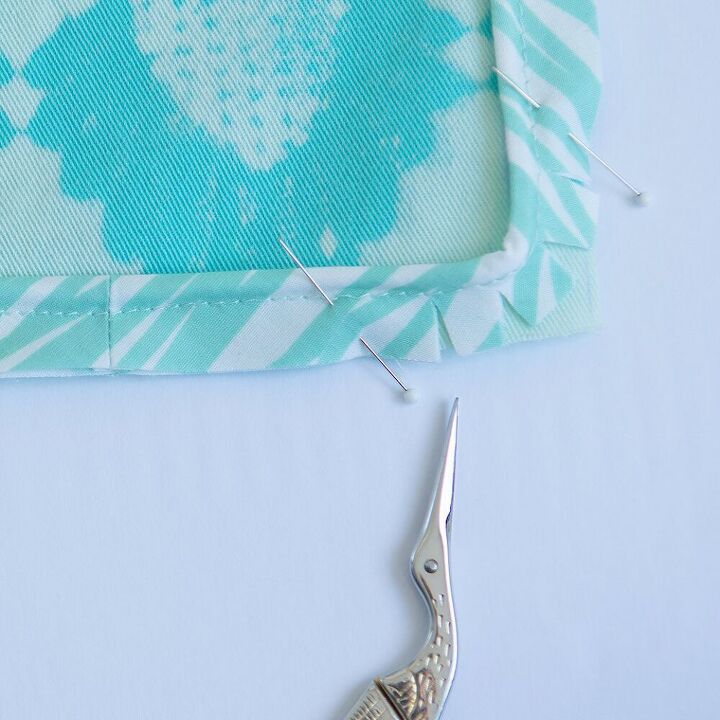
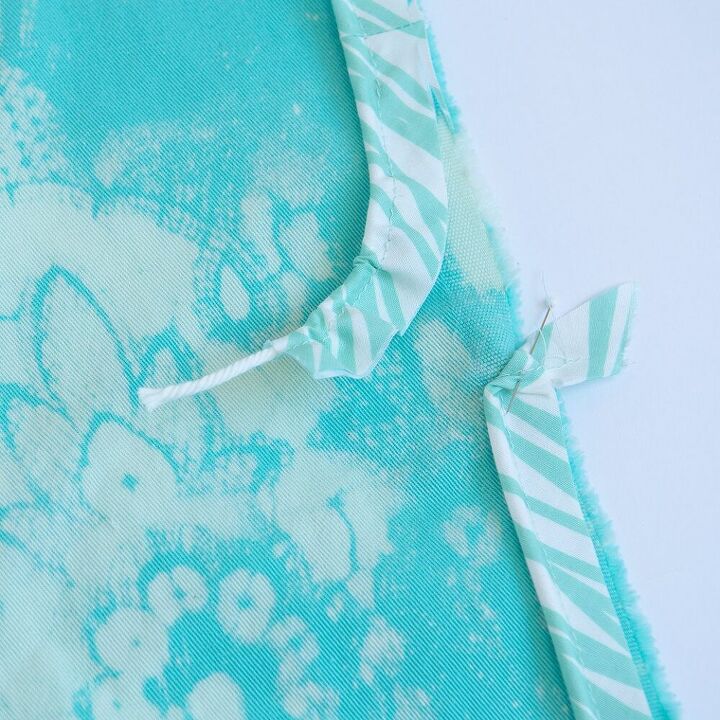
Start pinning the piping to the cushion top from the trimmed end. The raw edge of the cushion should meet the raw edges of the piping.When you get to the corners, clip into the piping seam allowance to help the piping bend around the corner.When you get back to where you started pinning, cut the end of the piping a couple inches past the exact end. Next, pull out the end of the cording just like you did before. Trim off 1″ of the cording and tug on the piping.

Next, stitch the piping to the cushion 3/8″ from the edge.
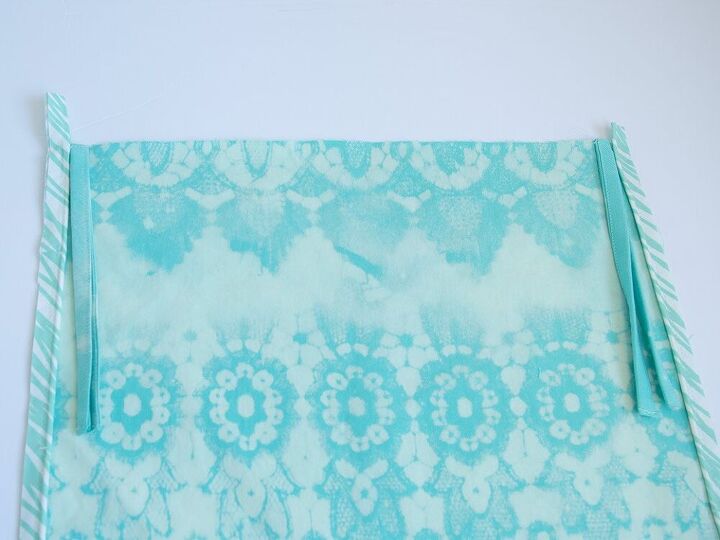
Repeat pinning and stitching down the piping for the cushion’s bottom, but only add piping to the short sides and 1 long side. You can let the piping ends hang off the long edge.
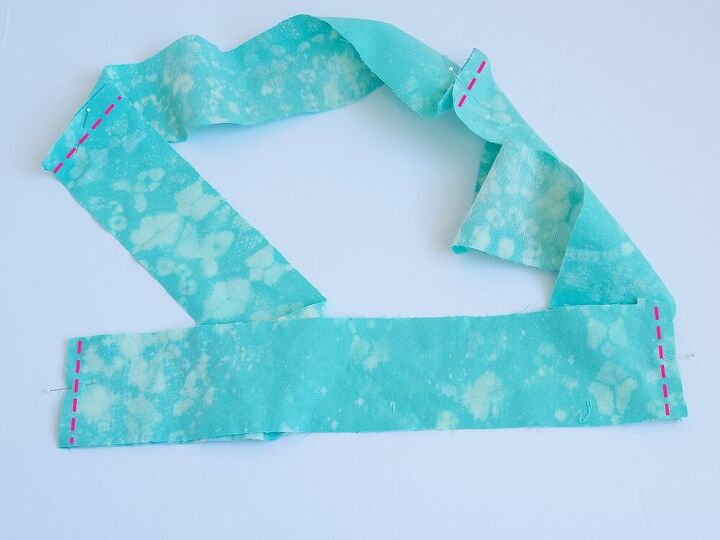
Fold the raw edges of your tie pieces towards the center of each tie. Clip the corners of each end. Fold the edges together and press again.
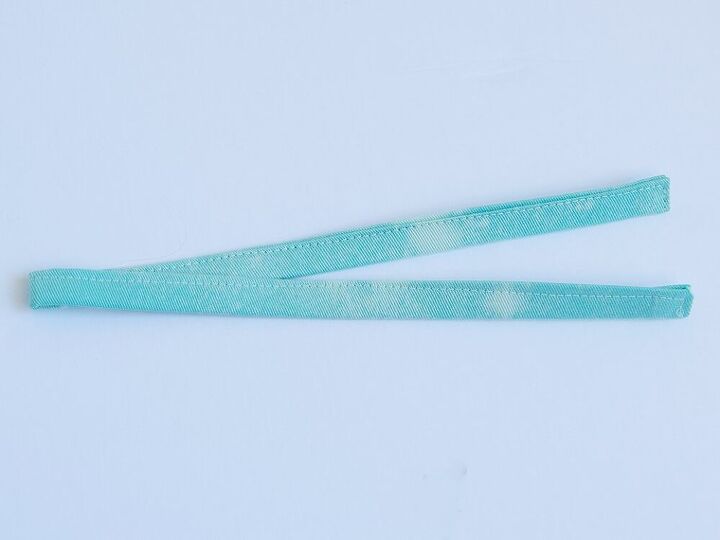
Stitch down the folded ends of each tie. To finish, fold each tie in half and press in the middle.Baste each tie at the edge of the piping on the cushion bottom.
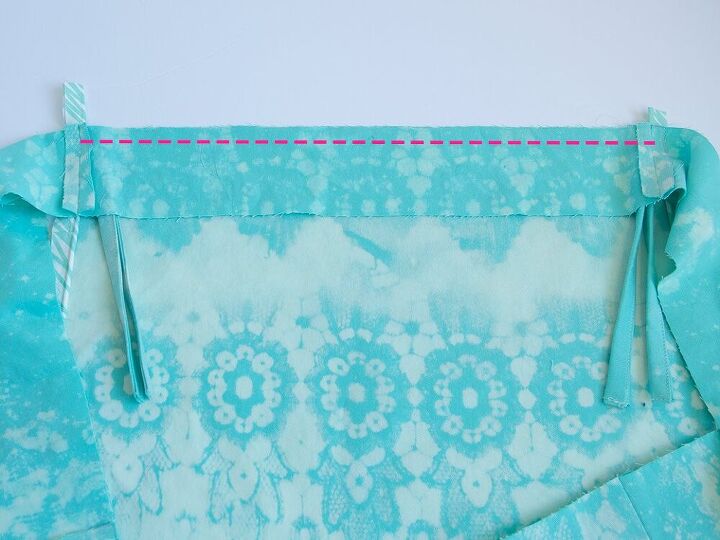
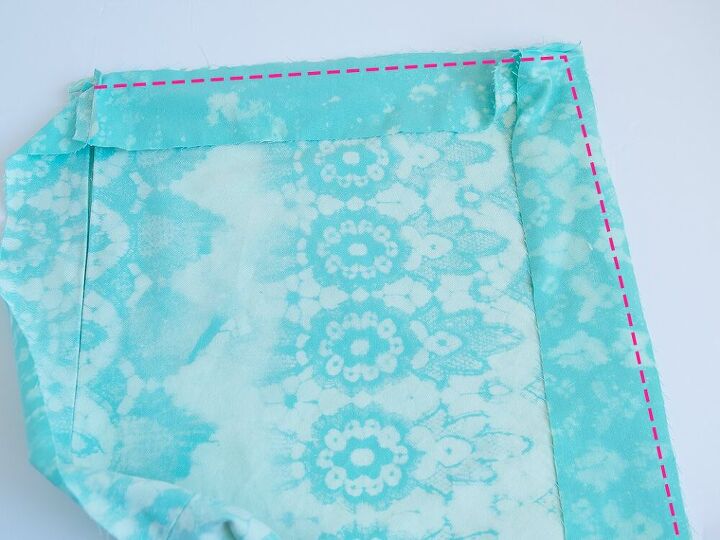
Take one long side of the side assembly and match it right sides together with the side of the bottom without the piping.Stitch a 1/2″ seam. Use a regular length stitch from each edge to the end of each tie and a basting stitch between the ties.
Press open the seam.
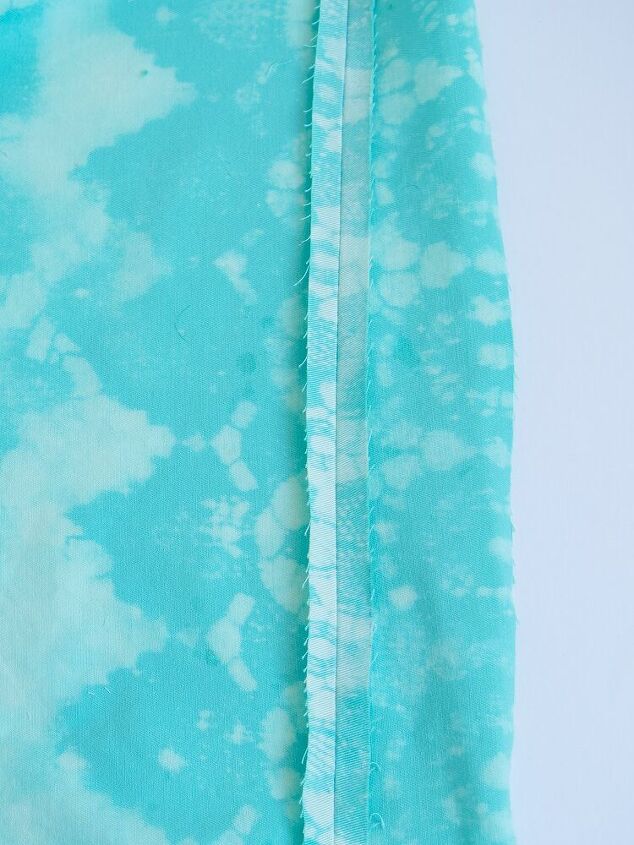
Center your zipper over the basted seam between the ties. Next, stitch the zipper tape to the seam allowances with the zipper foot.
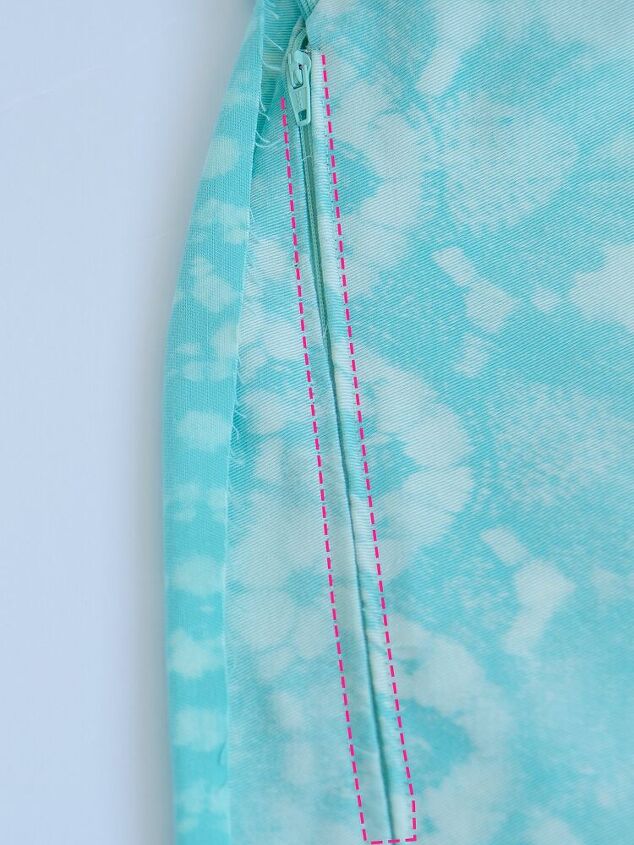
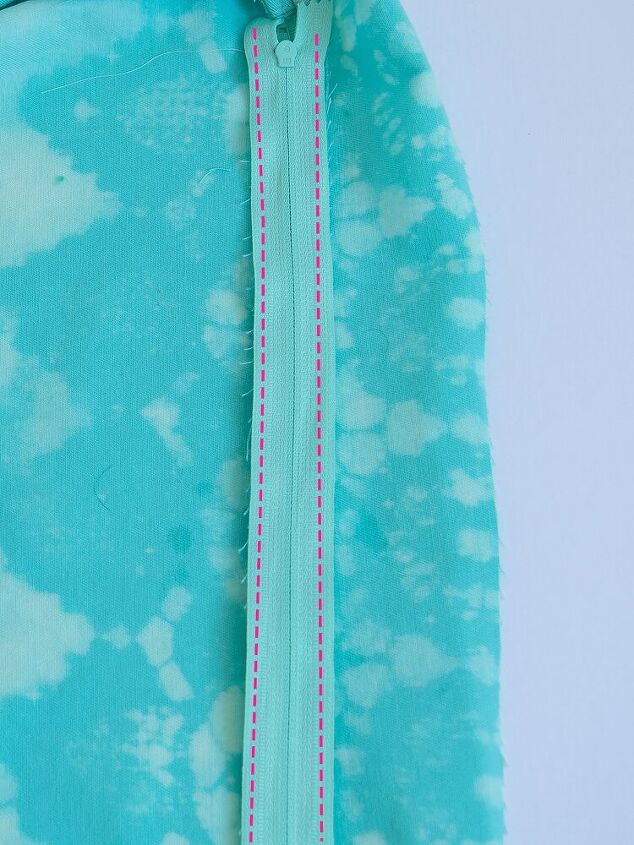
Flip over the cushion to the right side. Topstitch the zipper from the right side down the sides and across the bottom.
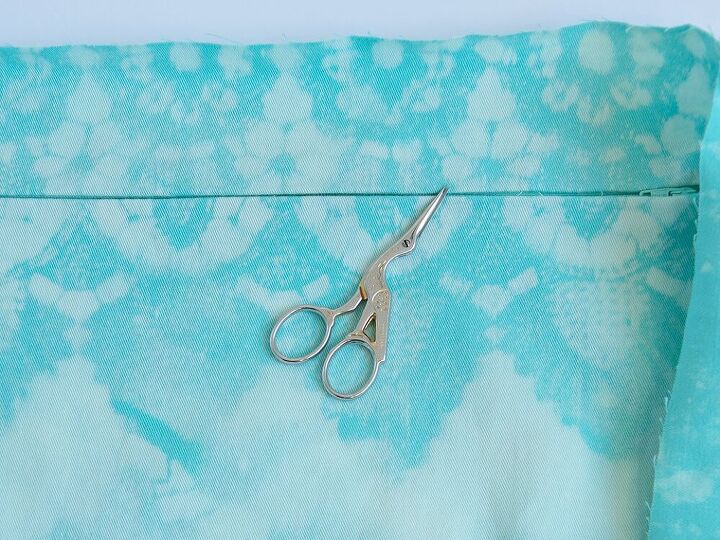
After that, use a seam ripper to open the seam over the zipper.
After that, match the sides to the other 3 sides of the bottom piece. Be sure to match the corners of the sides to the cushion. Use your piping foot to stitch around the cushion. Take care as you turn the corner to follow the edge of the piping.
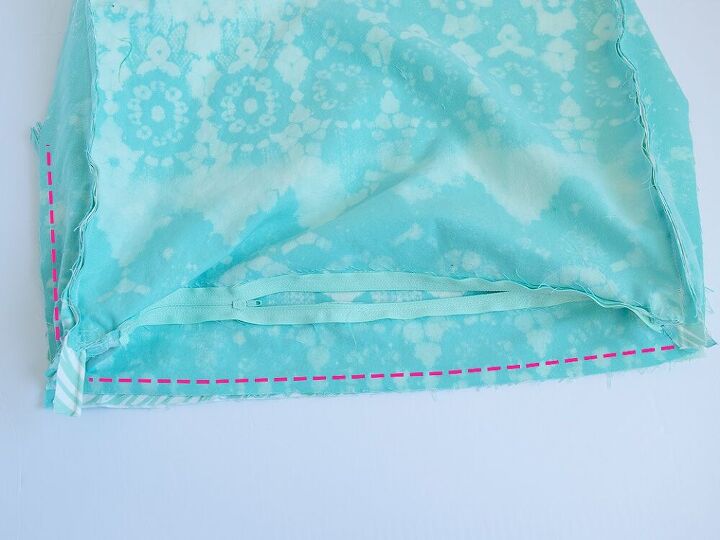
When you’re done with that, open the zipper. Match the right sides of the side assembly to the top cushion. Pin at the corners, then sew the sides to the top with the piping foot.Stitch all the way around the top side of the cushion. Slow down again on the corners to make sure the foot is following along the piping edge.When you’ve stitched all the way around the cover, turn it right sides out through the zipper.
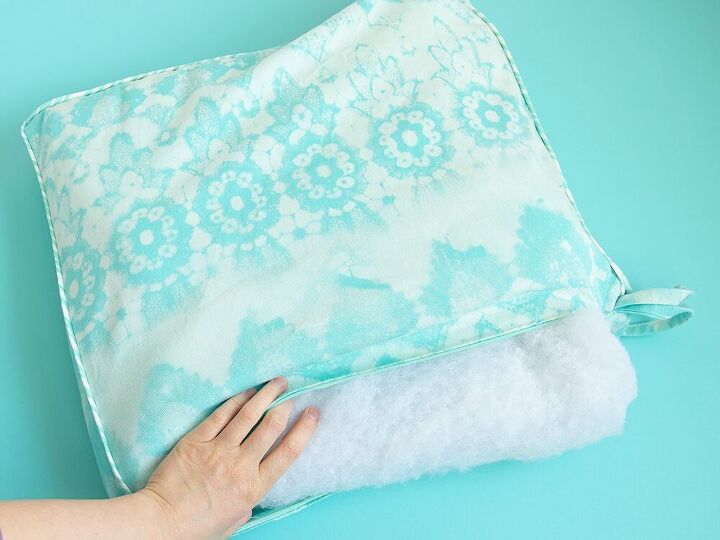
To finish up, pop in your foam and zip it up. Tie your new cushion on your favorite chair.

Want more details about this and other DIY projects? Check out my blog post!
Comments
Join the conversation
4 comments
-
'Nice to see a project that uses correct sewing methods and machine attachments.
However, this foam does not look dense enough to be suitable for a chair seat. I would think that to go to all the work of sewing a zip cover with piping, a denser foam would be used, so that it lasts longer and provides more support.
Here is a short video that explains the difference between foam density and thickness. https://www.youtube.com/watch?v=NnPIIFNXye4
- See 1 previous


Frequently asked questions
Have a question about this project?