


Pillow Style Guide
Ah, throw pillows! These bad boys are the easiest, most inexpensive way to freshen up your decor. You can switch out your pillows with the seasons or keep them year round, but their colors and patterns have so much potential to add dimension and coziness to your space!
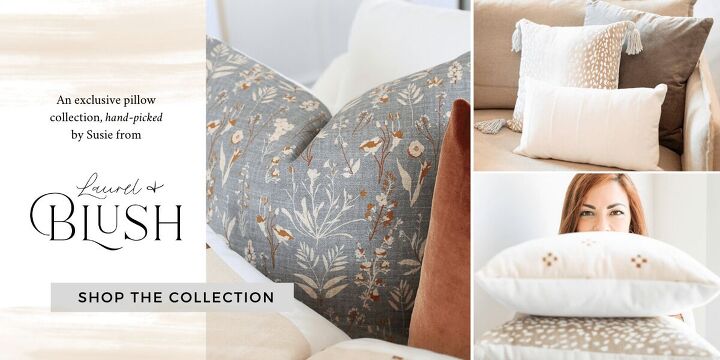
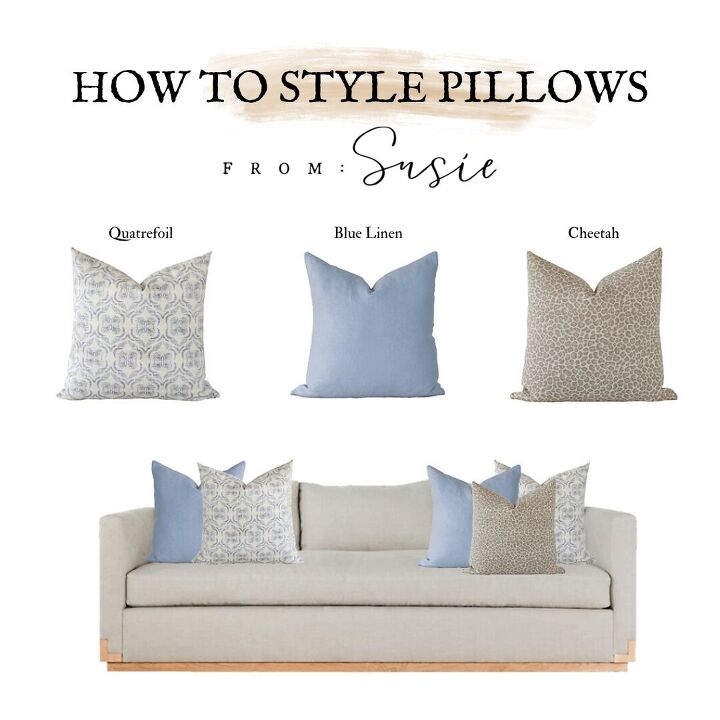
I am so excited to roll out our NEW pillow collection with Laurel & Blush! If you haven’t checked it out, click HERE. A lot of my clients will buy all the throw pillows but still feel like they can’t quite style them right. Well, I want to give you guys some tips and tricks on how to make the most out of your pillows and get them to look like they do in the magazines.
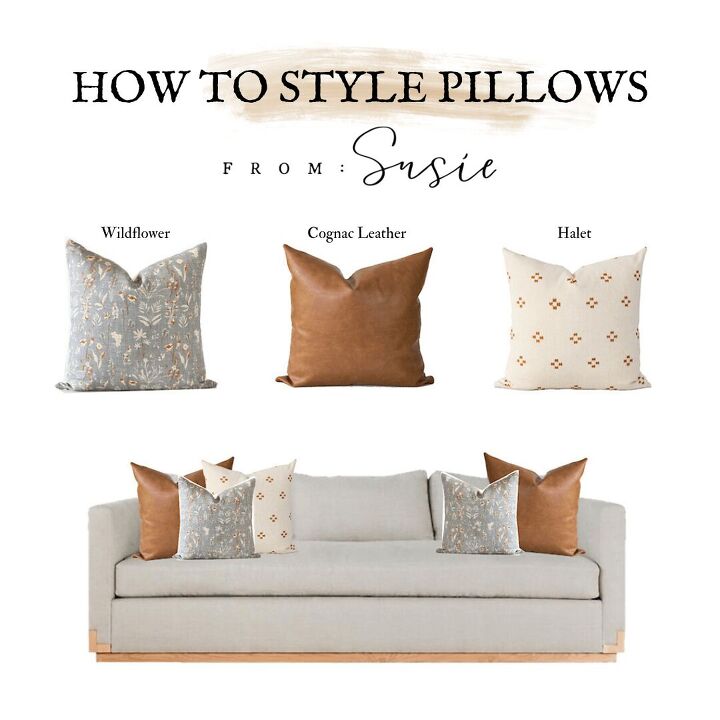
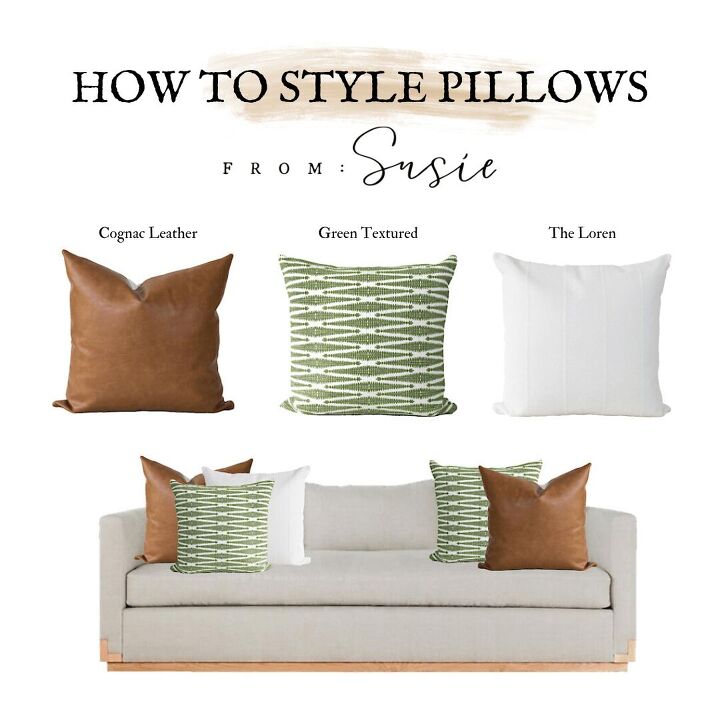
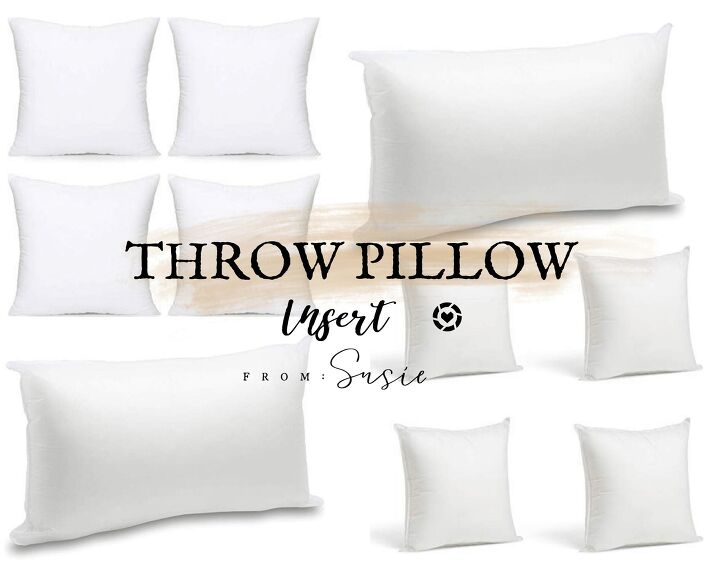
Go big or go home! You need to have at least two large pillows. These will serve as your foundation when layering. I recommend 22” x 22”s as your base. The pillows you can stack in front of that can be 18”x18”s and a smaller lumbar in front of that. However, if you try to start with smaller pillows in the back, you won’t be happy with the look.
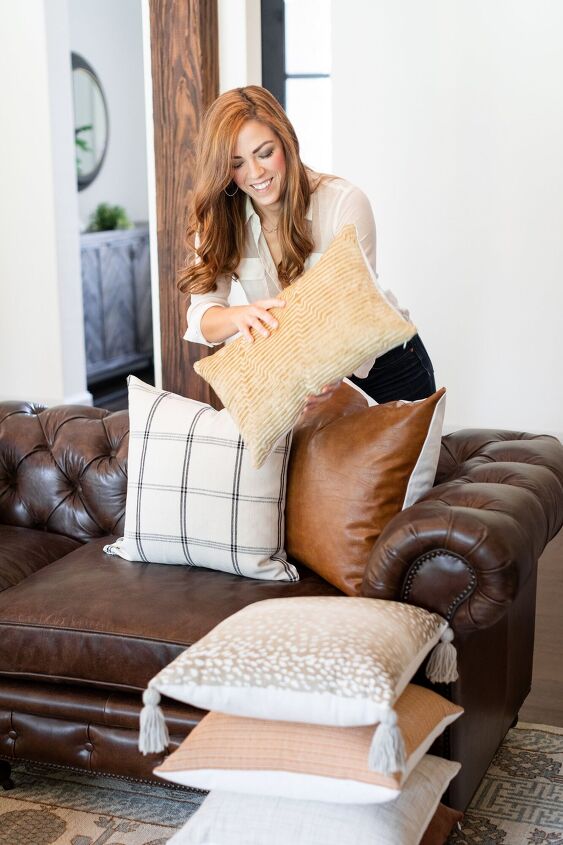
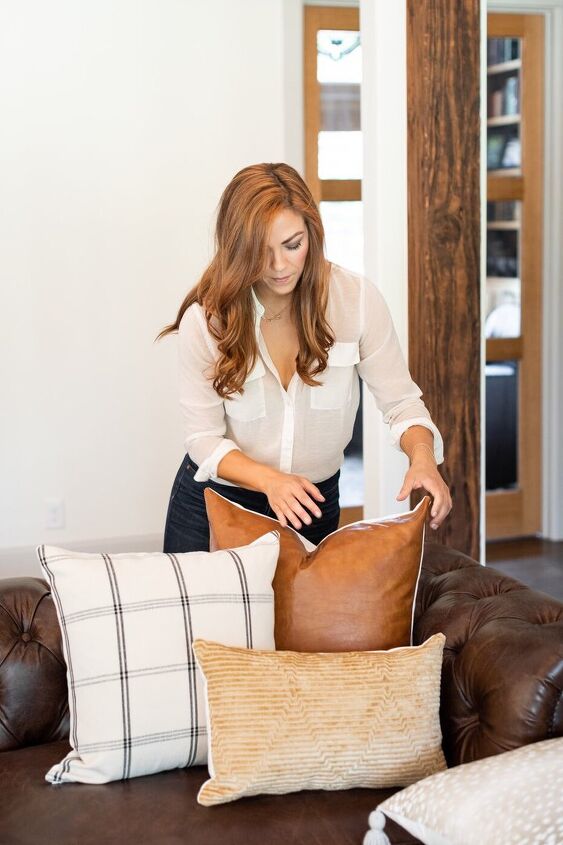
Mix textures & patterns. Consider combining a leather pillow with a faux fur pillow and a patterned pillow with a solid, linen pillow. Mixing materials will add depth to your décor. Pair plaids with florals and stripes with polka dots. Just be sure to use a solid pillow in there to tie it all together.
Over stuff your pillows! I always recommend buying pillow covers separate from your inserts because they store easily when you want to switch them out. You will need to buy inserts that are bigger than your pillow cover. This means a 22” x 22” insert for a 20” x 20” pillow cover. Just go up one size! I’ve linked some great pillow inserts for you HERE.
It’s all in the details. Pillows can make a statement. They can be a pop of color and add visual interest. When you’re layering pillows, you might include one with tassels, or maybe one with embroidery. You can also play with the pillow shape. This is especially true in a kid’s room. Just ask my daughter, Sarah, how much she loves her unicorn shaped pillow.
The Final check. Make sure the zippers are down. Hide the tags and zippers by placing those at the bottom. Fluff the pillows frequently by shaking the stuffing around and punching the fill back into the tops and corners. And don’t forget the Karate Chop! Pull the top right corners taut and then karate chop down the middle.
I hope this information was helpful for you! Check out my style guides and be sure to shop the new pillow collection HERE! Xo!
share!


Frequently asked questions
Have a question about this project?
Hi there! i’ve always loved your ideas. I definitely love throw pillows now. Can you please explain why not only you, but so many other designers recommend the karate chop? Before that was popular, it would be a sin to not have all of your pillows perfectly straight with straight lines. When did this karate chop start and why?