


Super Easy DIY Throw Pillow Cover

by
CK
4 Materials
I guess you could say I'm addicted to throw pillows. ;-) But honestly they are one of the easiest and least expensive ways to update your decor. Sometimes I find throw pillows on sale but most of the time I make my own. And you can too...even if you don't sew. For those of you who do sew, you can skip this very simple, easy, DIY tutorial because you'll say "That's too easy!" ;-)
Let's get started! You can have new throw pillows for your living room or bedrooms in no time AND for far less than what you can purchase ready-made pillows. Best of all, they're truly custom designed by you!
Let's get started! You can have new throw pillows for your living room or bedrooms in no time AND for far less than what you can purchase ready-made pillows. Best of all, they're truly custom designed by you!

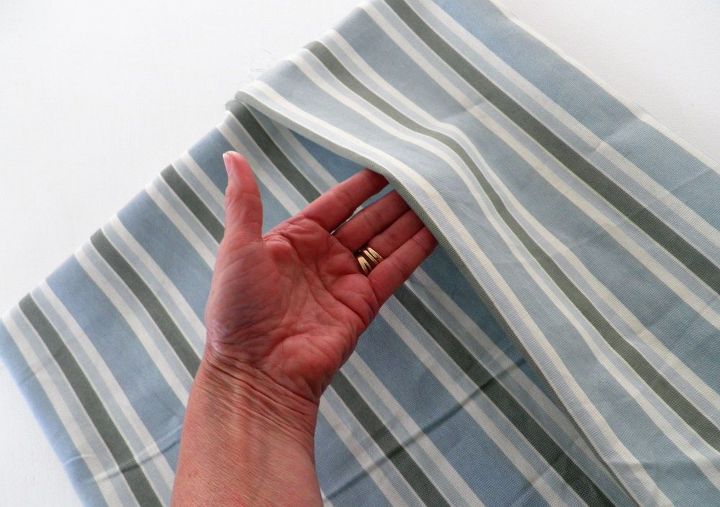
Step 1: First choose your fabric. It doesn't necessarily have to be decorator weight fabric. For this tutorial I've used simple cotton blend.
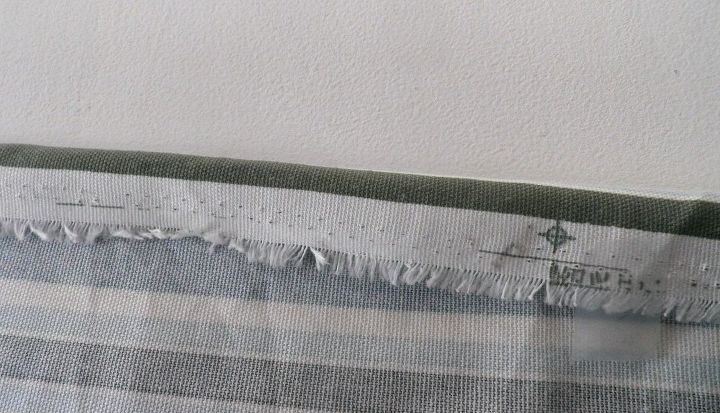
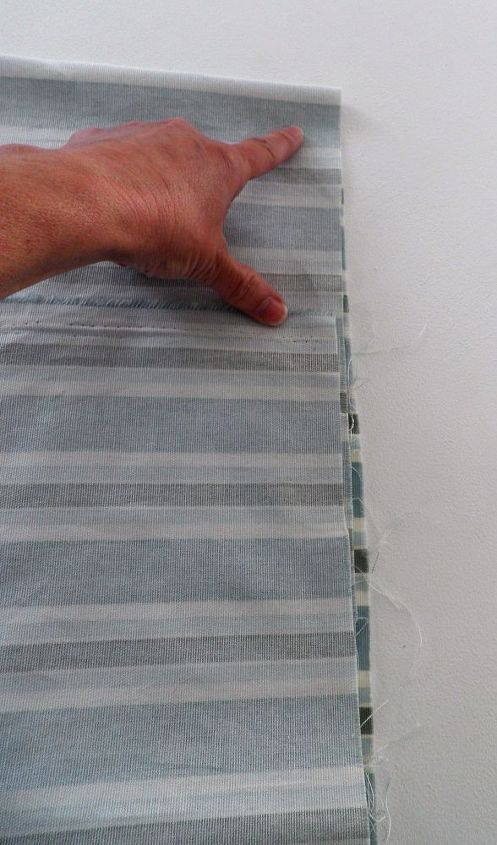
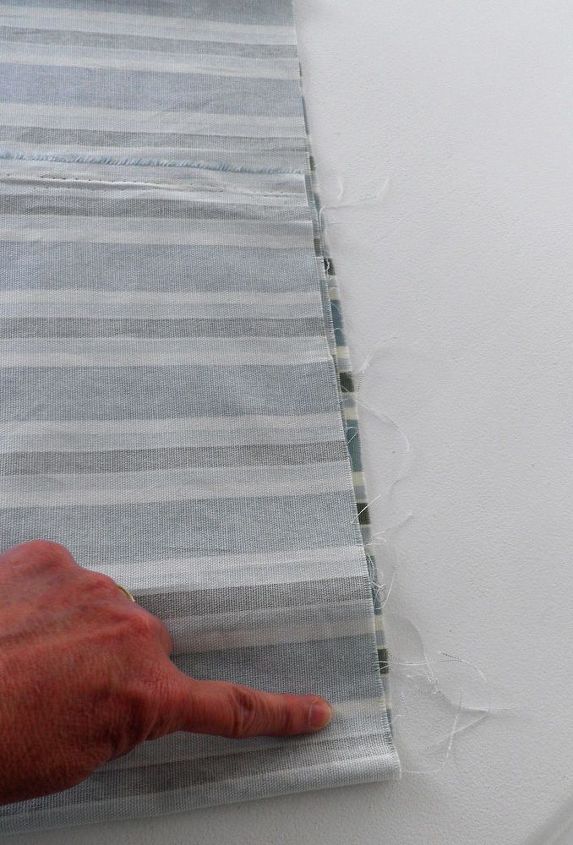
Step 4: Lay out your fabric wrong side up. Fold back a half inch of one of the selvage edges. (That's the one that looks like this.) Here you'll sew it (or use fabric tape) to make a finished edge. Press it flat with your iron.
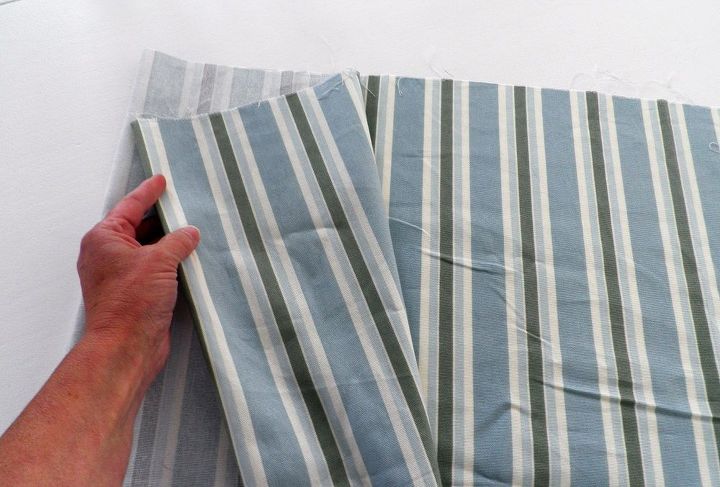
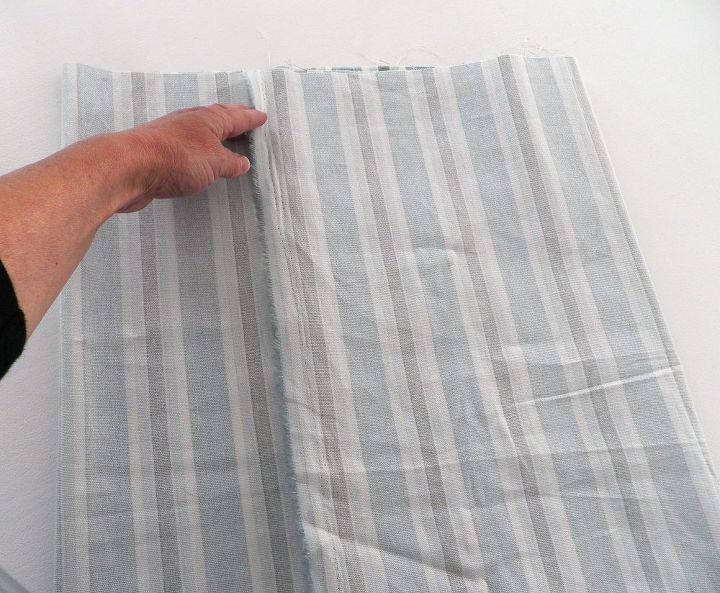
Step 5: With fabric laying right side up, fold back the side that you've just sewn the selvage edge down. On this photo the left side is the side I've just sewn. Fold it to approximately 2/3 of the way across the fabric. Here's why: This is going to be a throw pillow cover that's in the style of a pillow sham...or 'envelope' pillow. This style makes it really easy to remove the pillow insert for laundering.
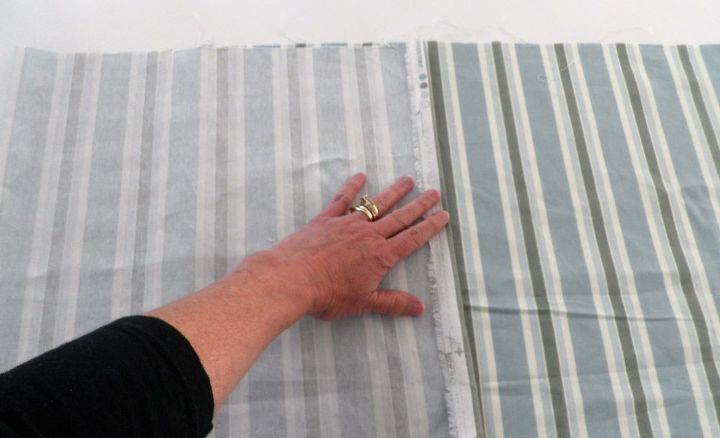
This is what it looks like when it's laying down on the left side of the fabric. Next we'll see what it looks like when we bring over the right side.
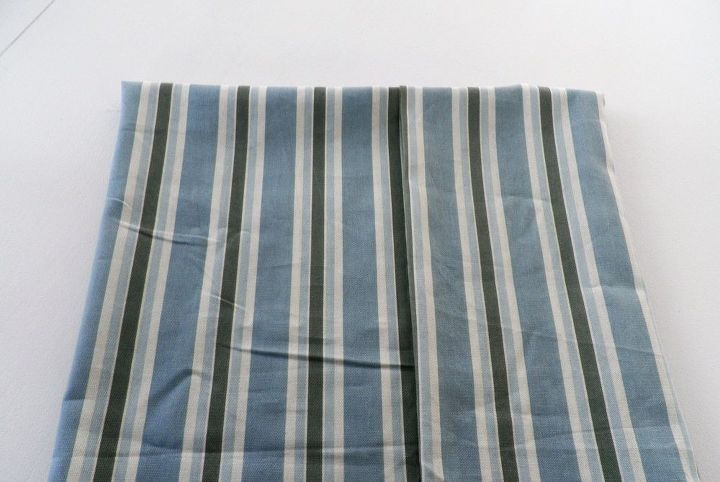
Step 6: Here I'm folding over the fabric from the right, to meet in about the middle of the pillow sham.
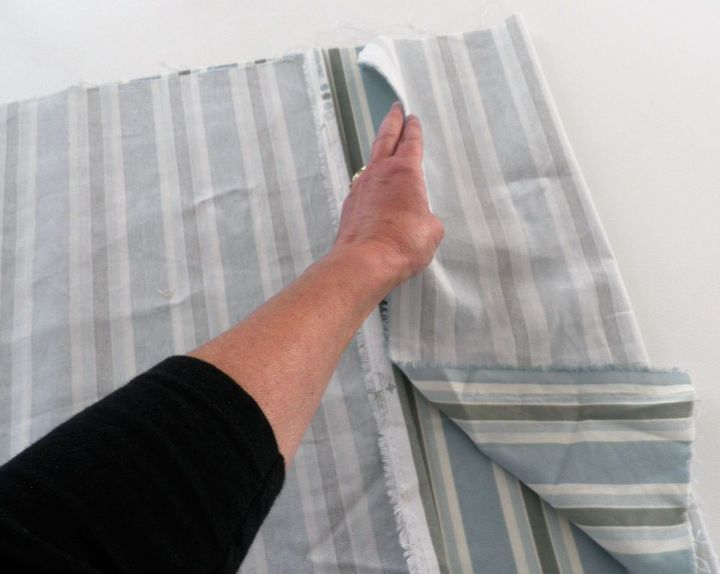
Step 7: There should be a large overlap of fabric, meaning the left side and right side do not meet flush with each other.
Step 8: On one of the unfinished sides, you'll be sewing a 1/2" seam from top to bottom. You can trim any excess if necessary. Use straight pins to hold the fabric in place as you sew if you're new at this ;-) Start at the top and......
.....continue sewing all the way to the bottom. If sewing, not using fabric tape, tie off in a knot or backstitch to make sure the stitching stays in place. Now do the other side the same way. So far you've only sewn 3 seams! Not bad and honestly not too hard since they're all just straight seams. This really is an easy project for beginners.
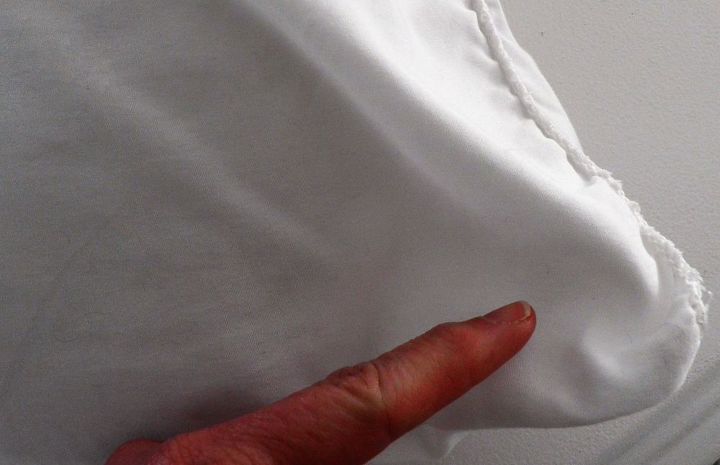
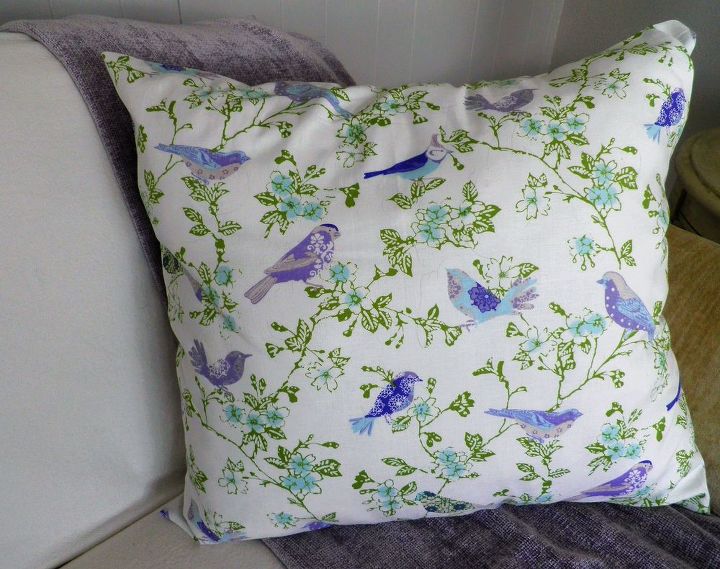
Step 9: Your fabric is now sewn and ready to turn right side out as shown here. Now you'll want to iron it flat to get rid of any wrinkles and to press the seams nicely. The front side is the solid piece of fabric. The back will look like the photo below.
Step 10: This is the back side of the pillow. Here you can see the opening where the pillow insert will go. As you can see, the design of this is like a pillow sham you get when purchasing a bedding set that includes duvet cover and pillow shams. So yes, you can also make your own custom bed pillow sized covers using this same tutorial...you'll just need more fabric. :-)
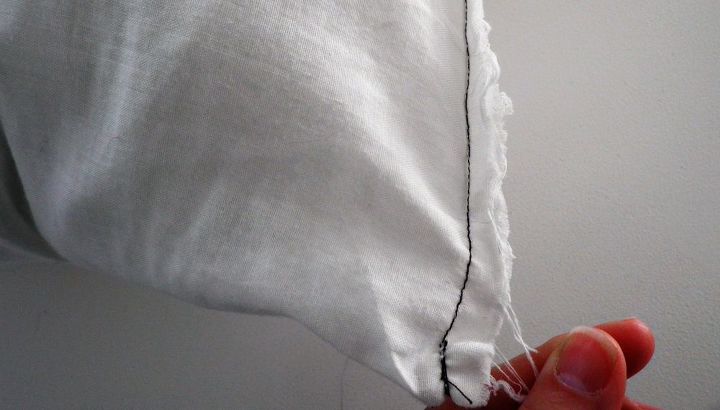
Step 11: Push the batting over so you can easily cut open one end of the pillow. Then remove the batting and pull it apart so you have individual pieces that you'll use to re-stuff to fit the pillow cover you just made. If you happen to purchase a pillow that already has pieces of stuffing, you skip this step.
Step 12:
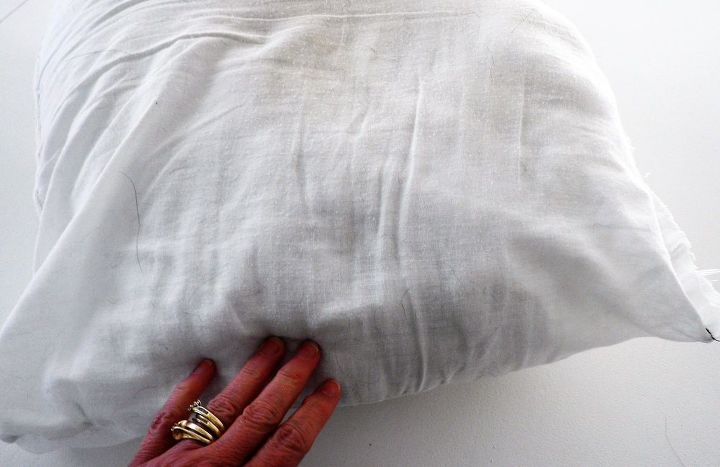
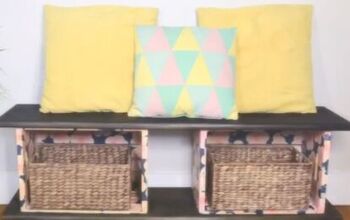
Step 13: Now you have your finished pillow insert. As you can see it's quite a bit smaller than the bed pillow size I started out with. We're ready to make it pretty now! Just insert into the finished sewn pillow cover you just made and wait for all the compliments on your custom designed work :-)
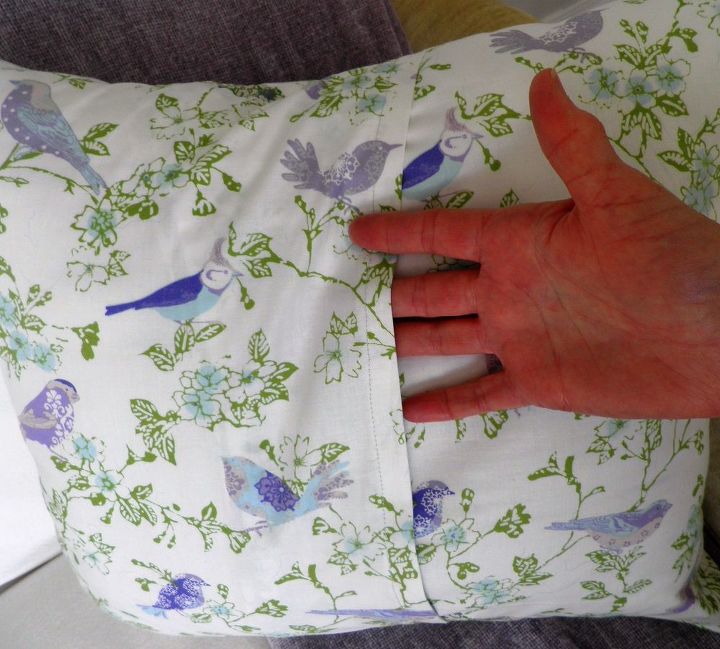
This shows the back side of the finished throw pillow cover. The pillow insert is easily removed from the opening when the cover needs laundering.
Costs:
Comments
Join the conversation
2 of 7 comments
-
Nice tutorial! Love the print.
-
Love the pillow and you did a great job of writing it to make sense! Thanks for sharing.


Frequently asked questions
Have a question about this project?