


HOW TO: DIY Faux Rust Metal Pumpkin Decor

Today we are creating a faux rust paint technique finish for fall on a Dollar Tree yard stake pumpkin and a Dollar Tree House shaped box. Read more on the blog here!
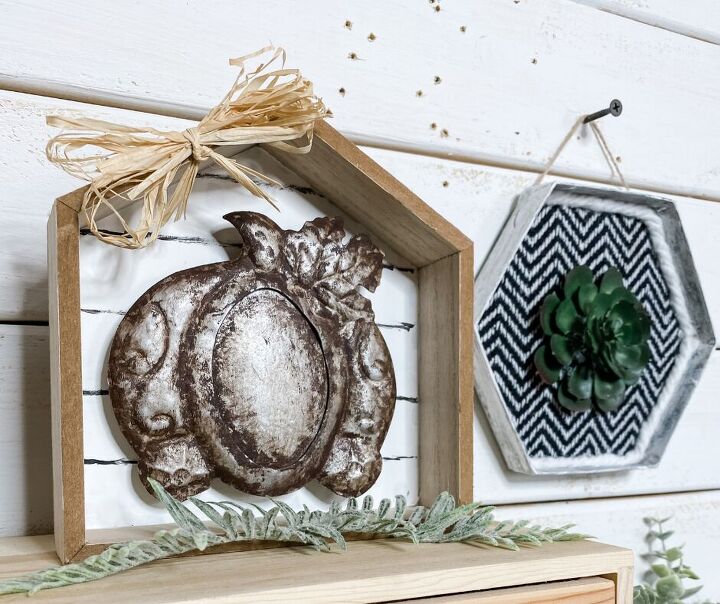
The way the faux rust turned out on this metal pumpkin decor absolutely SHOCKED me! I love doing this DIY faux rust finish in my crafts to give it such a rustic feel. When I saw the metal pumpkin yard stake that I used for this craft, I KNEW I wanted to give it a faux rust finish.

- Metallic Paint by Rustoleum
- White Chalk Paint
- Java brown paint
- Black paint
- Antique Wax
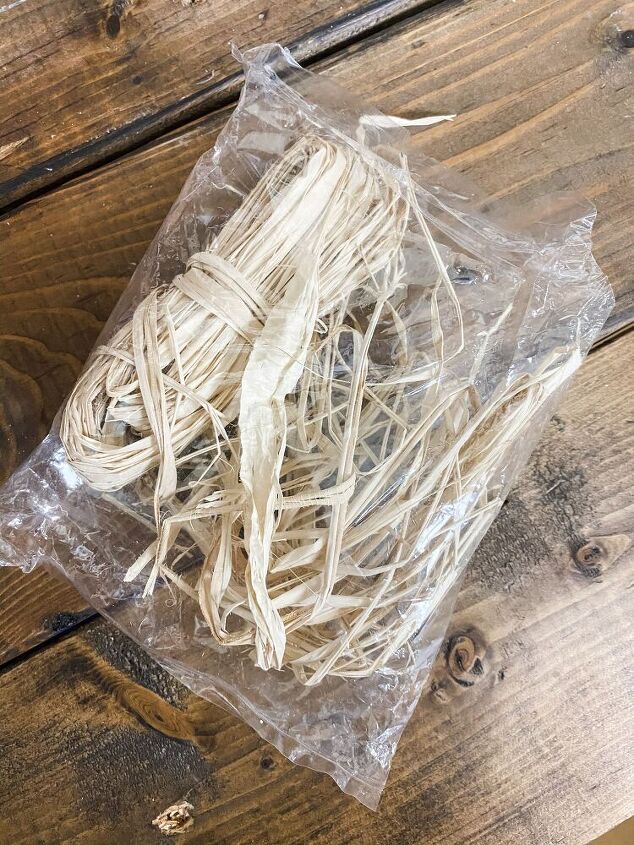
- Raffia
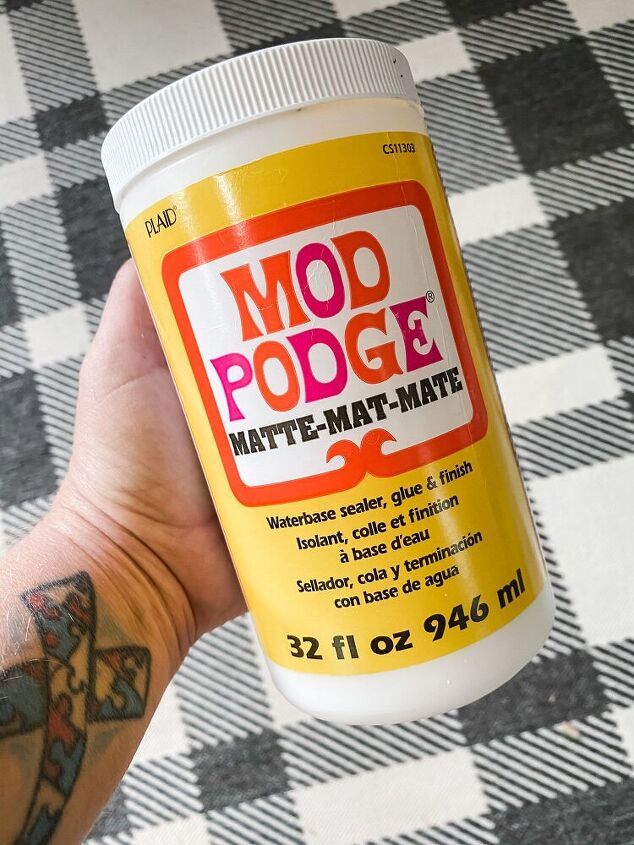
- Modpodge
- Hot Glue
- Glue gun
- Chip Brushes ac
- Dollar Tree Decorative House
- Dollar Tree Pumpkin Yard stake
- Baby Wipes
Start making this incredible DIY faux rust metal pumpkin by taking the pumpkin off of the Dollar Tree yard stake. Next, you’re going to spray paint the pumpkin with metallic paint. Make sure you get an even coating. Set the pumpkin to the side to dry and move on to the next step.
Read more on the blog!

While your pumpkin is drying, you are going to paint the inside of the Dollar Tree wooden house with white paint. I used Apple Barrel acrylic paint for this project. When I don’t have chalk paint available, I like to mix a little Mod Podge into the paint to help it stick to the surface just a little bit better.
You’re going to have to do a couple of coats of paint in order to get full coverage. You can use a heat gun to speed up the drying process.
Read more on the blog!
Faux Rust
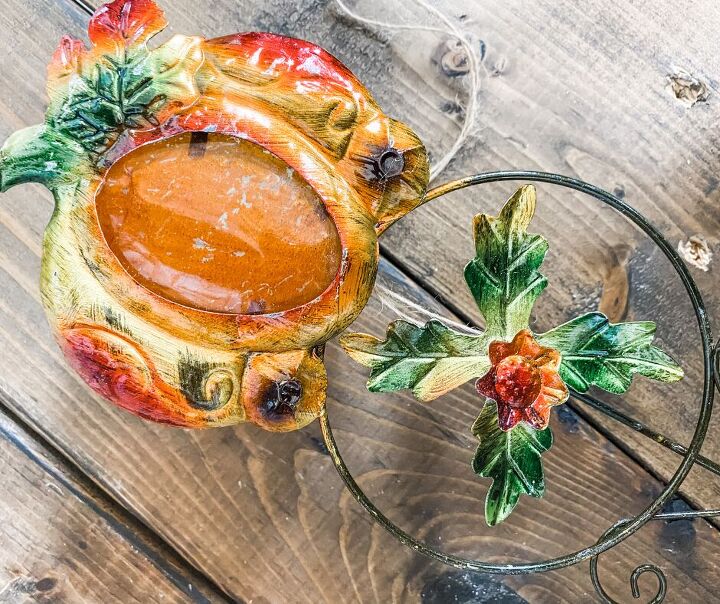
I’m sure there are other tutorials on how to create a faux rust finish, but I want to share my technique with you. Once the metallic paint has dried, I covered the entire pumpkin with a layer of Mod Podge. This doesn’t change the color at all, but it does give you a good texture to help really bring the faux rust finish to life.
Next, I get some Waverly Wax and just dab it in different areas across the pumpkin. Remember, if you want to see exactly how I did this, you can watch the video on my Youtube channel. Now use your baby wipe and dab across the pumpkin. This is going to pull a lot of the wax off, but it’s okay.
Grab a detail brush and Apple Barrel Java Brown acrylic paint. Use this to paint around the detailed parts of the pumpkin. Do this several times until you get the faux rust look you want.
Read more on the blog!
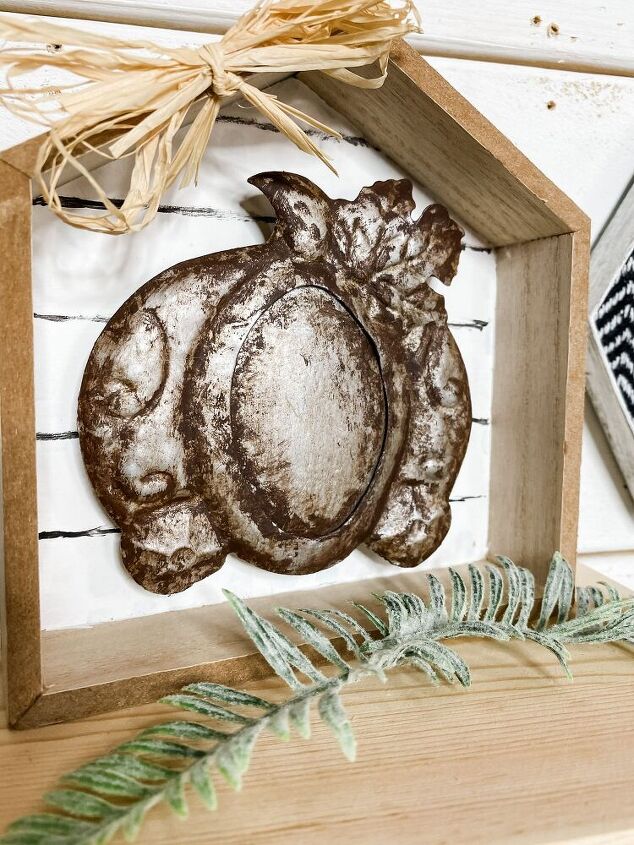
Shiplap
Set your pumpkin to the side again and grab the house. The white paint should be dry by now. The next step is to paint some light lines and give the house a faux shiplap look. The lines don’t have to be perfectly straight or solid. You want them to be imperfect because that is what gives it the faux shiplap look.
Now it is time to glue the pumpkin to the inside of the wood house. I glued some crafter’s squares to the back of the pumpkin to raise it up and give this craft just a little more dimension. You don’t have to do this, but I just really love how it makes the DIY faux rust metal pumpkin decor look.
Raffia bow
The last thing to do is the adorable raffia bow! This is super simple. All you have to do is fold the raffia in the shape of a bow and then hot glue it down. Super easy!
That’s it! That is how to make a DIY faux rust metal pumpkin decor! I hope you loved this amazing craft as much as I do!
Read more on the blog!


Frequently asked questions
Have a question about this project?