


Quick & Easy Pumpkin Ideas Using Free Scrap Wood

by
Diva of DIY
5 Materials
1 Hour
Easy
Remember the cedar shutters I made for the lake house fixer-upper? I had a pile of scrap wood left over. If you’ve been reading my blog for any amount of time, you know I don’t like to waste!
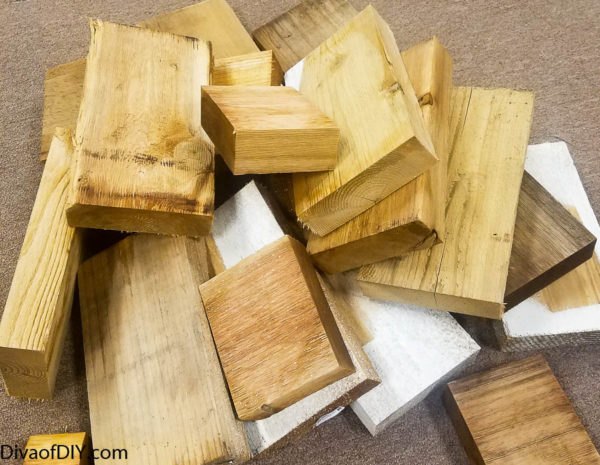
With Halloween right around the corner, I looked at this pile and saw pumpkins!
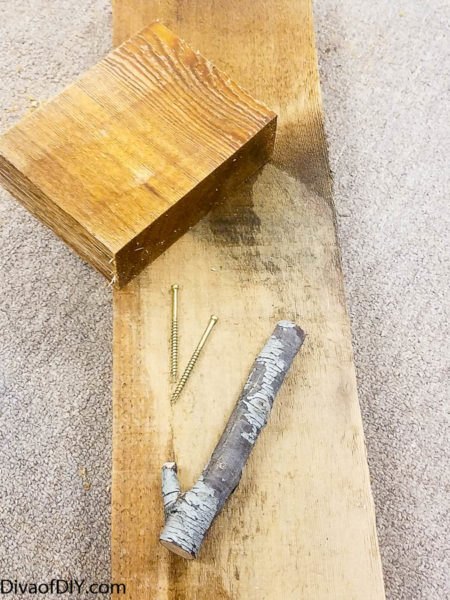
Next, I gathered some branches from my yard. Using a mitre saw, I cut the branch into small pieces to resemble a pumpkin stem. Then I screwed the larger board into the smaller board, creating an “L” shape.
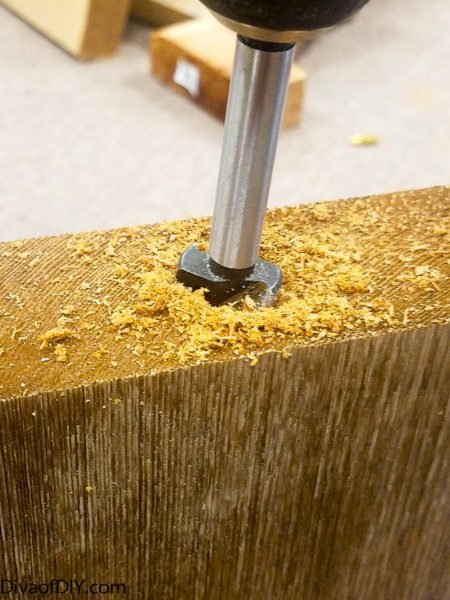
Using a Forstner Bit the same size as my tree branch, I drilled a hole in the top of the larger board, making the hole deep enough to hole the stem in place.
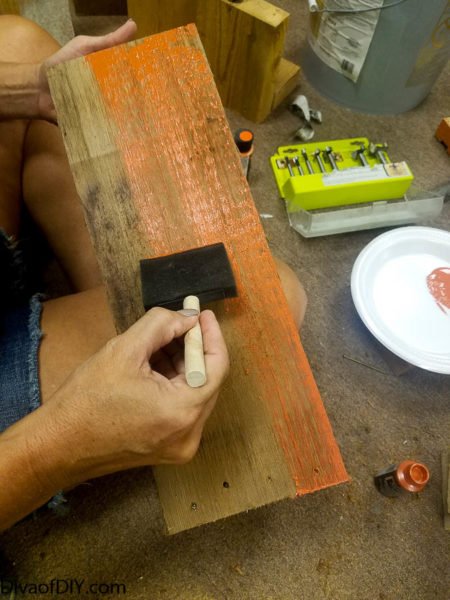
Finally, I used acrylic paint and a foam brush to dry brush the wood in my color of choice. I wanted them to look a little weathered, so I didn't go overboard with the paint, but you could add a few coats for an entirely different look. You could even paint a Jack-O-Lantern face on them if you wanted to.
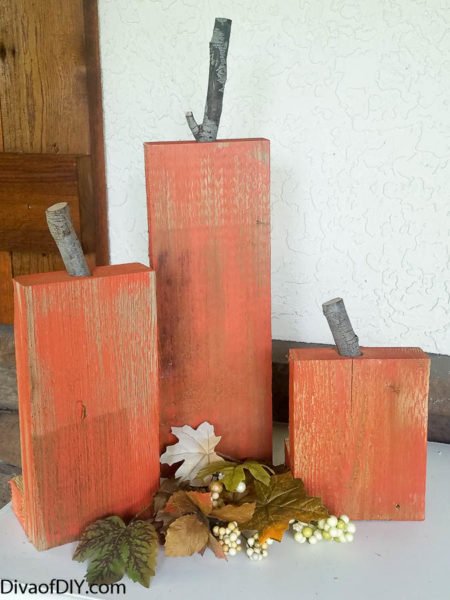
Here's the finished product! Modern pumpkin decor made from scrap wood. The best part is that they were completely FREE to make using things I already had at home! I can't decide if I want to put them on my porch, a mantle, an accent table or use them as a centerpiece.
Want more details about this and other DIY projects? Check out my blog post!
Comments
Join the conversation
2 comments
-
Adorable!!!
-
I never met a pumpkin I didn't like till now. I LOVE IT!! And you can put the stem on even if you don't have a drill with some glue. Did I mention I LOVE IT??


Frequently asked questions
Have a question about this project?