


1 Hour Concrete Bowl

I have always loved the look of concrete bowls. If you have every bought one from a store, you know they can be fairly pricey. So, I decided to make one of my own. I used quick set concrete, and within the hour I had a gorgeous perfectly imperfect decorative bowl. I’ll show you how I did it.
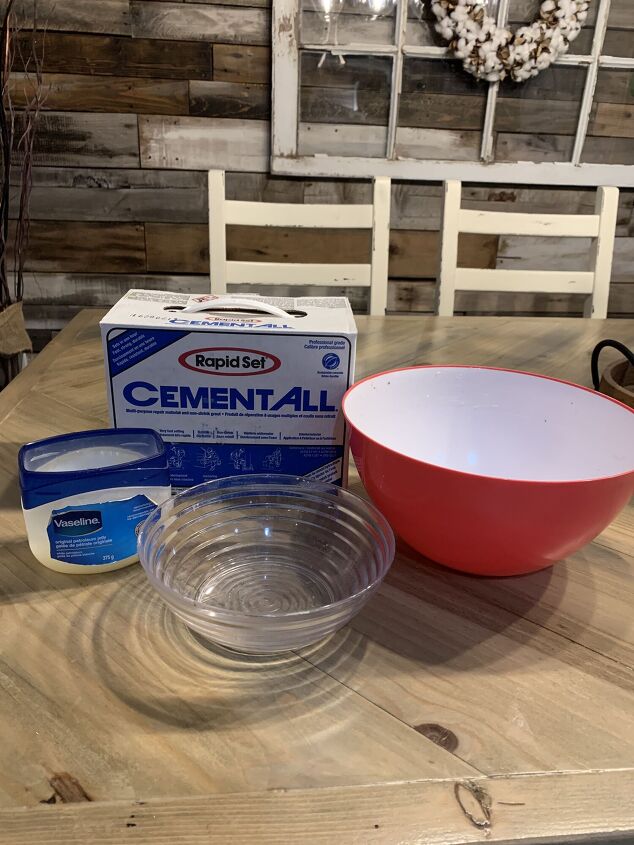
Materials I used:
- cement All rapid set concrete (I got mine from Home Depot)
- vaseline
- two plastic bowls of different sizes
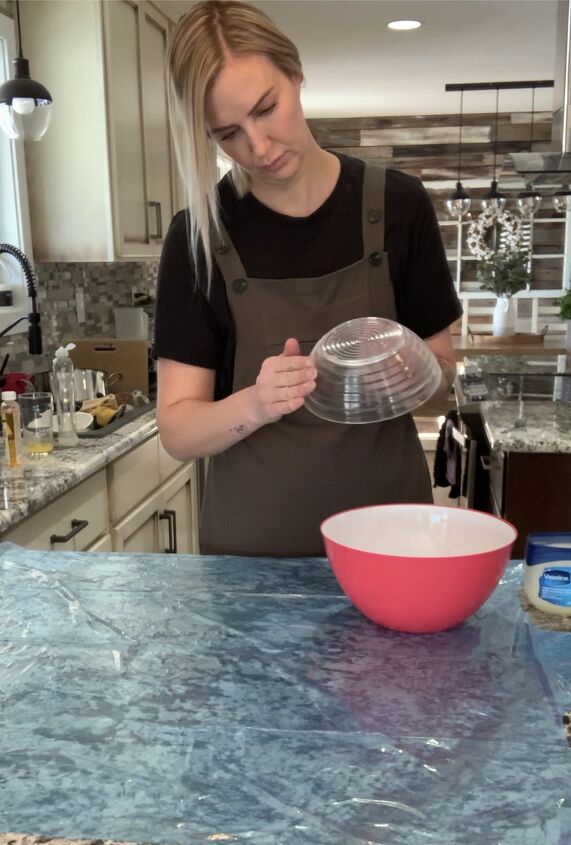
1) rub vaseline on the outside of the small bowl and on the inside of the larger bowl
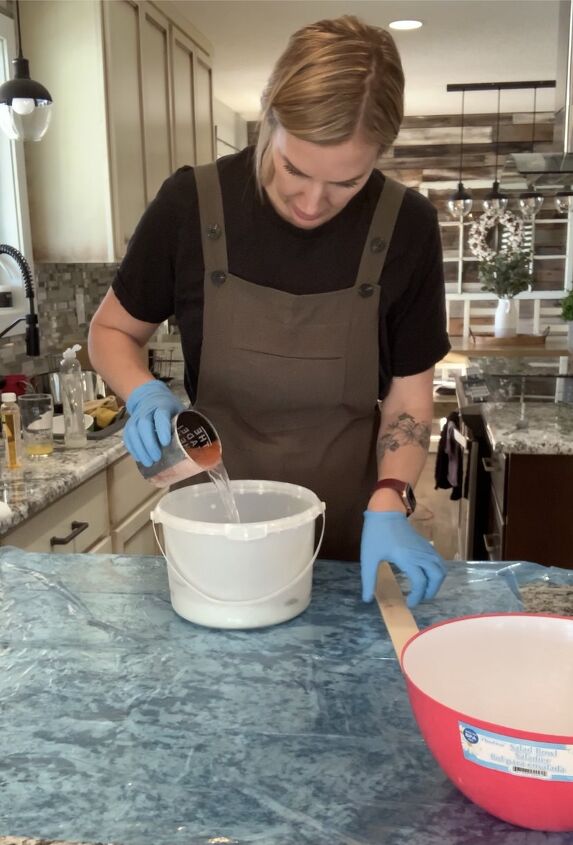
2) add water and concrete mix
I added various amounts and mixed it until it was the consistency of pancake batter. Be sure to scrap the bottom and sides of the pail when mixing.
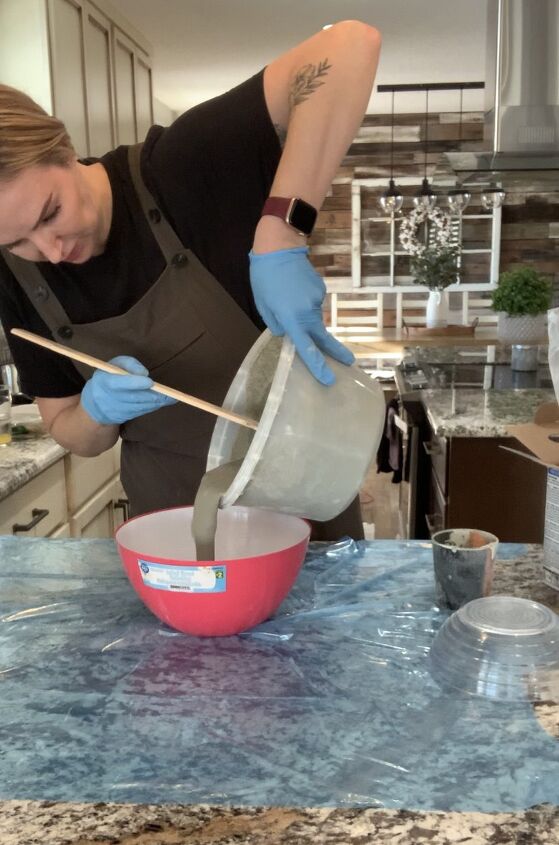
3) once it is at the consistency, pour it into the larger bowl.
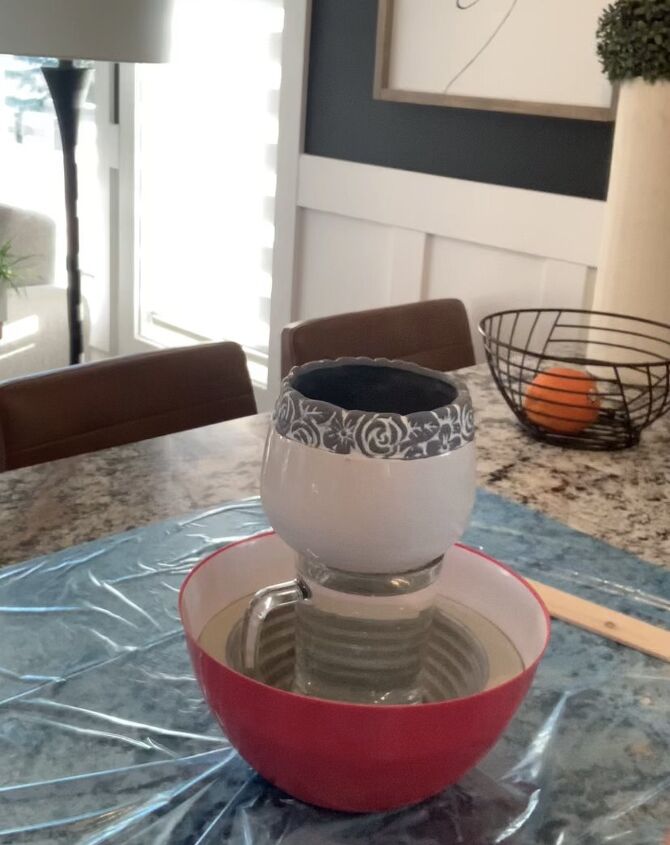
4) put the smaller bowl in the centre and use something with weight to hold it down. I weighed mine down the the top rim of the smaller bowl was almost flush with the concrete line. use what you got, no need to be fancy.
Just be careful to not weigh it down to much so the bottom of your bowl isn’t to thin.
If you use the quick set concrete, and depending on the thickness of your bowl, it should take about hour for it to set hard enough so you are able to remove it from the moulds. If the concrete isn’t hard to the touch when you check it ,or is still very dark in color, let it cure longer.
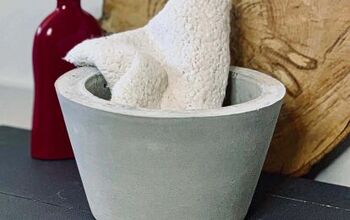
Once its ready to remove, I simple pulled the smaller bowl out of then tipped over the larger bowl into my hand.
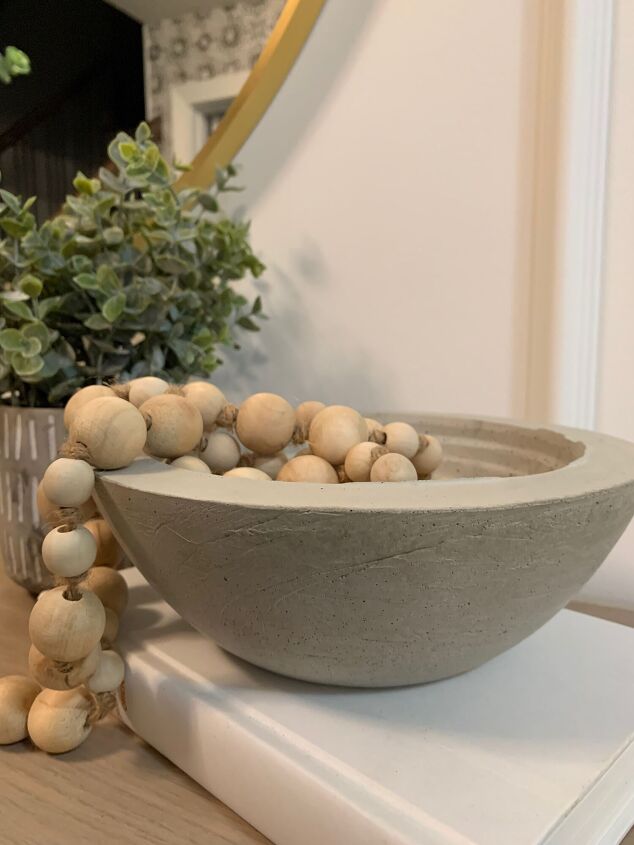
I absolutely love this bowl and how easy it was. If you make one for yourself, please me sure to send me a picture on Facebook, IG or email. I would love to see your creations. You can see the video process saved in my highlights reel on Instagram.
thanks for following along,
Can’t wait for our next DIY
X
Amber
Comments
Join the conversation
-
Wow!!! I love this idea. Thank you so much for the step-by-step directions.


Frequently asked questions
Have a question about this project?