


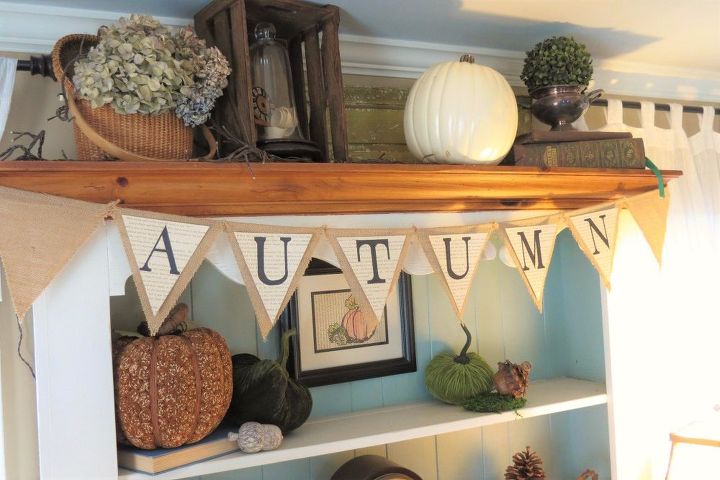
Burlap and Book Page Banner Garland
4 Materials
Recently, I had posted a diy Sharpie art project and when the piece was finished I photographed it in place in my living room. In the photo my garland/banner could be seen. I was asked how to make it. This is a super simple project. Here you go, Mary from Duluth!
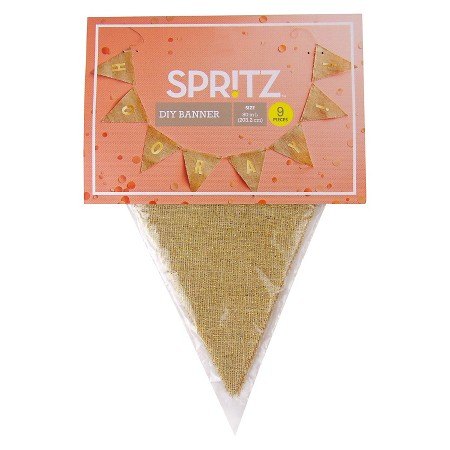
First I started with a pre-made banner. I found this one in the dollar section at Target over a year ago. I think I paid $5 for it, maybe...
Using my pre-made banner as my guide I traced around it onto a piece of card stock. I cut my card stock about 1/2 smaller than my trace lines all the way around.
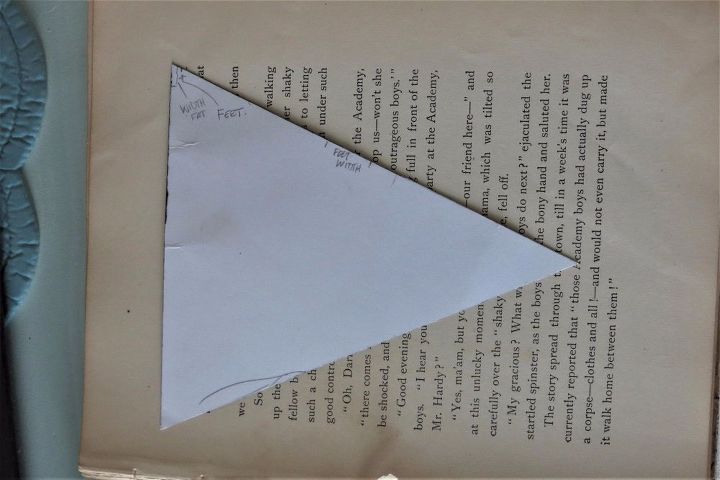
I used this smaller triangle to trace around for my book page triangles. Next, I typed out the word on a document on my computer, playing with fonts until I found one I liked. I have no pictures of this step but I penciled my letters freehand onto the page triangles and when satisfied with the results went back over them with a Sharpie pen.
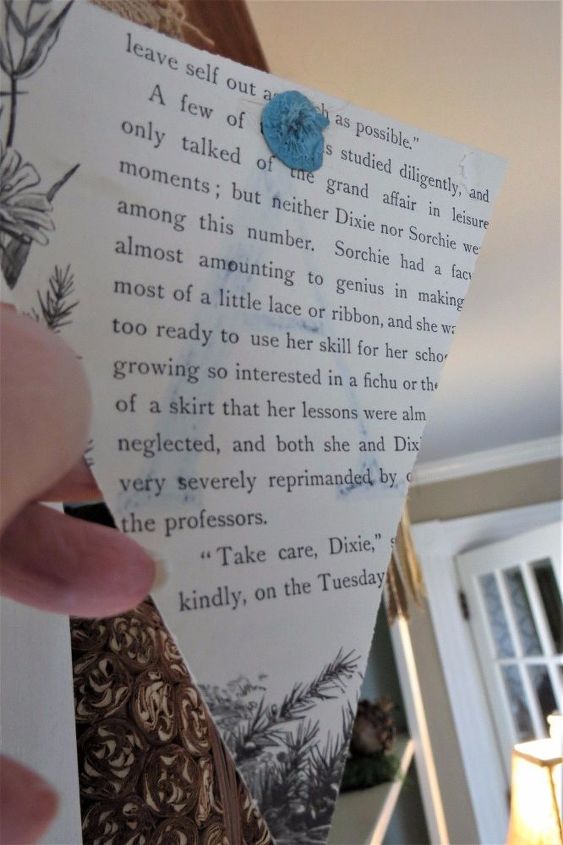
I then attached the paper triangles to the banner with Loctite Mounting Putty.
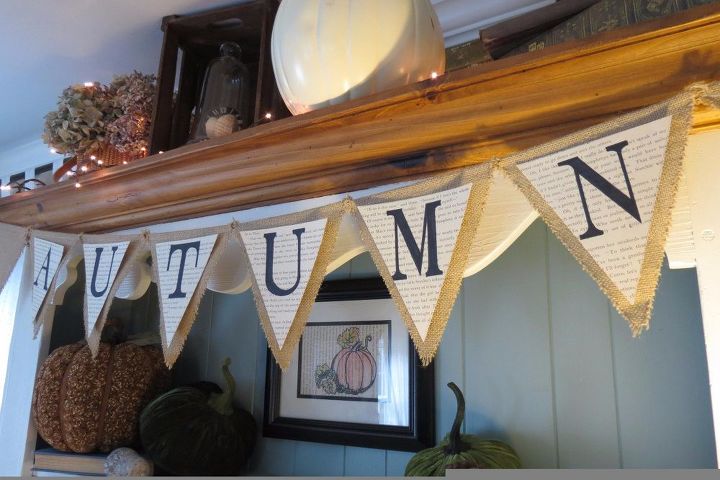
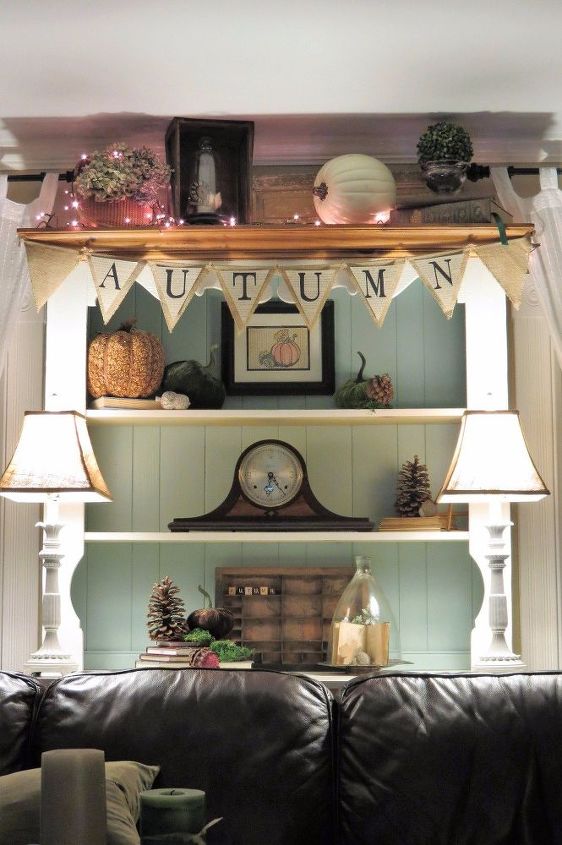
And, there you have it. Easy, relatively inexpensive and easy to change based on the season! Happy crafting and decorating!

Want more details about this and other DIY projects? Check out my blog post!
Comments
Join the conversation
4 comments
-
I love this! I want to do this to my 2 kitchen windows and I also want to put up a banner in my dining room... that room just has sheers on it and they are pushed over to each side. I'm off to Amazon and Walmart in a minute or two, so I will do a search there to see if they have banners like yours. The simplicity of this, just makes your heart feel warm... it makes you feel alive! Thank you for doing this for me.. I do so much appreciate it. When I get one of the rooms done, I will take a photo to show you. Thank you again!
-
LOVELY...and unique. Thanks for sharing 😊


Frequently asked questions
Have a question about this project?