


Clay Tags

These tags are so versatile and fun to create. Oh, and so easy!!
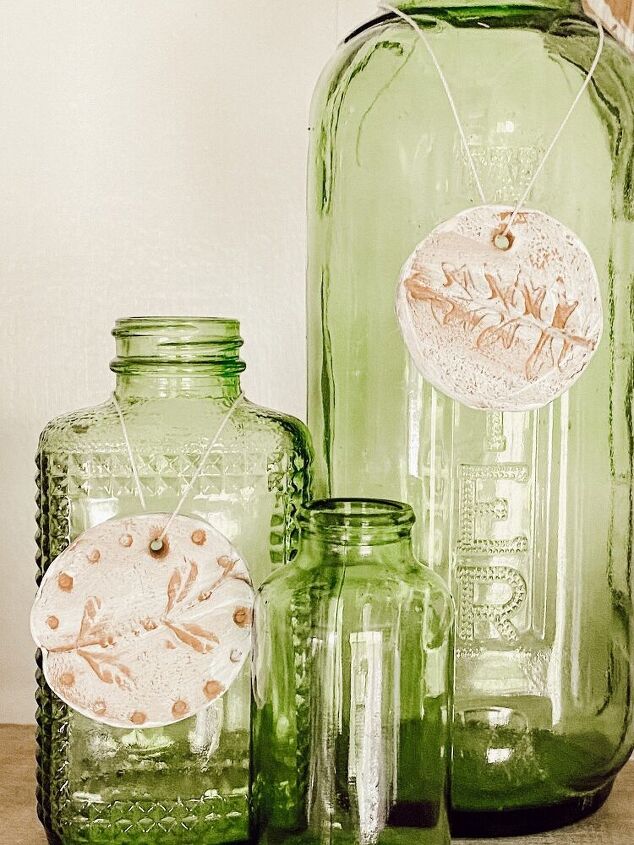
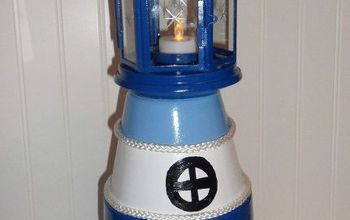
I made a bunch of them but only used two in this display. I think they are pretty on my glass bottles.
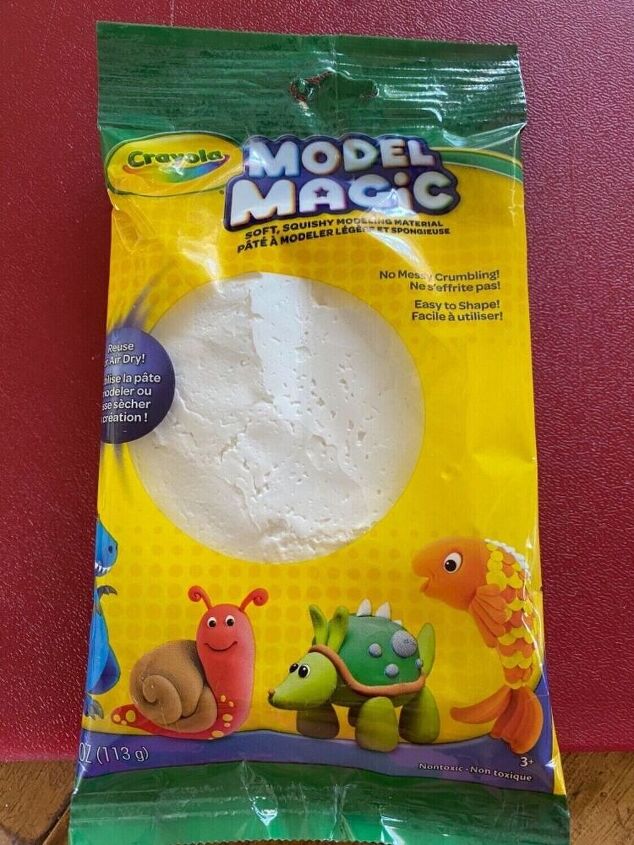
I used this model magic from crayons because I’ve been anxious to try it out. You could also use modeling clay or home made salt dough.
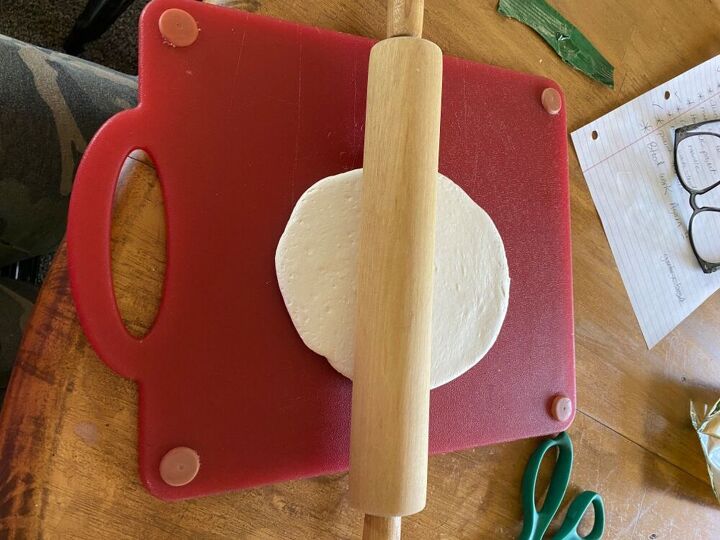
I started by rolling the clay out to about a quarter inch thickness.
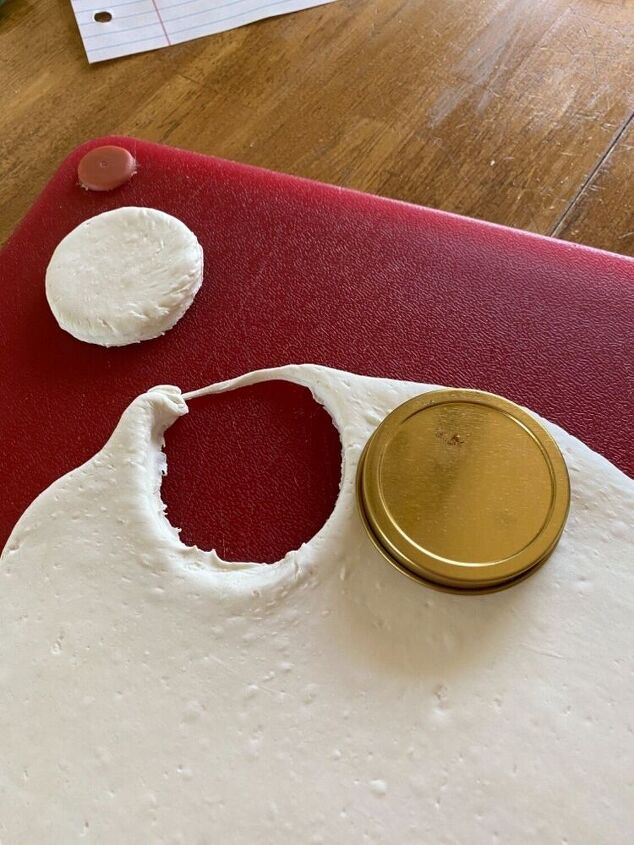
I used a cap to push in and twist to form my circles. You could use cookie cutters or a knife to make your shape.
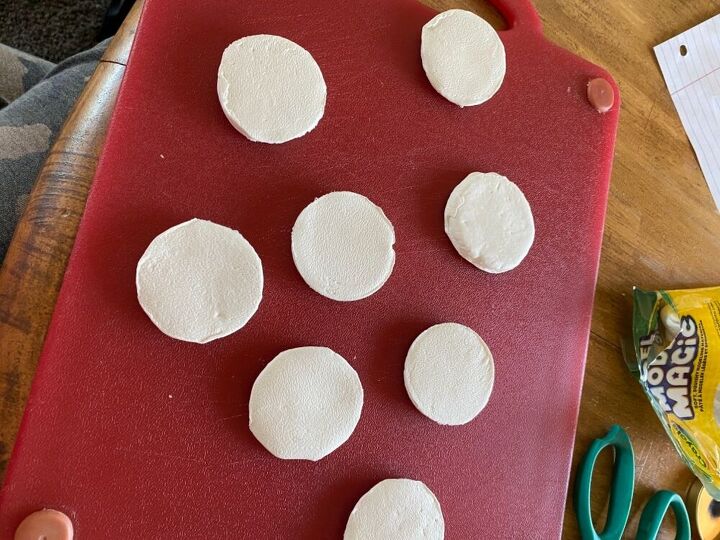
So now you have what looks like a batch of biscuits. Lol.
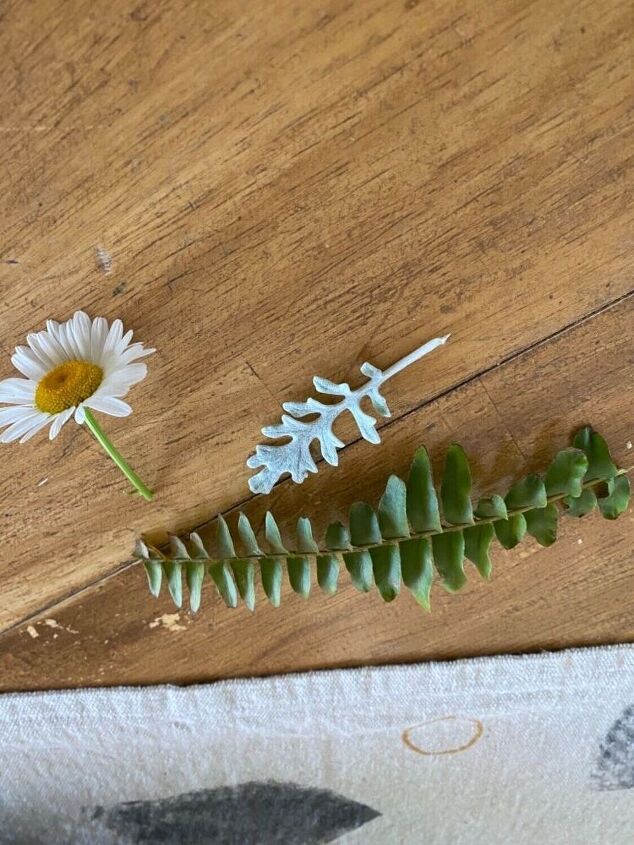
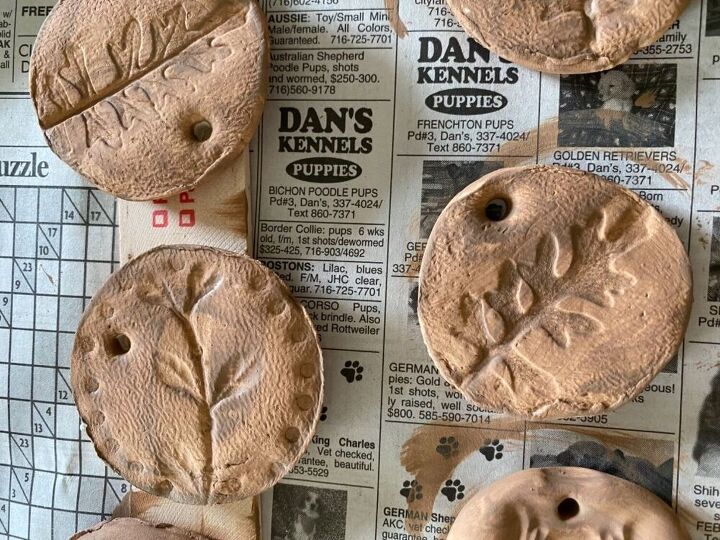
I found some leaves and flowers from my yard that would make a pretty design when pressed.
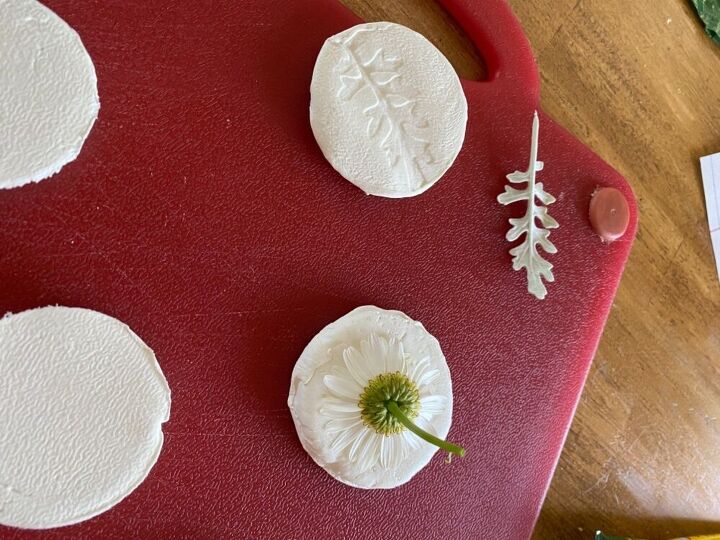
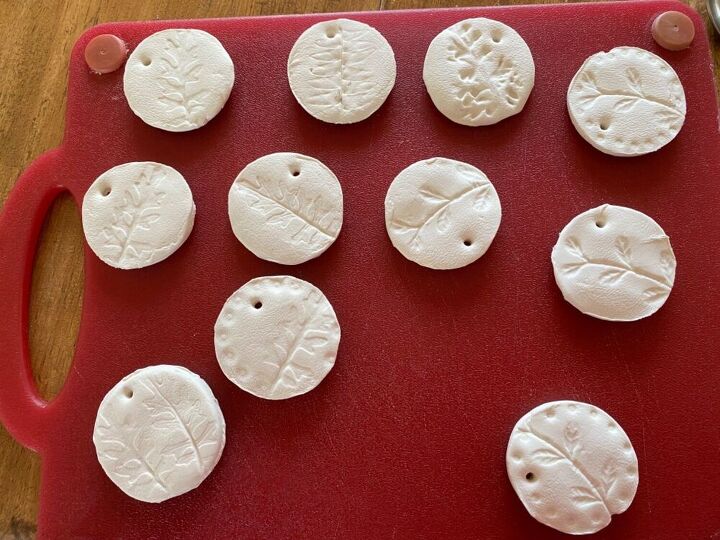
I added a design around the edge of some of them by pressing a marker cap in around the edge.
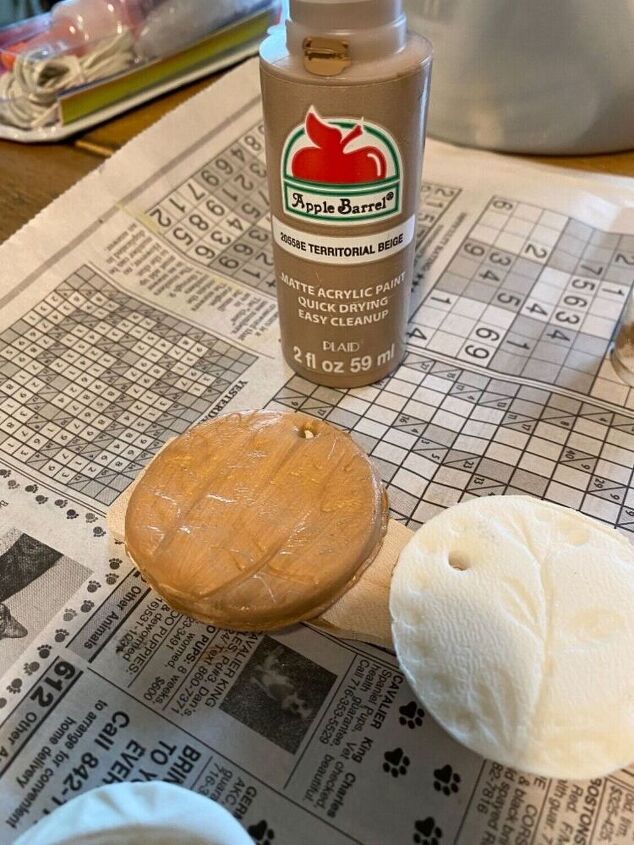
Once they dried. (Which actually took a couple of days so be patient) I painted them a brownish color.
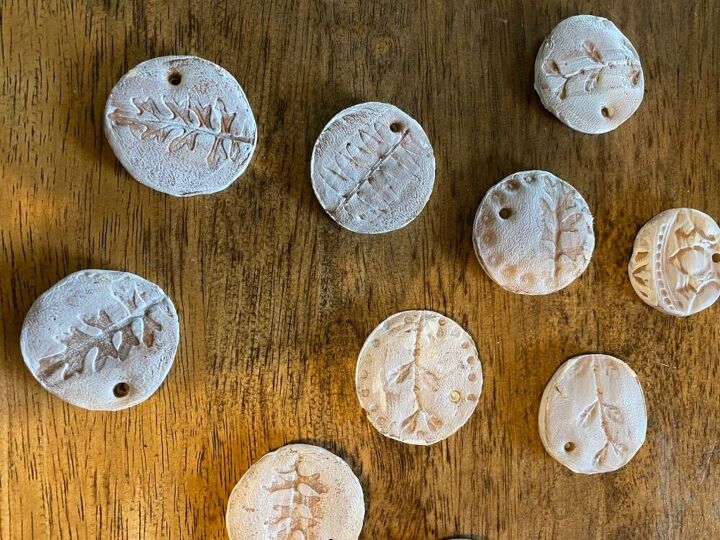
Once the brown dried I lightly brushed white on them.
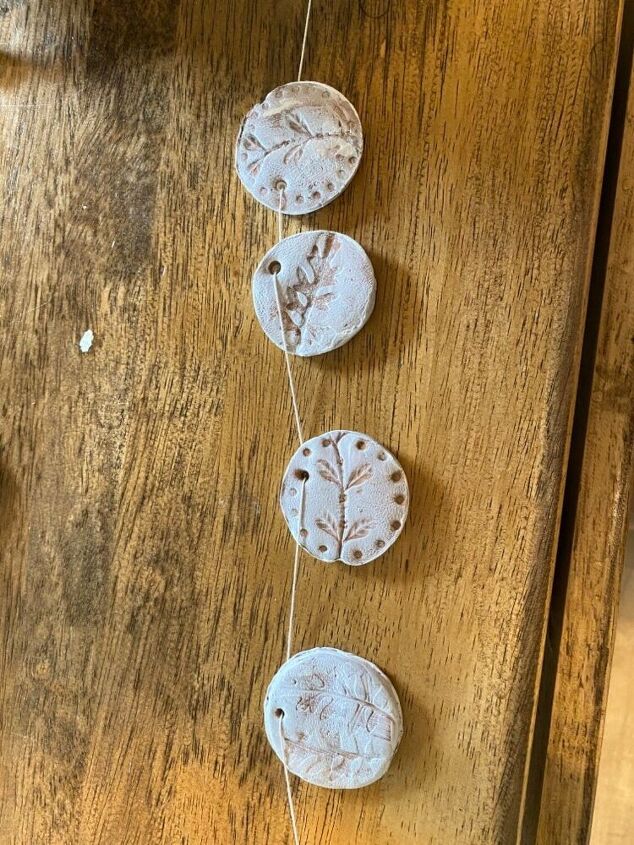
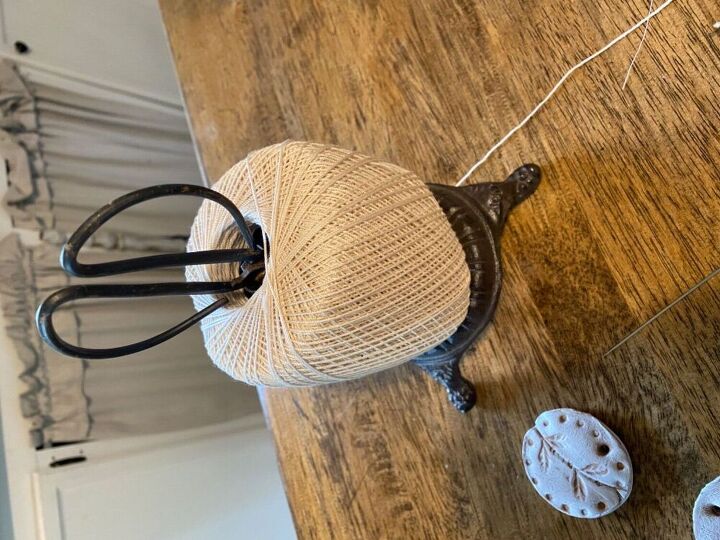
I strung some of them like a garland.

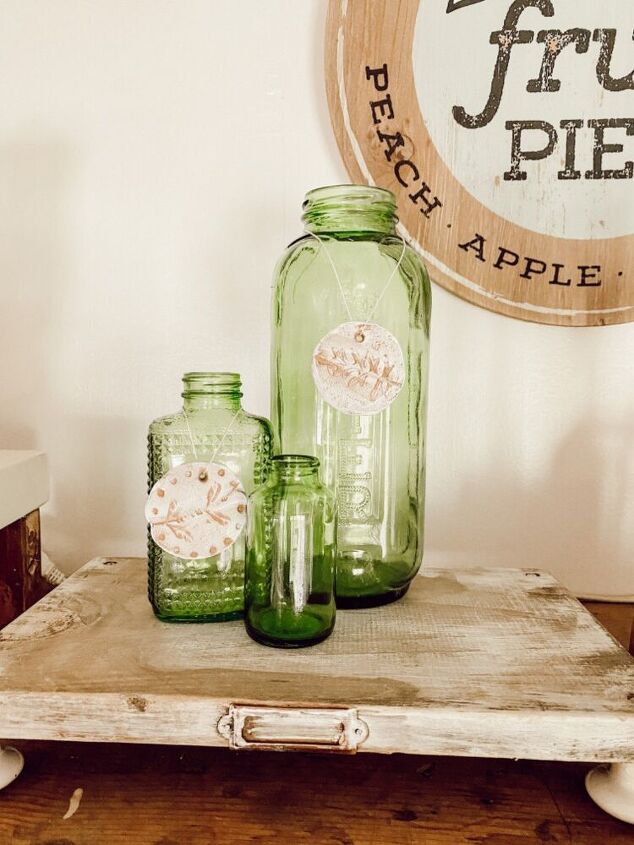
I really like them on the bottles. It’s like jewelry. You could use these like ornaments or on a keychain, necklace….


Comments
Join the conversation
-
They sure do look a lot like sand dollars. These are so cute! I’ve never seen this crayola model magic before so I guess I need to get some!
-
I like your idea and it was a reminder to me that for years I've planned on making more tags for my outside herbs. I have some herb markers that were gifted to me but I like the idea of clay and of impressing some part of the herb itself. I would have to use a different clay for outside use, but your lovely tags have inspired me!


Frequently asked questions
Have a question about this project?
Wondering if the Daisy one worked, I didn’t see it in the finished tags?
My daughter did something like this in school. But they added cinnimin to the clay to give it a nice smell when you hang them next to the lights from a christmas tree. I wonder if you used oil to make them smell good, would it work?
Did the flower imprint not turnout? I noticed it wasn’t in any of the pictures you showed?