


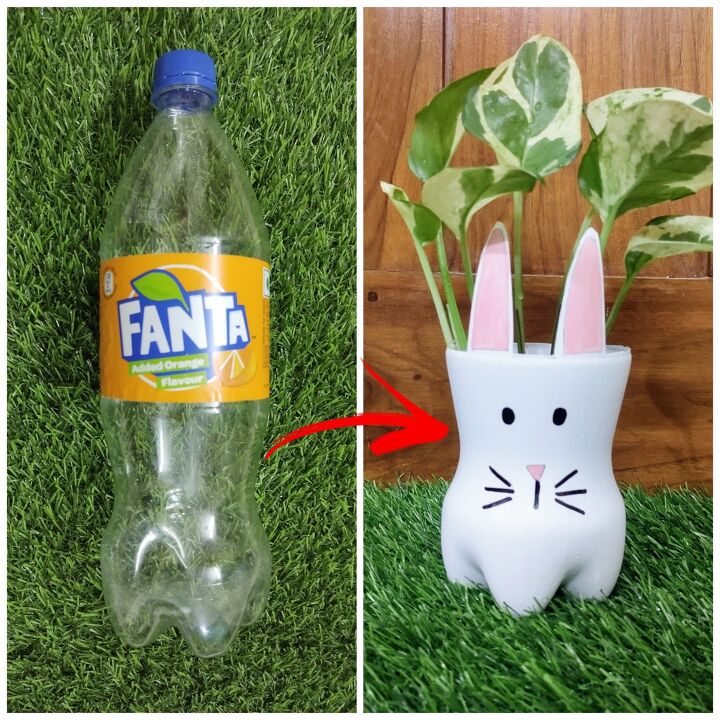
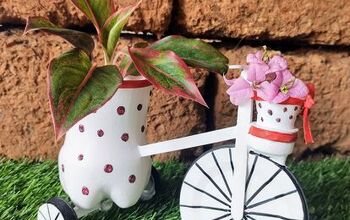
DIY Bunny Planter Using Plastic Bottle

Upcycling plastic reduces the amount of waste that gets to the landfills. Using this waste plastic into something creative, not only helps the environment to reduce it's waste, but also helps us to be a little more creative in using our ideas to beautify our garden.
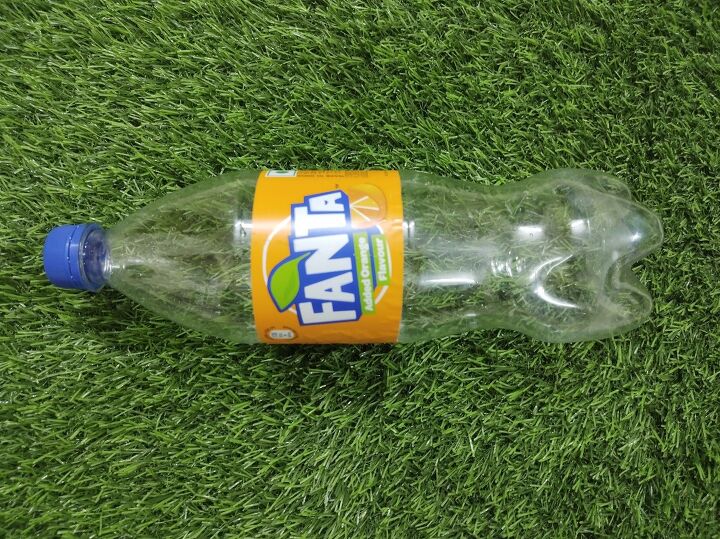
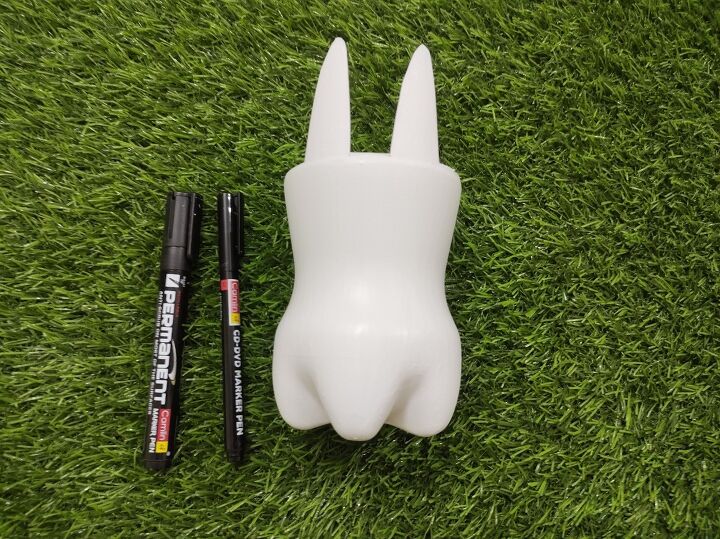
Step 1: Rinse and clean the bottle and let it dry. Also remove the label.
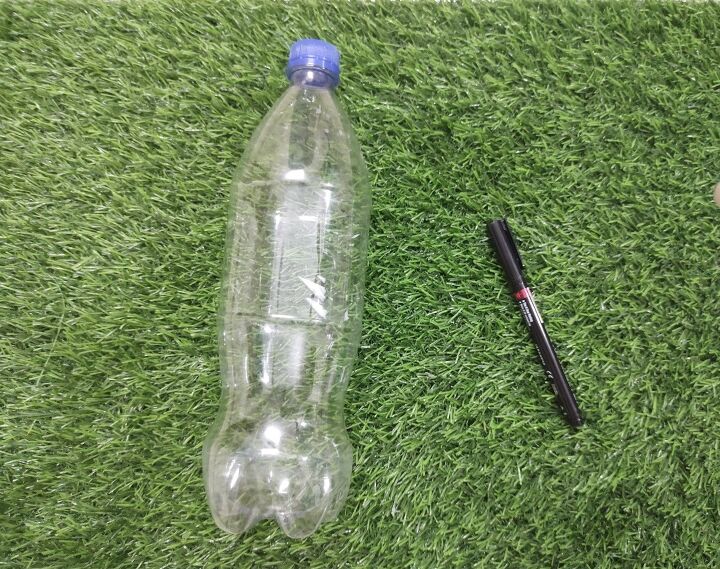
Step 2: With the help of a marker draw bunny ears and cut the bottle with the help of a cutter.
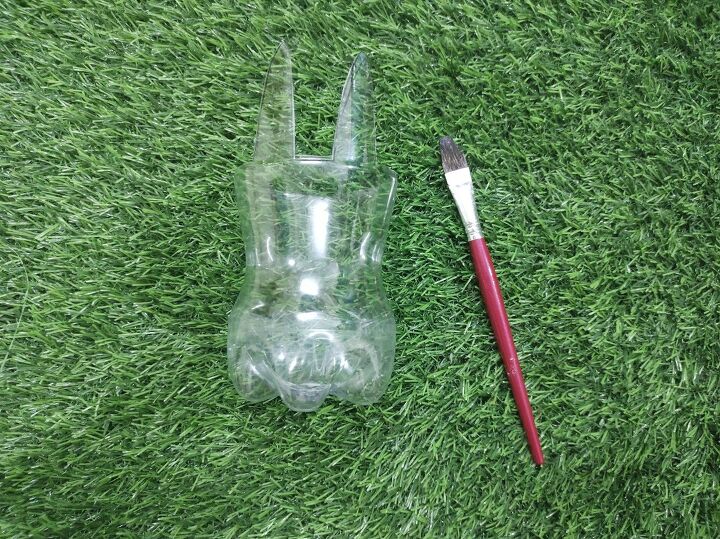
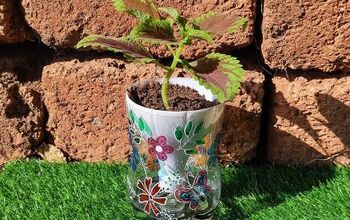
Step 3: After cutting it will look something like this. Now it's time to paint, you can use Chalk Paint for painting.

Once painted let it dry completely.
Step 4: After drying with the help of black marker draw eyes, nose, ears and whiskers.
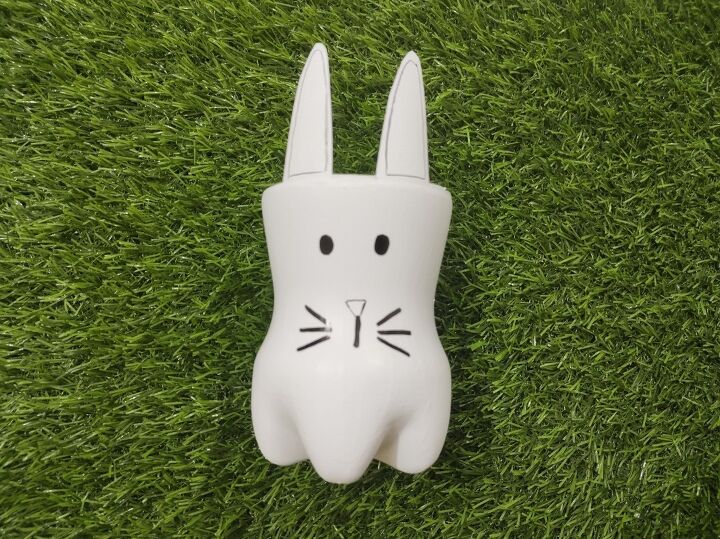
This is how it looks after drawing.
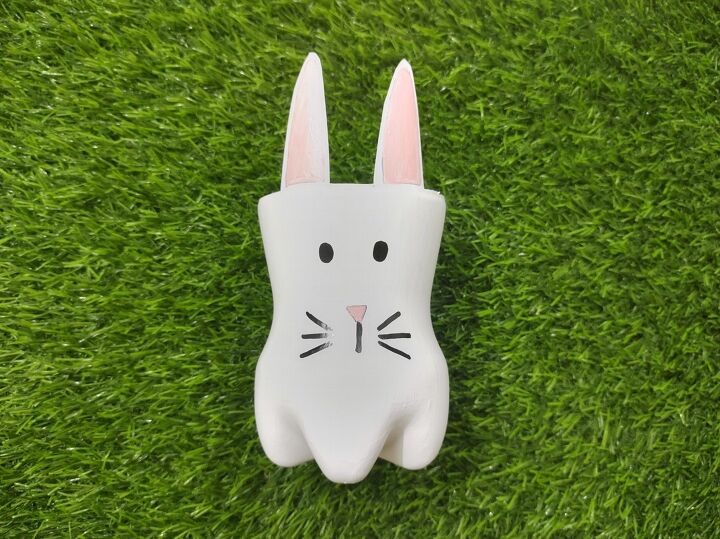
I have painted the nose and ears pink as shown.
Step 5: Bunny Planter is Ready!!!
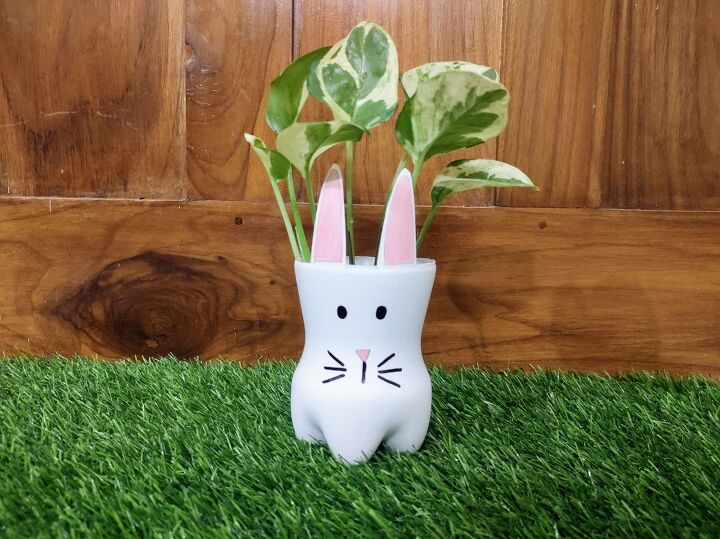
This planter can be used in 3 ways;
- You can make a hole at the bottom and plant your favourite plant in the planter.
- Without making any hole to the planter, add water and some plant cuttings making it a propagating planter.
- Can directly add potted vase and let water drain in the planter itself.


Frequently asked questions
Have a question about this project?