


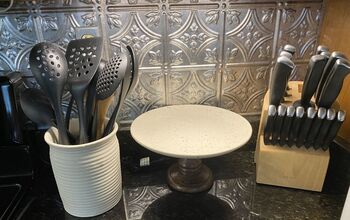
DIY Cake Stand
This DIY cake stand will come in handy for so many baking and decorating situations! You can make one yourself for so much less than it costs to buy one!
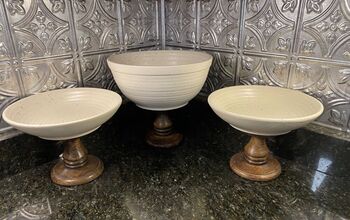
I do own a number of cake stands of different shapes and sizes, but now that we have our new open shelving installed in the kitchen, I thought I could use just one more. You can see the shelving in this year’s Christmas home tour if you missed it when I shared that last week. I’ve always loved the look of a whole collection of cake stands all lined up on a shelf and they do also come in handy for making any baking you’ve done seem a little more special. I had a feeling that this would be a great little DIY challenge for me and I was so excited to find that I could actually make a beautiful cake stand that rivals any you would be in a store for very little money. Cake stands for everyone!
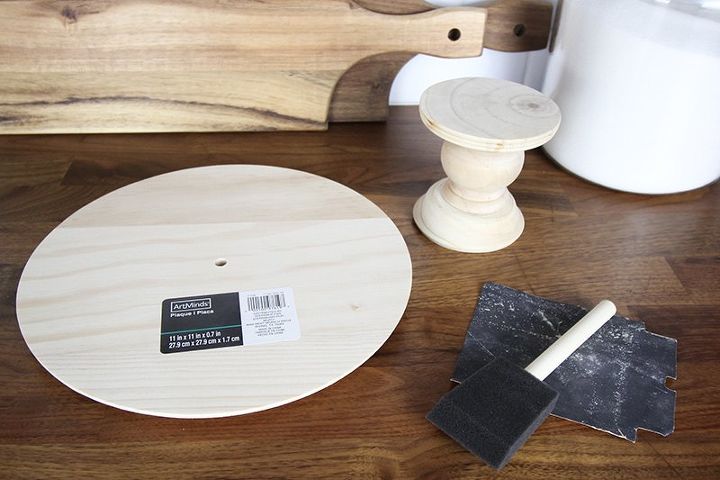
I bought the wood pieces from the craft store using a coupon and everything else was just stuff I already had on hand, so that made this project less than $10! The wood round I used is meant to be used as a clock face so it has a little hole in it, but that’s not a big issue for me.
Start out by giving your wood pillar candle holder and your wood round a really good sanding with a medium-fine grit sandpaper to remove any rough edges.
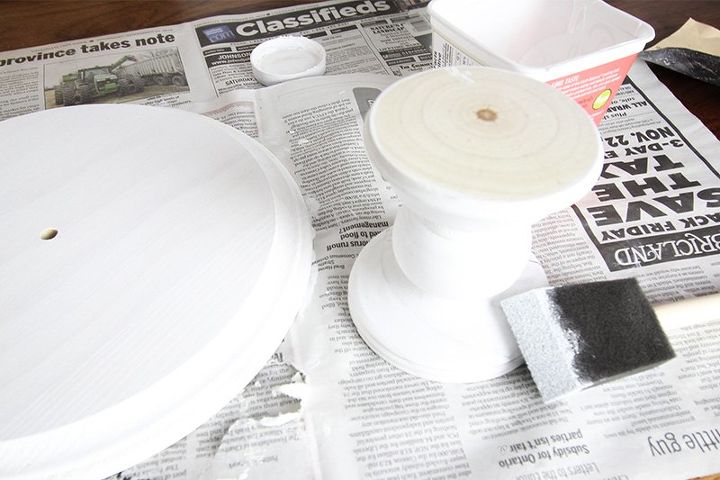
Paint each piece separately on all sides. I originally planned to do three coats of paint for really even coverage, but then I found that I liked this kind of a white-wash effect I was getting while I was doing my first coat, so I stopped there.
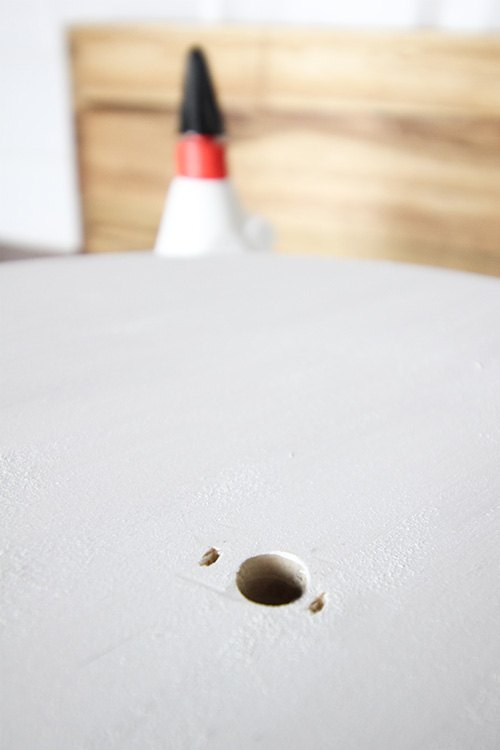
When your paint has fully-dried, attach your round piece to the pillar candle holder “base” by using wood glue and a few finishing nails. I just used our brad nailer and it was easy-peasy.
Feel free to add a dab of wood filler and some paint to cover up the finishing nails if those are bugging you.
[Psst! You may also like: DIY Embroidery Hoop Decor Orbs!]

Since this cake stand is painted, I recommend that you lay down a little sheet of parchment paper first before you serve any cakes or cookies on it. Don’t worry about cutting the parchment into a perfect circle to hide it; the edges of a square sheet of parchment hanging off the edge of the stand will just add to the professional baker look that you have going here with this stand.
For even more photos and instructions, head on over to the full blog post! :)
Resources for this project:
See all materials


Comments
Join the conversation
-
Love this 💕
-
I have a brand of hand made dishes that I am gluing candle holders to the bottom. They are perfect for putting fruits and veggies that don't go into refrigerator. I also made a cake plate....with a real plate. I just glued with E6000 glue. So all of them are food friendly. The utensil holder is the same brand as the other dishes.


Frequently asked questions
Have a question about this project?
Where did you purchase the wood plaque and pillar? I looked at two major craft store websites but could not find them.