


DIY Ceiling Medallion

by
Joy
Easy
Ever wanted to add a little pizazz to your ceiling??? Here is a great easy project with amazing impact! Take a look...
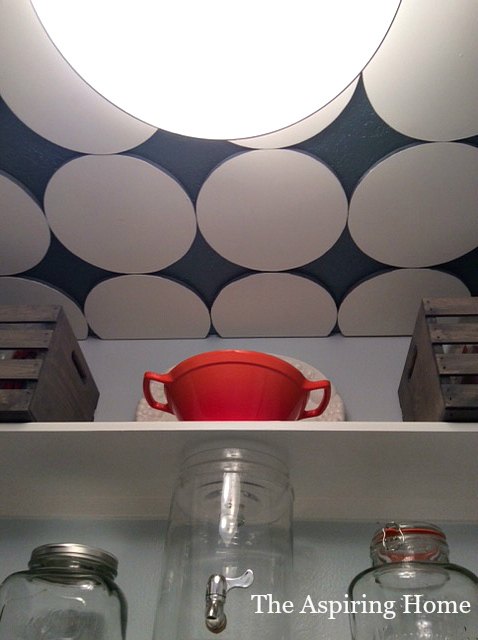
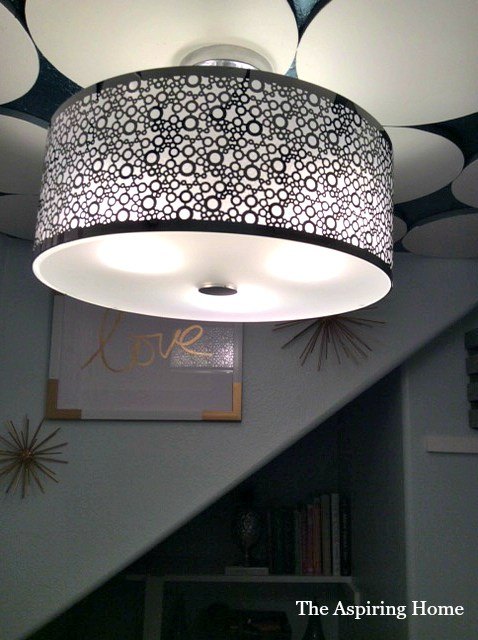
I am writing today because I REALLY want to share with you how to make the ceiling medallions (tiles) from our One Room Challenge! Super easy and fun project.
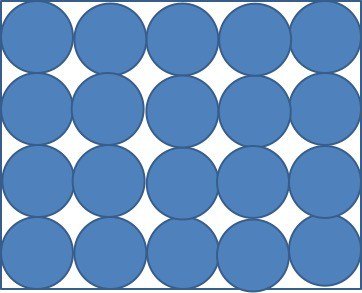
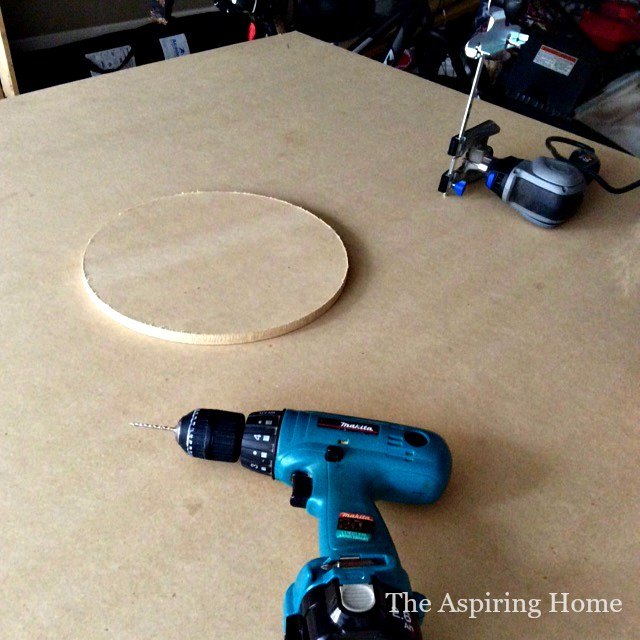
Set up your saw horses and lay out the MDF sheet. Measure in from the edge enough to be able to swing the edge guide around to make a complete round circle. I know that sounds funny but if you don't test the area first- you may in up with a lop sided circle.... don't ask me how I know this... I just know.
Measure the center of your circle. For this example we marked the 6 inch spot (12-inch circle).
Verify that you have enough room to create a perfectly round circle

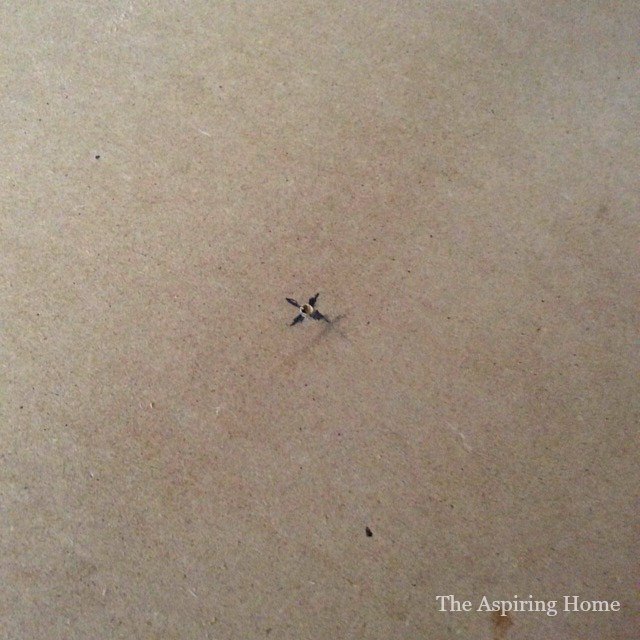
Drill a small hole- careful not to go competely through. This will give a little "grip" while you guide the circle cutter.

Cut your circle. Take your time and let the guide do the work.
Lightly sand the edges
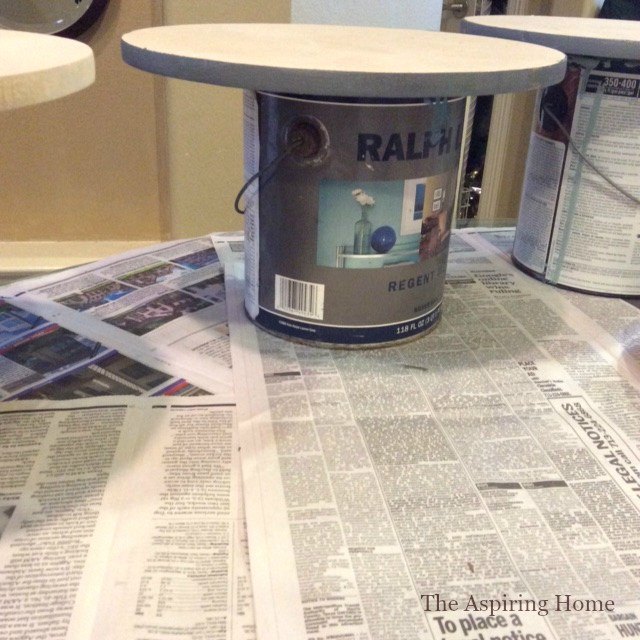
Optional: For the pantry ceiling, I chose to paint the edges in a dark grey.
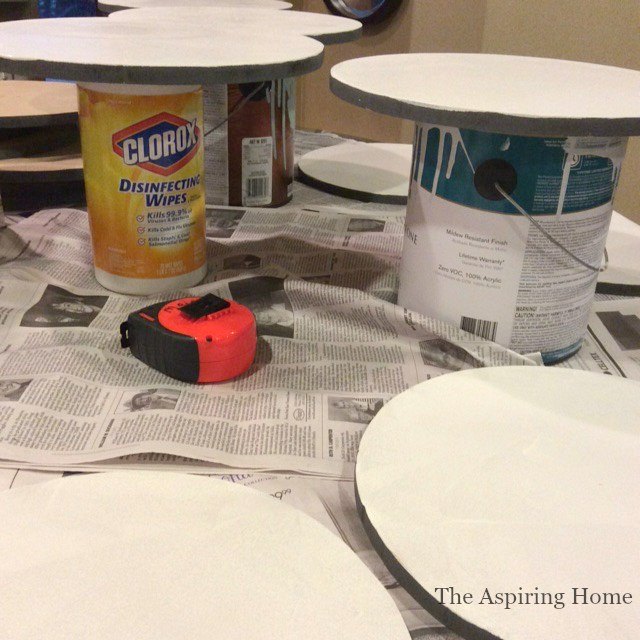
Paint! Use the small foam roller for quick work.

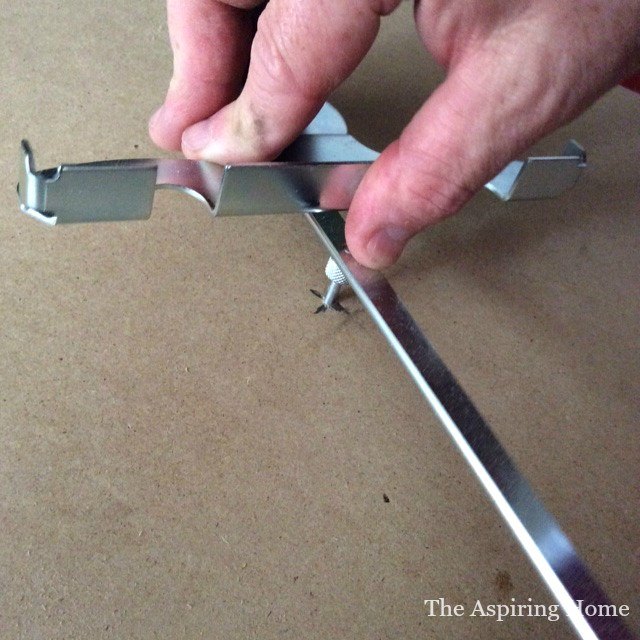
Apply liquid nails. Using a brad nailer to secure.
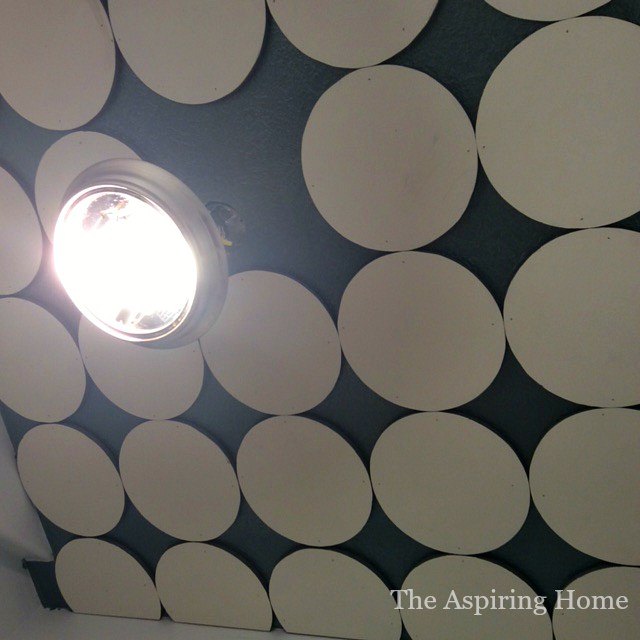
For the last circle. Use posterboard to creat a template. The posterboard temple will aid in figuring out where to cut the hole for the light fixture.
Want more details about this and other DIY projects? Check out my blog post!
Comments
Join the conversation
3 comments
-
Woah so cool!
-
Love it! I wish I had your tools!


Frequently asked questions
Have a question about this project?