


How I Saved Over $600 With a DIY Chandelier Makeover

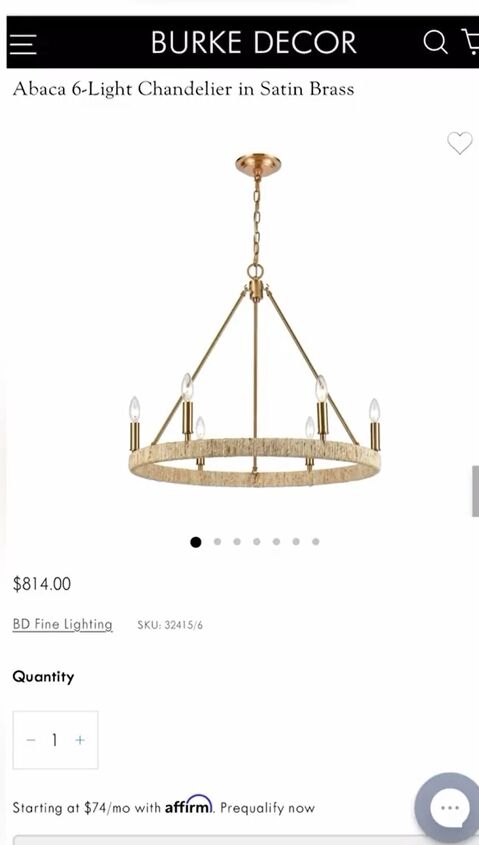
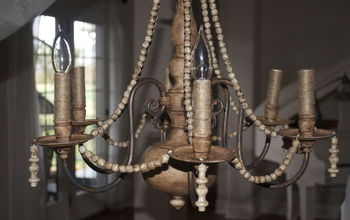
I'm thrilled to share my exciting DIY chandelier makeover journey with you. When designing our home, I came across a stunning chandelier for the pantry that stole my heart. The only hiccup? Its hefty price tag. Undeterred, I embarked on a creative mission to recreate the charm of that chandelier without breaking the bank.
In this step-by-step guide, I'll walk you through how I transformed an affordable Amazon find into a chic, customized masterpiece using spray paint and twine. Get ready to witness the magic of this budget-friendly makeover that added a touch of elegance to my space, all for under $200!
Supplies Needed
- Chandelier or light fixture (similar shape to the desired chandelier)
- Spray paint (color of your choice)
- Twine or jute rope
- Painter's tape
- Screwdriver or necessary tools for disassembling the chandelier
- Drop cloth or newspaper
- Glue gun and glue sticks
- Optional: Decorative elements (e.g., crystals, beads, faux flowers) for added flair
DIY chandelier makeover
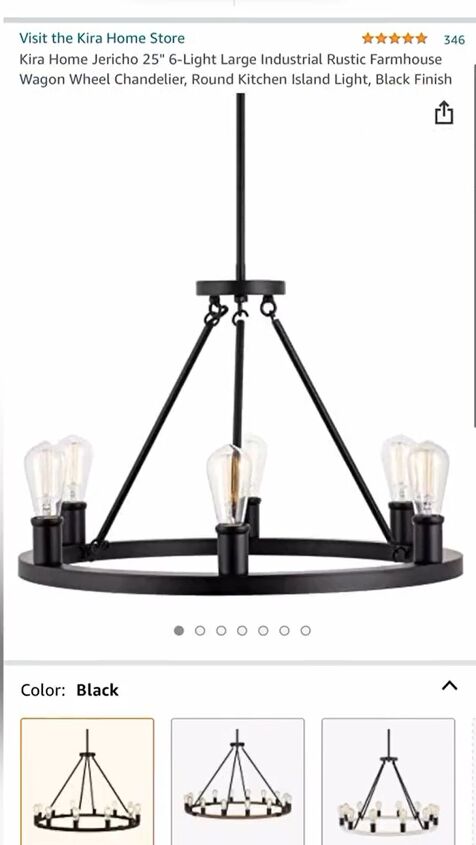
1. Choose the Perfect Fixture
Begin by selecting a light fixture that closely resembles the chandelier of your dreams. I scoured Amazon and found a similar-shaped fixture for just $122, making it a budget-friendly starting point for my project.
2. Disassemble the Fixture
Using a screwdriver or the appropriate tools, carefully disassemble the light fixture. This will make it easier to work on individual components and ensure an even application of spray paint.
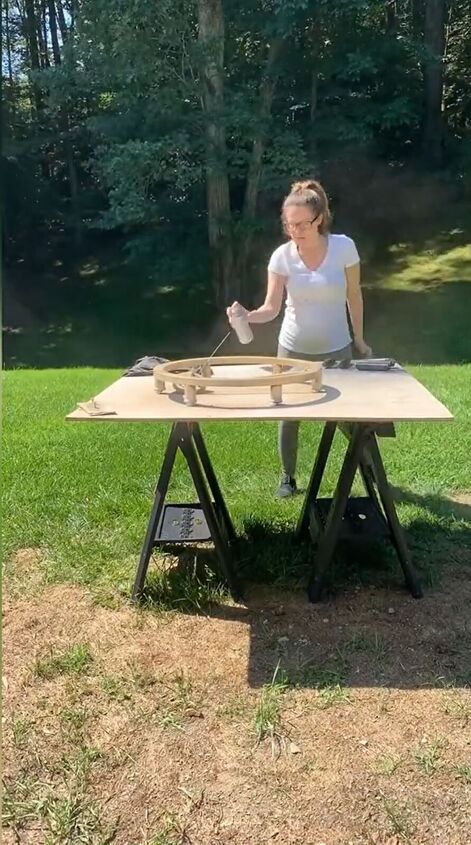
3. Prep and Spray Paint
Lay down a drop cloth or newspaper to protect your work area. Place the individual pieces of the light fixture on the protective surface. Using painter's tape, cover any areas you want to keep paint-free, such as sockets or connectors. Begin spray painting the pieces with your chosen color. Apply thin, even coats and allow each coat to dry before applying the next. I opted for a chic matte gold finish to complement my pantry's aesthetic.
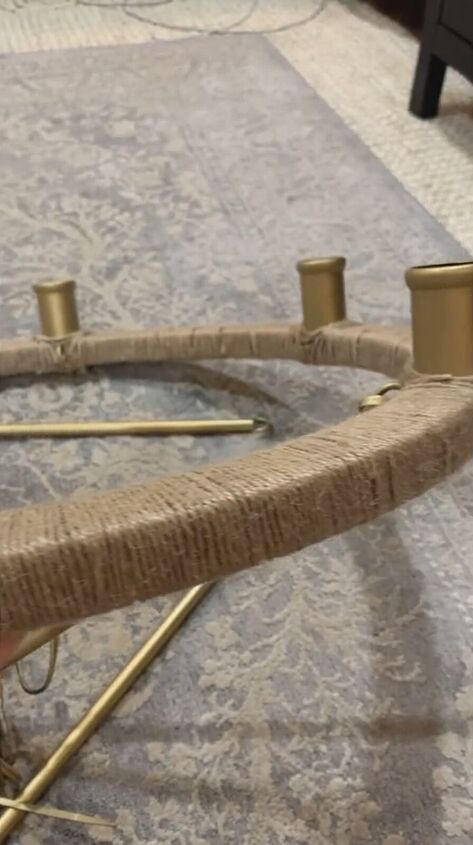
4. Add Twine Wrap
Once the spray paint is completely dry, it's time to add a touch of rustic charm with twine. Secure one end of the twine on the fixture using a dab of hot glue. Carefully wrap the twine around the fixture, layering it neatly and tightly. Use hot glue at intervals to secure the twine in place. Continue wrapping until the desired coverage is achieved. Trim the twine and secure the loose end with glue.
5. Reassemble and Customize
With the twine wrap in place, reassemble the light fixture. Make sure all the components fit snugly and securely. Now is the perfect time to add any optional decorative elements, such as crystals, beads, or faux flowers, to personalize your chandelier further.
6. Install and Admire
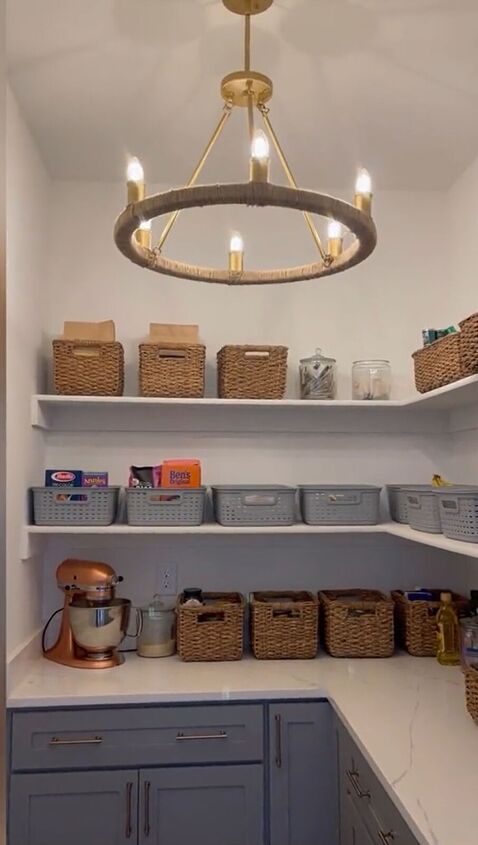
Carefully install your newly transformed chandelier in its intended space. Whether it's your pantry, dining room, or any other area, watch as the revamped fixture adds an instant touch of elegance and personality to the room. Stand back, admire your handiwork, and revel in the satisfaction of your budget-friendly DIY chandelier makeover!
DIY chandelier makeover
Through a blend of creativity, spray paint, and twine, I've achieved a chandelier that not only resembles the high-end version I fell in love with but also reflects my personal style. This DIY project is proof that with a little ingenuity, you can transform a simple fixture into a statement piece without the hefty price tag. Happy crafting!
Follow @kristina.roy_ on TikTok for more DIY ideas.


Frequently asked questions
Have a question about this project?