


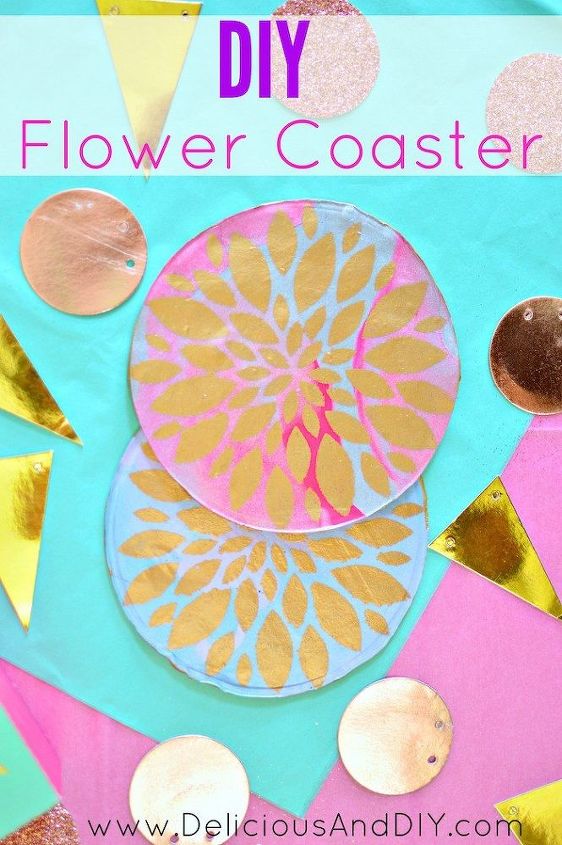
DIY CLAY FLOWER COASTER
4 Materials
$30
1 Hour
Medium
In case you haven’t seen my previous clay adventure you can check out my DIY Marbled Clay Bowl, DIY Marbled Bottled Makeover, DIY Clay Fridge Magnets, Cactus Clay Ring Holder and many more Clay projects that I have created.
But for today lets get into these pretty Flower Coasters.

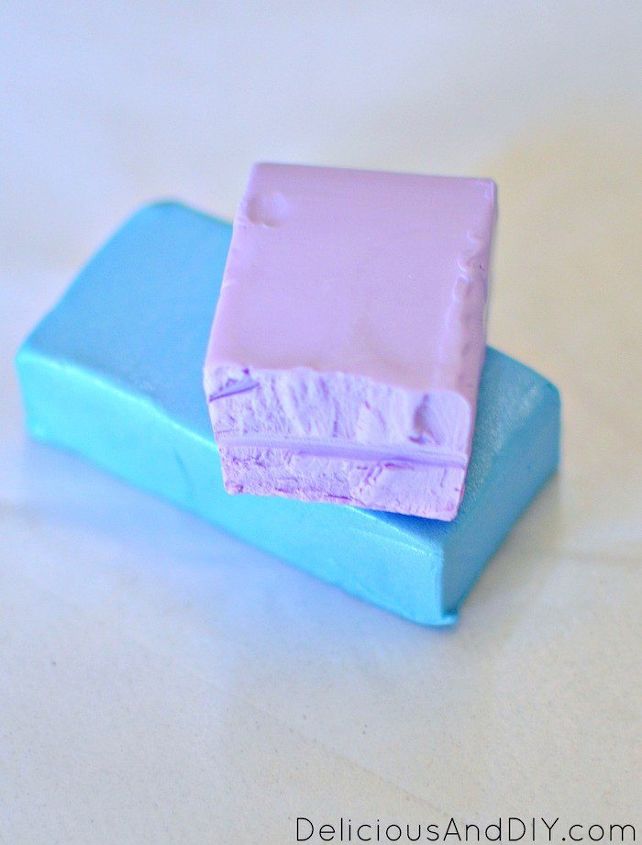
I used two shades of clay on one coaster which was a blue and purple combination.
For the other one I went with a grey and bright pink combination
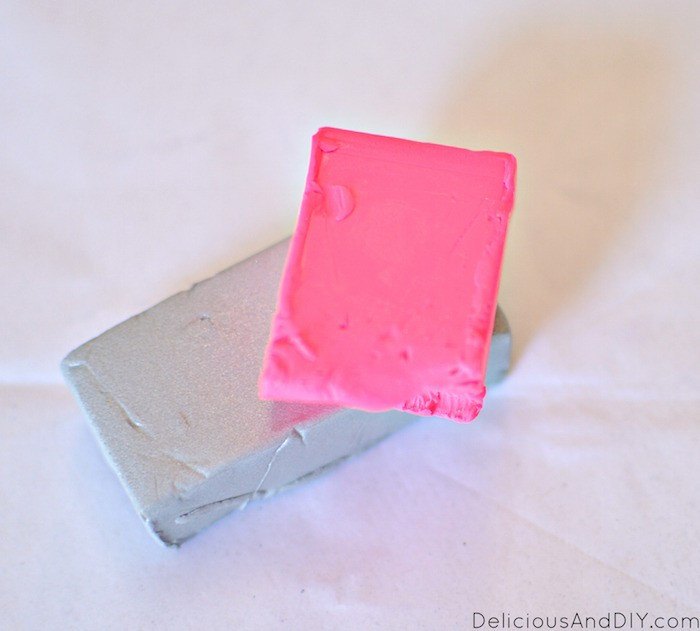
I rolled the clay into medium sized balls and molded them both together until combined. Play around with the colors until they are slightly blended.
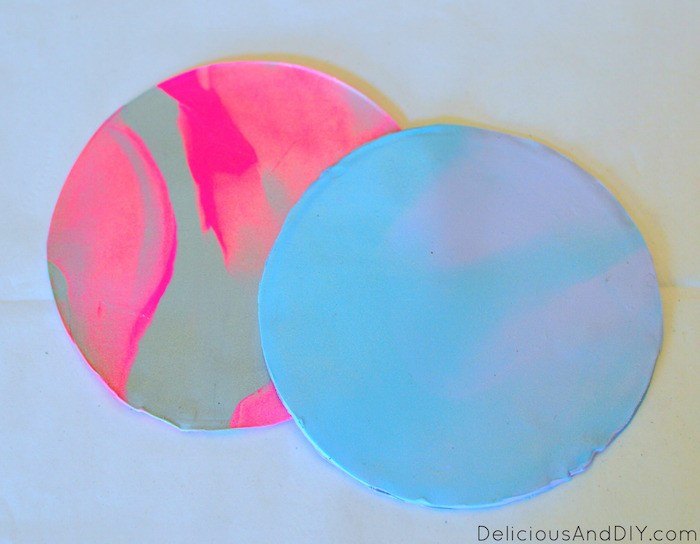
After that I flattened it with an empty bottle that I had on hand and that is when you can see the beautiful marbling details.
Use an empty circular bowl as a template to cut the coasters as perfectly round as possible.
At this point I placed it on a baking tray and let these coasters bake for about 15 mins at 275F.
When I took them out and were cooled, that is when I started the stenciling process onto the coasters.
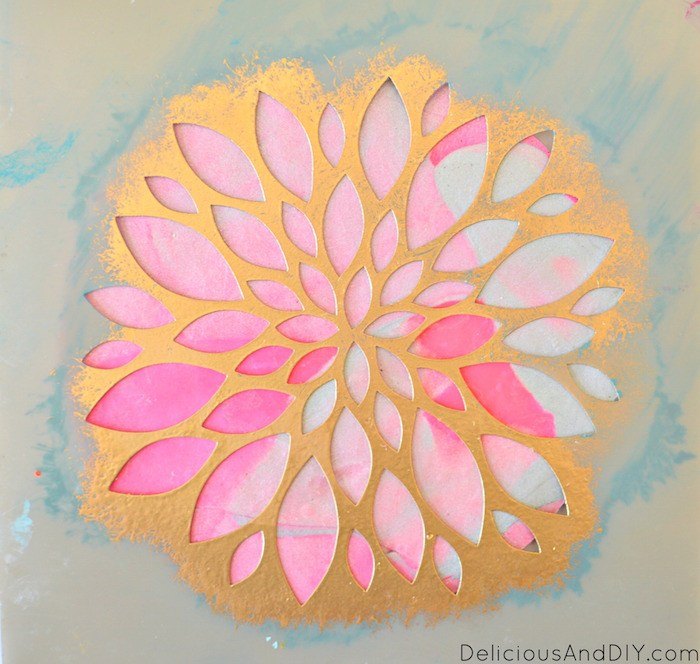
I chose Gold as the main color and with a round foam brush I went ahead and stenciled it all on my baked coasters.
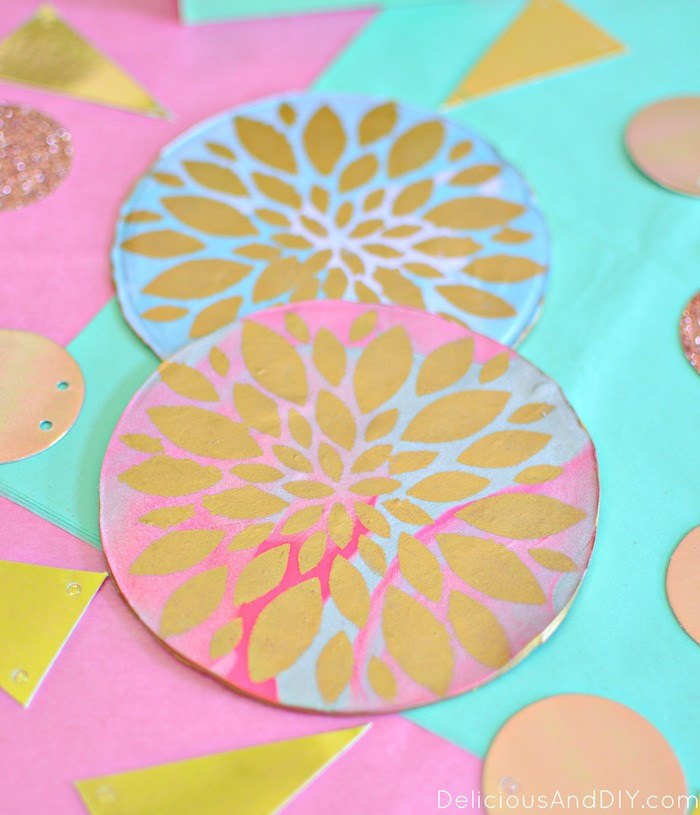
The DecoArt stencil which I chose was the perfect size for the round coasters.
Just take a little amount of the Gold Paint, brush off the excess on a cloth and then lightly dab onto the stencil.
I did it on both the coasters.
The last step is optional but it adds a nice little touch.
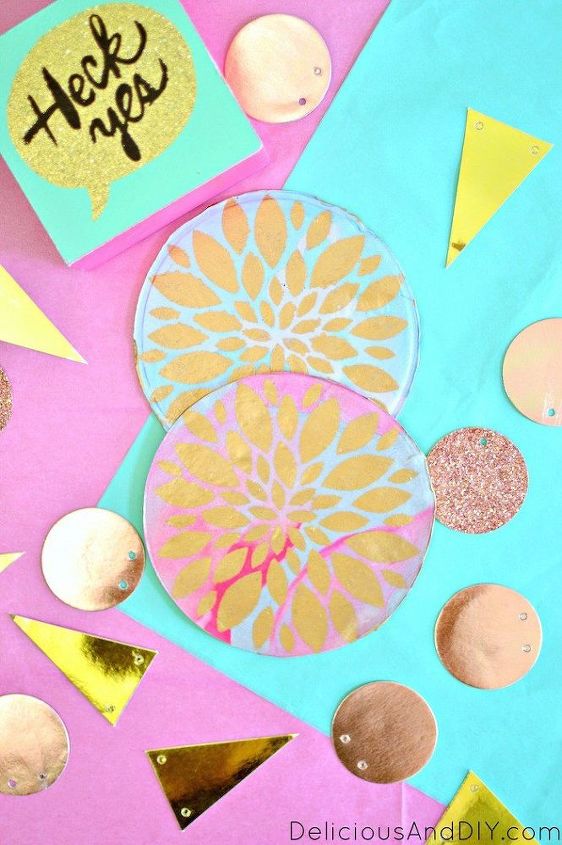
I used a clear Clay Glaze on top of the coasters to give a nice little sheen as well as to protect the design.
Give it a day to fully dry and there you have it.
You’re very own stunning DIY Clay Flower Coasters are ready to be used.

Want more details about this and other DIY projects? Check out my blog post!


Frequently asked questions
Have a question about this project?