


DIY Macrame Coaster | Amazing BOHO Room Decor
Happy March, everyone! Today I wanna share with you how to make a macrame coaster. This is a beginner-friendly macrame project and also an easy one. If you haven’t scratched the surface on macrame then this is it!
So, let’s begin!
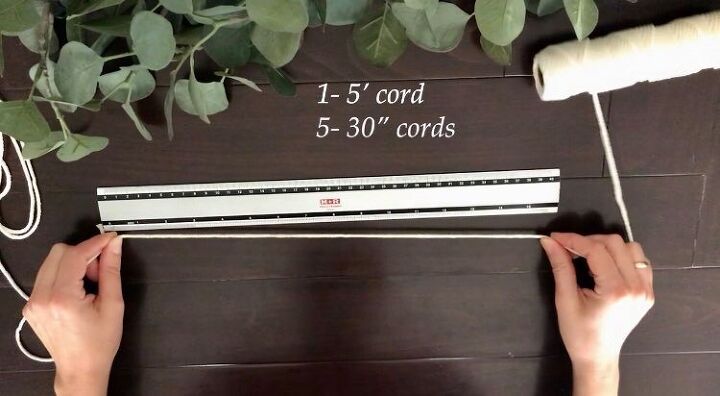
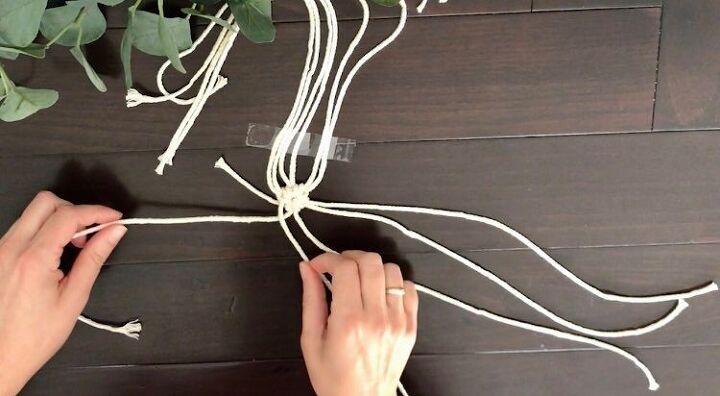
I’ve used a 3 mm macrame cord and I’ve cut it at 5′ (152 cm) and I’m gonna need another 5 cords at 30″ (76cm) in length.
Step 1
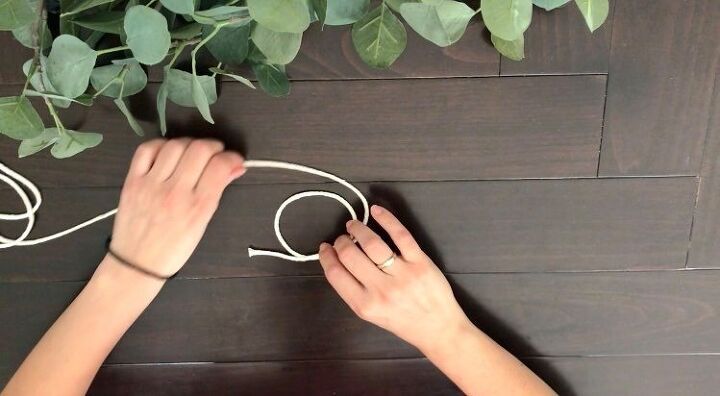
Take your longer cord and make a loop.
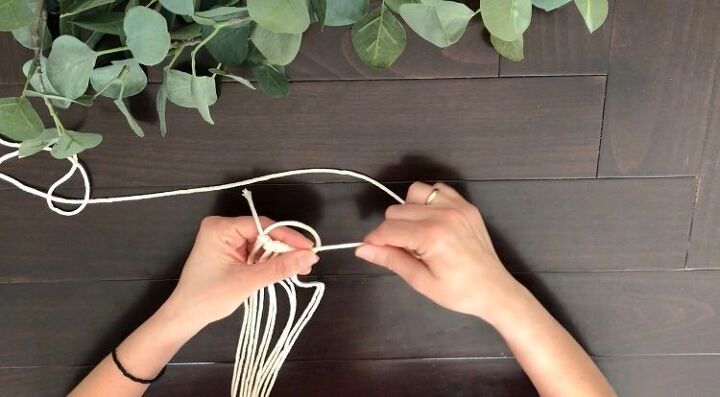
Step 2
Take one of the 30″ cords, fold it in half and attach the loop that has been created, underneath the loop that you’ve done earlier and pass through the two ends and pull them tight.
This is called a cow hitch knot or a reverse lark’s head knot.
Next, what you are going to be doing is to attach the 4 remaining cords using the same technique.
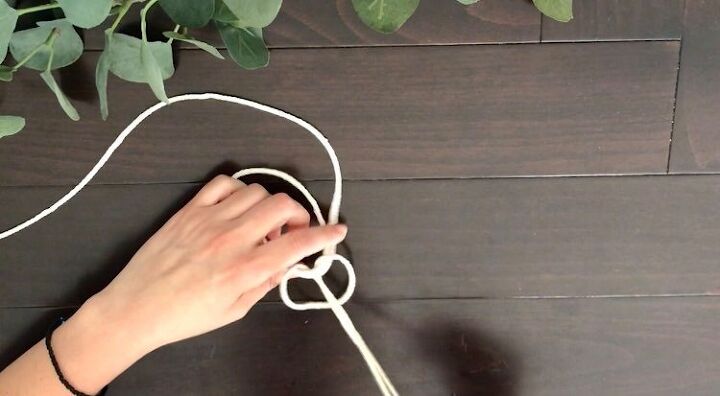
Step 3
Take the longer side of the 5′ cord and pull it to tighten the loop. This will be the center of your macrame coaster.
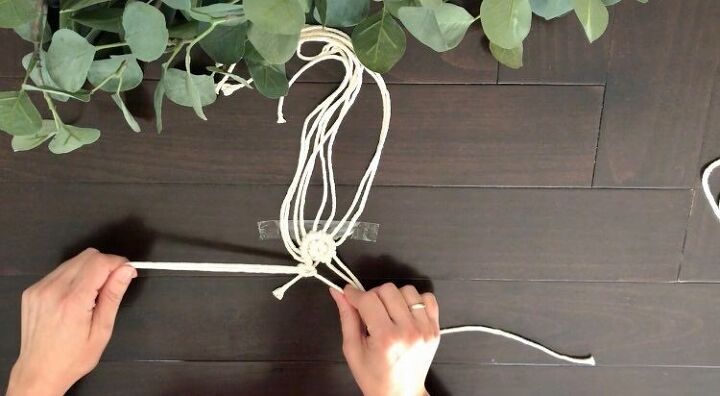
Step 4
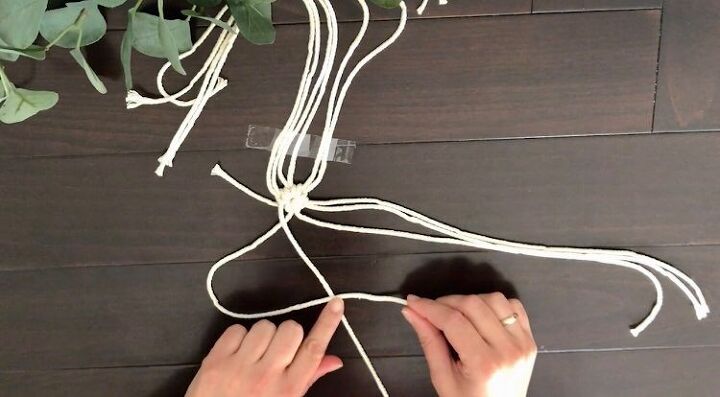
Take your longer cord, this will be our anchor cord, and place it on top of the near right cord. This will be our working cord.
Then create a number 4 with your working cord and pass the end through the loop that has been created and pull it tight to the top.
And repeat this step one more time to create a double half hitch knot.
When you’re done with this knot, move on to the next cord using the same steps, and don’t stop until you complete the first round.
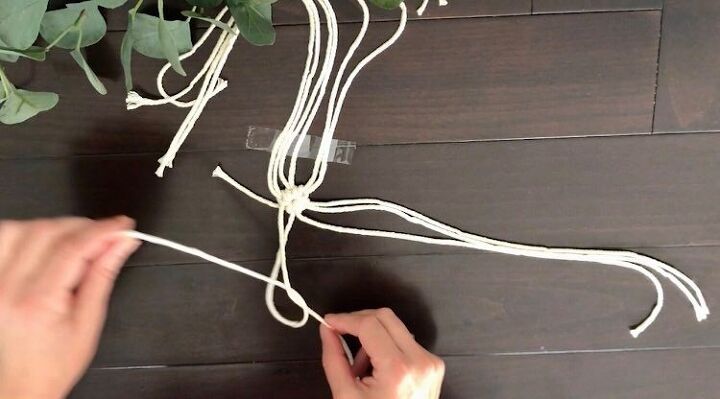
There you’re gonna see a gap.
Step 5
All you have to do to fill the gap is to take a 24″ (66cm) this time and attach it to the anchor cord by doing the cow hitch knot or the reverse lark’s head knot. Then keep going with the knotting.
As you go you will face other gaps as well, so whenever you see a gap fill it up with another cord and then repeat the knots.
And the cord you are using to fill in the gaps, you should cut it 4″ (10cm) shorter from the previous row to save on some macrame.
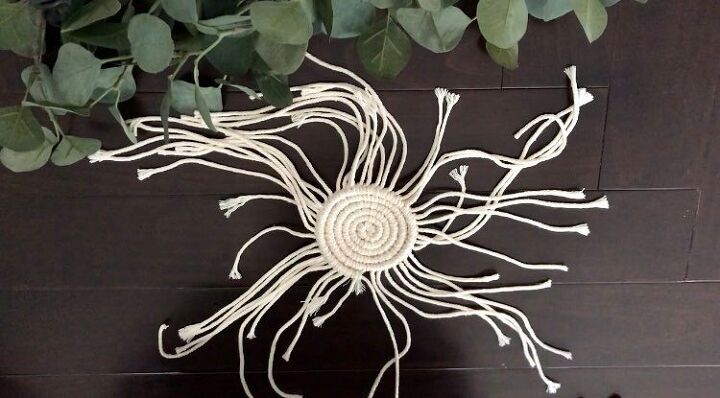
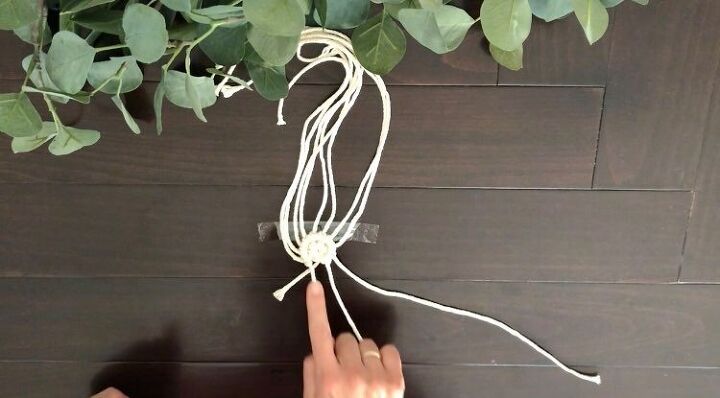
When I finished knotting I ended up to 4″ (10cm) in diameter.
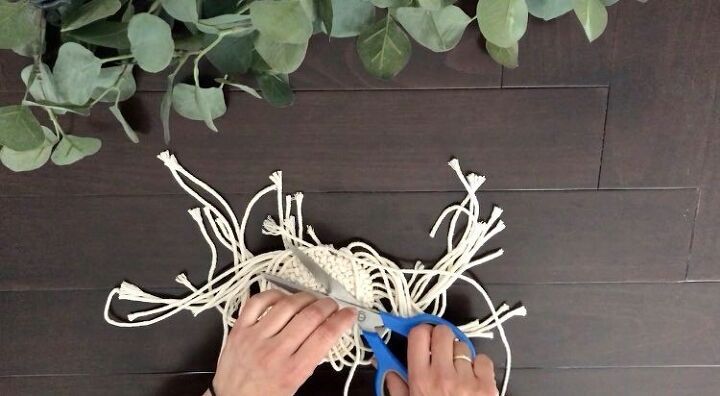
Step 6
Turn it over and cut that cord in the middle.
Step 7
Tuck the anchor cord into the back.
Step 8
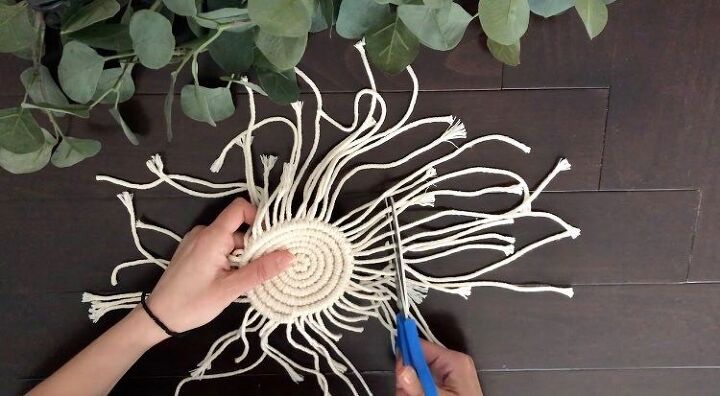
Go ahead and trim off all of the cords around the perimeter to create a circle.
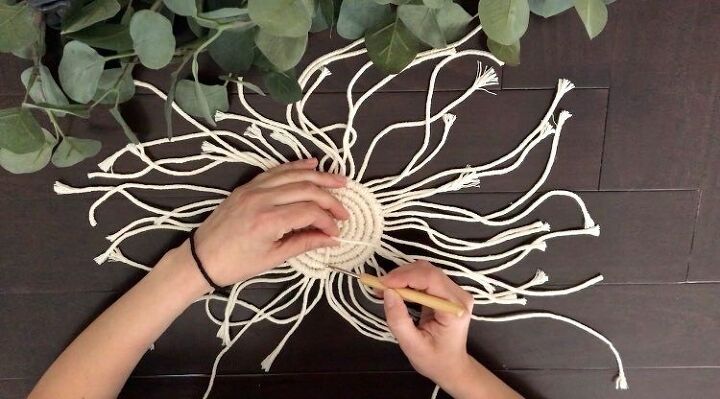
Step 9
Brush out all the strands, starting from the bottom all the way up towards the center.
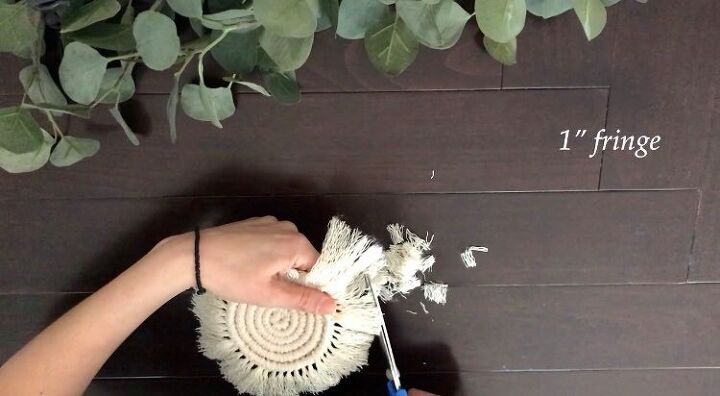
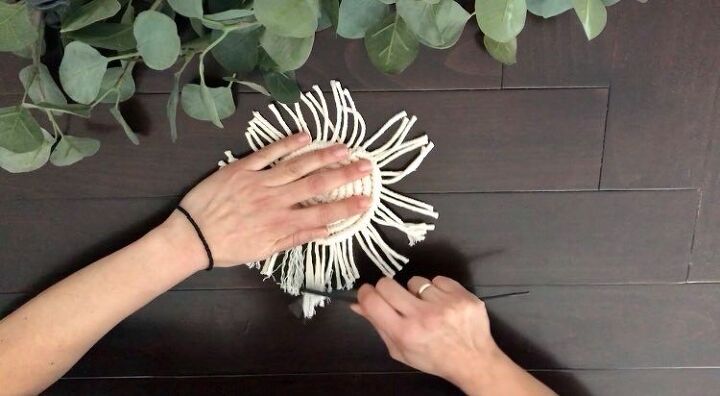
Step 10
Cut the fringe around to refine the circle. Mine is about 1″ (2,5cm), but you can make it as long as you like, and that finishes off our macrame coaster!
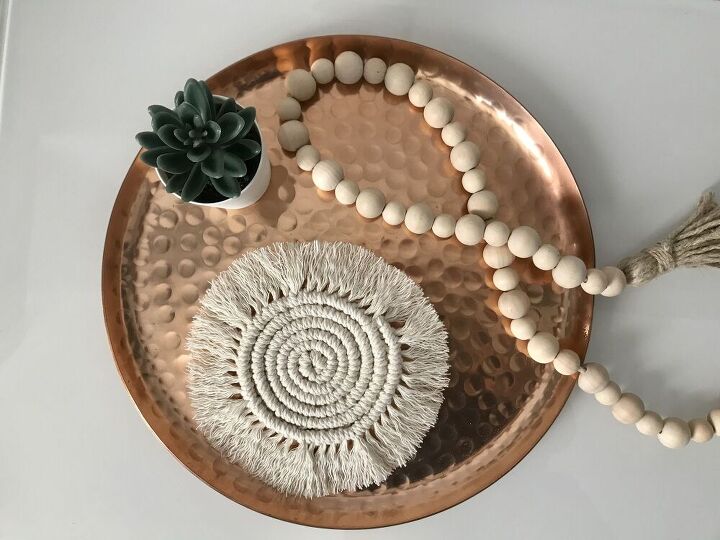
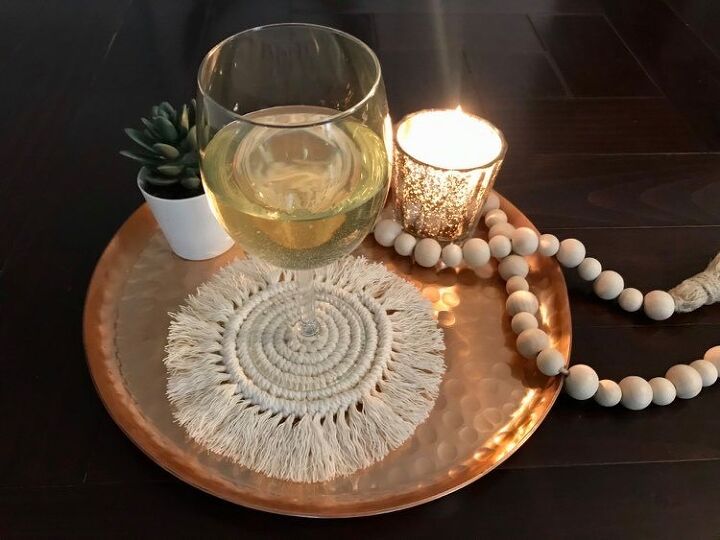
I really love how it turned out and I will definitely go to be making another one, or two, or three! I love the boho feel it adds to my space, and it’s a beautiful addition to my coffee table.
If you want more details on this project, check out my video tutorial!
Thanks for stopping by!
Lot’s of love
Evi
Resources for this project:
See all materials


Comments
Join the conversation
-
I am definitely going to make some of these, then maybe graduate to bigger pieces. How creative you are!
-
Turned out great ! love this project .


Frequently asked questions
Have a question about this project?
I would love to try this but only bigger. We have a glass top on top of an end table and I would love to put this between the glass and the table. My question is how do you go about measuring the strands so they are long enough? Thanks
Suggestions for DIY I'm wanting to make extra sleeping space that is convertible to seating. Like a Bahama Couch. Two twin beds placed in a corner- L - shape arrangement. There was a corner end table. Low enough to be an end table and wide so one of the couch/beds slid under. Up dates and suggestions would be great.