


DIY T-Shirt Quilt Cover
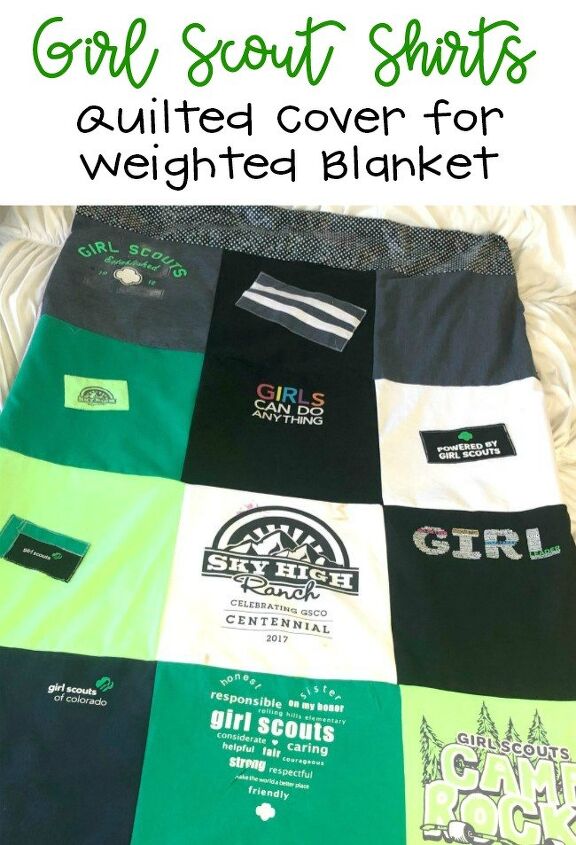
This DIY T-Shirt Quilt Cover is perfect for creating a duvet for a weighted blanket, or any other insert really. It is so meaningful because each piece is part of a series of memories from camping trips, outings, meetings, cookie booths and time with girls. There are lots of tutorials out there for making t-shirt quilts so instead of reinventing the wheel, I am going to share my top ten tricks to successfully making a t-shirt quilt. This post is sponsored by Fairfield World but the ideas and opinions are my own.
Before starting, carefully select t-shirts that no longer need to be worn! Once they are cut up, they are CUT UP!

Tip 2:
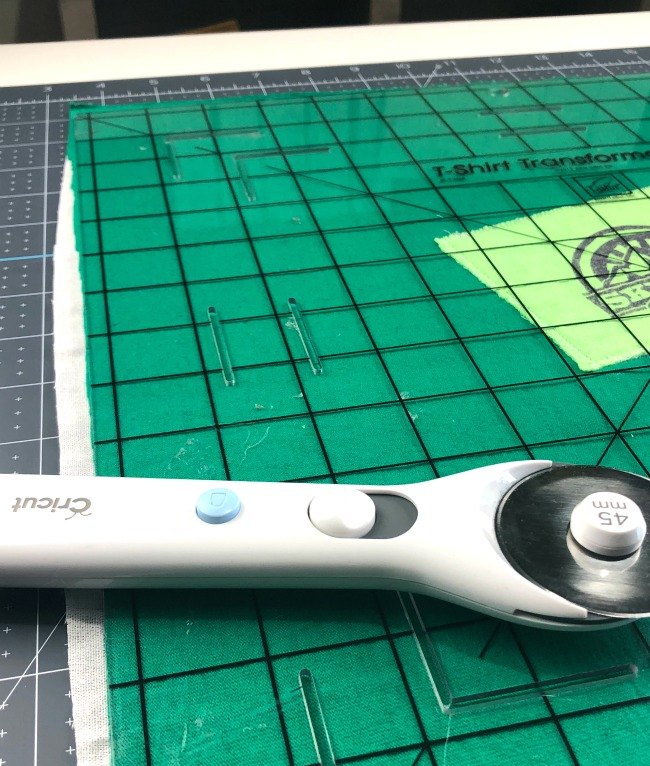
Use a sharp rotary cutter to cut the squares. It helps ensure that your lines are super even which will help the shirts line up.
TIP 3:
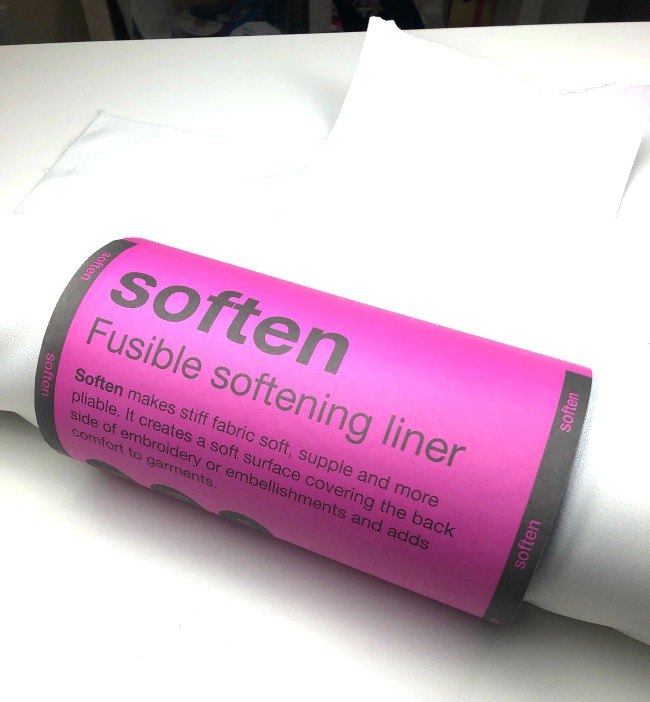
SOFTEN batting because it works so great with the material in the tees..
Tip 4:
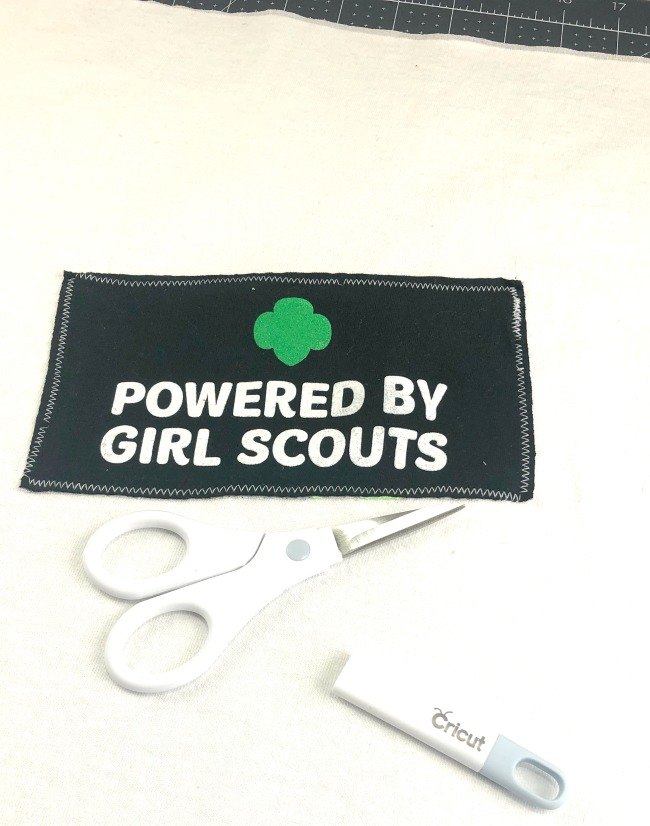
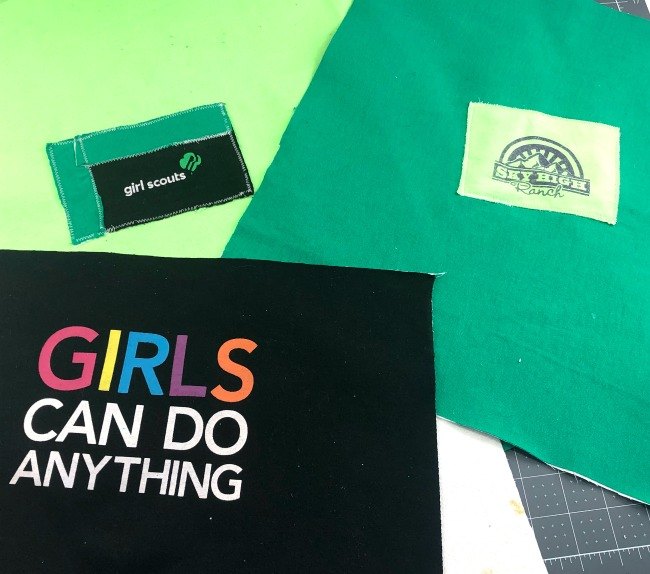
This t-shirt quilt was made with Girl Scout shirts that have been collected over years of being a leader. When cutting them into the squares, some of them have blank backs but logos on the arms. It is fun to add those logos to the blanks. To do this, iron the cut logo piece to batting then applique it to the blank shirt.
Tip 5:
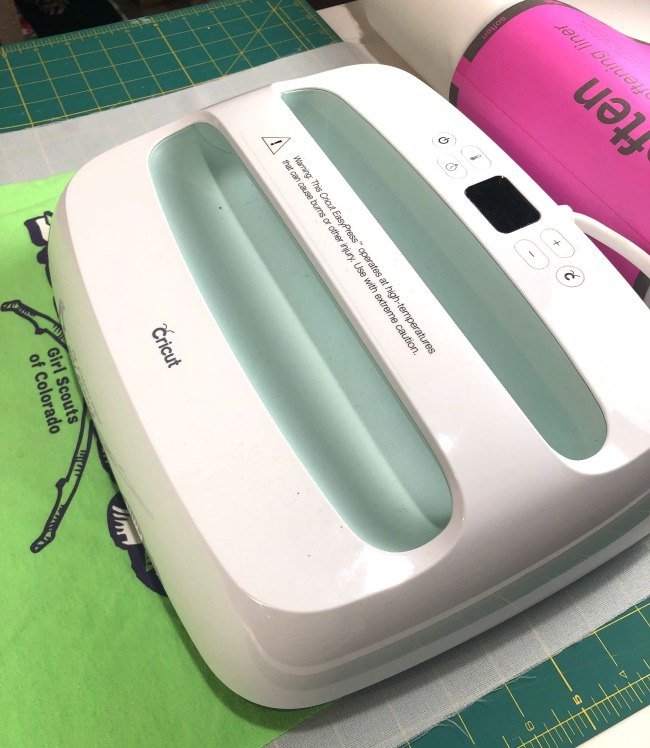
Cricut’s Easy Press works GREAT to adhere the t-shirts to the SOFTEN fusible liner and makes the process so much quicker.
Tip 6:
Lay out your squares on the floor and arrange BEFORE starting to sew them into the quilt.
Tip 7:
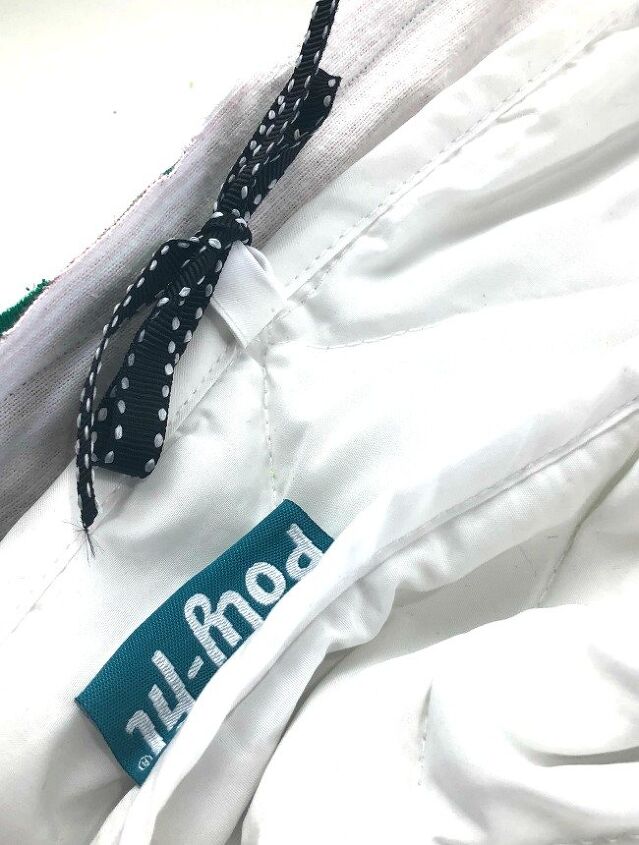
Sew in ribbon around the inside of the cover in all of the places where there are loops on the weighted blanket. This will hold the blanket in place. Make the ribbons long enough to tie big bows so they will be easy to detach when it’s ready to be washed.
Tip 8:
Watch this video created by Beth Watson to get details about making a weighted blanket cover using the inserts from Fairfield World!
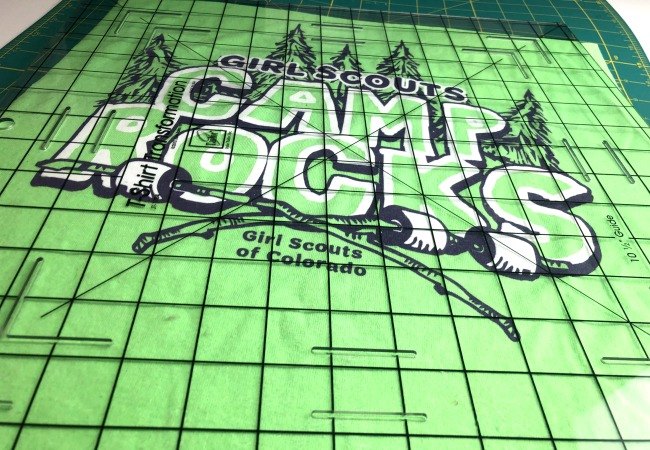
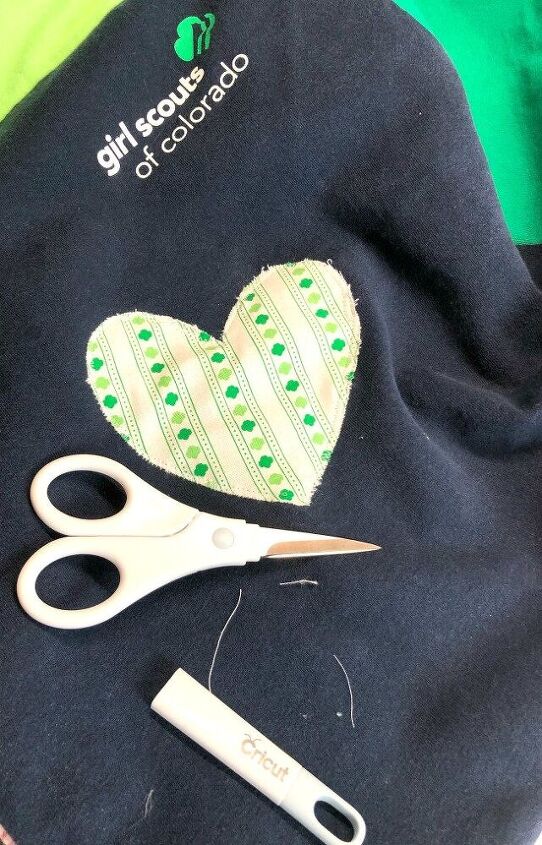
If you want to add details to your quilt cover, the Cricut Maker cuts out fabric! Girl Scout fabric is now on the market so works perfectly with this project. The rotary blade is the one needed for this.
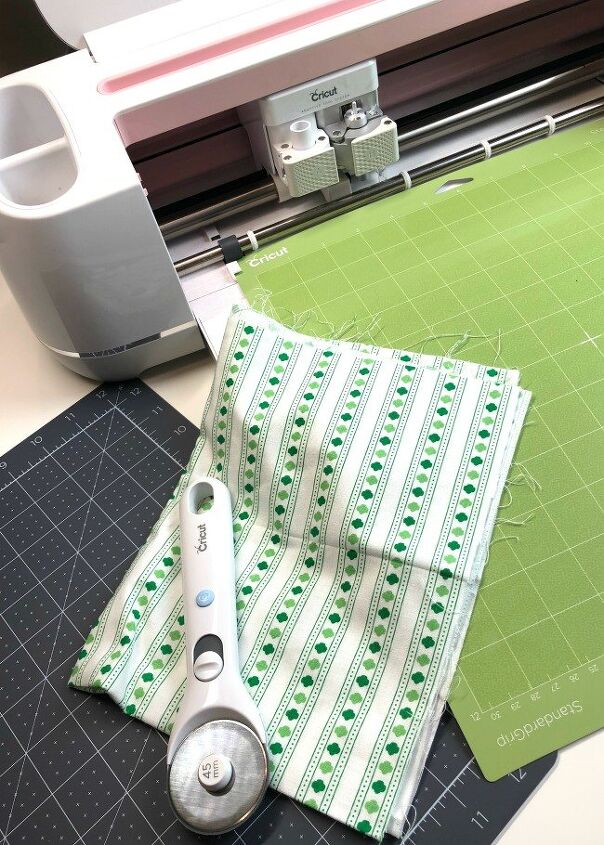
Cut fabric with a rotary cutter and place it on a gripping mat. Design a shape in Cricut Design Space to fit your fabric. Be sure to use the rotary blade and cut the shape out. Sew it to the quilt and trim extra threads with scissors.


Frequently asked questions
Have a question about this project?