


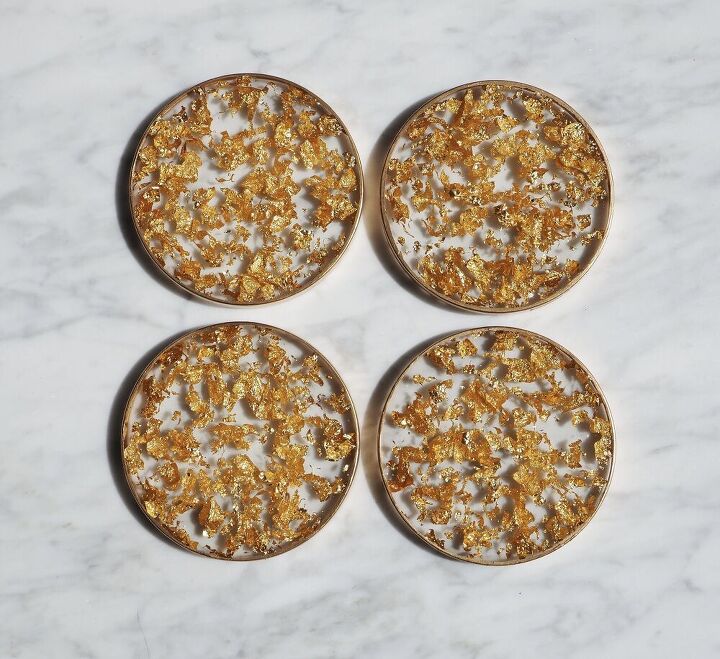
Gold Leaf & Resin Coasters

Hi all, thanks so much for checking out my post today.
Be sure to visit my YouTube channel (details below) where I show you how to make these coasters and many more of my Hometalk projects 👍🏻
Today's project is a very straight forward one and perfect for easy gifts. Let's dive in and learn how to apply gold leaf to make resin coasters!
Whether you're new to resin or well on your way, these coasters are a perfect project for anyone to try.
They look so professional but it's ridiculous how easy they are to make.
WHAT YOU'LL NEED
- Resin - I used '5 Star 3:1 Deep Pour' resin from Rockstar Resins. For 10% off resin products use this link and code HANNAH at checkout
- Silicone coaster molds
- Gold leaf flakes
- Mixing containers and spatula/sticks
- Blow torch/heat gun
- Gilding paint (optional)
Always use the proper protective wear when handling resin ☺️
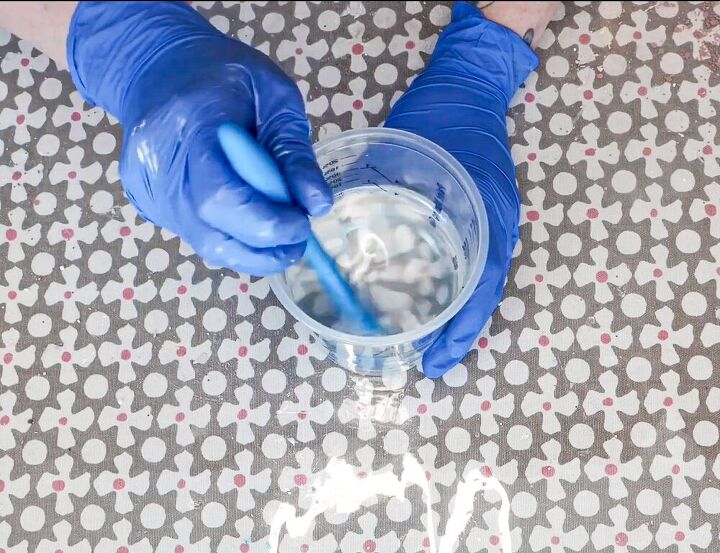
STEP 1 - MIX YOUR RESIN
Mix enough resin to fill as many coaster molds as you desire.
I mixed 300mls of casting resin for a set of 4 coasters, each 4 inches in diameter.
Resin wise, you don't have to use casting resin for this project. I wanted to because I already had it and I don't 'cast' much with the type of art I do. I thought this would be a good opportunity to try it out to get crystal clear results.
If you're buying from Rockstar Resins and making the most of the 10% discount, I recommend any of their resins that are a 2:1 formula or higher.
If you only have a 1:1 formula resin, I'm not saying that it won't work or indeed look great, you'll just get even better, clearer results with a lower viscosity resin (runnier). This is because there's less chance of bubbles getting caught in your resin.
If you have any questions about which resin to use for a project or questions about resin in general, drop them below in the comments and I'll do my best to help.
STEP 2 - SIT BACK AND WATCH YOUTUBE
If you prefer to watch tutorials instead of read them then I have a YouTube channel where this exact project is up and available to view now, just click the video link above to watch.
Please also consider subscribing to my channel for future crafty tutorials. I upload videos for most of my Hometalk projects plus loads more!
Shameless plug over 😋
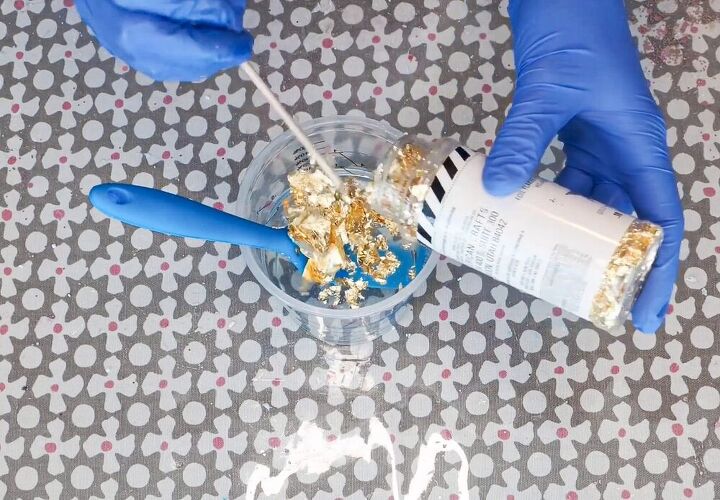
STEP 3 - ADDING THE GOLD
It's time to mix in your gold leaf flakes. This part is seriously satisfying!
Add as much or as little as you like but just a word of warning, a little goes a long way. Once the gold is mixed, suddenly there's more than what you'd expect.
To be honest though, you can't really go wrong. If you have fewer flakes than what my coasters have or many more, they're still going to look beautiful! It's gold, who doesn't love gold?!
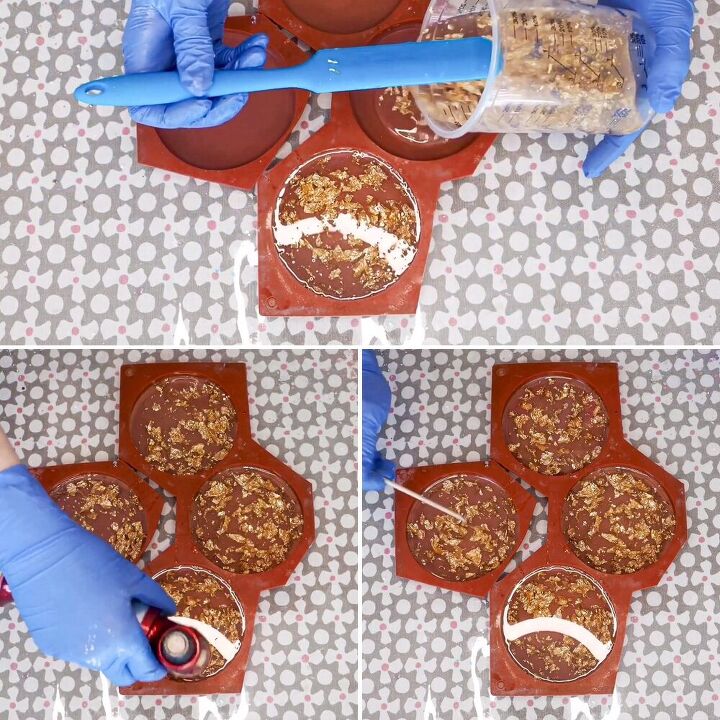
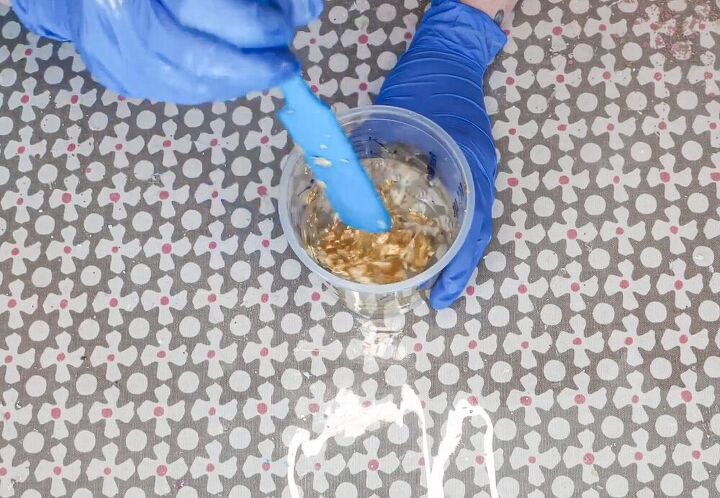
STEP 4 - POUR
Once you're happy with the amount of flakes you've added, pour the resin into your coaster molds.
My resin had so few bubbles at this stage due to the viscosity but if you have some then take your time and pop them with a heat gun and blow torch.
Spread the flakes out evenly with a stick, they may have gathered up or clumped together, and then once you're happy with how they're looking, leave them to fully cure.
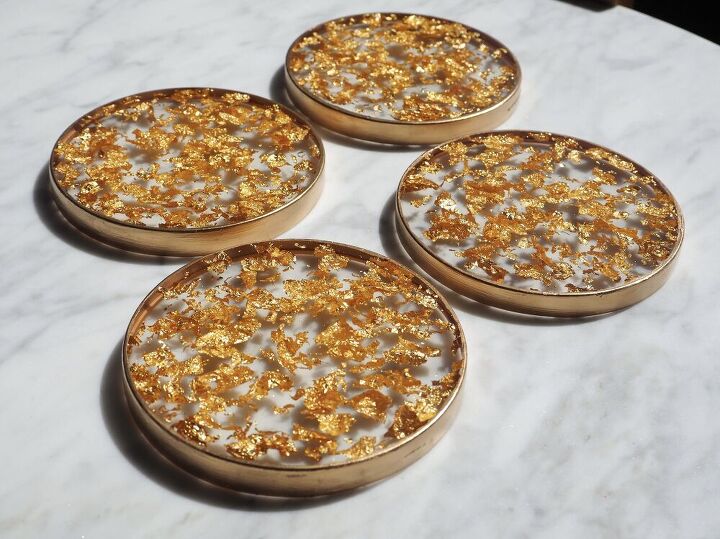
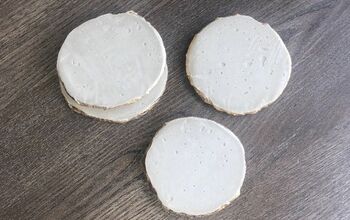
STEP 5 - FINISHING STEPS
Once fully cured, demold and enjoy!
Quickly sand off any rough edges if necessary and if you want to add a gold gild border like I have then by all means do. I've made a few sets now and I've added borders to some and left others plain and I must say the plain ones look stunning too. I guess it's down to personal preference really.
If you're interested in buying any of the sets I've made, I've added them to my Etsy Store, click this link to have a look as well as view all my other handmade goodies.
Thanks so much for taking the time to check out this post today and please do remember to give my YouTube channel a quick visit if you get the chance 👍🏻
Until next time, happy crafting x

Resources for this project:
See all materials


Comments
Join the conversation
-
And how much did this all cost? And the work and time? No thanks!


Frequently asked questions
Have a question about this project?
Hi Hannah can I use a blow dryer to remove air bubbles