


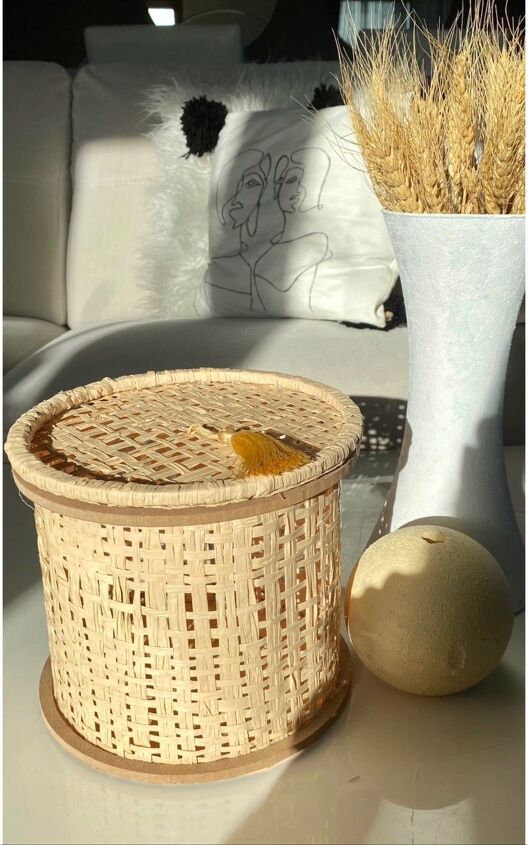
Handwoven Raffia Basket With Lid

- Hi diy lovers. Today, I will share the tutorial for an awesome handwoven raffia basket with lid. To see how I wove raffia, please visit my post “handwoven raffia placemat”.
Here comes the tutorial, hope that you will like it 🙏🏻
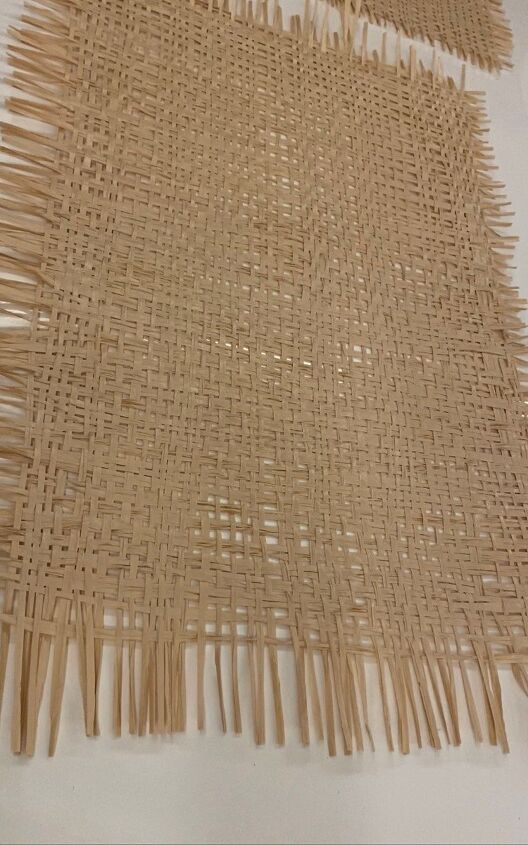
Grab your rectangular piece of raffia. (I used a big frame for this big piece )
Cut it into 2 pieces ( My piece has a width of 20 cm- 8 inches)
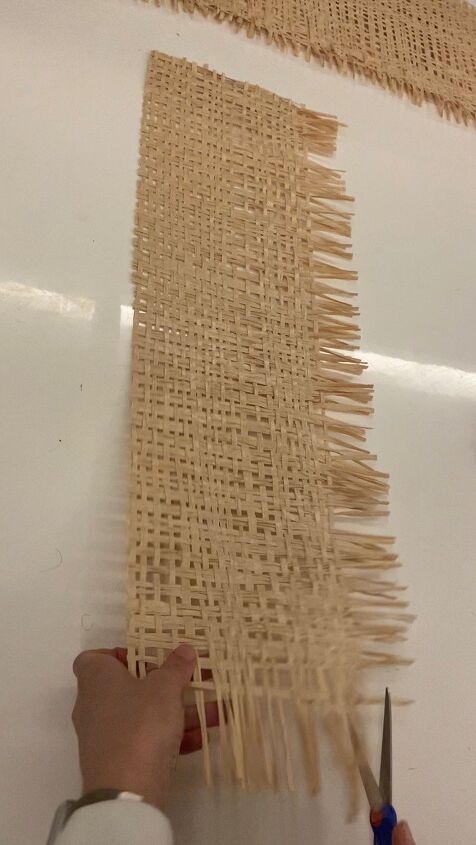
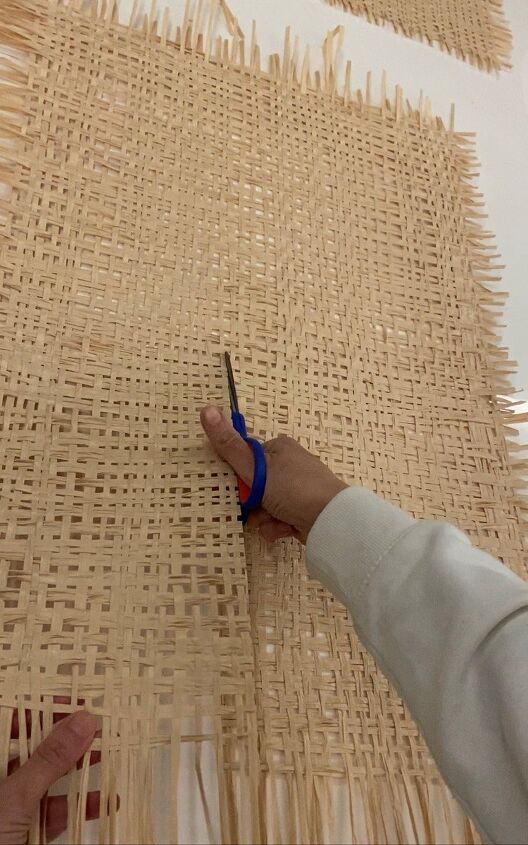
Trim it to be a neat rectangle.
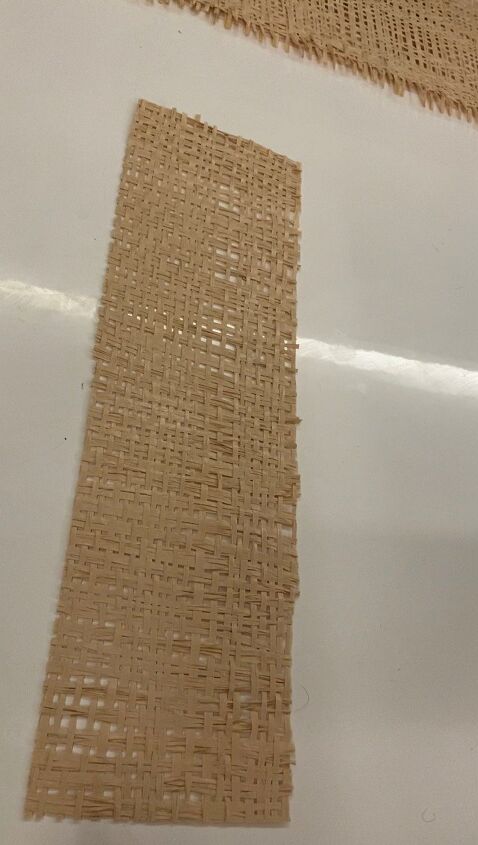
Just like this one.
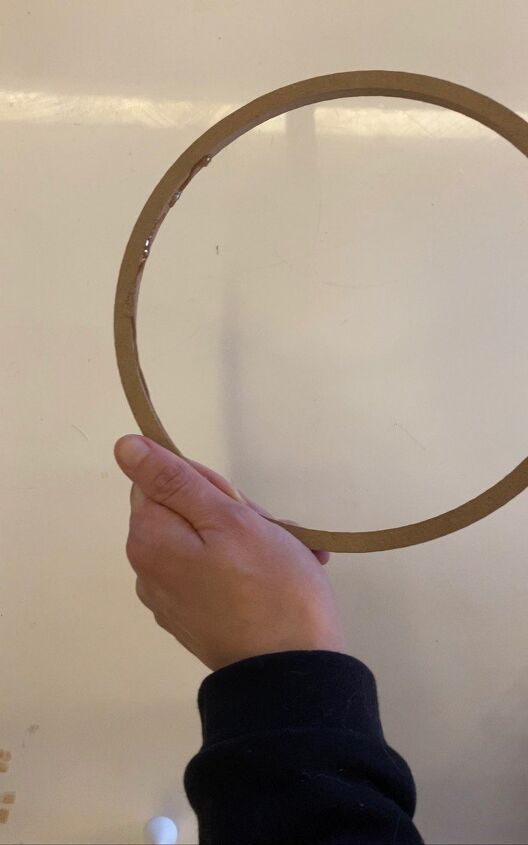
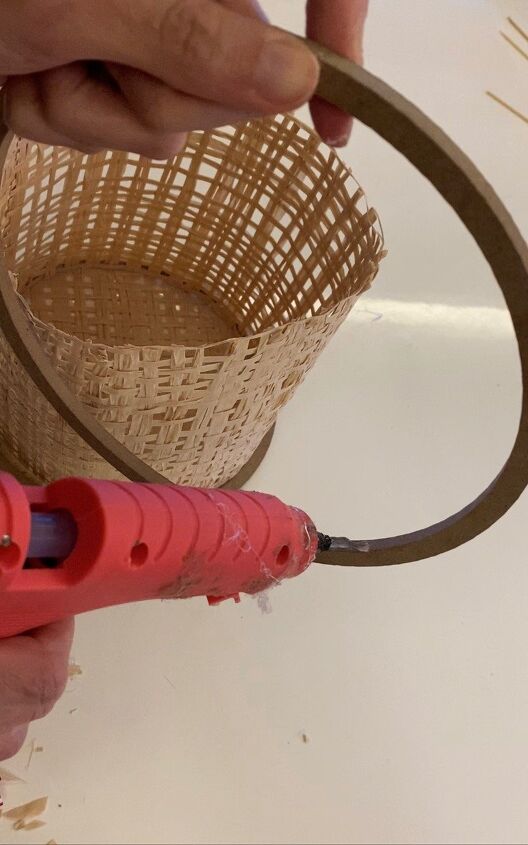
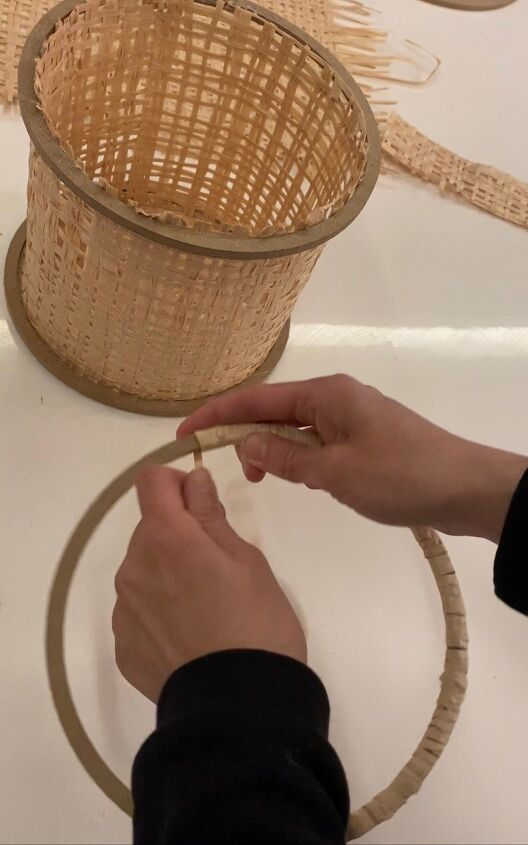
Grab 3 pieces of wooden craft hoop, all same size. (Choose any diameter you like. Mine is 15 cm-6 inch)
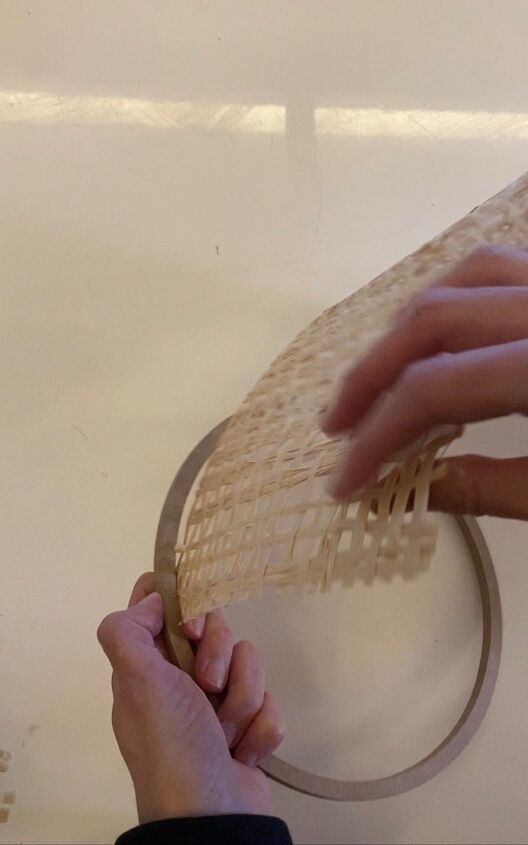
Use hot glue or supetglue to attach woven raffia piece to the hoop.

Apply the glue to the inner part and give it a cylindrical shape.
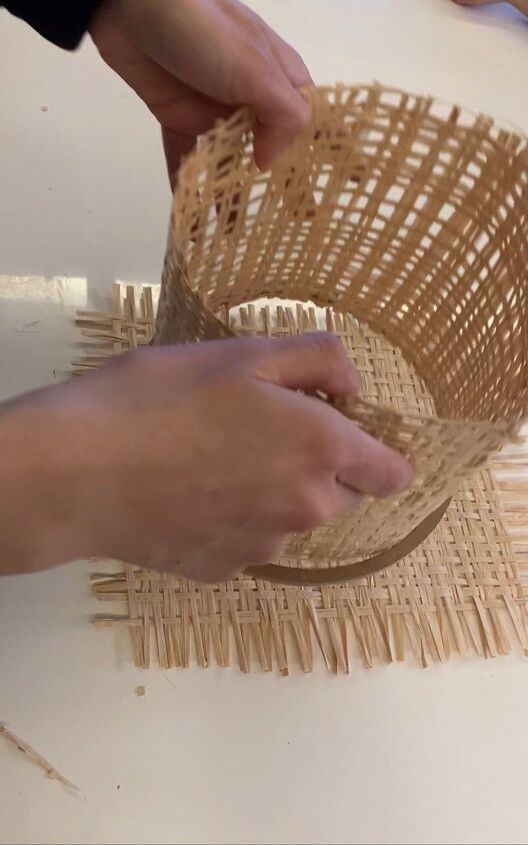
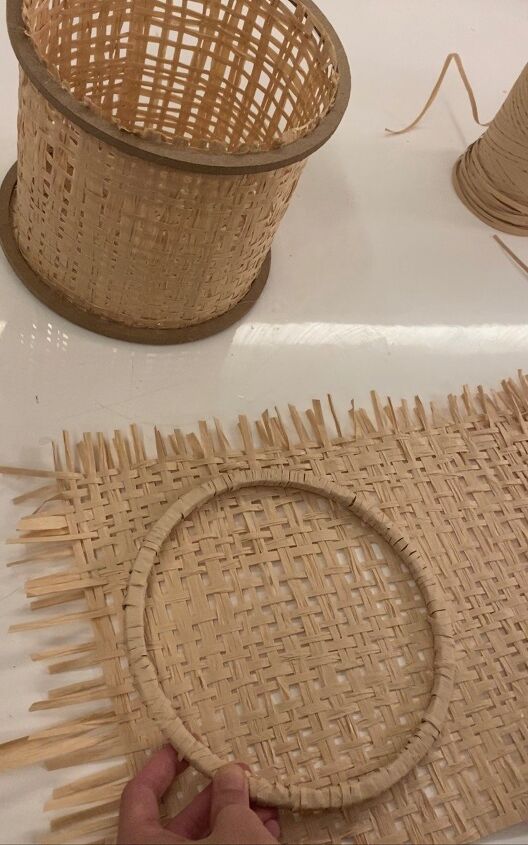
Form the base of the basket, glueing another piece of raffia piece to the bottom. Trim the excess parts.
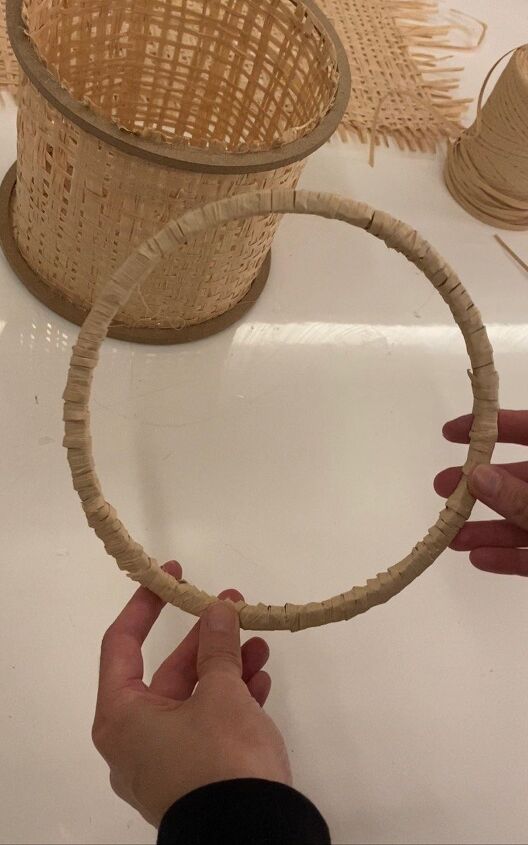
Glue the second hoop to the upper part of the basket.
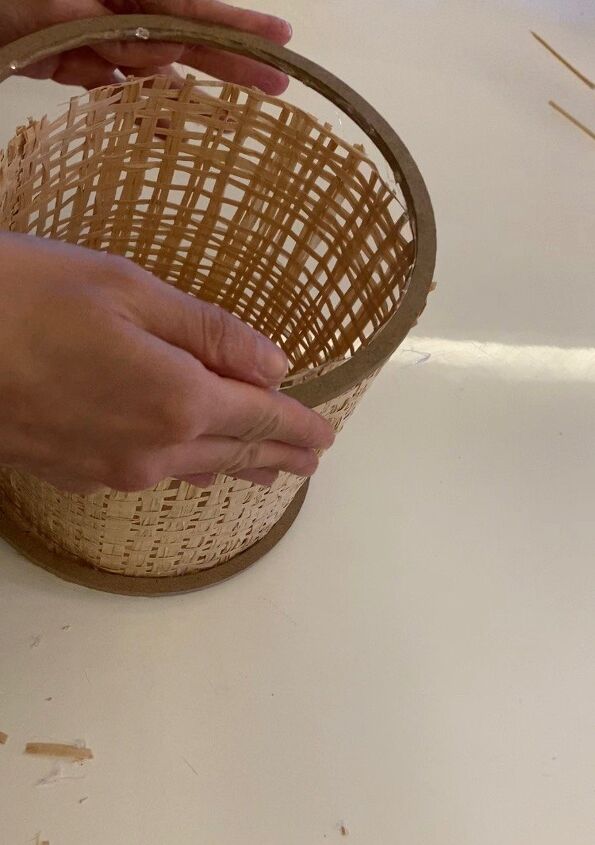
Just like this
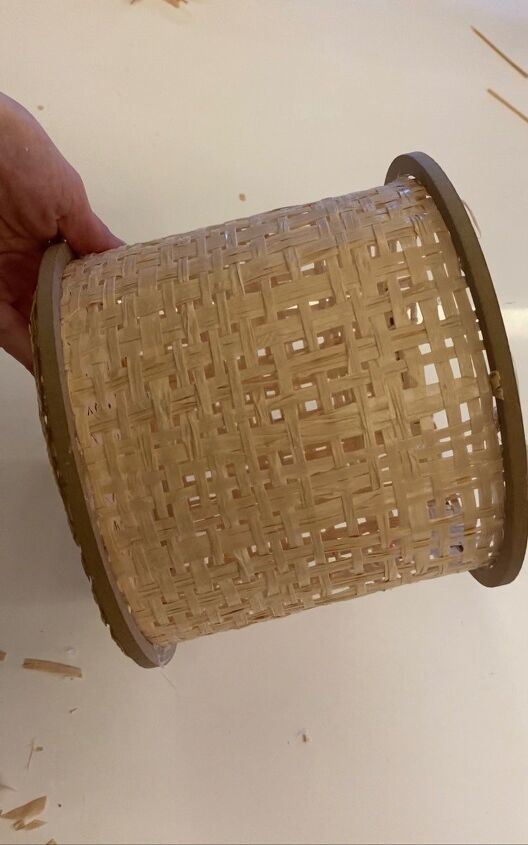
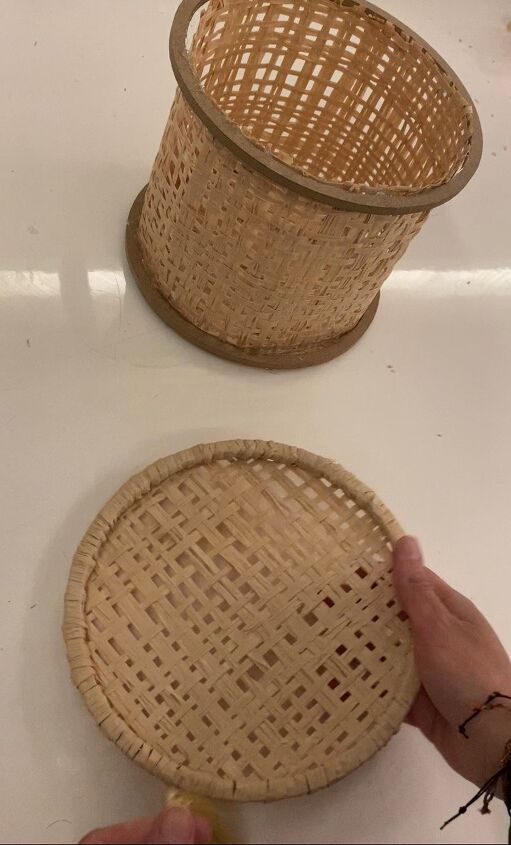
Basket is almost ready wait for it:)
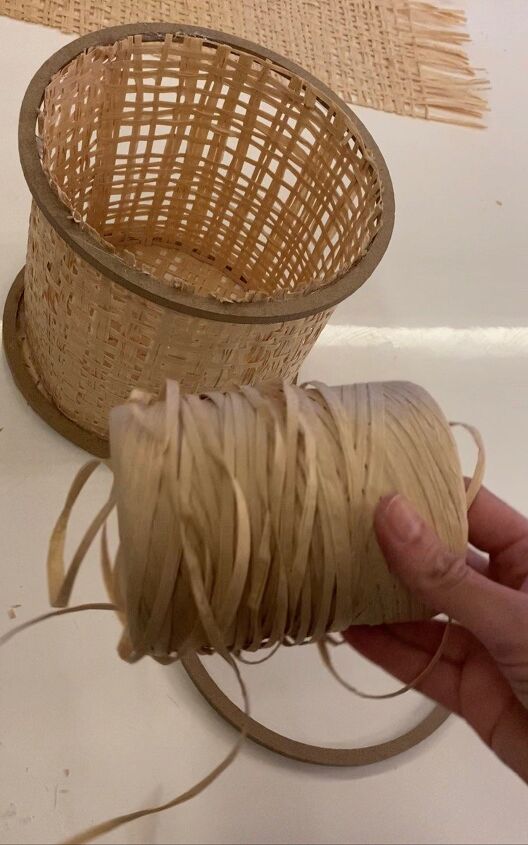
Grab the last hoop and also your paper raffia.
Wrap the raffia around the hoop for making the lid.
It looks nice, isn’t it?
Attach another piece of raffia to the hoop and the lid is almost ready.
Love the way it looks
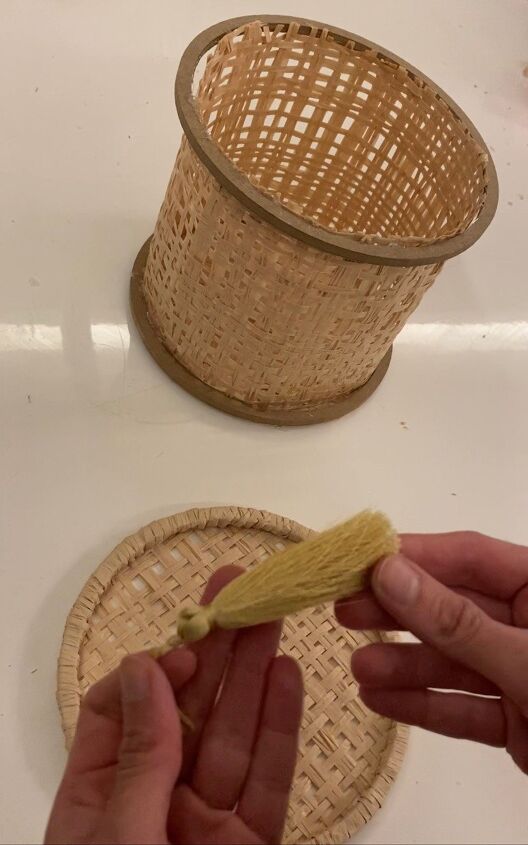
Make a tassel yourself or buy one from the craftstore and attach it to the lid.

Your handmade boho basket is ready to add style to any venue.
You may either use it decoratively as in this photo or …
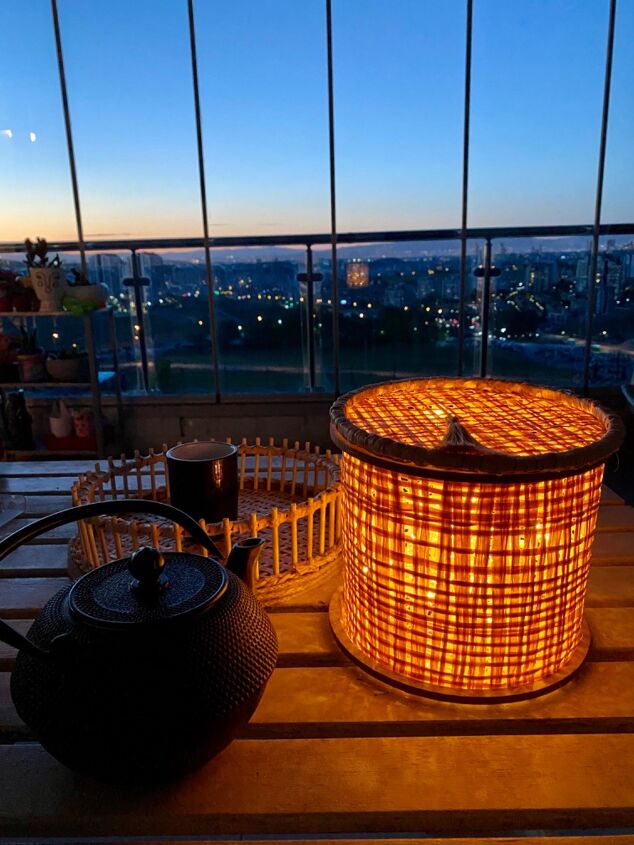
…like this with led string lights.
Do you like this craft? Hope that you like my crafts. Please note that you may watch the video tutorials for all my project at my instagram account @handmade_selen
Resources for this project:
See all materials


Comments
Join the conversation
-
I really love this idea!
-
Neat idea!! I will have to try it!


Frequently asked questions
Have a question about this project?