


How to Make a Cute DIY Fringe Lampshade in a Few Easy Steps

If you love fringe, sass, and color, and you identify as a maximalist, you’re going to love today’s episode on how to make a DIY fringe lampshade. You’ve probably seen fringe lamps everywhere: fringe chandeliers, fringe table lamps, and fringe floor lamps. I love a fringe lamp, but I do not love the price.
So, we’re going to make our own for a fraction of the cost. It’s so easy to do and you can customize your DIY fringe lampshade any way you want.
Table of contents
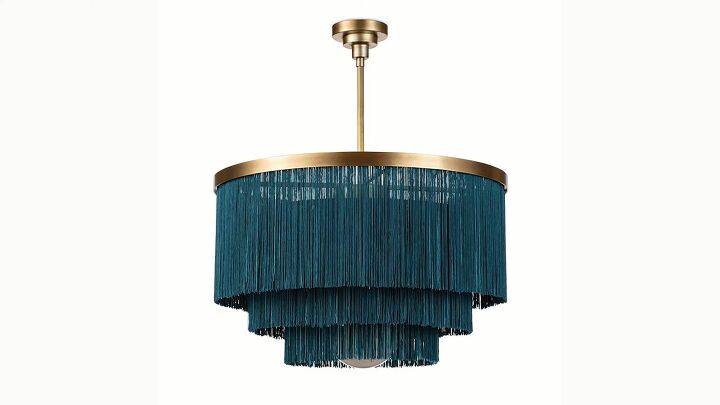
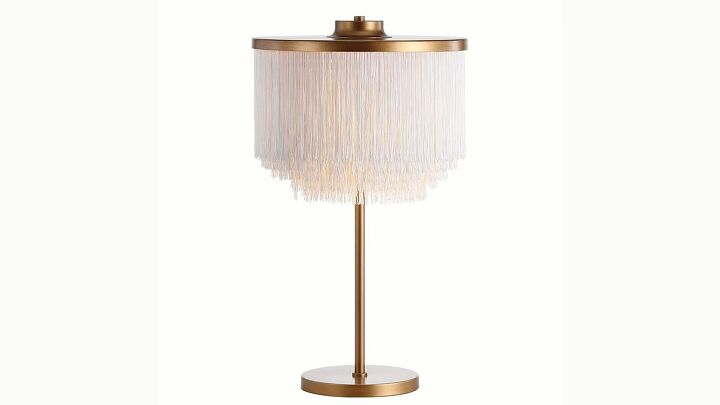
Fringe lamp inspiration

Tools and materials:
- Thrifted lampshades
- Gold fringe
- Gold trim tape
- Scissors
- Marker
- Lighter
- Hot glue gun
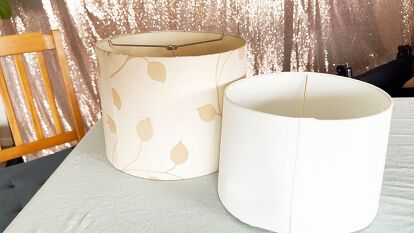
1. Thrift a busted lampshade
For real, these were $8 total.

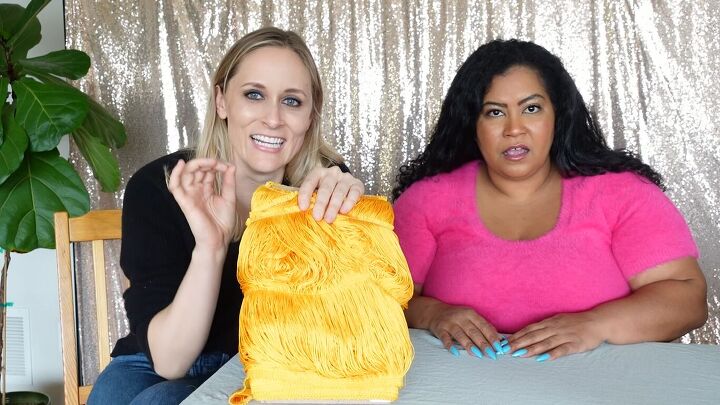
2. Get some fringe
Next, grab some fringe. This is 12-inch fringe in the color Flag Gold I got from Amazon.
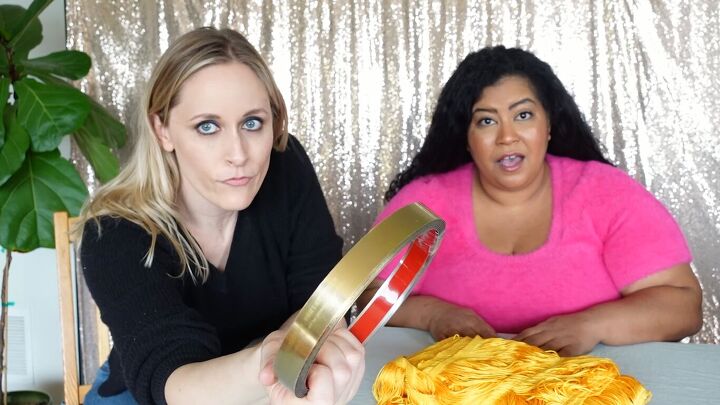
3. Get some gold trim
Finally, get some gold trim. This is a PVC gold tape that you can peel and stick onto anything.
Decorative vs practical
The DIY fringe lampshade we’re creating today is purely decorative, but if you’re planning to put a light in yours, then make sure it has an appropriate-sized hole for the light fixture.
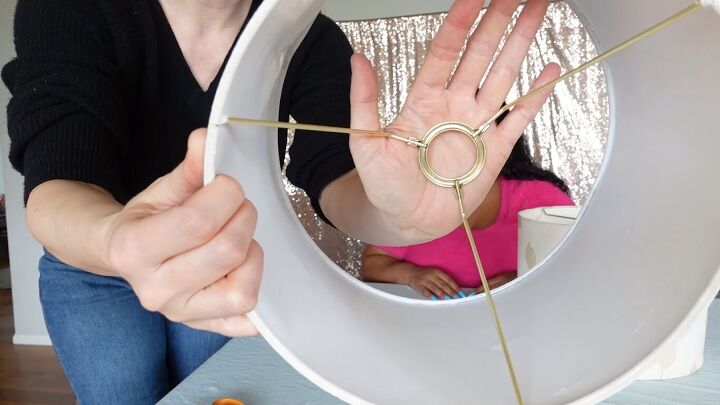
4. Cut off the top
Cut off the top of the lampshade, leaving an inch or so at the top. You can save the bottom for another project.

5. Cut the trim
Wrap the trim around the lamp hoop, mark where you need to cut, then cut to size.
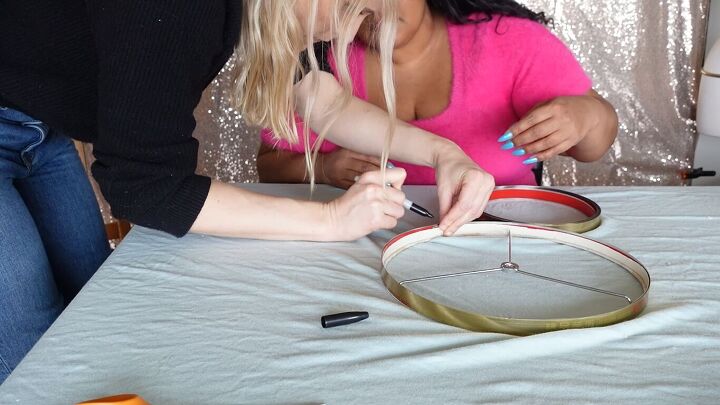
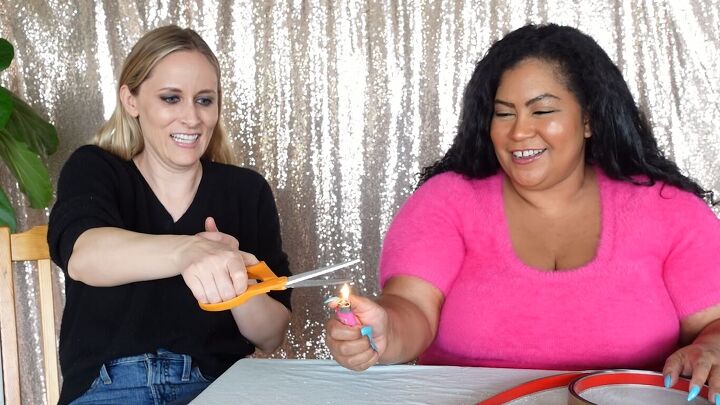
The manufacturer advises that it’s best to heat the blade before cutting this type of metal trim.
Fringe facts
Here are some things you need to know about working with fringe. Fringe comes already made, but it is bound, including at the bottom. It also has a line in the middle that you will pull out, which will release the whole fringe.
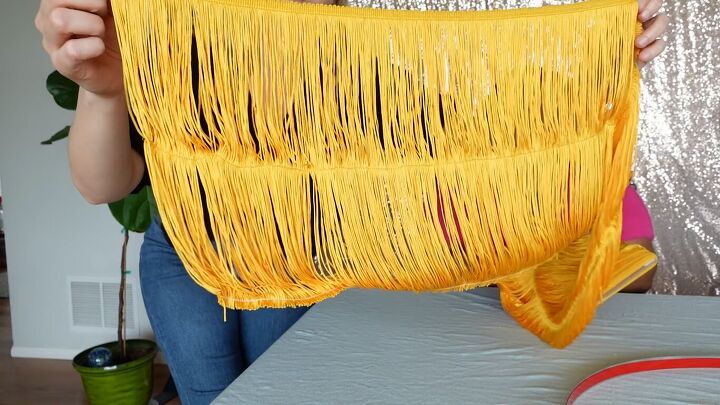
So, when you’re gluing, you want to make sure that you’re gluing the right side, not the bottom that you need to pull out, as well as the correct seam facing out.
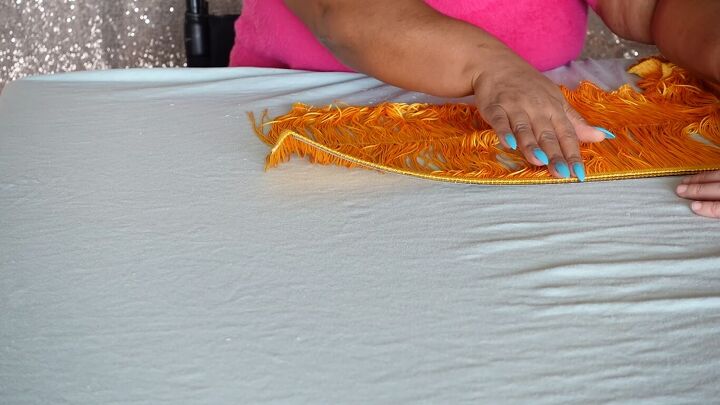
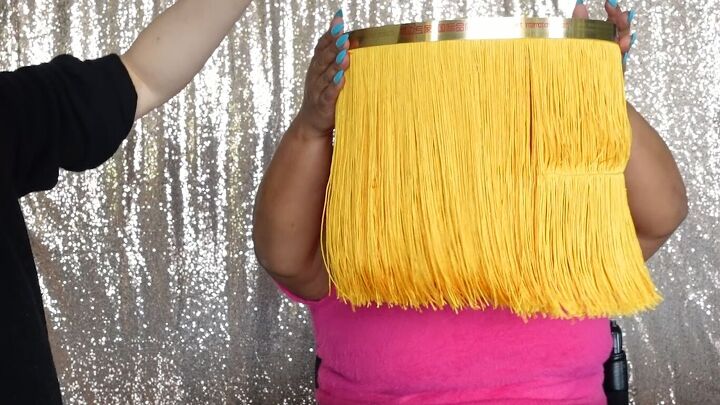
6. Stick the fringe to the trim
Peel the back off the gold trim and stick the fringe to it.
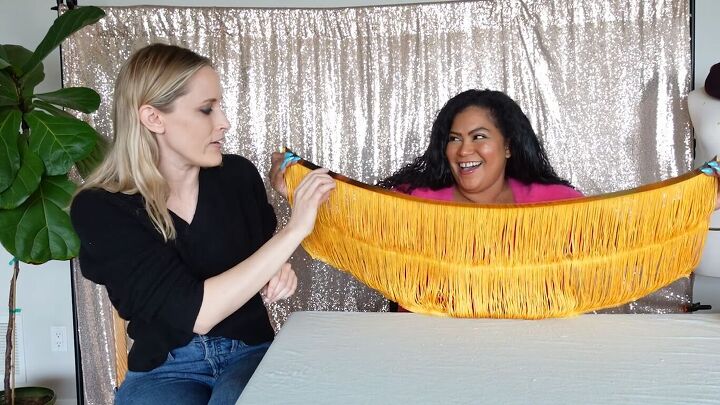
This is what you should have so far. Can we all agree that we would love a dress like this?
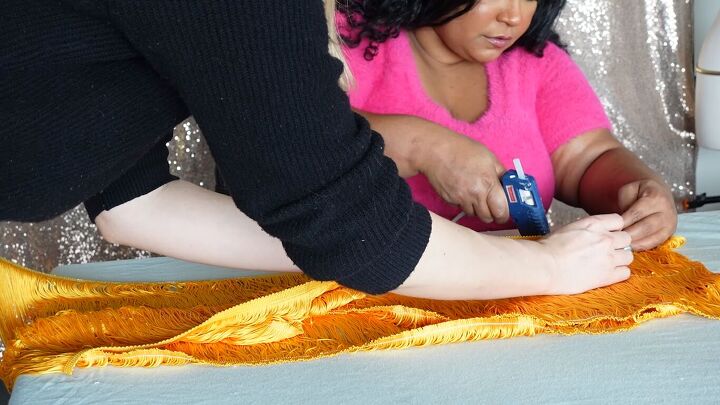
7. Glue a second layer
To get that lush, elegant fall, glue a second layer of trim over the top. This will ensure that the fringe doesn’t look thin and straggly.
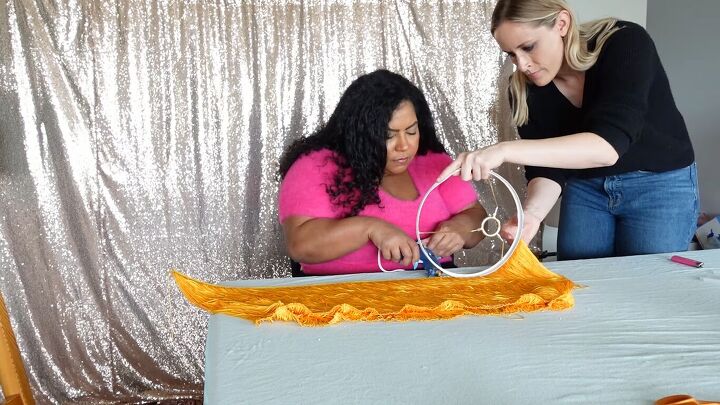
8. Glue the fringe to the frame
Now, glue the fringe to the frame. Apply hot glue and roll the frame across the top of the fringe.
9. Strip the fringe
Next, take out the threads at the middle and bottom to release the fringe. Or, if you like, you can keep the middle thread in for some texture and dimension.
Before and after

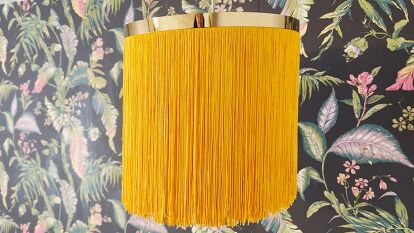
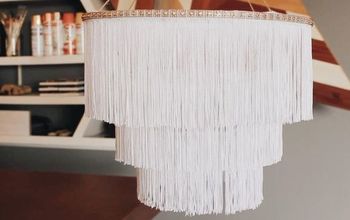
DIY fringe lampshade tutorial
Here’s the finished DIY fringe lampshade! This was so quick and easy to do, and the result is so gorgeous. We’re naming her Symphony because she is just singing to us right now!
What do you think of this simple fringe lamp project? Let us know in the comments section below.
Comments
Join the conversation
-
I have a fabric drapery warehouse near me, I can get fringe really cheap there. Great Idea.


Frequently asked questions
Have a question about this project?