


How to Make a DIY Concrete Bowl Planter
Learn how to make a simple and inexpensive decorative concrete bowl that can be used as a planter or for indoor decor. The rustic appearance goes well with farmhouse, minimalist, modern or boho decor. It also makes a great gift!
Hometalk Recommends!
I’m no stranger to concrete. Years ago, I made a large rectangular concrete planter that I used as an herb garden. This time, I decided to make a small concrete bowl.
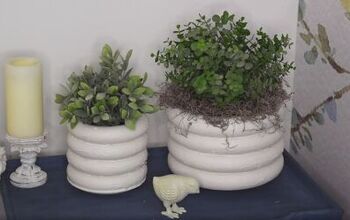
I imagine filling this with moss and styling it on a coffee table or entryway. It would also look great empty on a bookshelf!
If you enjoy gardening, check out my DIY Mailbox Garden.
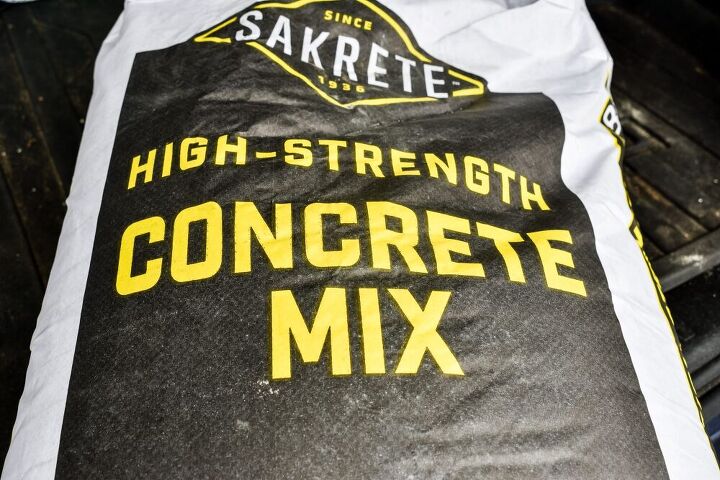
Let me first gush over how cheap this concrete bowl is to make! This 80 pound bag of concrete set me back only eight bucks!
I made two versions of this project…the first was a “craft fail”, so you get to learn from my mistakes!
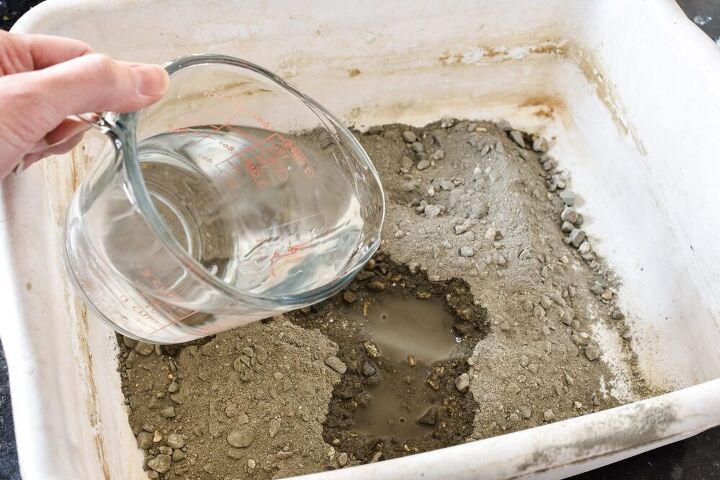
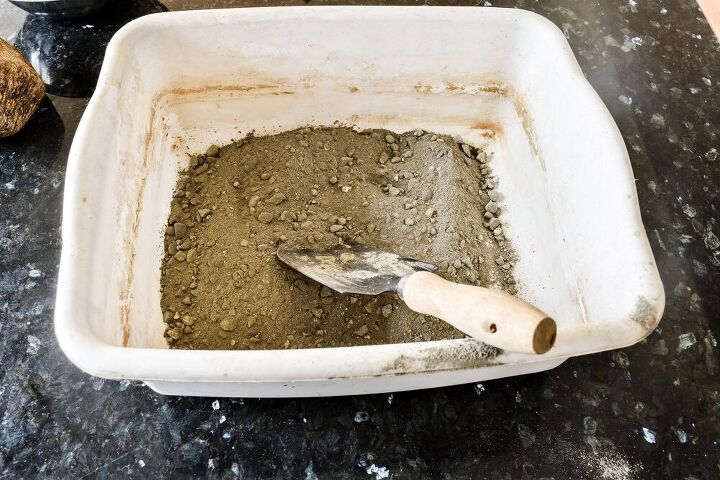
First, you’ll add water to the concrete. Be sure to wear a mask so you don’t breathe in the dust.
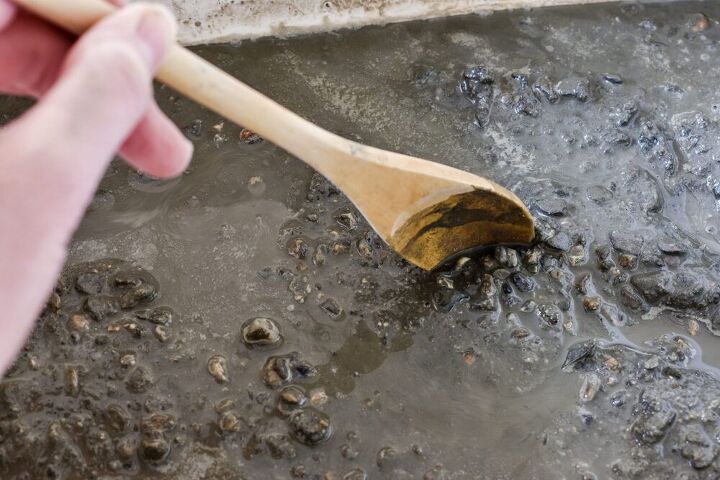
Then, mix the concrete until it’s the consistency of pancake batter. You can add less water if you a prefer a “chunkier” texture to your concrete.
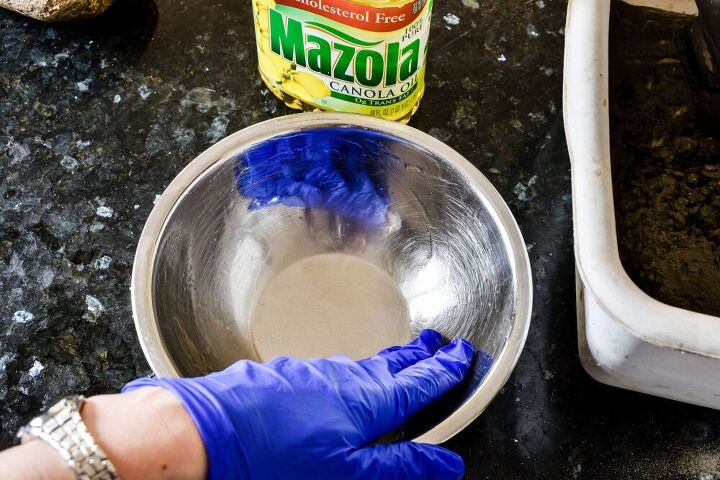
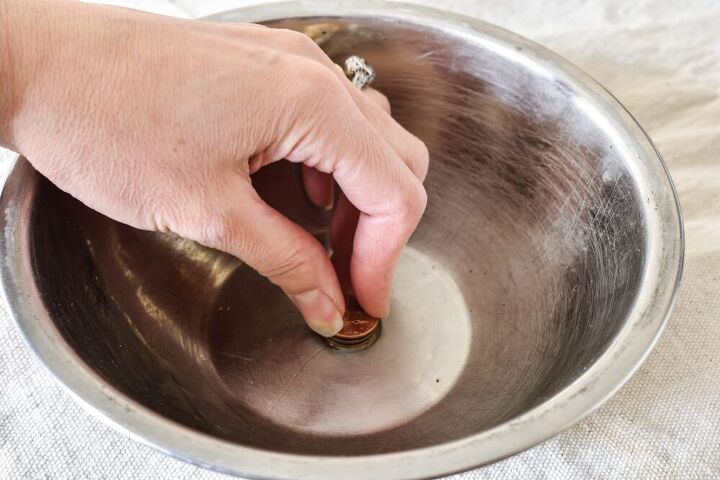
Grease the inside of the large aluminum bowl and the outside of the small bowl with vegetable oil.
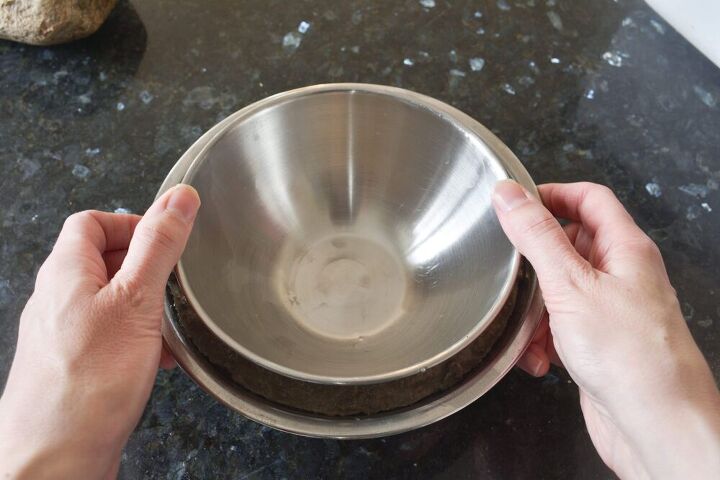
Fill the large bowl about 3/4 full with mixed concrete and put the small bowl on top.
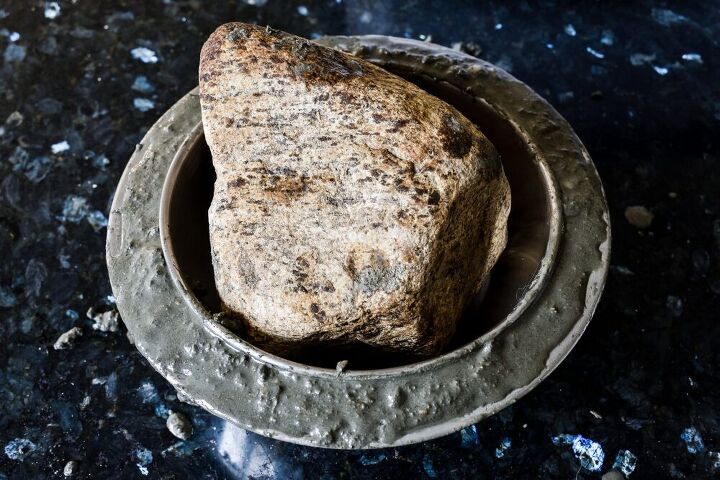
Put a large rock in the top bowl to weigh it down.
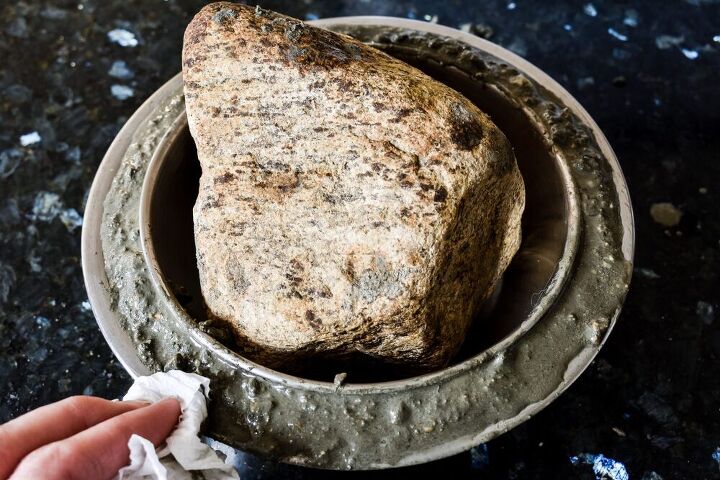
Wipe off the excess concrete with a paper towel.
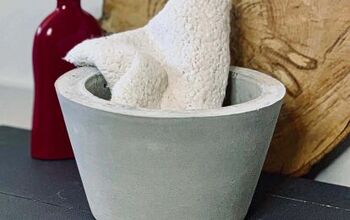
Set aside to cure for 48-72 hours. The concrete bag said 24 hours, but when I removed the bowls from the first project after 24 hours…
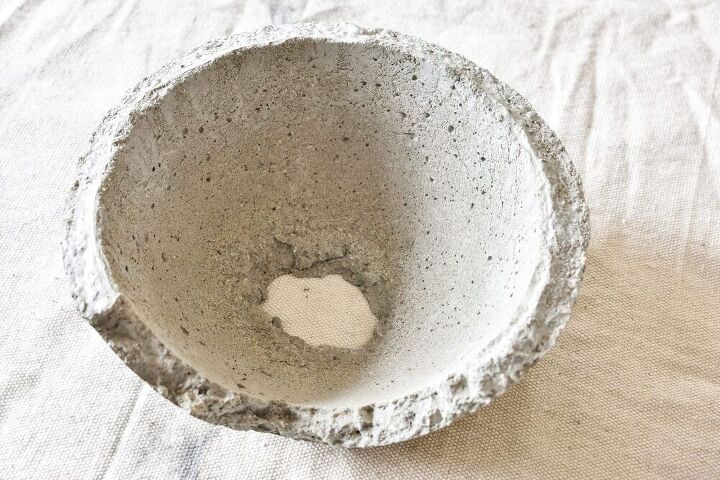
This happened! I was so bummed out. Not only did part of the concrete break apart, but there was a large hole in the bottom.
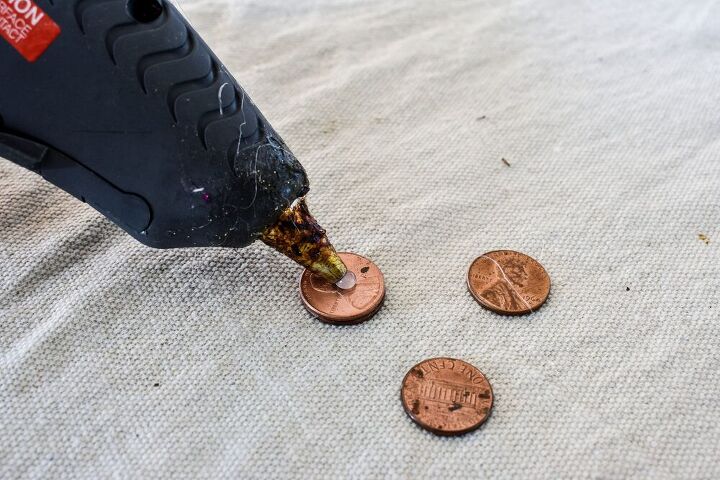
My husband had a great idea. He suggested that I elevate the bottom of the small bowl with pennies. So I hot glued three pennies together.
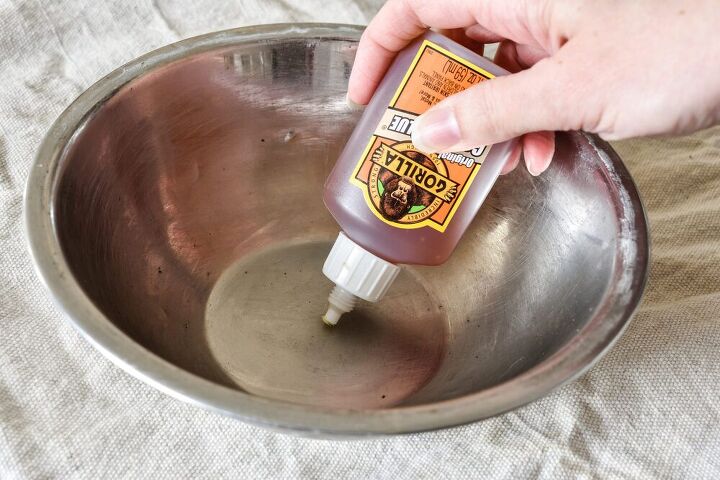
Then I glued them to the bottom of the bowl with Gorilla Glue. You’ll need to wait another 24 hours for the pennies to fully bond to the bowl.
This step will allow enough concrete to get under the bowl so it will have a sturdy bottom (and no big hole!) Instead, it will create a small drainage hole.
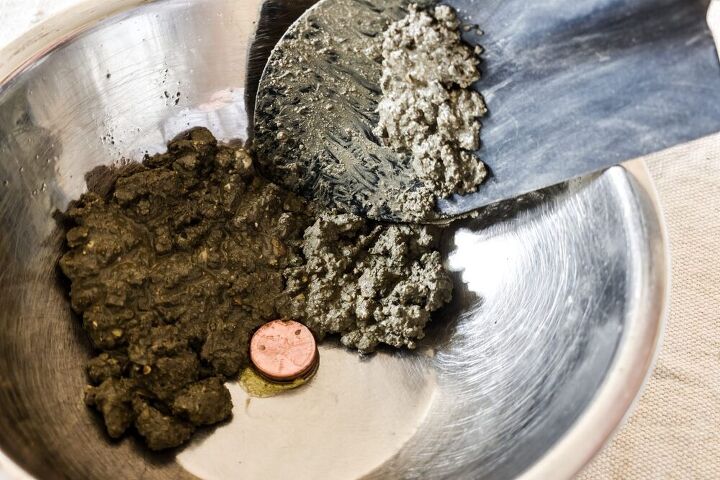
This time I used less water when I mixed the concrete. The result is a “chunkier” concrete. If you like it smoother, use more water.
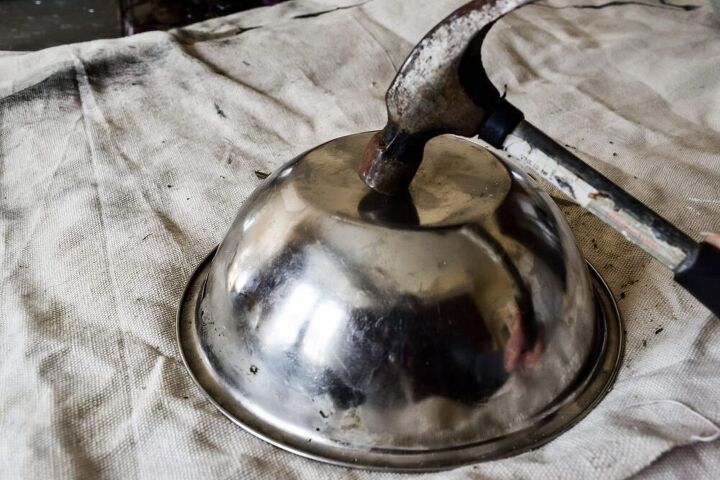
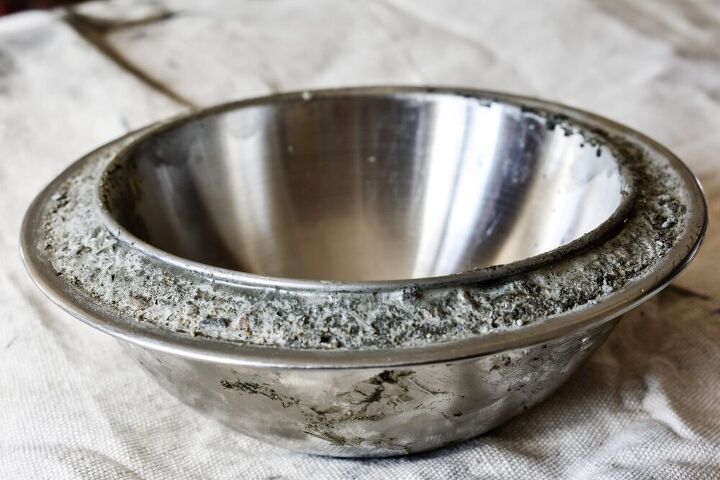
Now for the fun part, removing the aluminum bowls! I tapped them with a hammer all around.
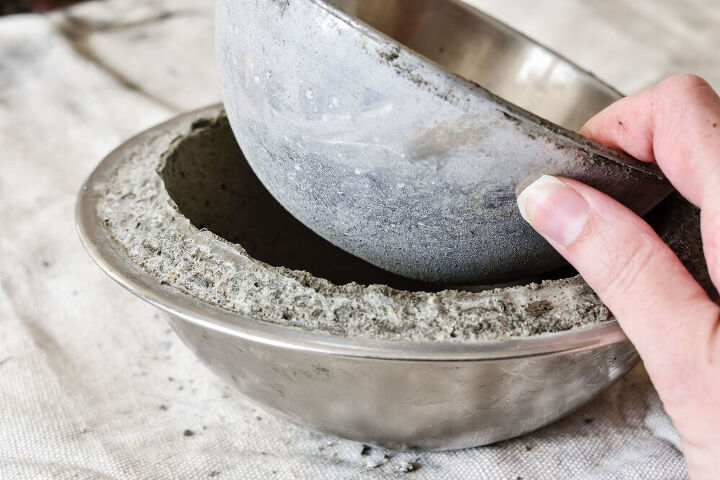
The bowls actually lifted out quite easily!

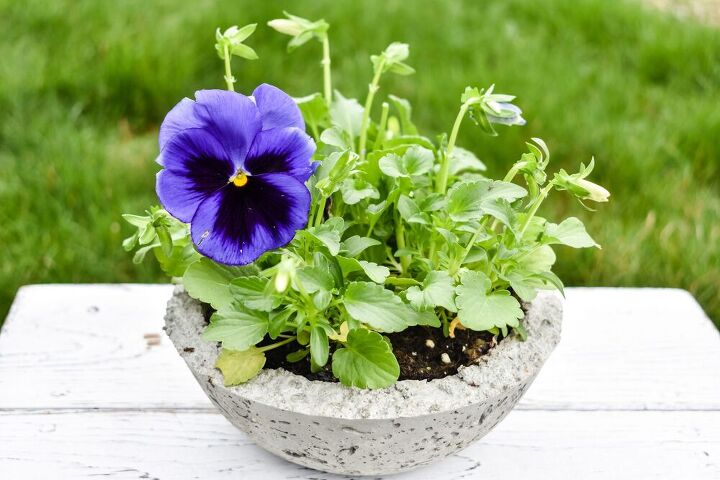
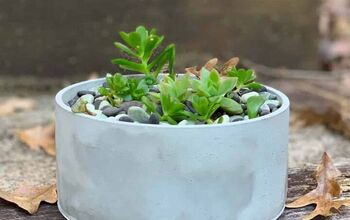
Voila! I’m so happy the second try was a success!
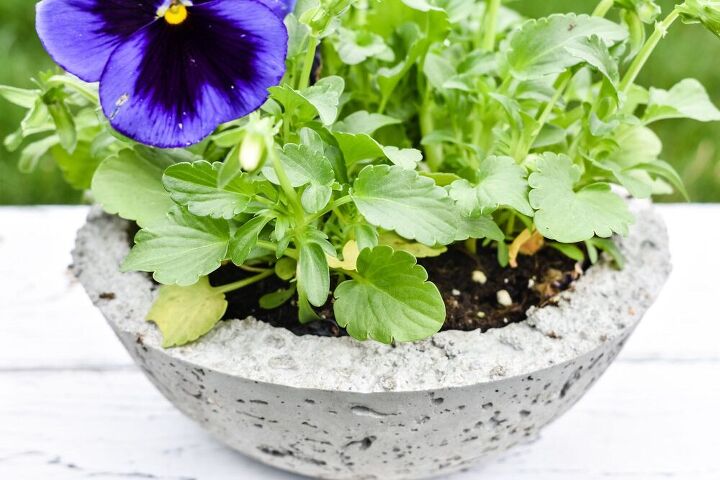
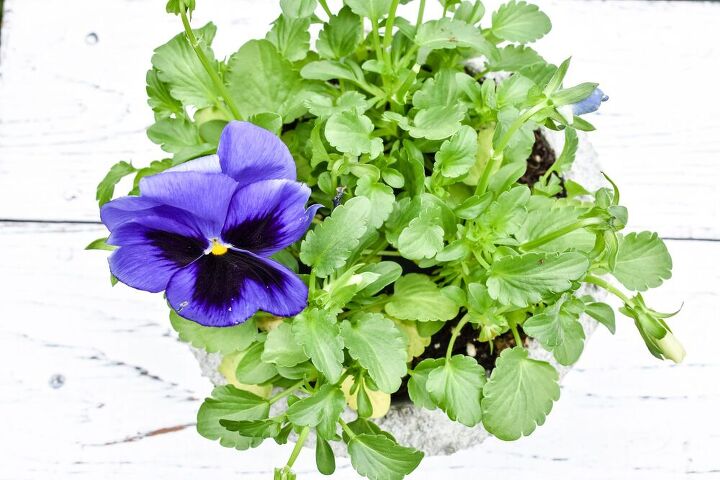
I couldn’t wait to fill my concrete bowl planter with spring pansies!
For more craft and home decor ideas, check out my blog!
Resources for this project:
See all materials


Comments
Join the conversation
-
Use Vaseline to coat the inside bowl. It will help it come out the mold easier.
-
I think you meant to say glue the pennies on to the larger bowl. If it were in the smaller bowl it wouldn't make a difference because no concrete goes into the smaller bowl


Frequently asked questions
Have a question about this project?
Does the concrete residue easily come off the bowls you use for making the concrete bowl?
Nice little bowl and the pennies work well. Thank you for sharing your "mistakes" also. Did you try to build up the side with more cement and to close the large hole. Cement / concrete is very porous and unlike ceramic or plastic containers wicks out water fast. I was thinking to also use a short piece of pipe for the drainage hole and to put a small piece of construction fabric over the drainage hole to help slow the drainage of soil. You can also use cooking spray as a release agent.
For those of you who would like a smoother texture and not have the pebbles in their cement Rapid Set Cement All is a great alternative. Also you may have to "cure" your pot over a weeks time to get rid of the lime in the cement. Some plants do not like lime.
https://www.google.com/search?client=safari&rls=en&q=how+to+cure+home+made+cement+flower+pots&ie=UTF-8&oe=UTF-8
Could you use plastic bowls??