


How to Make an Armature To Provide Support for Your Silk Arrangements
Looking for a way to help your silk arrangement stay secure in your bowl or container without using florist foam? Let me show you what I used!
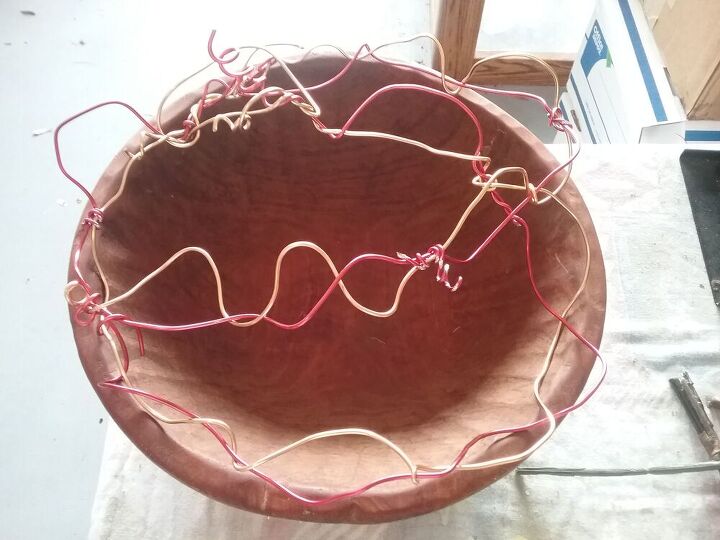
Finished Armature
This is an example of what your wire armature will look like . A wire armature will add support to your arrangement by helping keep the stems in place . Unlike working with floral foam, you don't have to worry if the mechanics show. Since it is made of decorative aluminum wire, it also adds interest to the arrangement.
For my arrangement, I chose a round wooden bowl. The armature can be designed to fit any container: bowl, box, basket, ceramic. The possibilities are endless. Choose your container before getting started as you will need to shape the armature to fit the container!
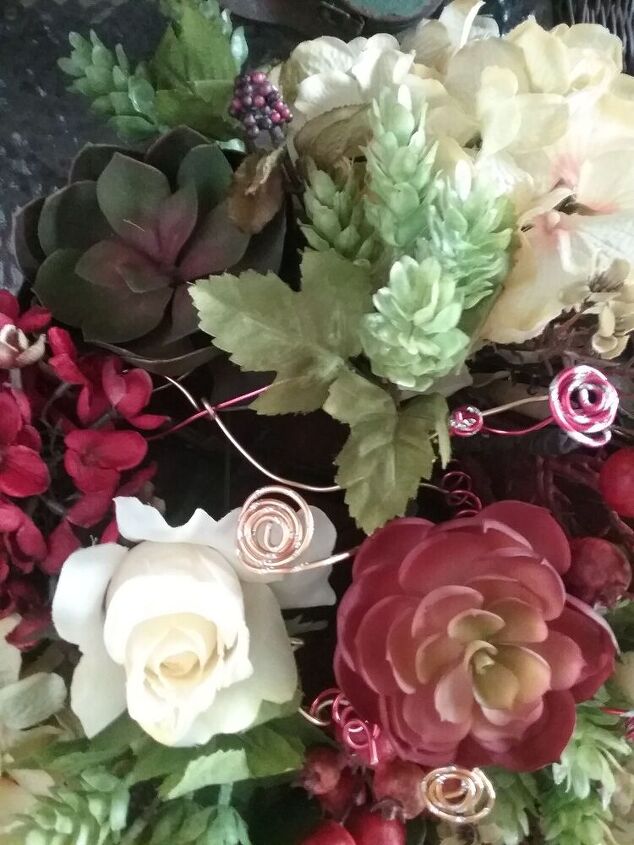
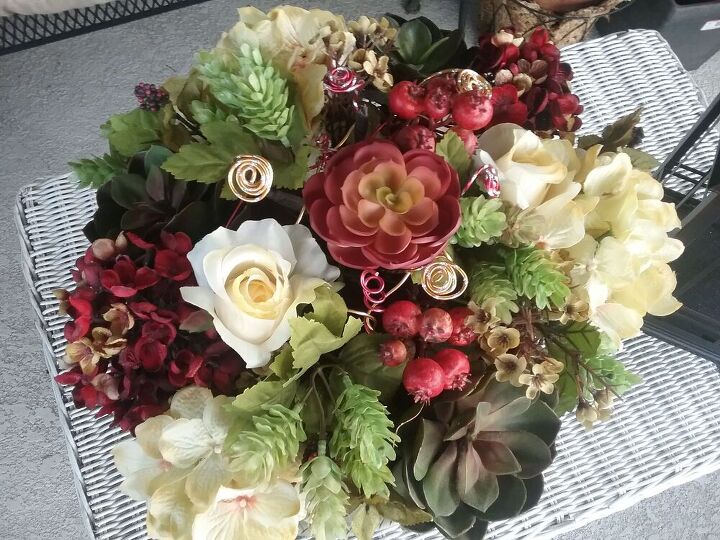
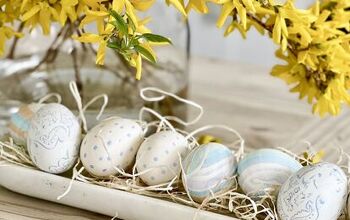
Sneak peek of finished arrangement to see the armature!
The armature is easy to make. I used two colors of Oasis Decorative Wire to make the armature. I used gold and red for this project but it comes in many colors. I chose colors that coordinated with colors of the flowers I was planning to use.
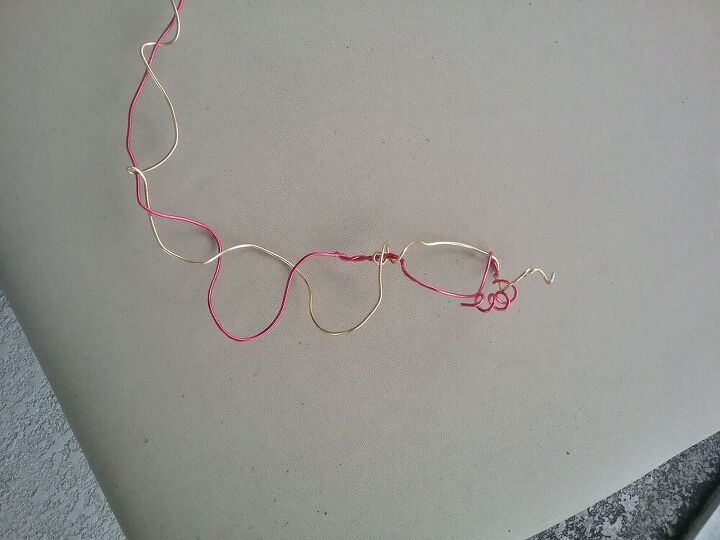
The aluminum wire is very malleable. You will need needle nose pliers to cut it and to make the circles that will be described later . Once you have chosen your bowl or other container, you will want to cut off a piece of wire approximately 1 1/2 time the diameter of the bowl. I cut a piece of wire from each roll of wire and then worked them together to form the armature by bending and twisting. The armature is very free form so there is no wrong or right way to do it.
I used a pen and twisted the wire around it to get the cork screw technique on the end.
The finished armature will be dome shaped. As you are shaping it, periodically place it in the bowl to see it looks. For my armature, I wanted it to fit loosely just inside the bowl.

A few of the flowers that I selected. I also used berries, a few faux succulents and an another filler.
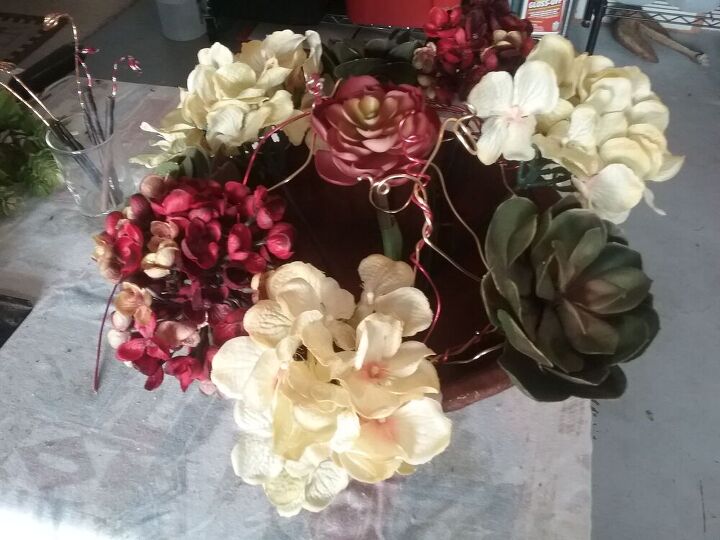
Once you have the armature like you want it, you will begin placing the stems along the edge of the bowl . Place the stems between the pieces of wire in order to secure them. I started with the placing the three green succulents.
Working around the perimeter of the bowl, add your large cream hydrangea heads next. Then fill in with the rest of the stems, placing the stems through the wire as much as possible.
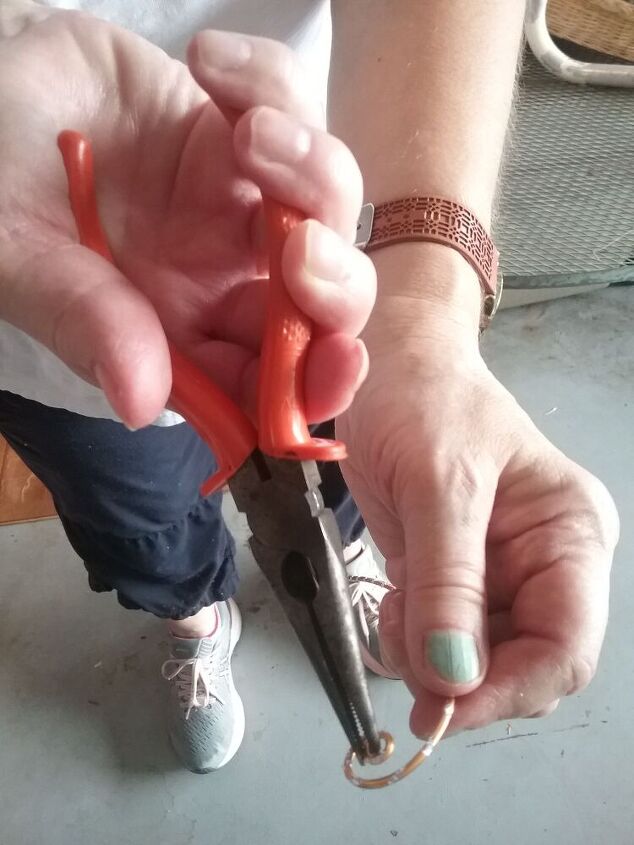
The finishing touch is the addition of the circles made out of Oasis Diamond Wire. In order to make the circles, you will need your needle nose pliers and a piece of Diamond wire.
By grabbing the tip of the wire with your pliers, you can bend the wire in a circular shape. You can make the circles as big as you would like. I made these about the size of a quarter. In order to make them a little longer, I used floral tape to attach them to a cowie pick or wood pick.
The wire circles can be placed in your arrangement where ever you think they look best!
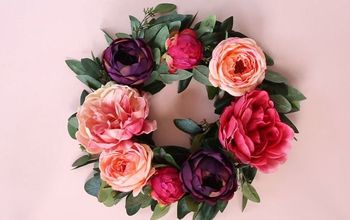
The finished arrangement almost looks real, doesn't it! It looks wintery enough you could leave it on display through Valentine's Day.
Resources for this project:
See all materials


Frequently asked questions
Have a question about this project?