


How to Make Cement Coasters With Pigment Dye

I love the look of cement coasters and I’ve been wanting to give it try myself. I also have been doing a great deal of tie dying and I wanted to see how the pigment powders reacted in the cement. My first adventure with it had several failures but that just made for some happy accidents.
A short video of the process.
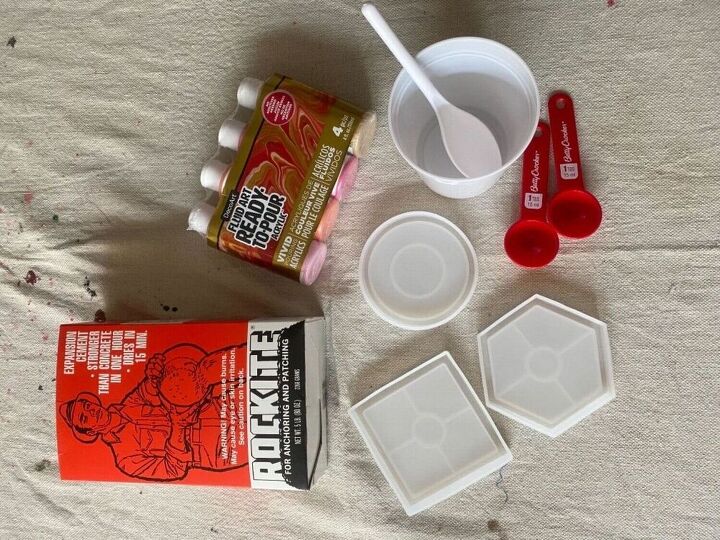
Round one… I used Rockite cement mix. This stuff is the bomb… but be careful with the powder/dust. Wear a mask… and I suggest doing it outside. I have 3 silicone coaster molds, tablespoons; one for water and one for cement (that are strictly cement use only now) and container with a mixing spoon.
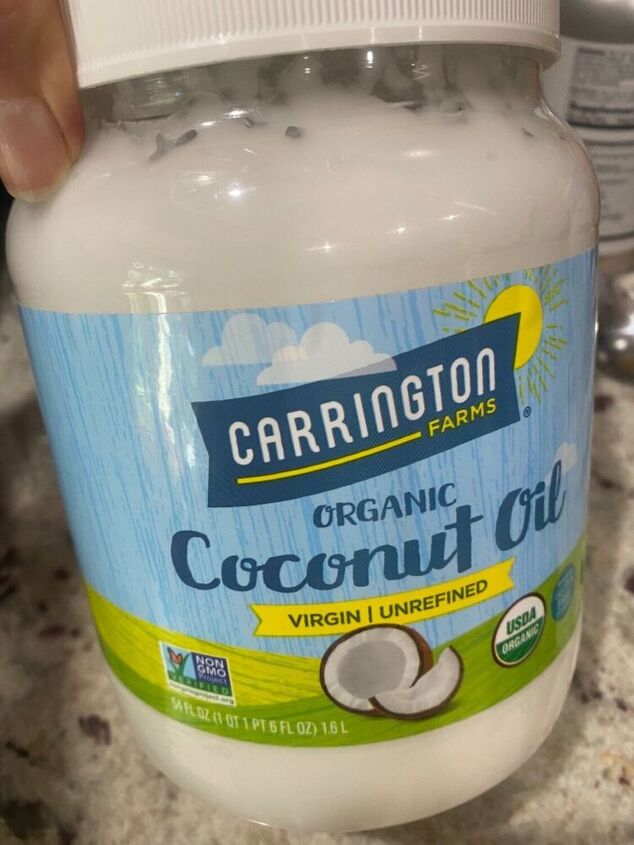
I melted some coconut oil and greased the molds with it. This might be unnecessary, but I didn’t want to take any chances.
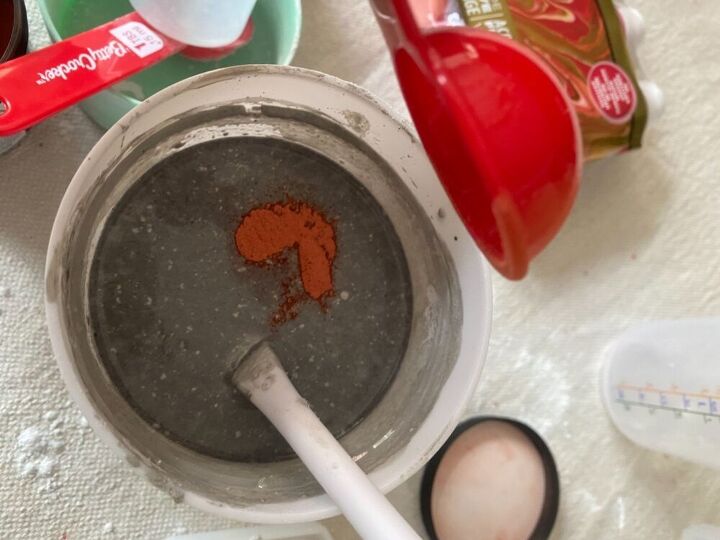
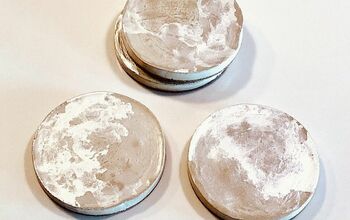
I won’t bore you with all the details of this batch but here are some highlights. I added the pigment powder to the cement and water mix. This produced a very subtle coloring.
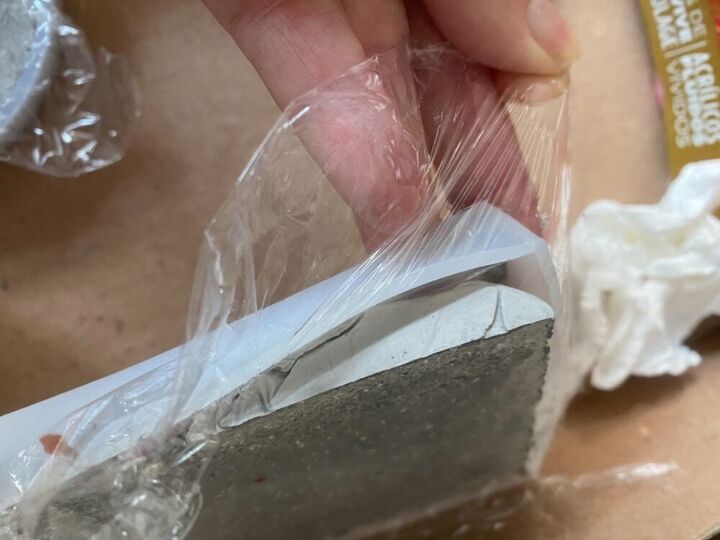
I also lined the molds with plastic wrap. Unnecessary but a happy accident, as it created very cool patterns in the cement.
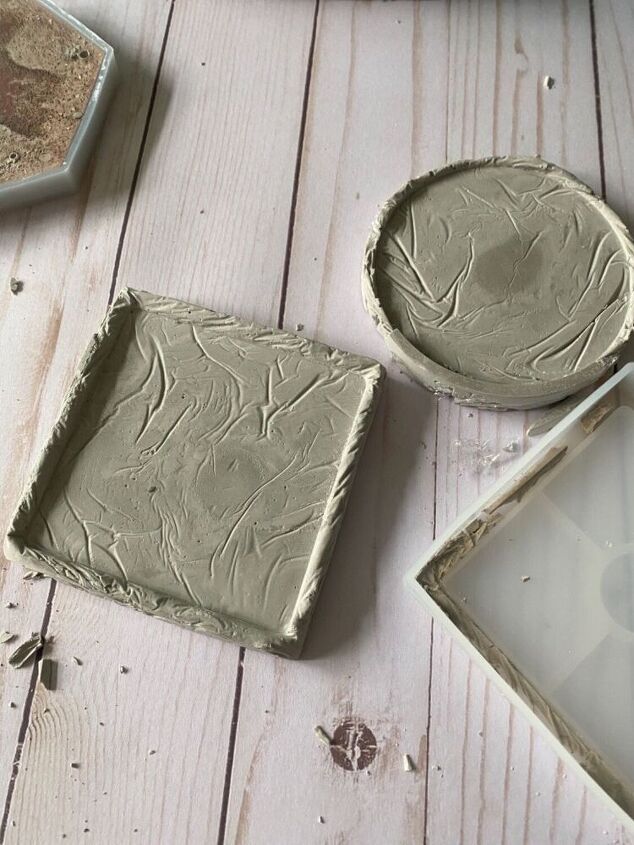
Pretty cool texture, right? I am definitely going to use this texture again in the future.
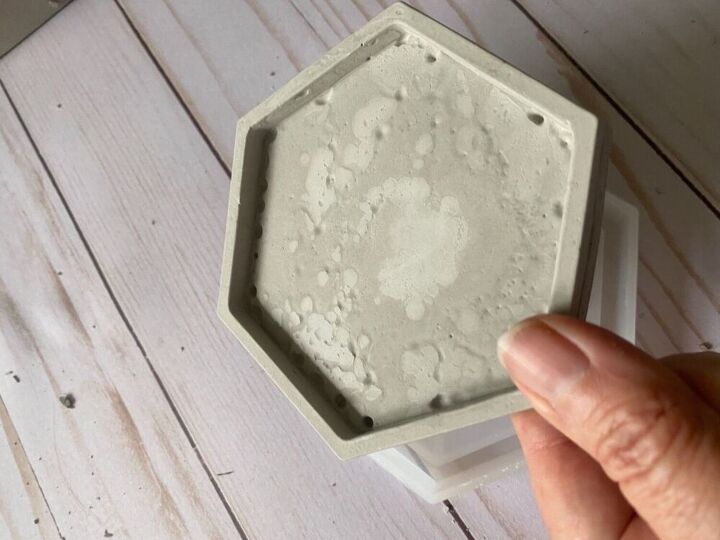
This one I didn’t use plastic wrap but it had bubbles.
So let’s try this again..
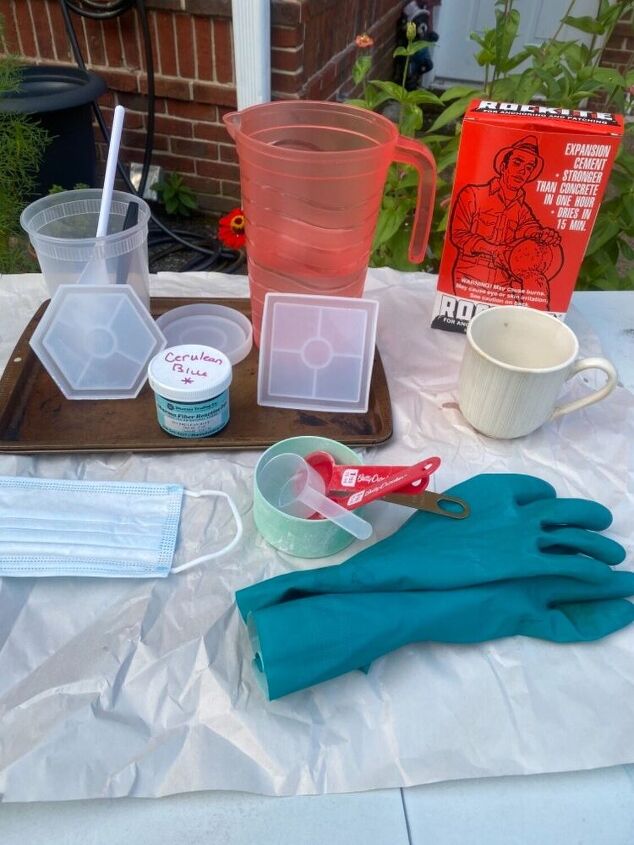
Basically the same supplies plus a mask and gloves.
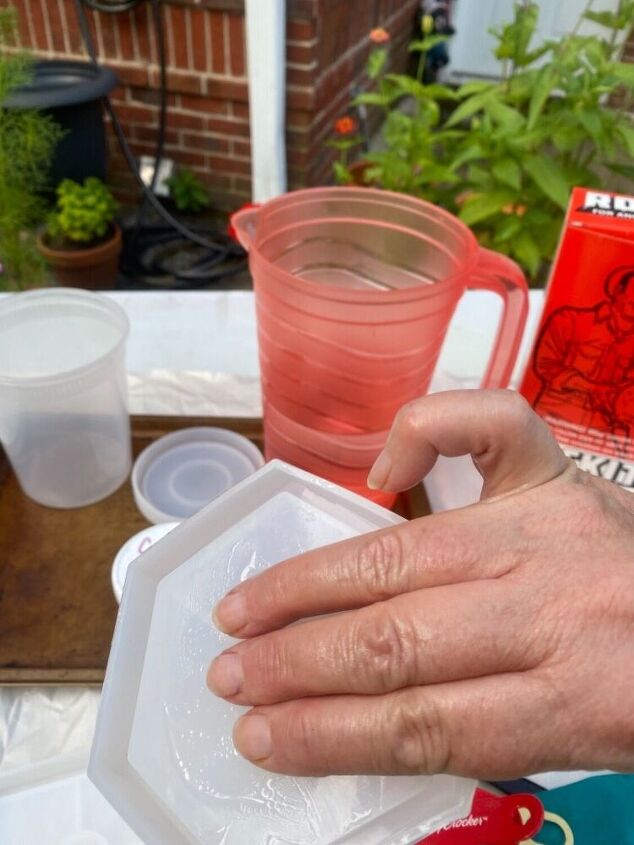
I oiled the coaster mold.
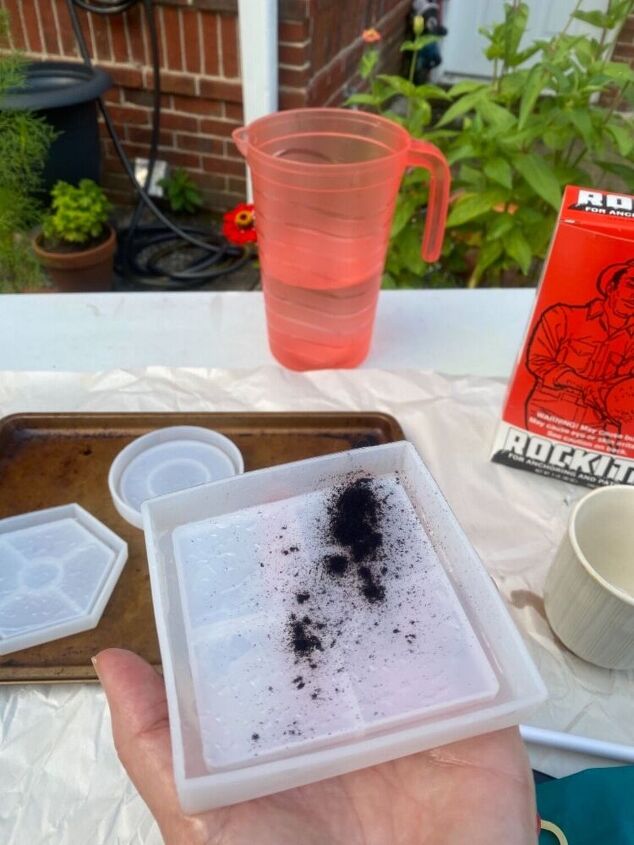
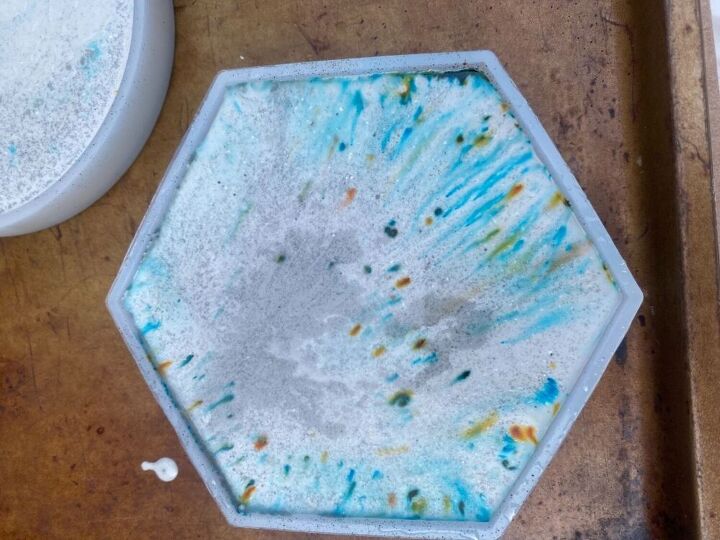
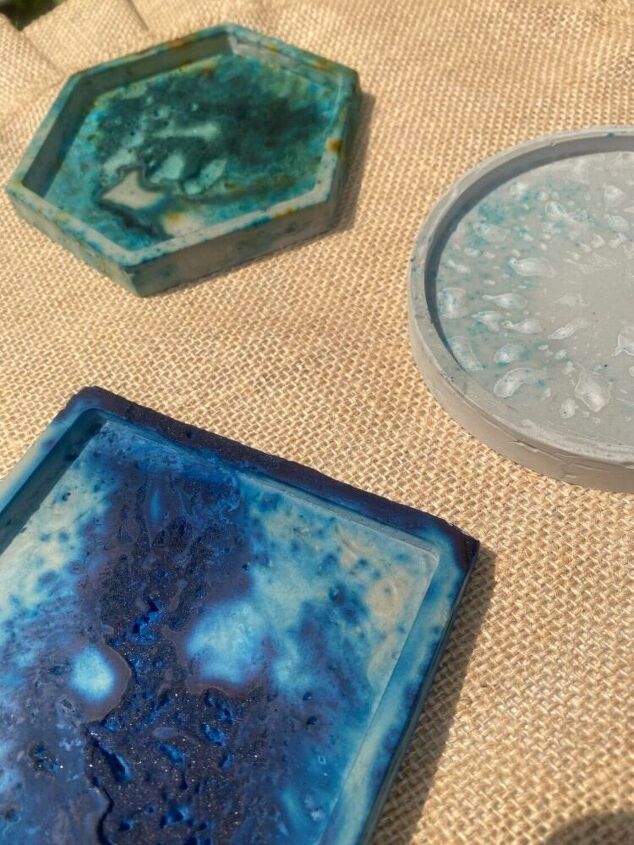
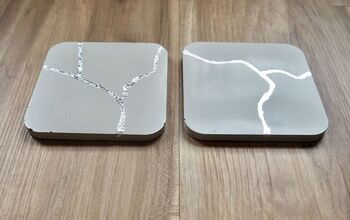
This time I put the pigment powders in the molds. This is a deep blue.
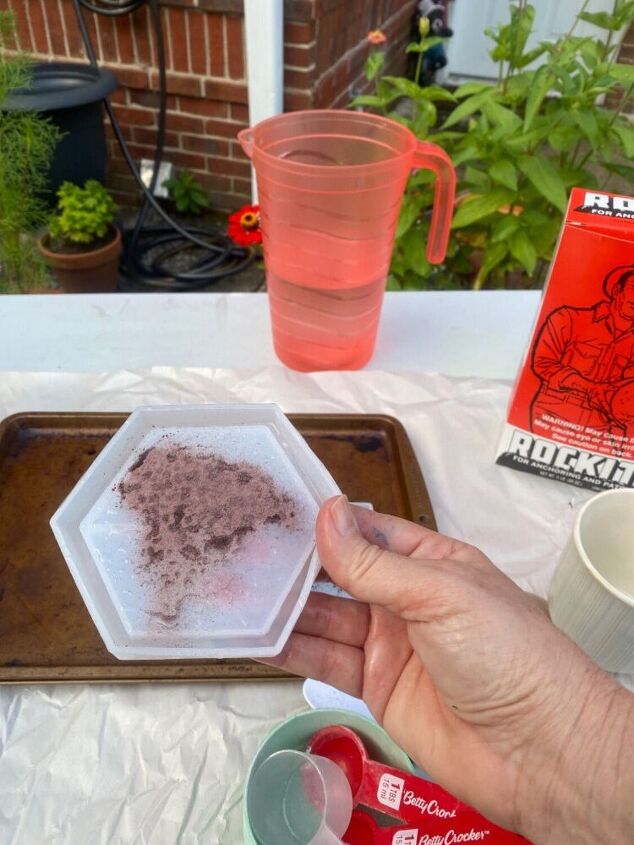
I know it doesn’t look like it, but this is Wasabi green. Now you don’t want it this deep. Light sprinkles…
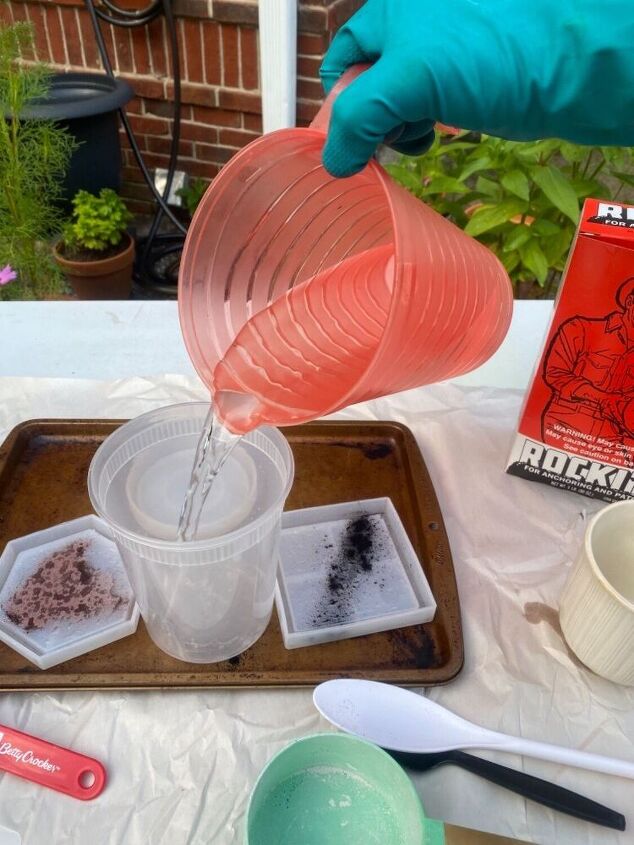
Last time I started with the cement powder and added water. This time I started with water and added the cement powder. Either way works. It is slightly more the 2 to 1 ratio. Slightly more than twice as much powder as water.
This sets up quick too so work fast. You probably only have ten minutes.
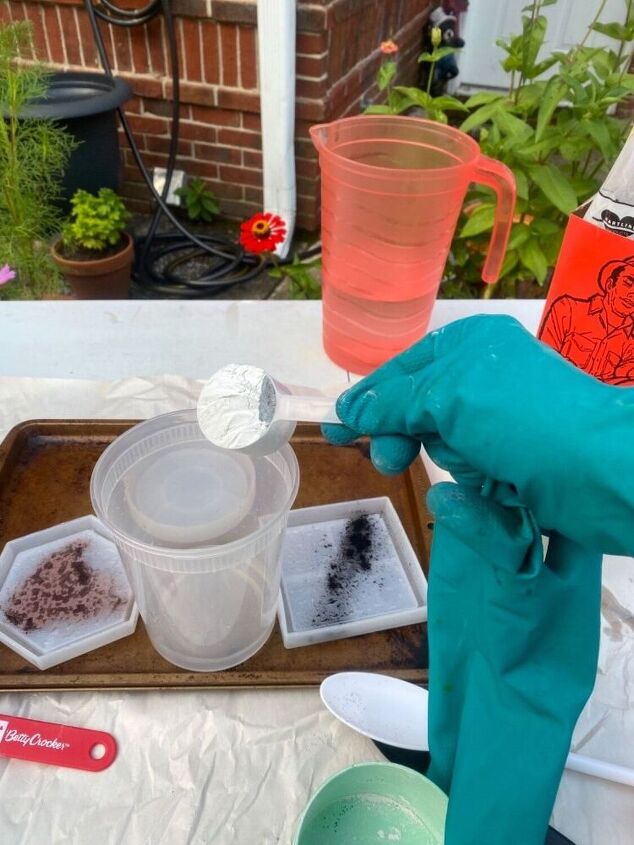
I have the patience of a two year old, so I added the cement by the scoopfulls instead of by the tablespoons.
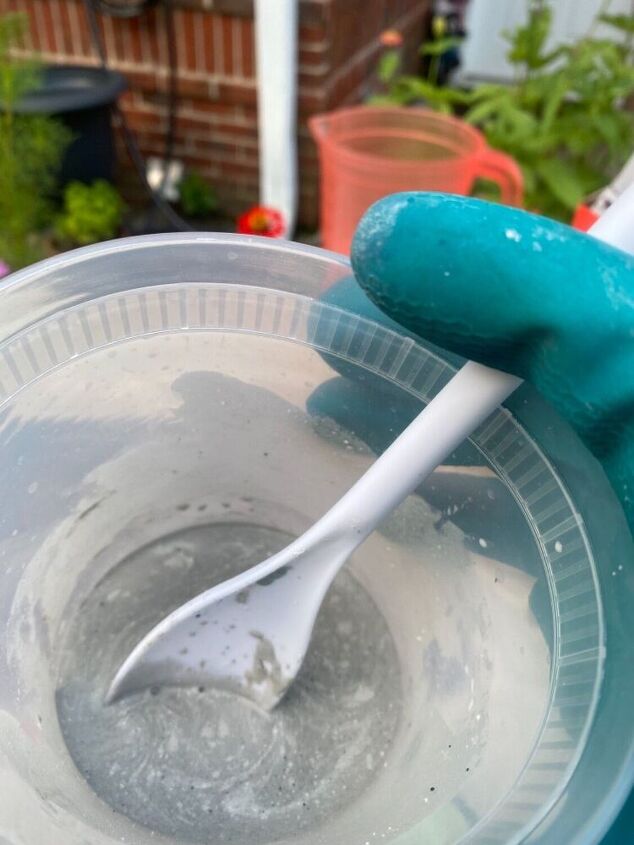
Mix, mix, mix until it is the consistency of pancake batter.
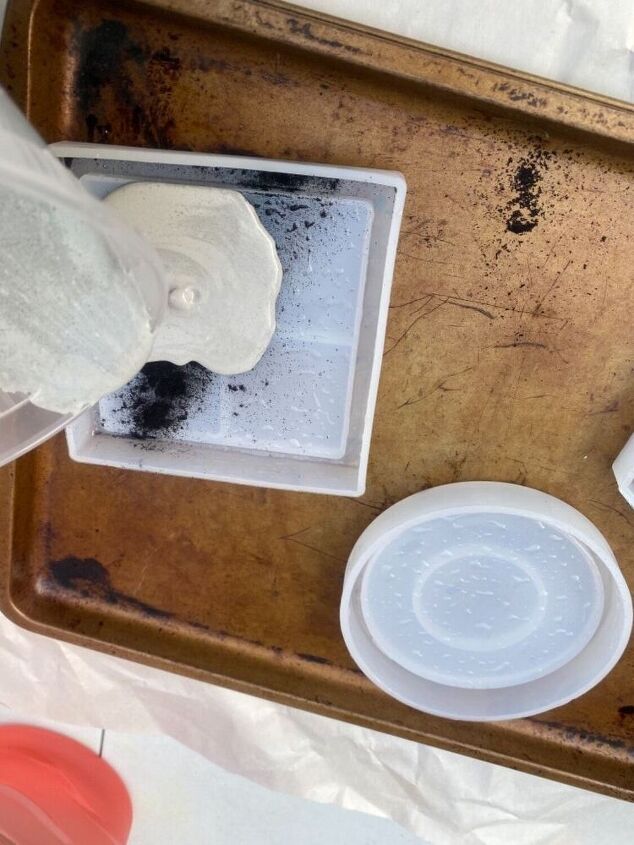
Pour it into the molds.
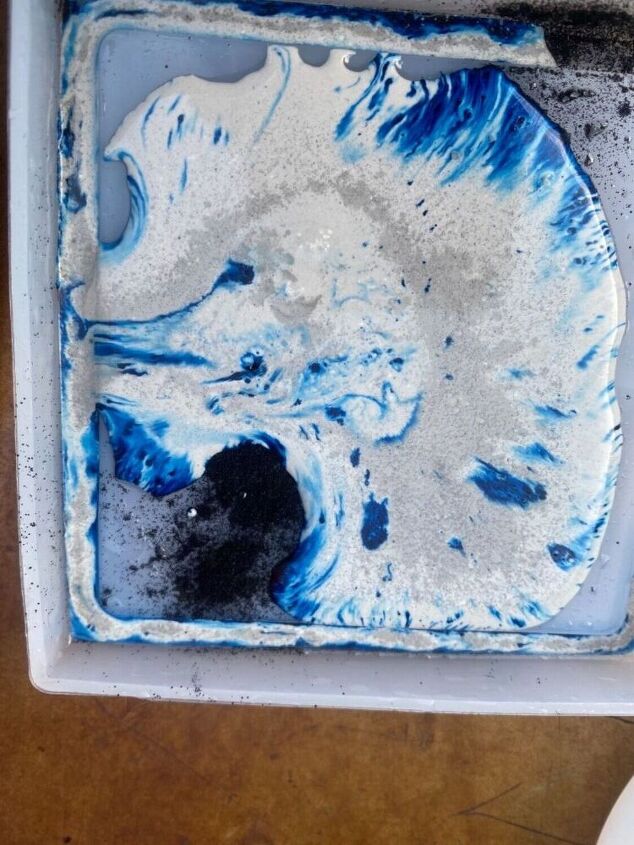
My favorite part was watching it react with the pigment powder.
I filled the other two molds. Make sure your work surfaces are level. I realized mine wasn’t, but it was too late.
I really enjoyed the dye powder.
And now we wait. The directions say it is ready in an hour but I waited several hours just to be sure.
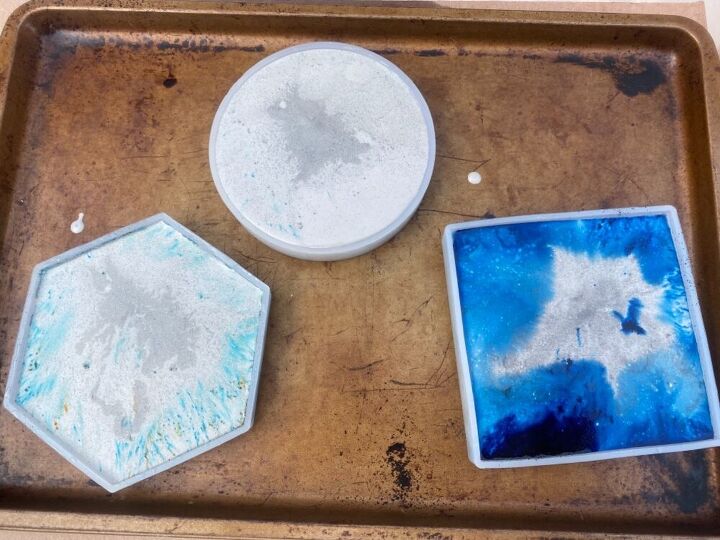
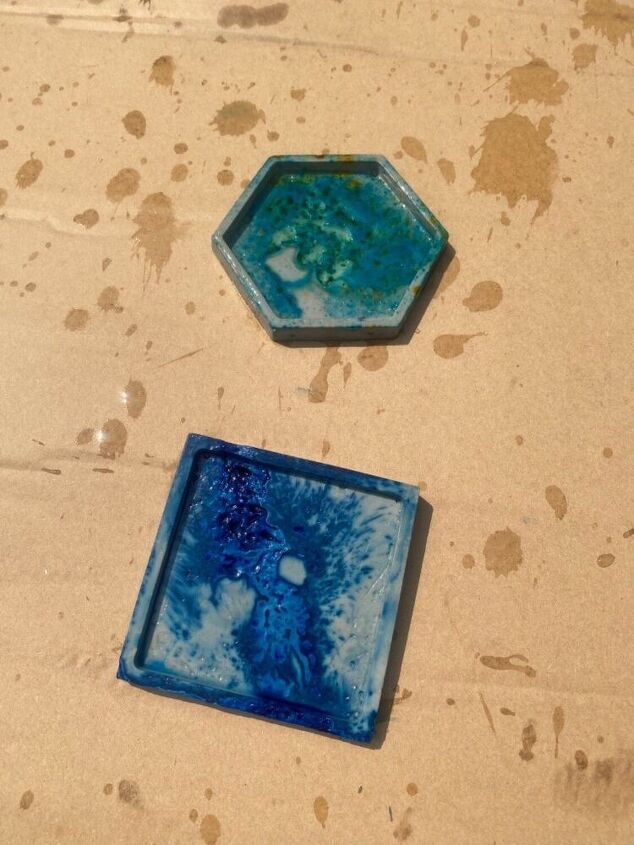
And now there are completely dry and ready for unmolding.
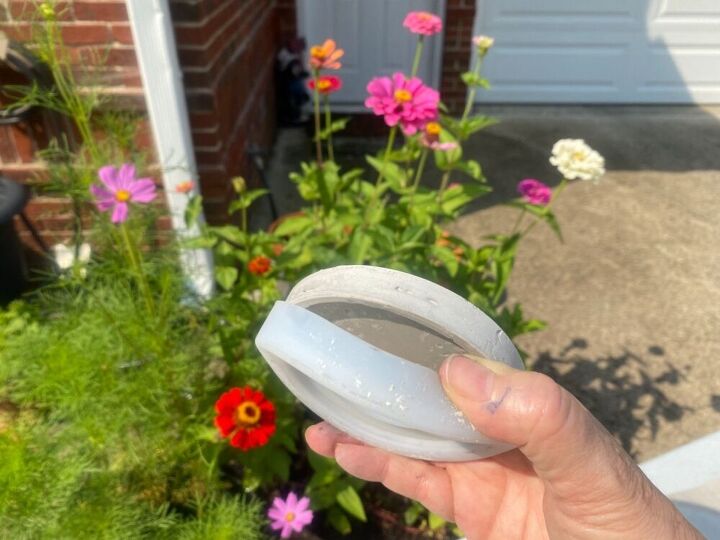
They pop out so easily.
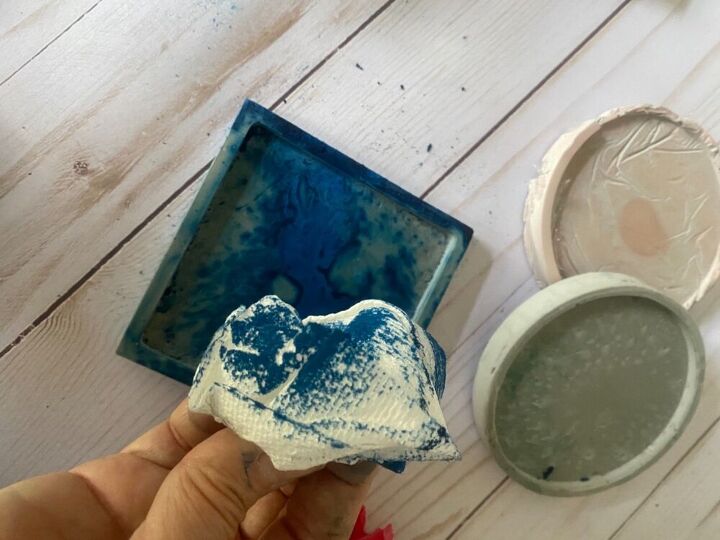
I realized that just like when you are tie dying a T-shirt, that these need to be rinsed until the water runs clear also.
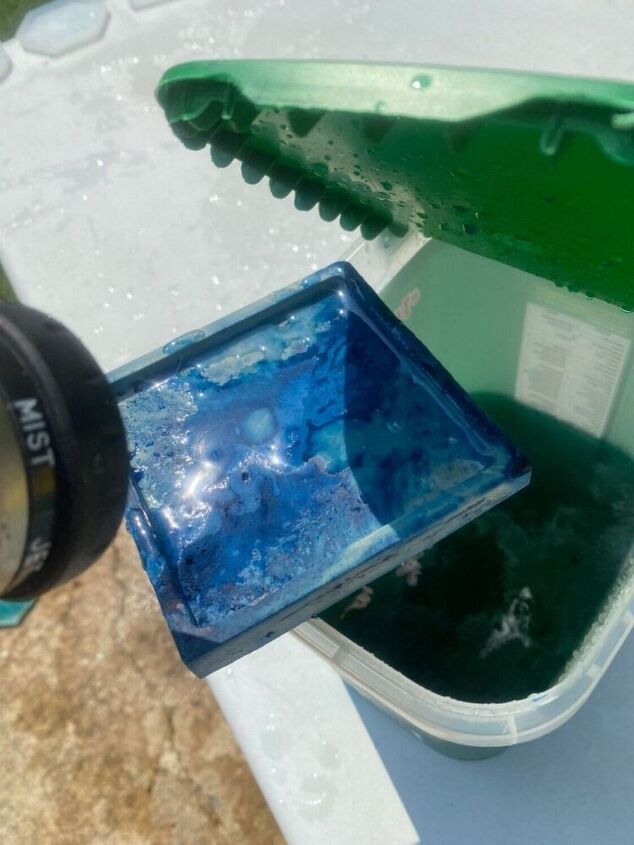
Into the tub…
Now they are left to dry completely in the sun.
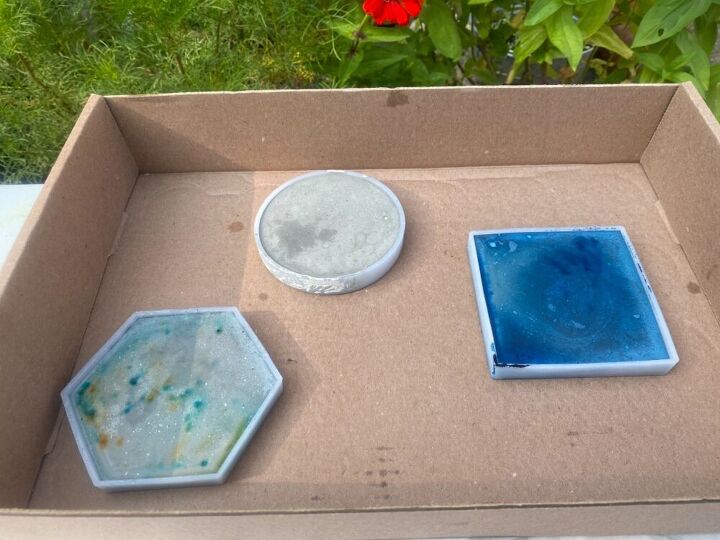
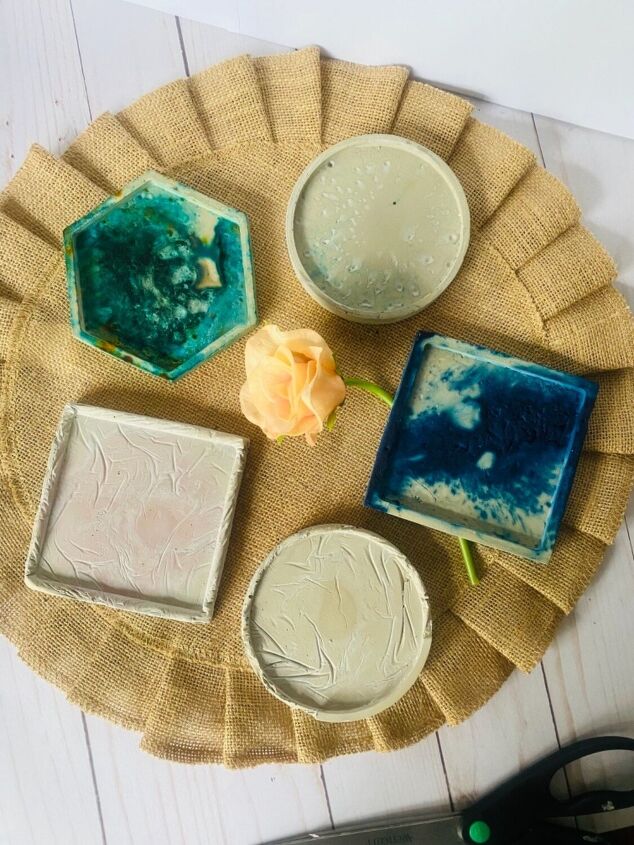
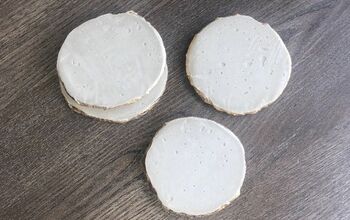
Well, they are different! I can definitely say that.
I would recommend just a sprinkle of dye because if it is too much, the concrete hardens before it soaks into the pigment.

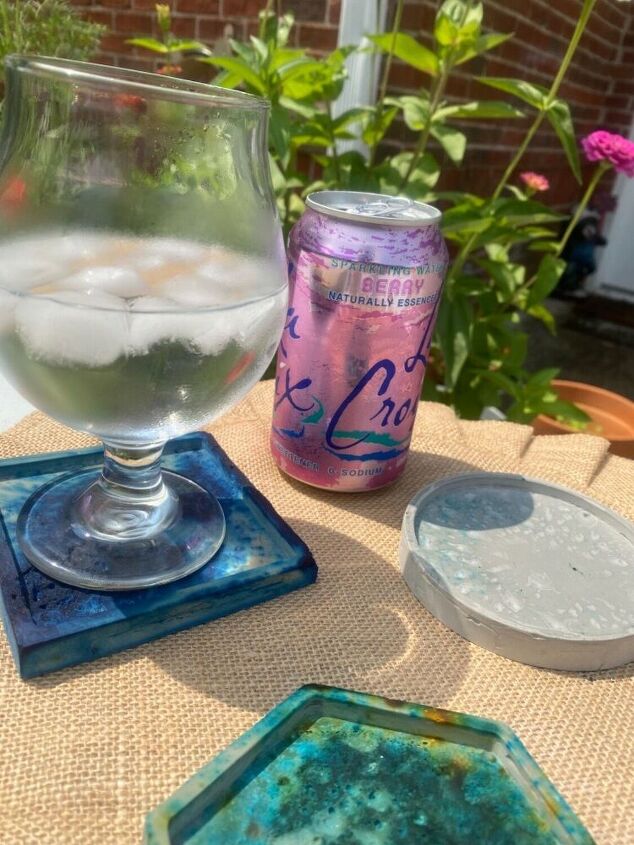
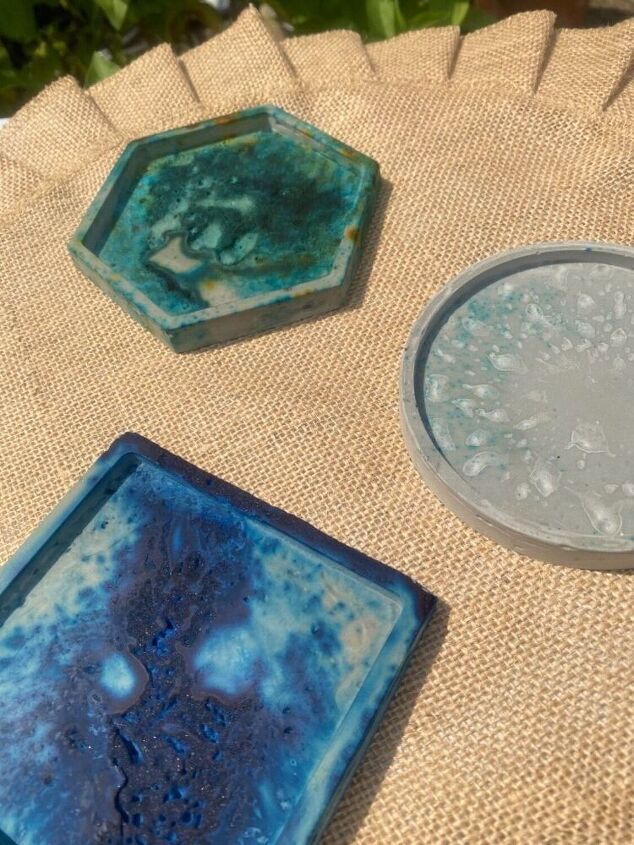
But they still are really cool.
I highly recommend this project.
10/10 I would definitely do again.
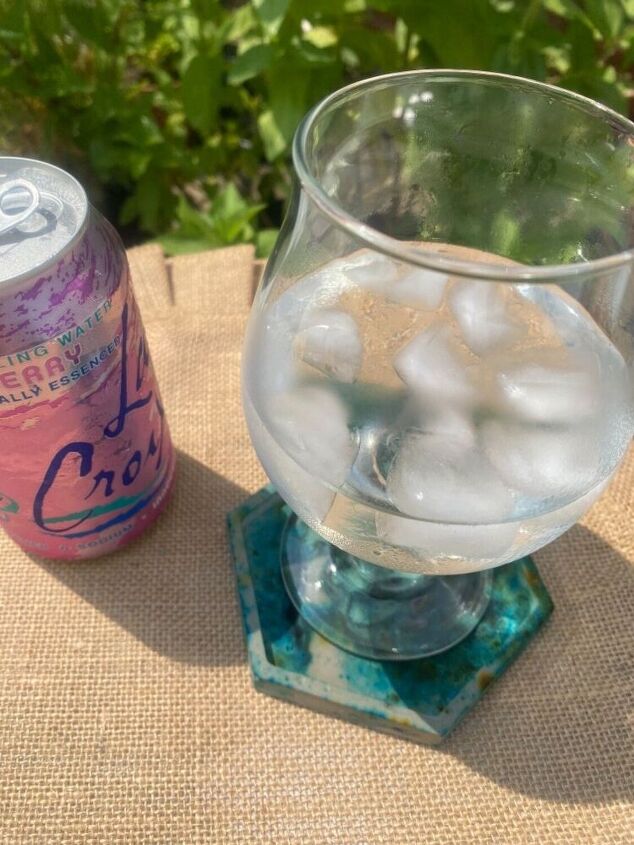
You will want to add cork or felt to the bottoms.
Comments
Join the conversation
-
They are pretty I'm just not a fan of anything made with Concrete,,....but you did a good job of these ...the colors are really pretty too ...
-
I love concrete coasters because they adsorb condensation! And your coasters are all wonderful! I think I like the mishap plastic wrap ones the most! Can’t wait to try this!


Frequently asked questions
Have a question about this project?
Hi! They look gorgeous but I wonder if acrylic paints might do same effect? Did you ever try??
Thank you for your prompt feedback!!
I apologize if I missed this, but about how many pounds of the Rockite I buy for this? Thank you.