


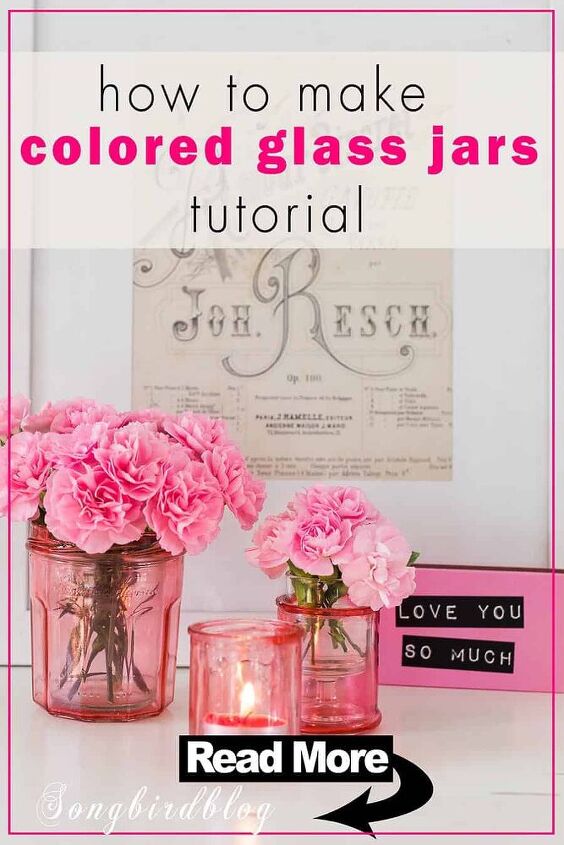
How to Make Colored Glass Jars
Are you wondering how to paint glass jars? Or which paint to use on glass jars? Look no more, let me share some tips and tricks how I colored glass jars permanently.
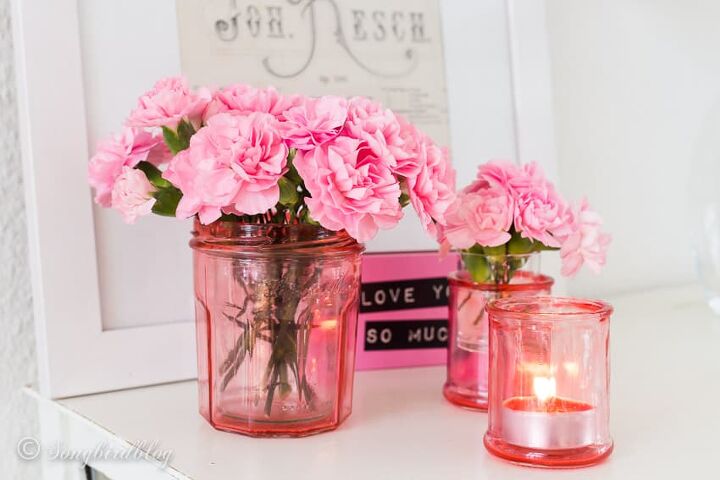
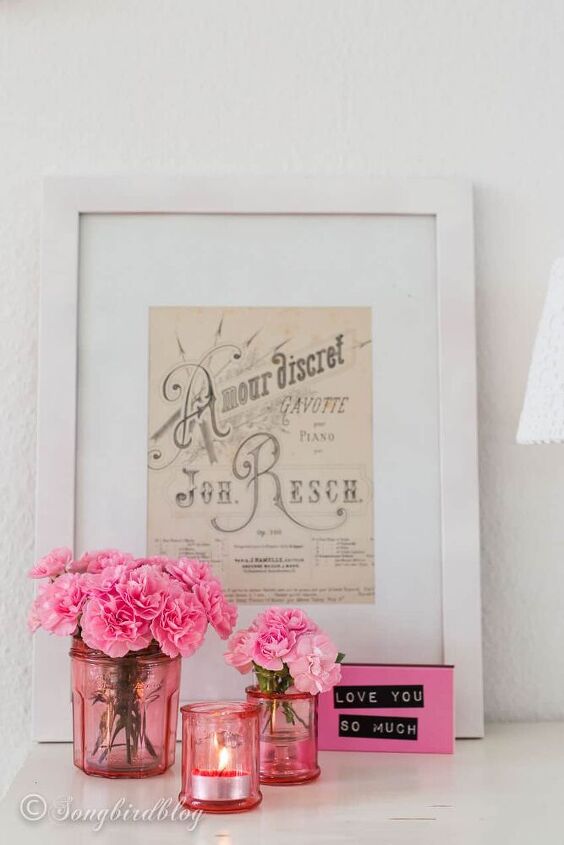
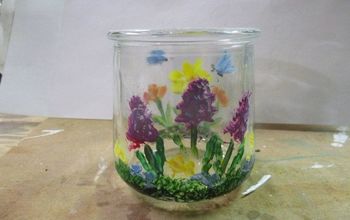
Recently I had a fun afternoon crafting with my sister. We attempted to make some DIY colored glass jars for her and I ended up with some pinkish ones. So I bought some pink flowers to go with them. And created a lovely little decoration.
I really loved how my little glass jars turned out so I did an ombre mason jar diy too. Let me share our experiences, so you can whip up yourself some tinted glass jars too.
Our crafting adventure was such a fun afternoon. The first time ever I crafted with my big sister, and we made a gigantic, wonderful mess, and I had a smile on my face the whole time.
My sister had seen my line of blue mason jars with flowers on my blog, and she felt inspired to add a little decoration like that to her own home. But her color of choice is purple, so she wanted purple jars. I didn’t think you could buy them, but “we can make them”. And so I set out to find out everything there is to know about coloring glass jars.
How to make colored glass jars: the steps
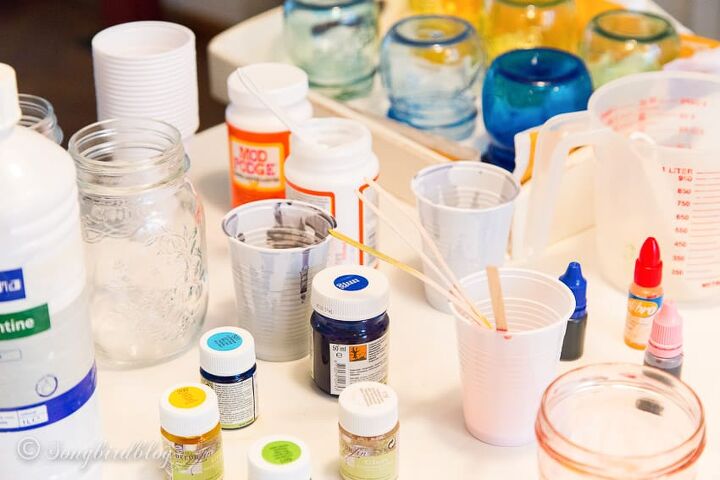
Gather your materials.
First you’ll need glass jars of course. Make sure you clean them well.
Decide on your method. The quick and easy way is to use Mod Podge or Elmer’s glue and food coloring. That will give a non permanent and non water resistant color. Or use glass paint for a permanent color.
You’ll transfer the color with a brush. I found disposable foam craft brushes to work the best.
Tinting your jars with Mod Podge or glue
If Mod Podge is your preferred medium to transfer the color here are some tips.
You start by mixing your glue and your food coloring. The more coloring you use the stronger the color effect (makes sense, doesn’t it). Start with a ratio of 3 drops of food coloring to 1 tsp of glue.
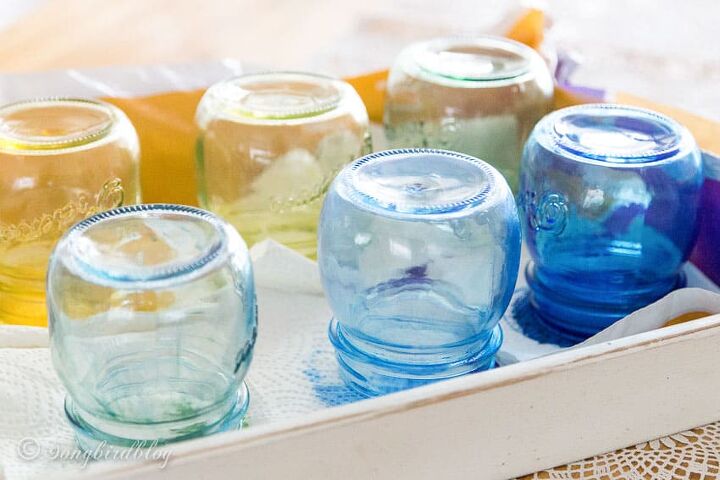
You can make mix the drops of food coloring for different effects. Blue and green make aqua, yellow and blue make green. You get my drift.
Some tutorials water down the glue with water (about 1.5 tsp of water to the above ratio). We found that that makes it easier to get a nice non-stripy distribution of the color, but the end effect is a more transparent color.
This craft involves mixing glue with food coloring. It is a messy process. Cover you work space well with a water resistant sheet.
Make sure you have some test pots available to work on first, because the end result is unpredictable and you might have to try several times. But with white glue the effect isn’t permanent so you can always start over. Simply use lots of water to remove the colored glue.
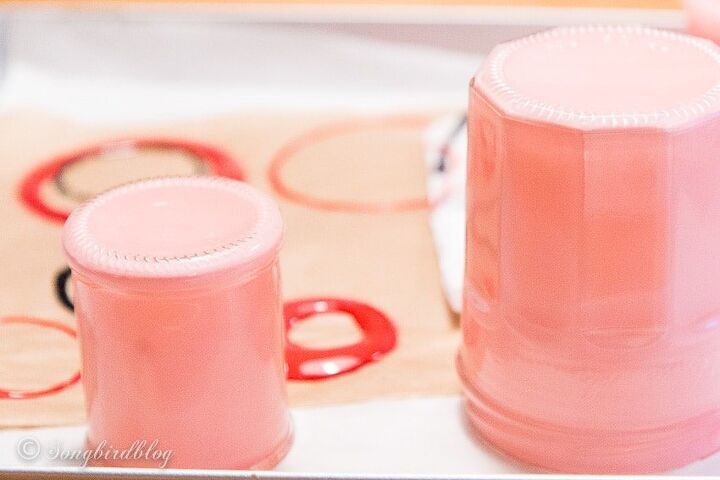
Coloring the pots on the inside gives a more true to life look. You can use a brush technique (more likely to give stripes) or a swirl technique (more messy and more waste).
When you turn them over to drip out, place them on a drying rack or some super absorbent paper (like kitchen towels). I placed this badge on baking paper and ended up with a little ring of extra thick medium on the edge.
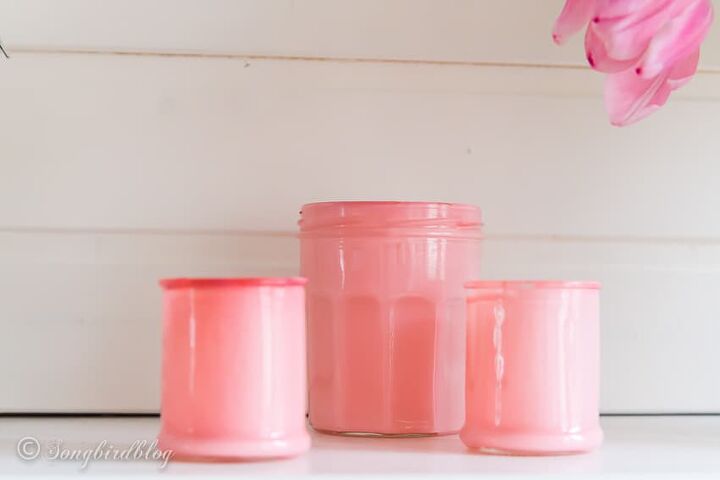
When you put them right side up again to dry out, they look pastel and not see through at all, don’t worry they are supposed to look like that. They become transparent as they dry.
Some tutorials use the oven or microwave (on low) for quicker drying, some advice against it. I did it both ways and saw no difference in the end result. Using the oven or microwave obviously makes your jars dry much faster and you can do multiple coloring sessions in one afternoon.
Use super strength food coloring. The ones we used are probably not as strong as the ones available in the US, we could not get a proper strong purple color, even when we added more food coloring than in the tutorials (we went up with a factor 20 and the pots still were too transparent to our liking).
You can always start over.
When it didn’t turn out the way you envisioned it, soak your jars in water for a few minutes, you can then scrape and peel off the Mod Podge, which is actually kind of fun to do and the challenge is to peel it of in one go, without breaking it…..
If you have colored the inside you will need an extra container inside your jar if you want to use them as a vase. Of course if you have colored the outside you can use them as is, just be careful with spills. Because remember the glue doesn’t hold up in water.
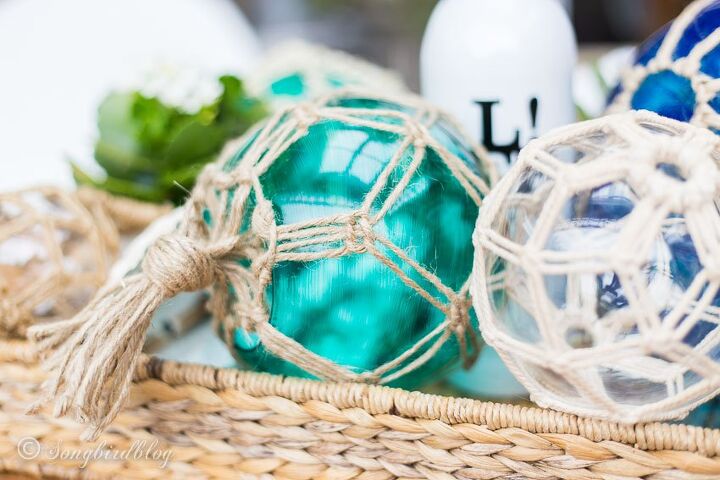
I used the same technique when I turned thrift store lamp covers into decorative Japanese fishing floats.
Have fun coloring your glass jars!


Comments
Join the conversation
-
Glitter glue or colored glue is fun too. And to ombre you can layer the glue. If you like the frosted look ala sea glass, use a frosted glass spray paint after your glue is dry . I haven't gotten to the lids yet.lol


Frequently asked questions
Have a question about this project?
How do you tint them for a permanent color that is durable and won't wash off?